Buy Master Optics Lens for iPhone 17 Pro & Pro Max
Please note that some of the links in my video descriptions are affiliate links where I earn from qualifying purchases. As an Amazon Associate I earn from qualifying purchases.
Intro
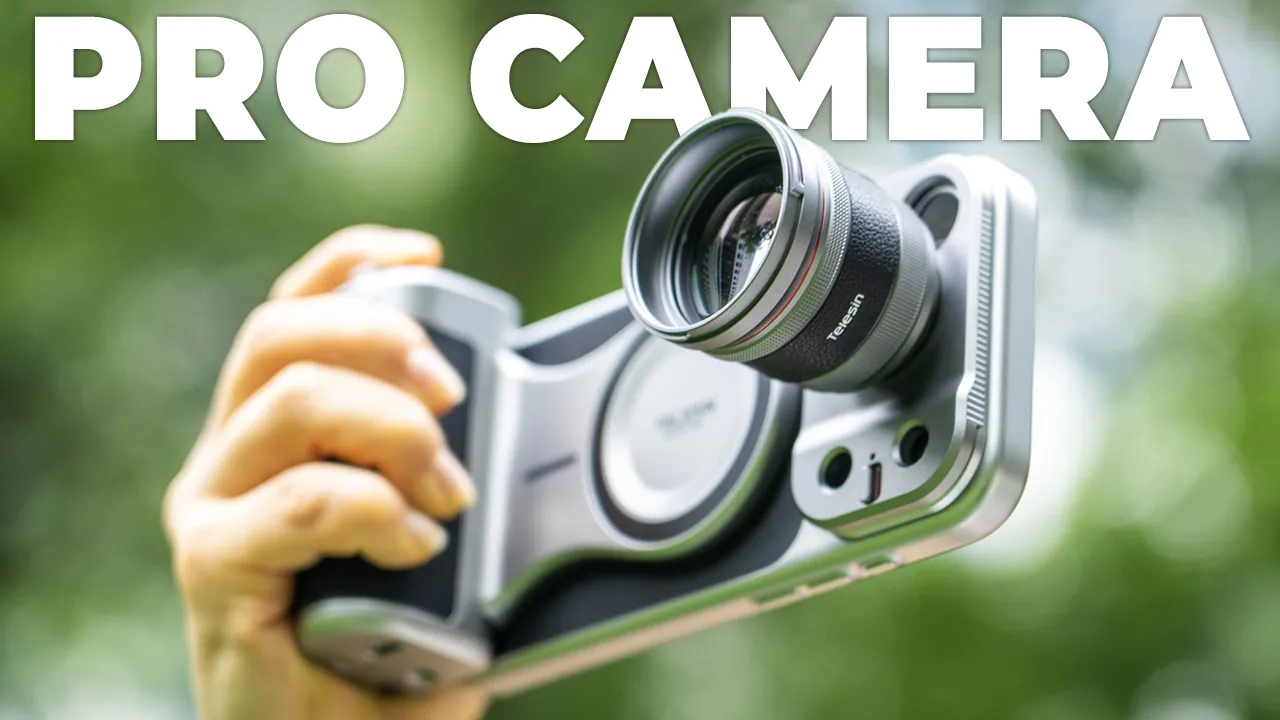
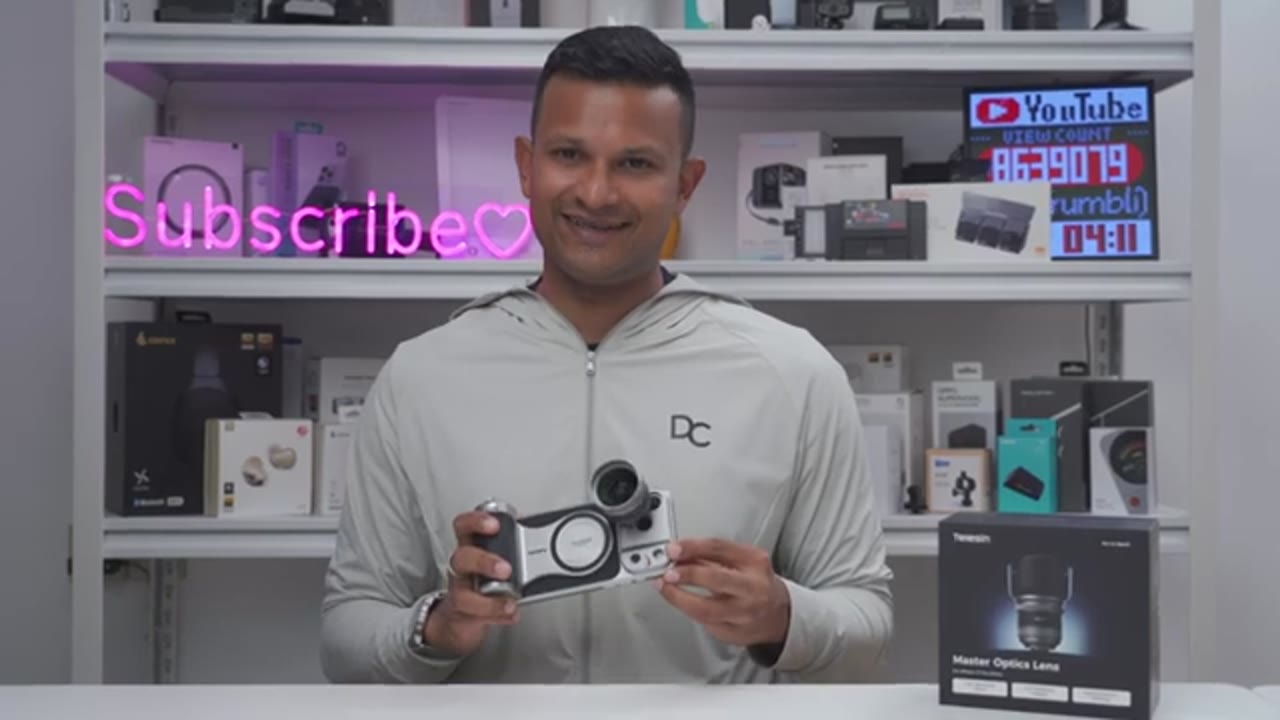
Your iPhone 17 Pro or Pro Max already has an incredible camera, right? But what if I told you you can make it even better? Well, the Telecine Master Optics lens can actually help you do that because this gives you up to an impressive 200 mm optical focal length along with high-resolution optics giving you serious telephoto reach. There’s a dedicated Reef color app that gives you electronic image stabilization and other features, but you can optionally add in Telecine’s Master Grip that I have here giving you access to a zoom rocker, a shutter button, other buttons, plus additional handheld stabilization. But how securely does it attach your iPhone? How do the photos look like compared to the native lenses on the iPhone? And how much more telephoto reach are you really getting?
Well, let’s take a closer look and a big thanks to Telecine for sending this out for review. In the box, you get
Package Contents
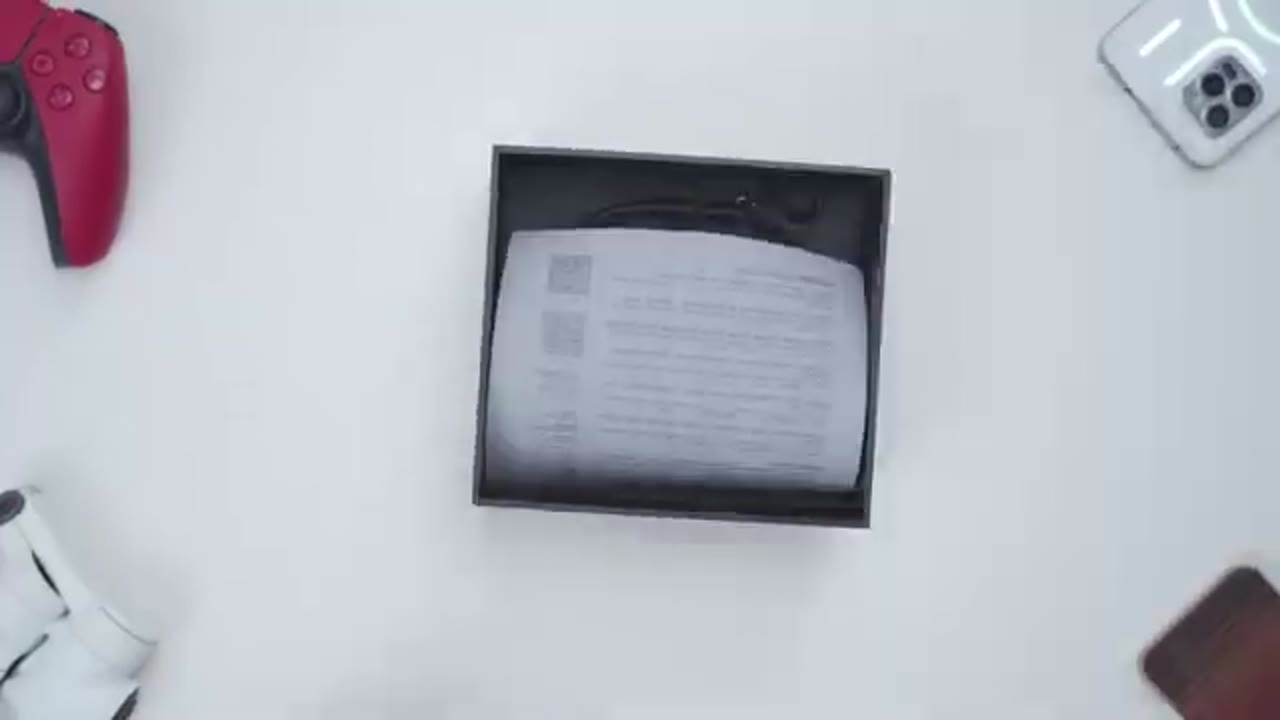
the Telecine Master Optics lens along with a lens hood, lens cap, a hard shell carrying case, manual, cleaning cloth, and quick start guide. Note that I have a pre-production sample, which is why I have the adapter plate separately. However, when you buy your kit, it’s probably going to be bundled in there.
Design

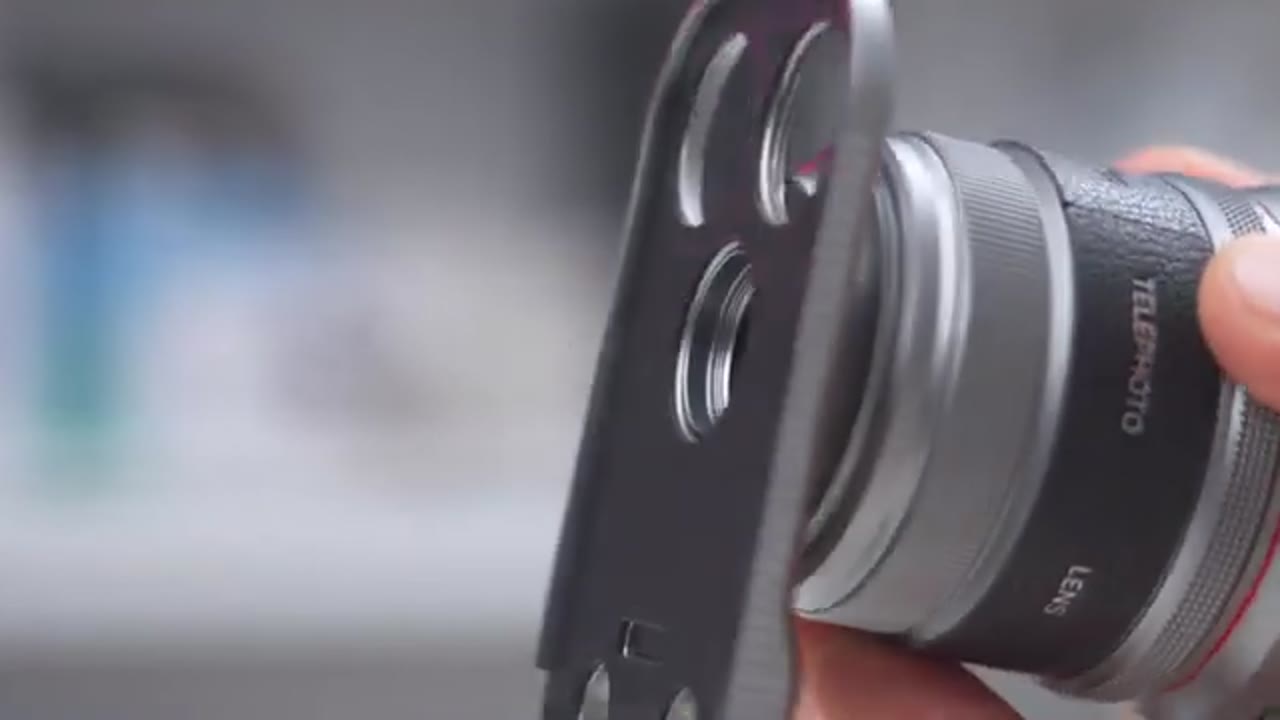
The Telecine Master Optics lens comes in at around 143 g, so it does have a little bit of heft to it. First, I’ll remove the lens cap and you can see the front lens element right there. And then we have the lens hood as well. So, this plastic lens hood comes in the box standard. I’ll just go ahead, rotate this, and pop it off. So, you can just line those up and then rotate the lens hood till it snaps into place. This is what it’s going to look like and it’s nice and secure in there. There is an optional metal lens hood that may be offered as an upgrade in the future. The build quality feels extremely premium on here. We have this knurling going on at the top here. Now, notice that there’s no type of moving parts on here. So, all of the focusing is going to be done on your phone.
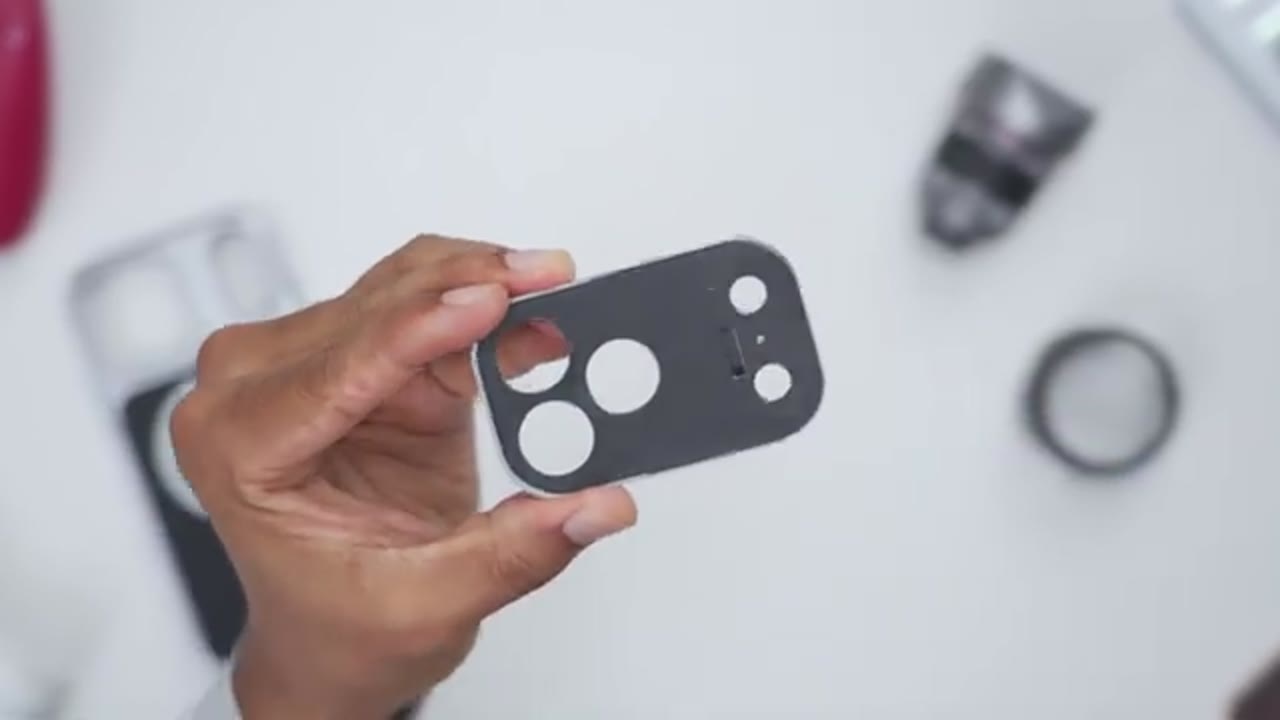
We have the Telecine logo there and it does show it’s a telephoto lens, stabilized, and 2x. The back of the lens has a protective cover. So, once you remove that, it gives you access to this threaded area and this is where we’re going to use to attach it to the adapter plate. There’s a circular rubberized area here to ensure that this doesn’t actually scratch the adapter plate. The adapter plate comes in at 20 g, excellent build quality all the way throughout, and it matches the look of the Telson case as well. Now, note that we have thread mounts on these two lens cutouts, so you can attach the lens to the telephoto and main lens. There is also a locking or retention switch.
Once I activate that, you can see we do have a retention clip that kind of comes out here to prevent this from sliding out. And on the side here, we have this smooth material to prevent any scratching to your phone case once you slide this in. And there’s rails on here that help kind of guide this into the Telson case, which I’ll demo later.
Specs
Here’s a quick look at the specs. Feel free to pause and review or jump at the next section. To get everything set up
Lens Setup
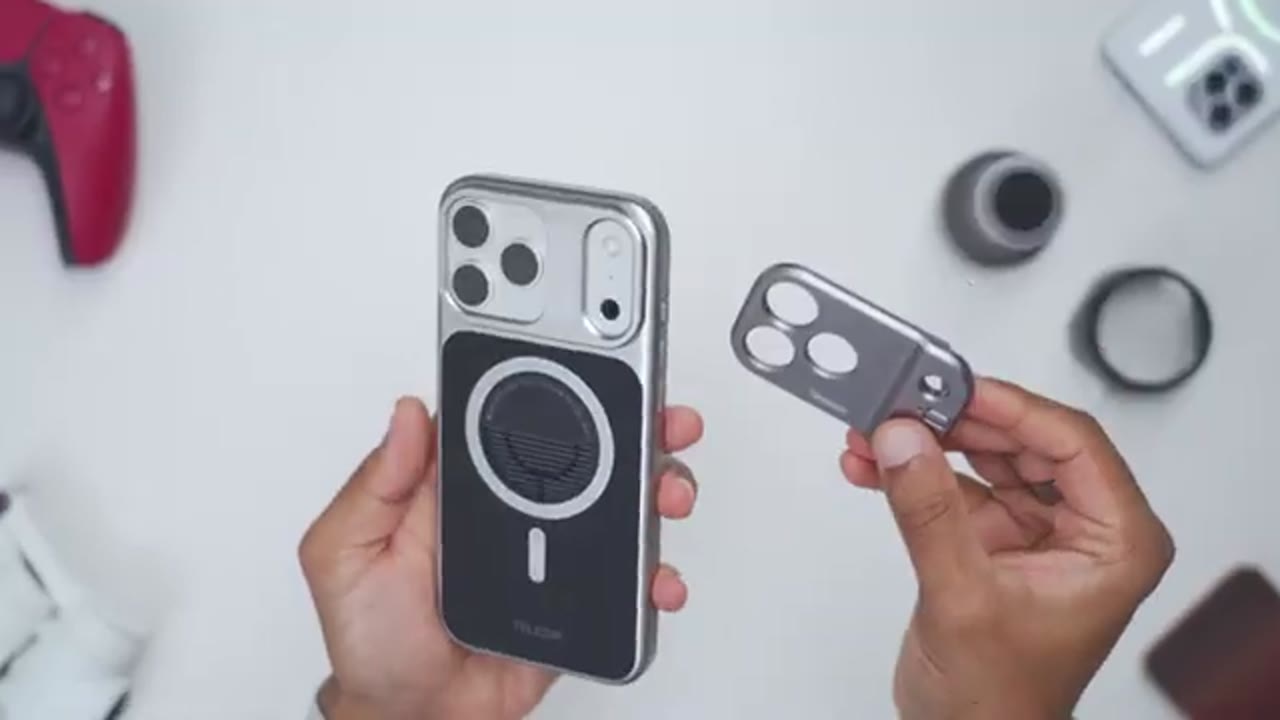
and installed, once you have the Telson case on your iPhone 17 Pro Pro Max, you’re going to use these guide rails at the top and at the bottom, and you’re just going to line it up with the adapter plate. So, I’m just going to make sure everything is nice and flush. Slide in the adapter plate till it reaches the very end right here, and then hit the locking switch. With the adapter plate locked in, you could see it’s a nice and flush fit all the way throughout. Now, I can go ahead and attach the Master Optic lens either to the main or telephoto lens module, which I’ll do right now.
If you choose to keep the adapter plate on when you’re not using the Master Optic lens, you could see just how much that vertical height is, so there’s no chance of your lenses getting scratched if you were to place this lens side down. In terms of hand
Post-Lens Setup

feel, it definitely feels very top heavy if I’m holding it like this since all of the weight is concentrated here. And you’re looking at adding about an additional 200 g, give or take a few grams, once you factor in the case, the adapter plate, and the lens. The fitment on here is also pretty secure once it’s threaded in, and even though I’m not supposed to do it, I’ll grab it by the actual lens, and you can see I can rotate the phone, manipulate it in any way. The adapter plate isn’t sliding, and everything is nice and secure. Now, additionally, if you choose to leave the lens on, maybe you shouldn’t do that, but you can actually use it for a little bit of horizontal viewing. It keeps the phone upright and, you know, pretty stable.
And this is what the setup looks like if you attach the teleasin master optic lens to the main lens on the iPhone 17 Pro Max. If you want to make
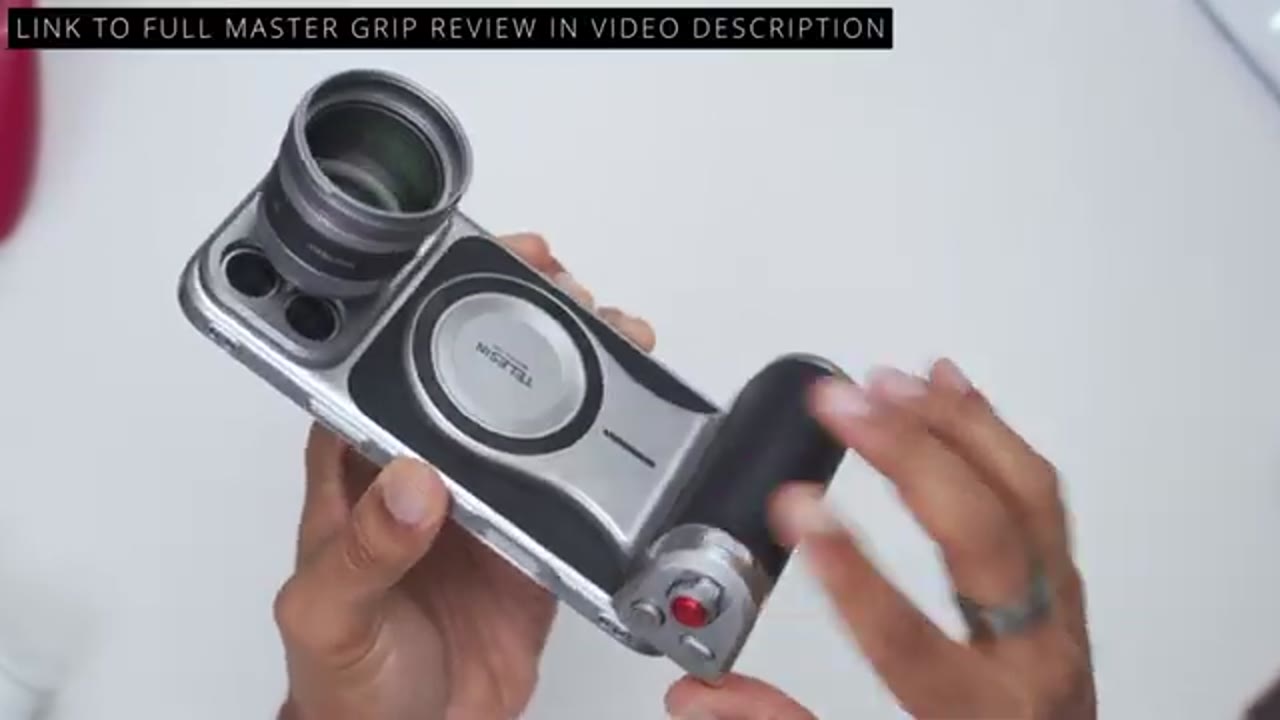
Optional Master Grip
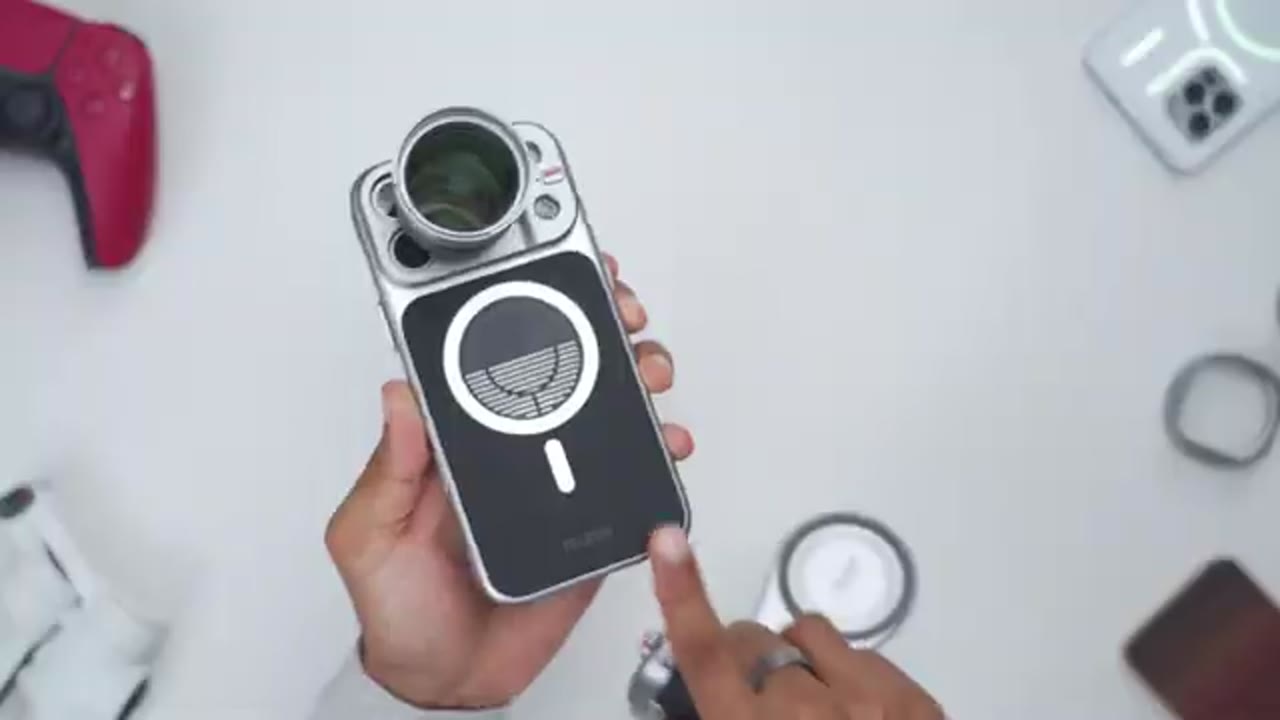
your setup even more ergonomic and stabilized, you could use the teleasin master grip like I have here. It snaps onto the back of the teleasin case extremely securely and magnetically, and it makes it way more ergonomic and adds way more stabilization just one-handed instead of having to support or prop this up here. It also unlocks a bunch more features. You have a zoom rocker, a record button, and you can also remap a lot of these buttons as well. Let’s look
Reef Color App Settings
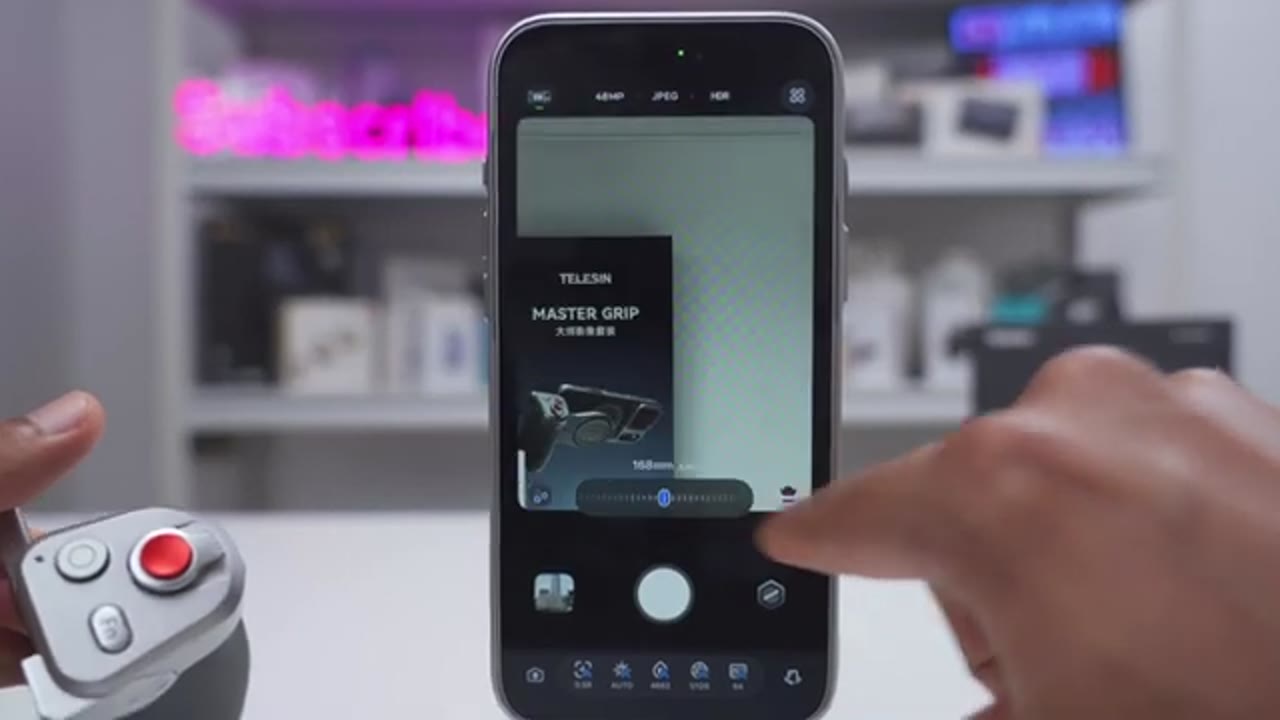
at the Reef color app settings. So, as soon as you open the app up, you can change the megapixel count of the photos, you could change the image format, and if you want HDR on or off. In the top right corner, you can also turn on electronic image stabilization. Note that when I turn it on, it’s going to introduce about a 10% crop. Now, if you tap on more, you can also enable watermarks, auto save, and other features if you like. If we tap on the bottom right, or sorry, bottom left icon here, you can switch into video mode, you can switch from 4K to 1080p, and you can also switch the frames per second, but it’s capped at 60. You can also turn HDR on or off as well. Back in photo mode, you can see that this lens icon is selected.
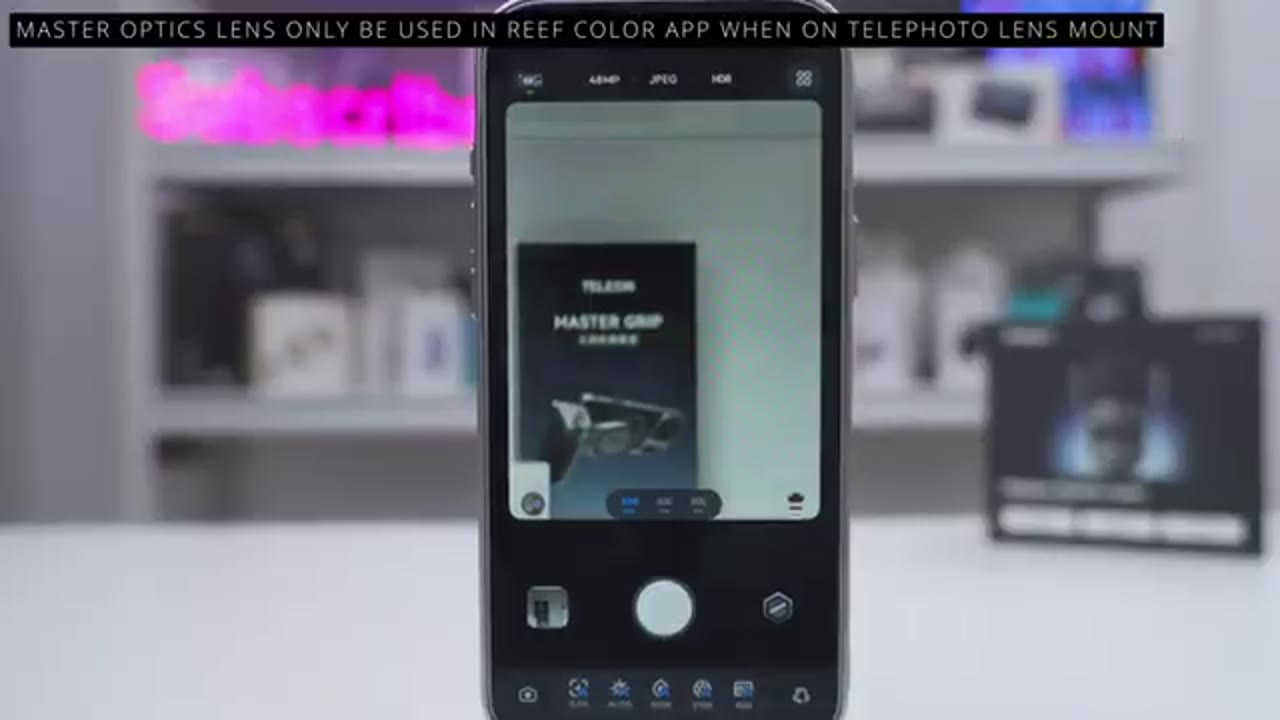
If I deselect that, it’s giving me the full focal range you would find on the iPhone’s native camera app, but since we have the master optic lens attached, I’m going to tap on the lens icon, and it shows me two focal lens, 1.5 and 2.40. Now, if I press and hold down on here, I can cycle through the entire focal range. You can see all the way at 96 mm, all the way up to 2.40 if I like. Now, the other thing to note is that on the bottom left, there’s an icon here. You can see the blue circle at the bottom left is selected because I’ve attached the optic lens to the main mount or main lens sensor. If I go ahead and tap this again, it’s showing the telephoto mount. Now, because I don’t have this attached here right now, this is why it’s showing the lens, you know, kind of out of focus.
With the Master Optics lens attached to the telephoto mount, I can now tap on this icon to switch over to the telephoto mount, and you can see I have full focal ranges here. So, 200, 400, and 800, and it’s only blurry because my room is not deep enough. It’s not that the lens can’t actually focus. I just don’t have that box far away. And I can start from 200, and I can go all the way to 800, which is one of the presets, or even all the way to 1,000. Jumping back to the main mount, you can see that we have auto selected for all of the settings on here, but this is where you would go if you wanted to dial in any settings manually.
To review your images, you could tap on the bottom left thumbnail here, and all of these images will be automatically saved to your iPhone’s gallery if you enable the auto save option. If you have the telecine master grip like I have here, you could pair it with your iPhone, and you can see if I tap on this icon on the top left, it shows it’s connected. You can also remap with the various dials and buttons do, but to give you a demo, we’ll go back to the main screen here, and I’ll use the zoom rocker here. I could go down to 96 mm focal length, and I can go up to 240, or even beyond 240, all the way up to 480, which is something that I actually can’t do in the app. I can’t go past 240 just using the slider. With the Master
Native iPhone Camera App
Optics lens attached to the main mount, not the telephoto mount, I’m going to jump into the native iPhone camera app, and you can see that right now in 1x mode, it’s actually focusing on the lens body, not on the actual scene. And that’s because you do have to disable macro mode to make this usable. So, I’ll tap on that. You’re going to get this type of effect where you can kind of frame a subject there, but to make this actually usable, you’re going to want to start at 2x, and either use 2x, 4x, or 8x. I’ve now attached the Master Optics lens to the telephoto mount. If I jump back into the camera app, you can see this is what you’re going to get. So, it’s not usable in the iPhone app. You will have to use the Reef app to use the telephoto mount. Now, let’s talk about a
Good To Know
few things you should know before using the Master Optics lens. And the first thing is that anytime you mount this either to the main lens or sensor like I have here or the telephoto lens or sensor, you’re going to lose access to the other two lenses or sensors. And that’s because the lens body is so wide, anytime you switch to the other sensors or lens, it’s just going to capture the lens body in the photo. Thankfully, it only takes about a good 5 seconds to switch from telephoto to main or main back to telephoto. Another thing is I noticed a small quirk whenever I was taking photo at really high focal length, and I had electronic image stabilization turned on.
So, what was happening is that anytime I was shooting at the 800 mm focal length, I didn’t notice this at the lower focal lengths, I would put my subject in the middle of the shot, take the photo, and then I would see my subject was off to the right or left by a little bit. Now, it was easy to compensate for that. I would just rotate the camera right or left, take the shot again till it was in the
Photo & Video Quality
center. Now, let’s talk about the most important thing, which is the image and video quality. So, I’ll show you a series of photos and I’ll let you know which ones were taken with the iPhone in the native iPhone app, and which were taken with the Master Optics lens in the Reef Color app. I noticed most of the tele zoom images had a warmer color shift to them and were a little bit more under exposed compared to the native iPhone camera app photos. But of course, you can manually dial in your settings to get it exactly how you like. That said, the tele zoom images remained extremely sharp with no significant distortion. I also noticed some vignetting when using the 105 mm focal length on the main camera lens mount.
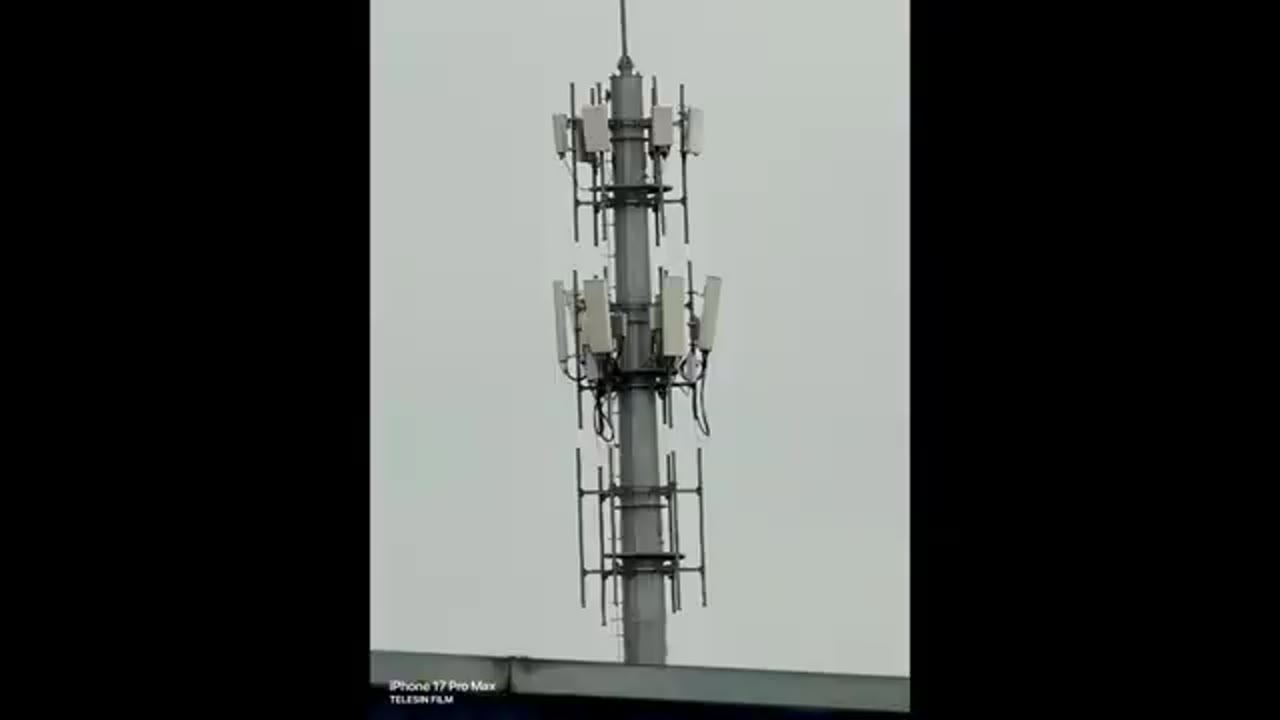
This is due to slight manufacturing tolerances, so you may or may not have the same effect. However, if you turn on EIS or electronic image stabilization in the Reef Color app, it’s going to do about a 10% crop, which is going to remove that vignetting. And I didn’t notice this issue at all in higher focal lengths. Using the Master Optics lens also gives impressive reach and clarity versus just using the native lens on the iPhone. Since you have to rely on digital zoom to obtain the same type of reach to match the focal length of the Master Optics lens. You can see in this photo of this electrical transmission tower, I can actually make out a bird’s nest on top in very clear detail.
Whereas, when I was using the native iPhone camera app, I have to digitally zoom in to approximate the same focal length on the Master Optics lens, and the photo was just way more blurry and not very usable. So, you actually have serious optical reach with this. By the way, you can also use digital zoom even with the Master Optics lens attached if you want even more reach. You can go from 105 to 240 to even 480 mm, especially if you have the Master Grip attached. Whereas, if you’re using the telephoto lens, you could go from 200 mm to 400 mm to 800 mm and even 1,000 mm. Now, take a look at these images of this red road sign, and let me know down below which you prefer in terms of color and sharpness, and I’ll give you a few seconds to decide before showing you which is which.
So, the image on the left is from the native iPhone camera app, and the image on the right is using the Telecine Master Optics lens in the Reef color app. And I do prefer the image on the right, but I’m curious to hear which image you prefer. Here are some more images using the Master Optics lens, and you can see that I was standing very far, but I could still get a ton of optical reach and detail where I could even make out plants that were on the building. Now, if I tried to zoom in to around the same type of focal length on the native iPhone camera app, it was way more blurry since I was just relying on digital zoom. You can see the same thing in this image of the Ping An building in Shenzhen. I was standing quite far away, and I was getting impressive reach and detail.
Low-light images look great when using both the Master Optics lens and the native iPhone lens, but I felt like the Telecine images preserved a little bit more shadow detail, which is something I personally prefer. While experimenting taking photos, I noticed that I could actually get a vignette type look on purpose by using a smaller focal length than Telecine recommends. And when I had the lens attached, it would It change the style of the vignette look as well, which is kind of neat. Another thing I had fun with is that anytime I was using the native iPhone camera app, you do have to disable the macro mode. If you leave macro mode on, you’re going to get this type of effect where the lens just kind of focuses on the lens body.
However, if you manually tap another focus area outside of the lens body, it’s just going to use the lens body in the foreground for a more interesting or unique type of shot. The Master Optics lens was also great for taking 4K video to get that nice reach and detail where I could easily make out license plates from quite a distance away. However, I noticed that if I kept EIS on in the Reef Color app, I noticed a bit of video tearing, especially when I was panning very quickly or at higher focal lengths. And this is something Hal sends aware of and they’re working on for future updates. So, if you’ll be taking a ton of photos at higher focal lengths, it’s probably best to have a mini tripod. Additionally, you can also use the native iPhone camera app if you’re using the main lens mount.
You won’t experience any video tearing there as well. Here’s a zoom range demo to show you just how much reach you can get both optically and digitally anytime you’re using the Master Optics lens. So, in terms of overall image and video quality, you’re just getting way better optical reach and detail with the Tele lens Master Optics lens. If you were to get the same type of focal length using the iPhone’s native lens, it’s going to switch over to digital zoom at some point and the image is just going to be way more blurry. When it came to the look of the images taken by the Reef Color app or the native iPhone camera app, there were times I preferred the Tele lens images and times where I preferred the look of the iPhone’s native camera app.
Of course, you can manually dial in the settings in the Reef Color app to get it exactly where you want, but if you just wanted to have it in auto mode, that’s something you’re going to have to decide which you prefer the look of. So, overall, I’m really impressed with the Master Optics lens. You get impressive optical clarity and you’re not taking a hit in terms of
Phone or Case Damage?
detail and clarity. In terms of how securely everything attaches, at no point did I experience any type of shifting or any type of looseness. Once the adapter plate is in, especially with the locking switch engaged. Now, if you’re worried about your iPhone lenses being scratched whenever you’re screwing the Master Optic lens in, either to the main mount or the telephoto mount, at no point does it come flush where it’s actually going to touch your lens housing. So, if you take a look at the underside of the adapter plate, you can see once I screw in the Master Optic lens, it stops before it makes any type of contact. So, you never have to worry
Recommended?
about anything being scratched. So, after taking a ton of photos with the Telson Master Optic lens, to say I’m really quite impressed. There is serious optical quality here with a good amount of telephoto reach, and everything attaches securely. Plus, you can make the setup even better by pairing it with the Telson Master Grip for additional functionality and handheld stabilization. And the overall experience should get even better with additional updates to the Reef Color app. So, if you’re interested in picking up your very own Telson Master Optic lens, I’ll leave links down below along with a coupon code below and on screen as well. And there’s also different bundles for the Master Optic lens, so you can get it with the grip without the grip to match whatever your setup needs.
Also, consider checking out my full review of the Telson Master Grip. I’ll leave that linked up here and below. I highly recommend pairing it with the Master Optic lens, and maybe even consider liking and subscribing for more videos like this, and maybe even joining as a member to get early access to videos and other perks as well. I also review a bunch of other tech that you may find interesting, and I really hope I’ll see you in my next video soon.
Buy Master Optics Lens for iPhone 17 Pro & Pro Max
Please note that some of the links in my video descriptions are affiliate links where I earn from qualifying purchases. As an Amazon Associate I earn from qualifying purchases.