Buy Reolink Argus PT Ultra Home Hub Bundle on Amazon
Buy Reolink Argus PT Ultra on Amazon
Buy 512 GB microSD Card on Amazon
Please note that some of the links in my video descriptions are affiliate links where I earn from qualifying purchases. As an Amazon Associate I earn from qualifying purchases.
Intro
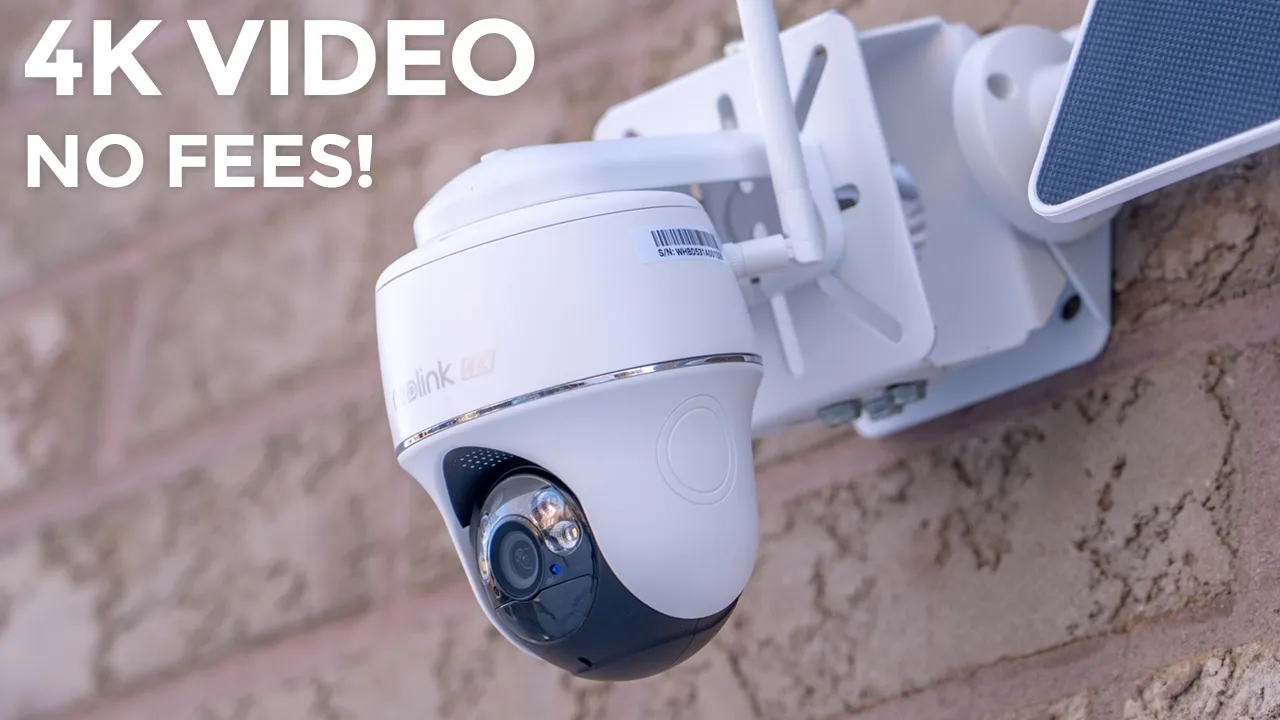
hey guys it’s Adrien and if you’re looking for a solar power security camera with high quality video and zero monthly fees you’re going to want to check out the real link Argus PT Ultra security camera the real link Argus PT Ultra camera has high resolution 4K videos that look great during the day and at night an ip64 rating to survive the elements two-way talk and an alarm siren a night vision Spotlight pen and tilt functionality Dual Band Wi-Fi a 6,000 Mah rechargeable battery which can be connected to an optional solar panel up to 512 GB micro SD card support multi- camera view in the real link app real link H Hub support and more now all of that sounds pretty good but there’s one potential deal breaker so let’s take a closer look and a big thanks to realink for sending this out for a
Package Contents
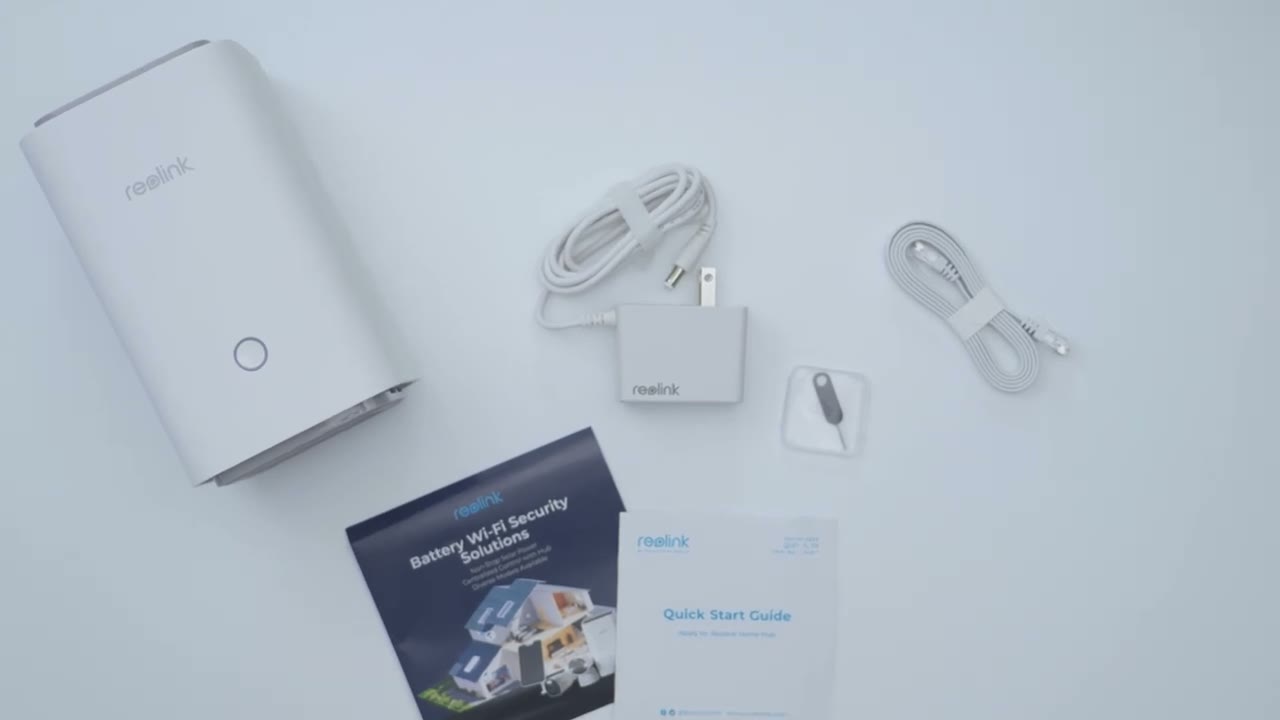
review if you buy the realink Argus PT Ultra by itself you’ll get the camera in the Box along with a wall mount to mount the camera top wall a ceiling mount Wi-Fi antenna quick start guide security sticker a USB Type A type-c cable there’s also a mounting strap that can be used with either the wall or ceiling mount mounting hardware and mounting sticker if you buy the optional re link solar panel you get the huge solar panel in the box with pre-and USBC wiring a quick start guide mounting sticker along with the mount mounting bracket a USBC to micro USB extension mounting hardware and we also have a mounting strap as well if you purchase the optional realink H Hub you get the realink H Hub in the Box box power cable for it an ethernet cable reset tool quick start guide and brochure the design on the
Design
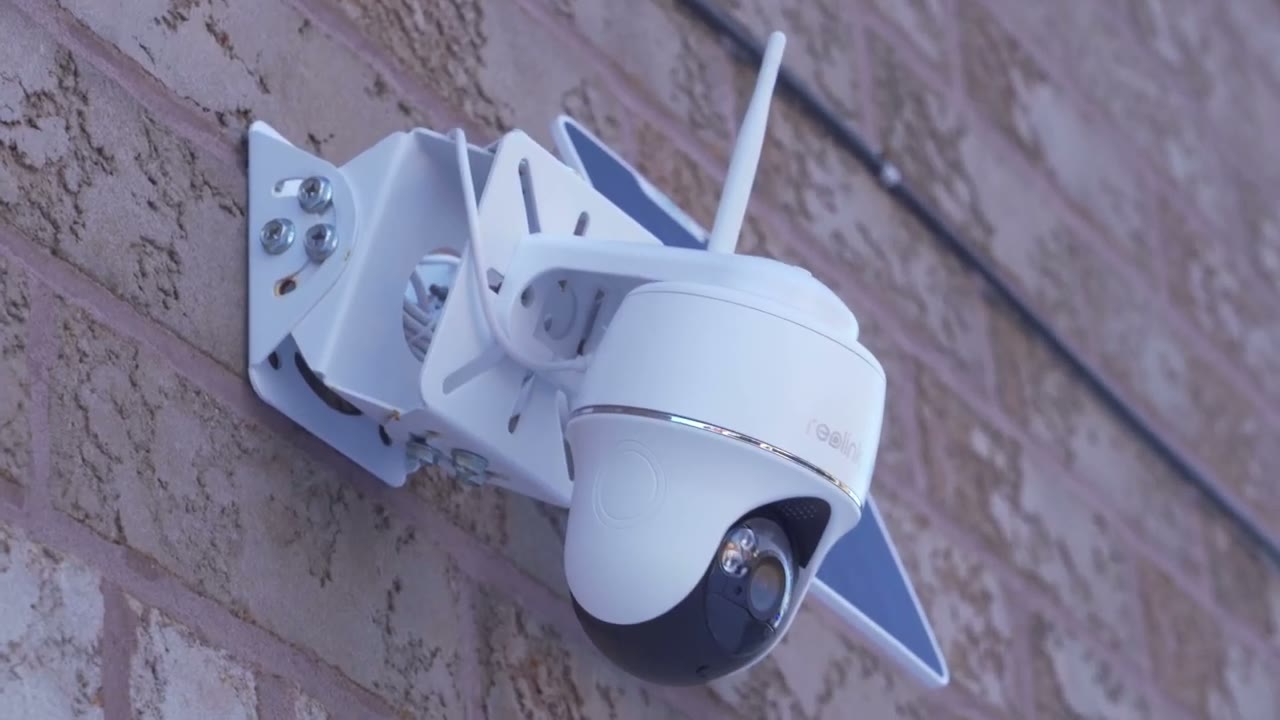
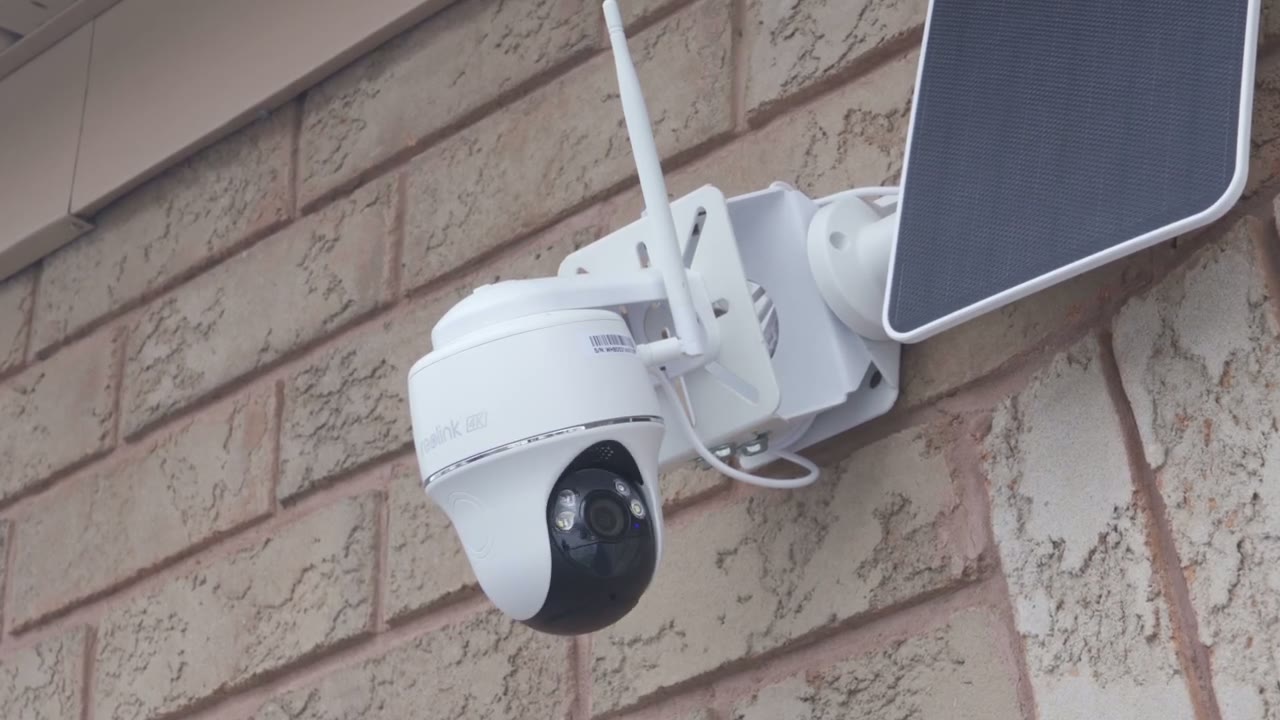
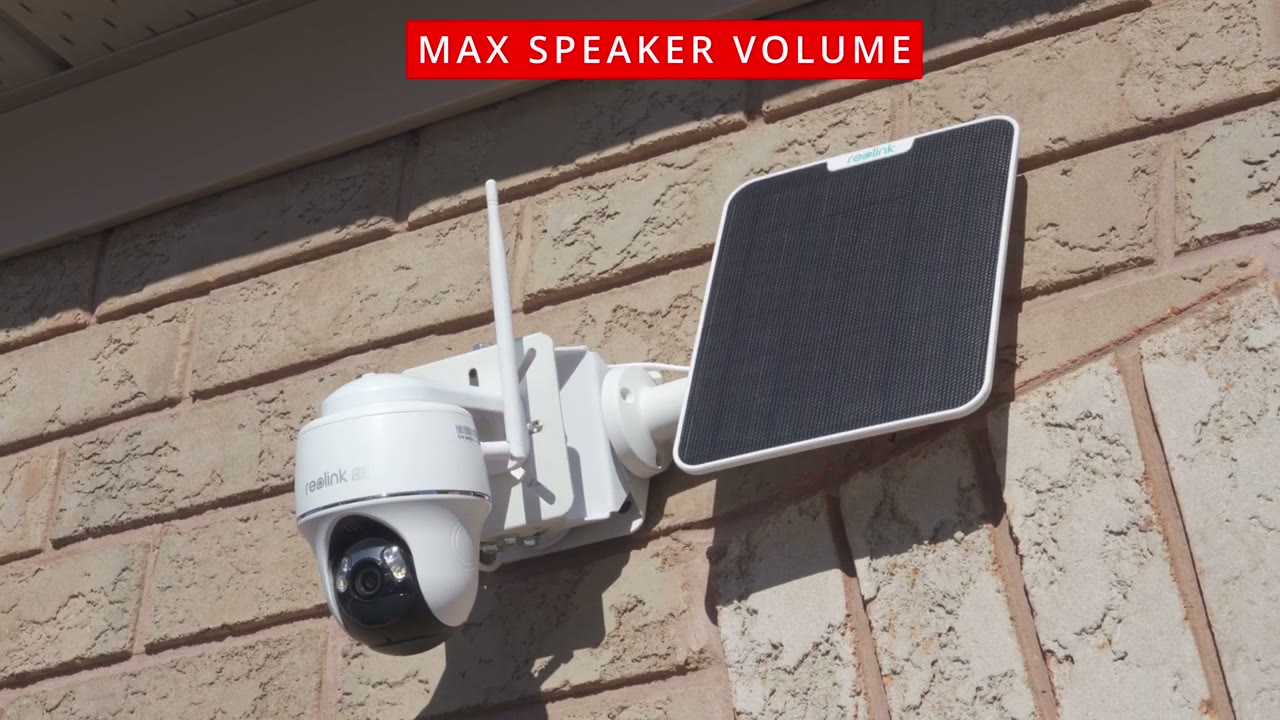
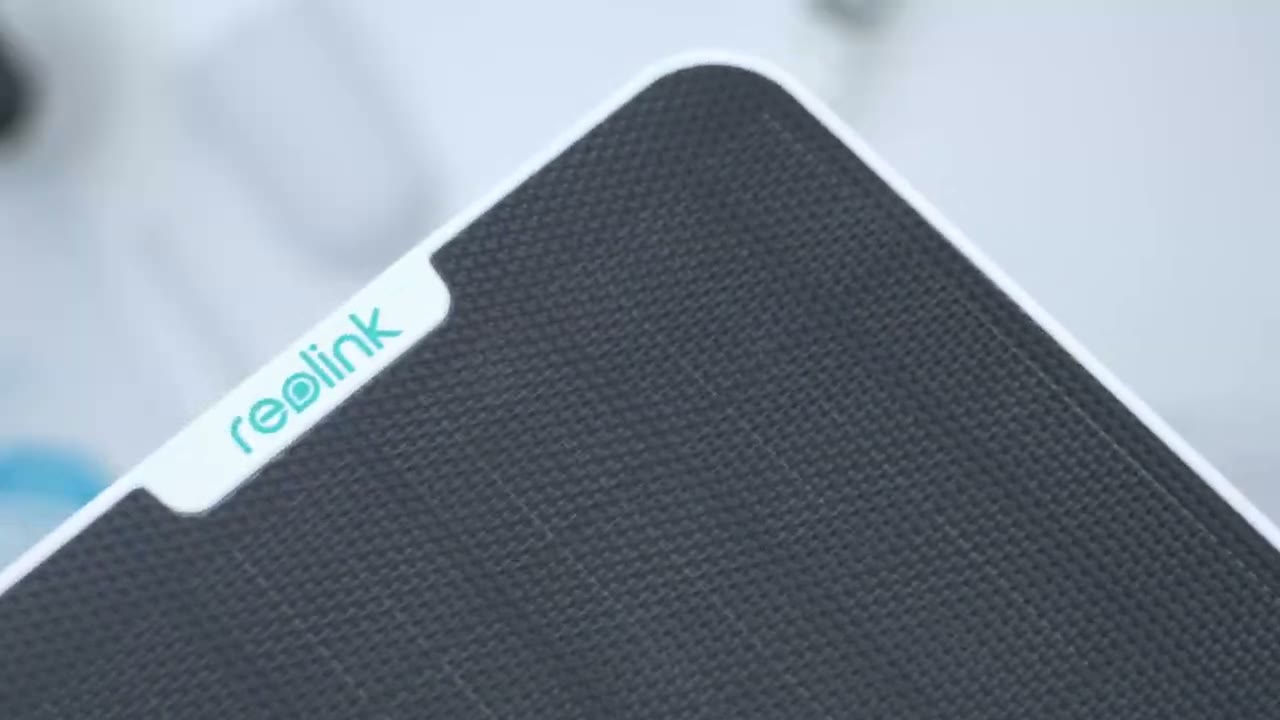
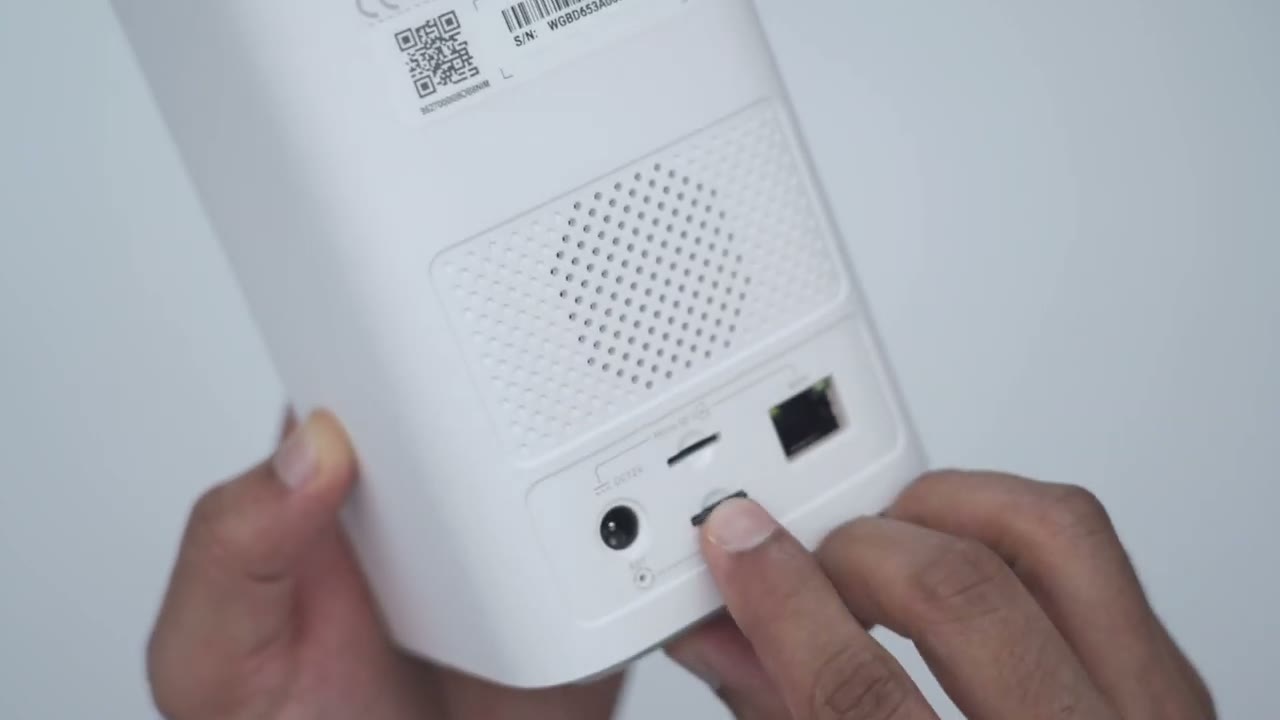
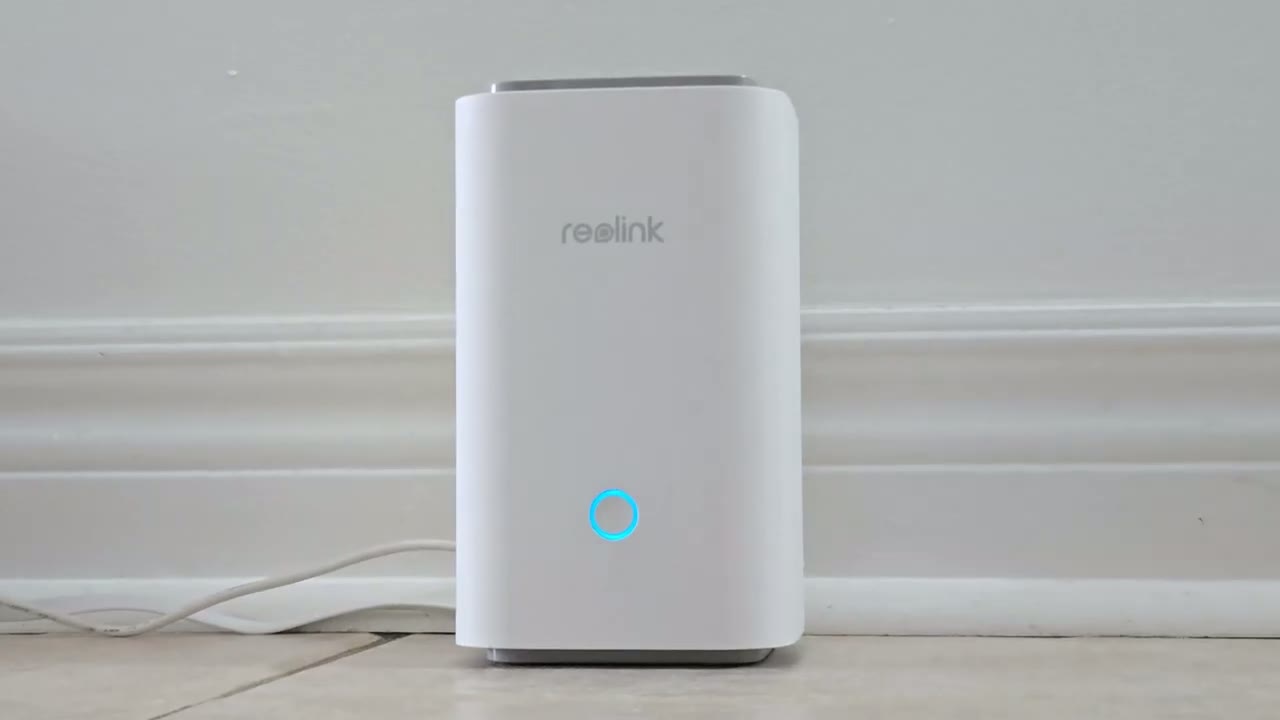
railink Argus PT Ultra looks really beautiful and it feels really good in the hand as well so this comes in at around 475 G or about 1 lb so it does have significant heft it you know it feels really well built um there’s no type of creaking or flexing anywhere on the body now we do have the real Link logo right here and then we do have that 4K and look how nicely that play play with the light now we also have this like uh metal ring this silver ring that wraps all the way around now on the front this is where we have the camera lens and this is that 4K lens that’s in here we also have spotlights and various sensors microphone um LED status lights and then if I angle it this is where the speaker Grill is and then if we rotate the camera head down then we have the micro SD card slot which you can open up and then this gives access to the micr SD card slot and the reset Port now this camera accepts up to an impressive 512 GB micro SD card and then if we take a look at the rear of the camera body so there is this power area here with a weather sealed covering and there’s an on and off switch to turn the camera on and off now we do have a USB type-c port and this is to top the camera charge a battery in here fully before you install it or to connect that solar panel and then we have the um antenna port and that’s what we’re going to connect that antenna that came in in the box so we can get better signal strength the top of the camera body has a screw hole that could be used for both ceiling mounting and wall mounting now the camera does have a 6,000 mAh battery in here we do have two we talk we have up to a 355 de pen and up to 140° tilt and this can withstand temperatures of -10 C to 55° C or 14 F to 131° F the solar panel is really huge it’s pretty much span of my hand and this combo comes in at around 473 G or 1 lb so make sure when you mount it the surface you’re using can support that weight and then on the rear of course is where we have the thread hole here to connect it to the Mount and then the USB typ-c port to run this to your camera body the home hub has a tactile button on the front and we have an LED indicator ring light as well and if we take a look at the back so we have a speaker Grill and the reason for that is that this can actually emit an alarm in inside your home as well now we have a power port here and two micro SD card slots there’s also an ethernet port
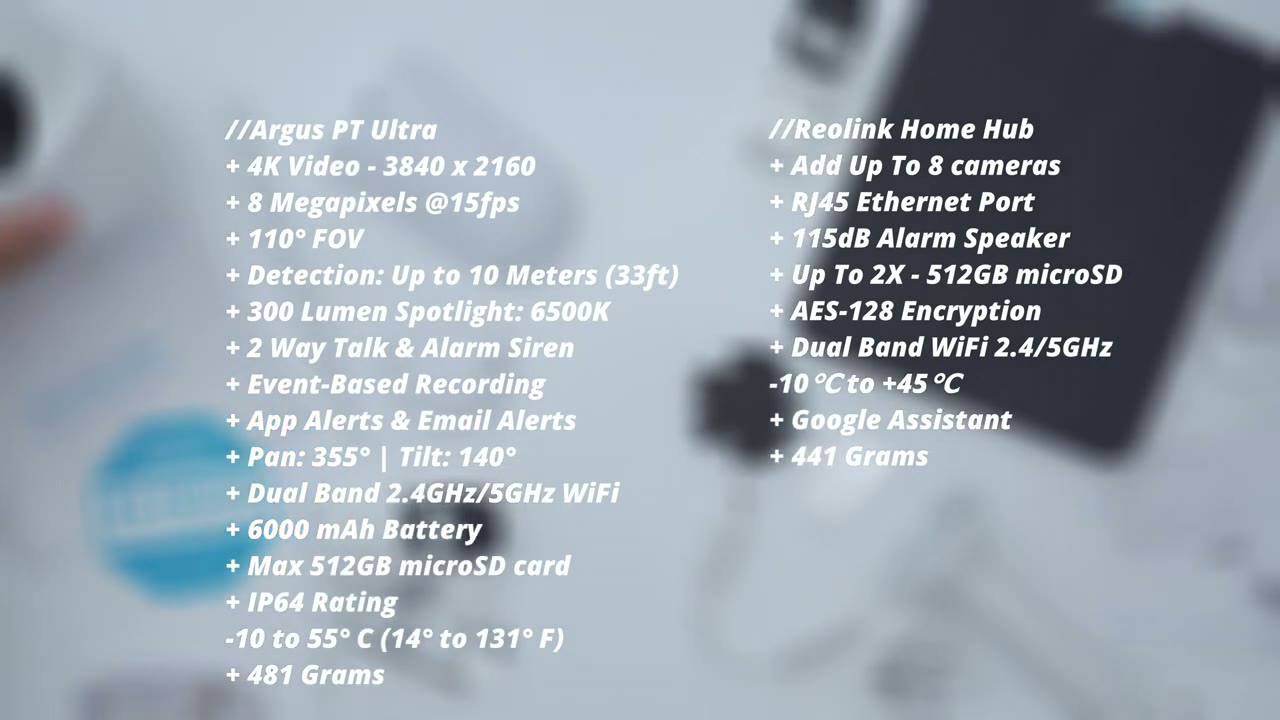
Specs
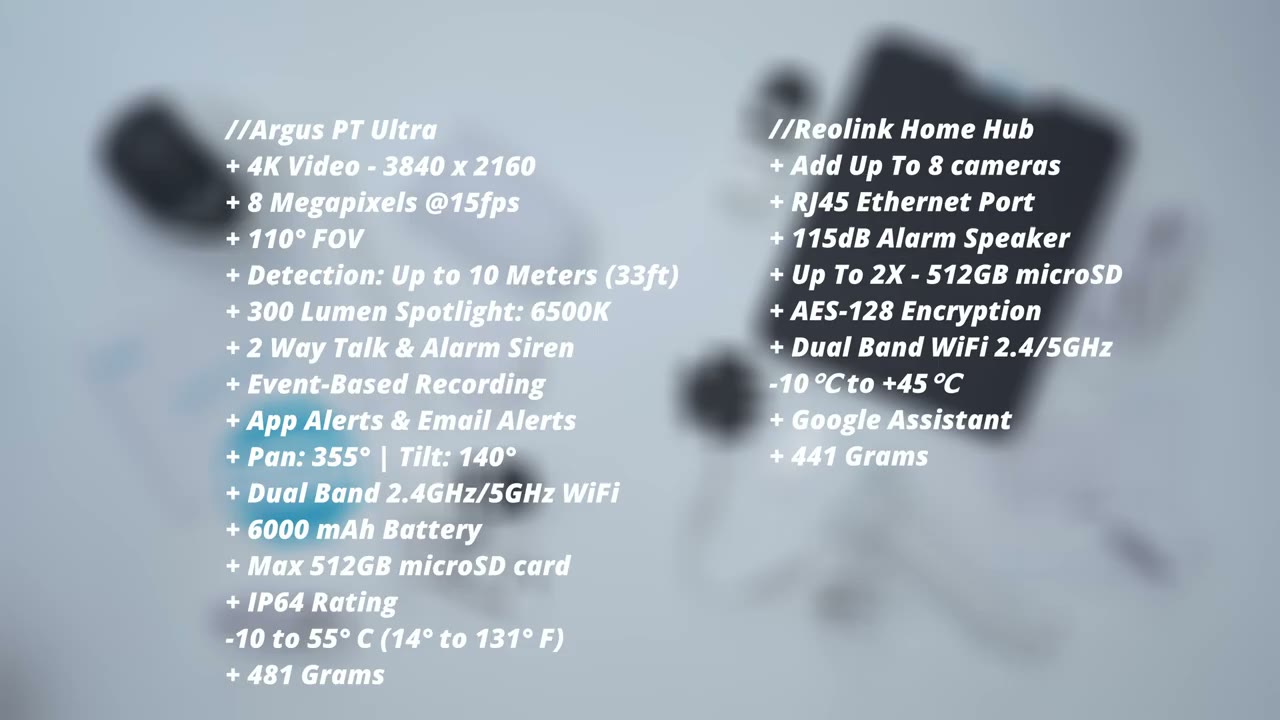
as well here’s a quick look at the specs feel free to pause or jump ahead to the next section to set up the home hub and
App Setup
Camera in the real link app like I have here first you’re going to plug your home hub into your modem and then plug it into the wall then you’re going to go to the real link app and it should find it automatically like it did on mine just tap into it and go ahead and select the option to initialize the H Hub once all of that is done go ahead hit the plus sign here hit scan scan the top of the camera and then just wait for it to be added in the real link app just follow along with the steps now I have two of these cameras so I’m going to install the second one and then I’m going to install everything installing
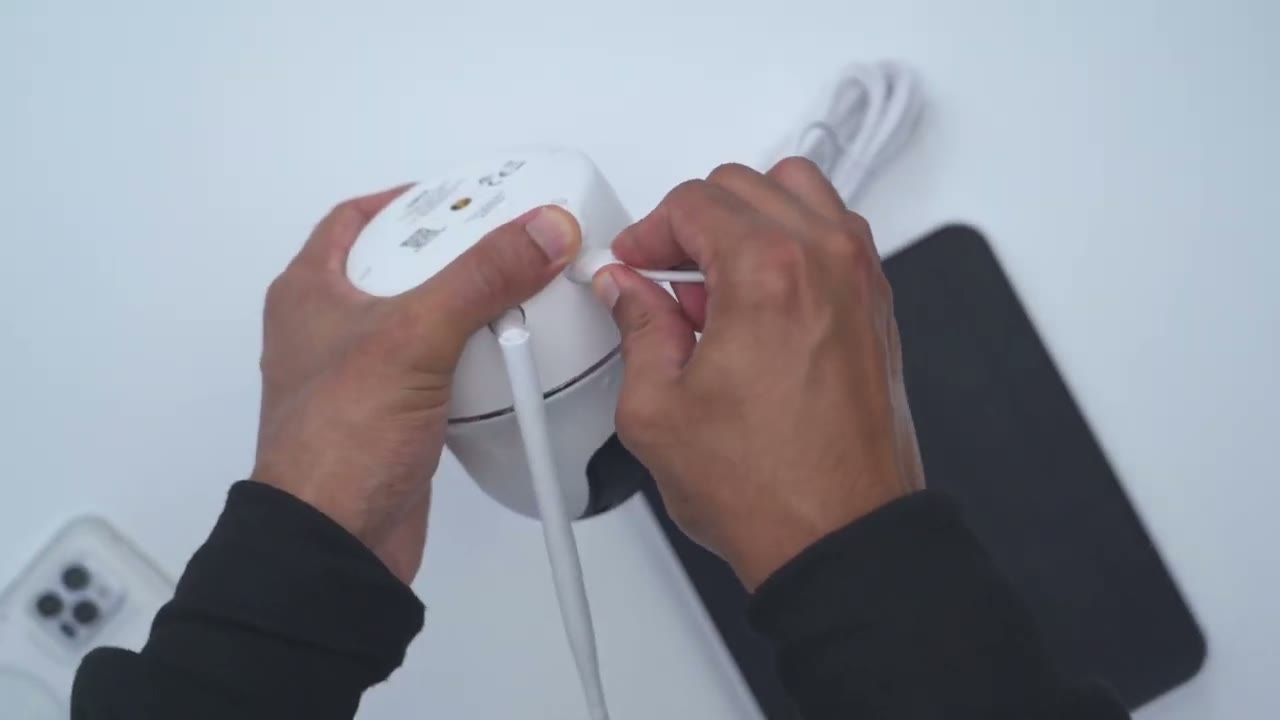
Wall Installation
the camera is really easy so first you would take the wall mounting bracket if you going to wall mount it and then you would just use these supplied screws and wall anchors and just drill this into a wall and then once that’s secured in there what you’re going to do is you’re going to line up this screw right here with this screw hole on there and then what you would do is you would lift up this weather sealed area here and that would give you access tighten everything up till it’s nice and secure in there and don’t forget to connect the Wi-Fi antenna to the camera body before you go ahead and mount it to the bracket just to make life a bit easier installing the solar panel is really easy so you’ll take the solar panel Mount and on the underside there’s three screw holes so connect this to whichever surface you like and then you’ll just connect the screw here with the rear of the solar panel right there and then you’ll just thread in the USB type-c port to the rear of the camera body you also have a
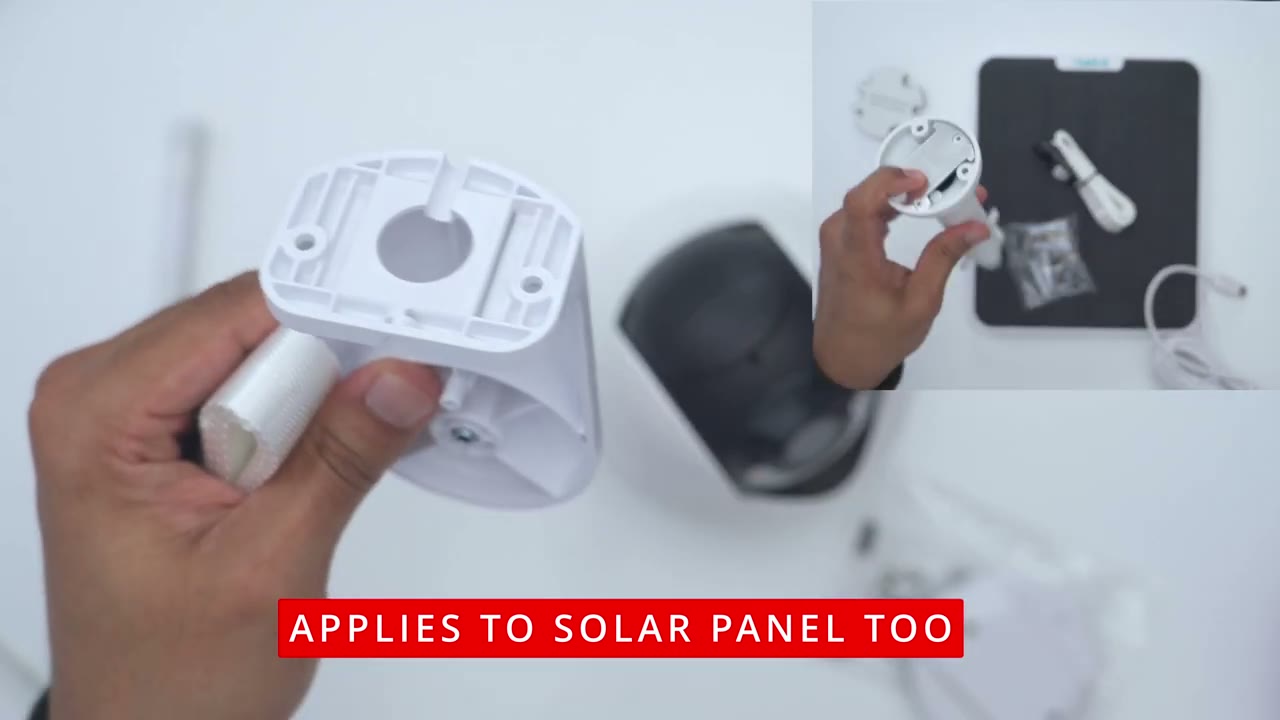
Ceiling Installation
mount for ceiling mounting so there’s three screw holes so you would just you know put this on your ceiling drill three screws in there and then you could easily just screw the camera body right into place so again you know really simple type of system and if you wanted to wrap this around a tree or a pole they also have included a mounting strap and you can see that can be threaded right through the ceiling mount and also on on the rear of the wall mount you also have openings here to Loop that through and just tighten everything that way so tons of Versatility let’s take a
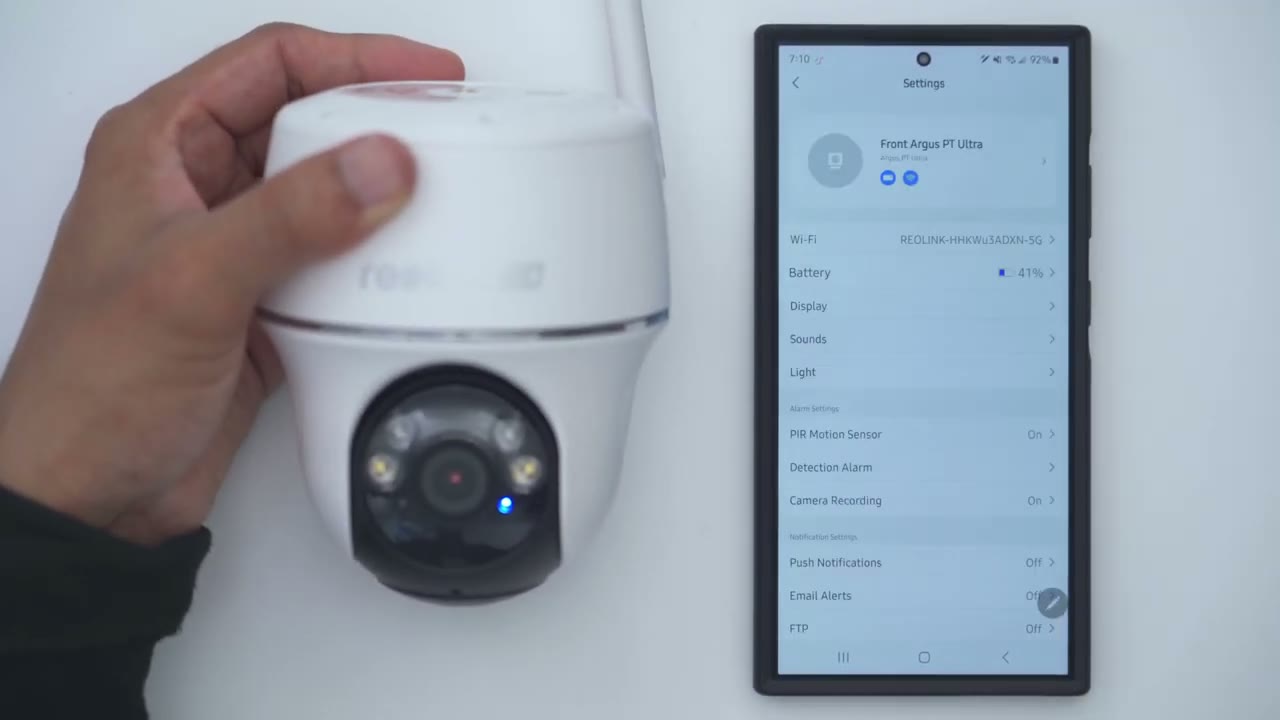
Reolink App Settings
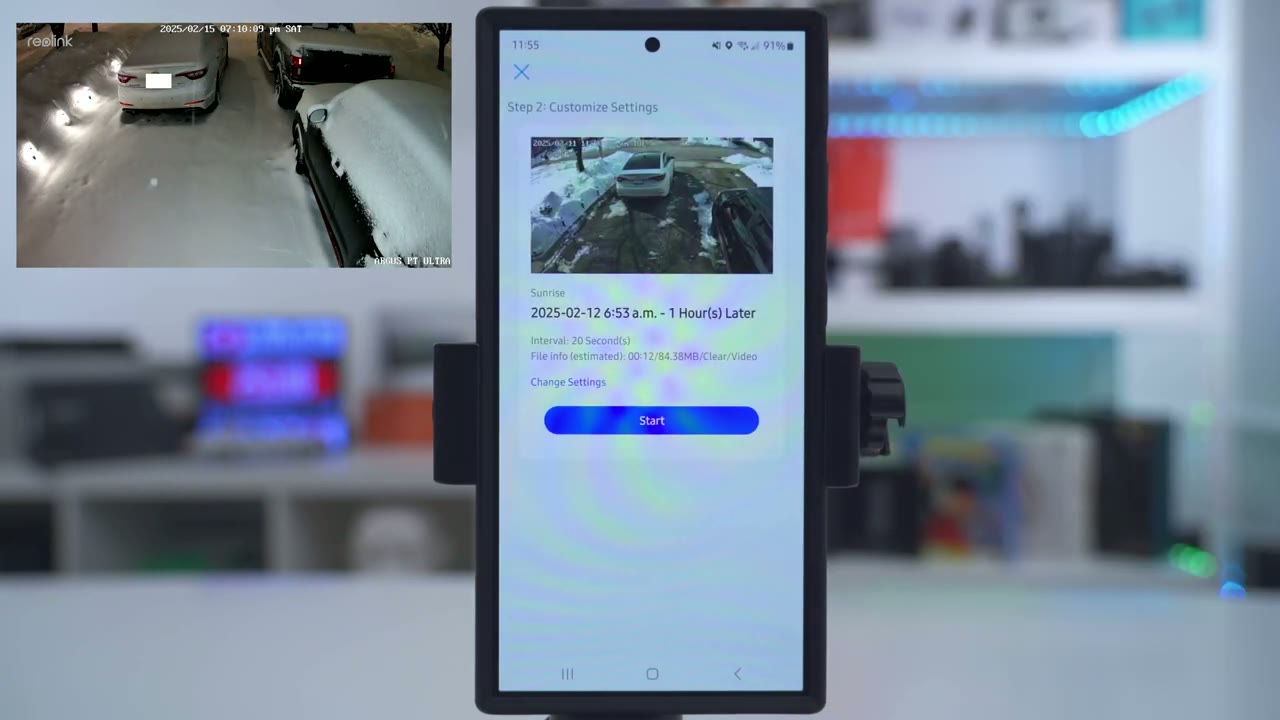
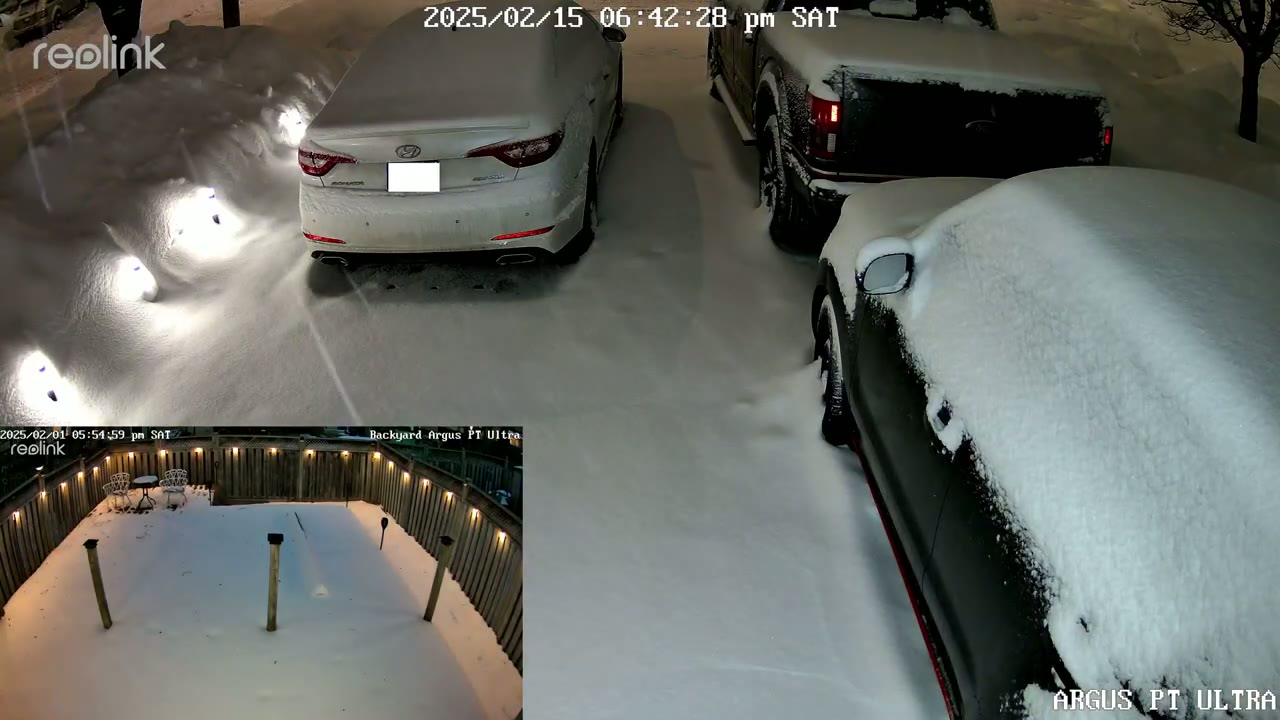
look at the rear link app settings so I have my backyard camera and the one on my driveway so I’ll tap into the driveway one now and you can see that pulls up within a matter of seconds and that’s my current speed now really important to note is right now it’s set the clear instead of balanc and fluent and clear means I’m getting the best possible streaming quality now if I actually punch in here on my car’s license plate you can see it says your text Ontario this is a Sonata sport text so the uh detail on here is actually really good considering this is a 4k camera now while we’re looking at live view we can also go ahead and jump into a full screen mode and you still retain those controls on the side along with two-way talk and because we have multiple cameras you can actually tap this little tile here and see all of the cameras at once and on this main screen screen this is where we could go ahead and listen to the outside um kind of microphone pickup you can hear it’s kind of a windy day but I could just cut that volume right there and then I could also go ahead and take a screenshot it’s going to save it to my phone and then I could share this and I can also take a manual recording if I see something interesting now at the very bottom we can hit this icon to initiate 2-way talk but whoever is standing outside um and I will demo a clip of that later we can also go into pan tilt and zoom so I can just go ahead and look over to the left side here and then you know back to the right and of course you could go um up and down so you know basically whichever direction you want to you can use it here now if we go to this monitor point so once you set the desired point where you want the camera to always you know be focused on you could just go and hit return to a monitor point and you can see it’s going to go right back here where it’s monitoring my driveway so you can also reset the monitor point and you’ll set a new one as many times as you want and then you could set the interval for when you want it to return so we’ll go into preset point now I’ve also created presets called monitor Center left and right so if I went ahead and hit monitor right this again is a preset that I’ve created so I could see you know who’s coming down the street I could do the same thing on the left side as well say I’m waiting for a delivery truck I can kind of get an idea and then monitor center is right back on my driveway so yeah tons of Versatility there you can also hit the alarm siren to trigger that and then you could also turn the spotlight on or off let’s go into the full settings now so if I tap into the camera this is where I can see you know a lot of the device information firmware Etc if I go to Wi-Fi it’s currently connected to the hub’s 2.4 GHz Network and you can switch it to a 5 GHz if you’d like and if you do have a Wi-Fi extender closer to the camera you can connect it to that instead of using the H hubs connection Now battery life it’s currently set to 100 um I did point the camera to the row to get a lot of you know b-roll footage so I did Top This back up but I’ll give you an accurate idea of battery life later now if we go under display so you can flip this you know uh vertical you can flip it horizontal depending on if you were going to seal and mount this or not and if we go into stream you could see so clear you’re getting the full 4K resolution and with fluent you’re getting a much reduced resolution but they’re both at 15 frames per second and here are the bit rates for both so you’re going to want to use you know the higher bit rate if you can now you can turn flicker uh anti flicker on or off and then you can automatically set the camera to switch between black and white and color and night vision auto works great for me so I leave it there and you can adjust the brightness of the video again I’ve left everything pretty much at default you can also hide the camera name or show it you know on the screen and then you could put the date as well so top left you could hide the date if you wanted to and then you could turn the watermark on and off now you can also set a privacy mask this is something that you may need if you live in an area where you know local regulations uh say you have to kind of block out your neighbor’s area and under brightness and shadows again you can disable all of these or leave it on auto I’ve left it on auto Now under sounds this is where you can choose to record audio or not and then you could set the speaker volume for for the alarm siren or 2way talk and then under light I like having the status LED on all the time so people know you know that it’s actually working and then you for infrared lights you can set it again to Auto or you can have it stay off I just leave it on the default that’s been working great for me and then for spotlight you can adjust the strength of the spotlight and you can also set the spotlight to turn on anytime you pull up live view so um just as a visual cue for people if someone was lurking you may want to do that and then under modes you can have it to night Smart Mode again I just use the auto settings or you can leave it to off if you have you know a lot of bright ambient light and you don’t need that under P motion sensor you could turn this on or off and you can adjust the sensitivity slider you also have the option to reduce false alarms if you’re getting a lot of you know motion alerts under detection alarm so you can set up non detection zones to just kind of rule out false positive so you can set these up independently you know by person V vehicle animal and others so a lot of fine control there now motion mark this is a beta feature but basically it’s just going to mark it on the screen with like a rectangle and then if we go into alarm settings this is where you can set the sensitivity Again by subject type so really a lot of fine control in the system and then under object size again you can draw out on the screen you know a minimum object and maximum object um in terms of when the alarm will trigger push notifications is so that you can get app alert on your phone so you can turn this on and then you can also set it to kind of you know have a chime or ringtone and then you can also set when you want the notification so you can see I’ve enabled it basically 24/7 and for all detection types but you could you know disable others animals vehicle if you were just interested in people notifications you can also turn on email alerts and you can set up FTP now under siren I do have this off because I don’t want it going off every time motion is detect that I live in a busy area but if you live somewhere remote this would be handy now the home hub siren can also be toggled on so that you can hear it trigger inside your home if motion is detected time-lapse is a really cool feature and I’ll play a clip of that later on but if you tap into to create new timelapse you can pick the type of time lapse you’re going for so say you wanted to look at Sunrise um you could just tap into chain settings set the capture time you know how long do you want it for you know hours days minutes and you could set the interval the lowest is 2 seconds and then you could set you know do you want it clear balance or fluent so clear would be the best possible quality you could save that and then just hit start to run that
Video Playback
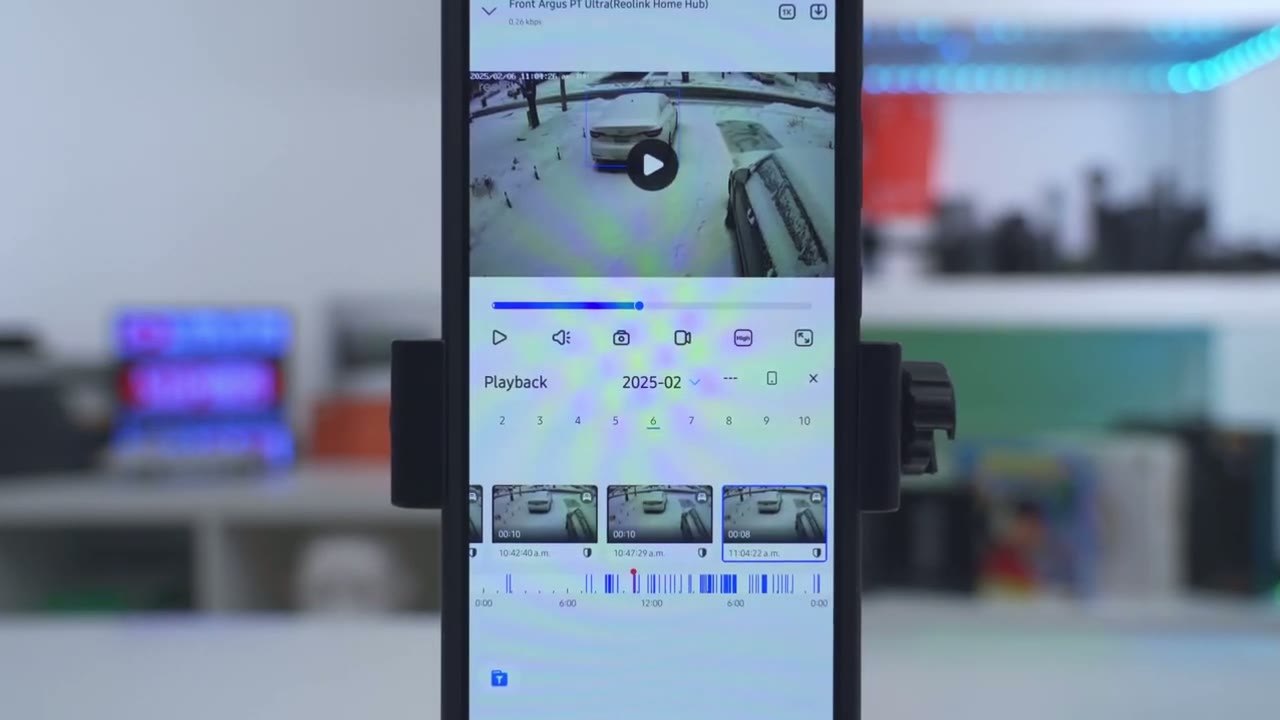
time lapse to review recorded videos we’ll tap on the playback icon here and it’s going to pull up a horizontal timeline of all the clips captured today plus I could see a video preview and if I tap on this icon here I can see a bigger preview while the clips are Auto playing which is a nice touch but if I go on to a busy day like say the 7eventh here and I let that load up you could see the the camera captured a ton of different clips that day if I go on the sixth um it captured even more clips and you can see this solid blue Chun ha so literally I have hundreds of Clips recorded that day but if I go let’s say into 11 P uh 11: a.m.
when it was you know fairly bright out I can see this is what it looks like and then from here I can just hit download I’m going to download it in clear which is the highest video quality and that’s how quickly it downloads you can also share that clip with other and you can also go ahead and change the playback speed so looking at video clips is quite easy whenever you want to narrow down the video clips you would just tap the filter icon and I could say I just want to take a look at when there is people not Vehicles specifically and you could see the timeline is much more reduced now if I go to vehicle it’s going to be a much more busier timeline
Home Hub Settings
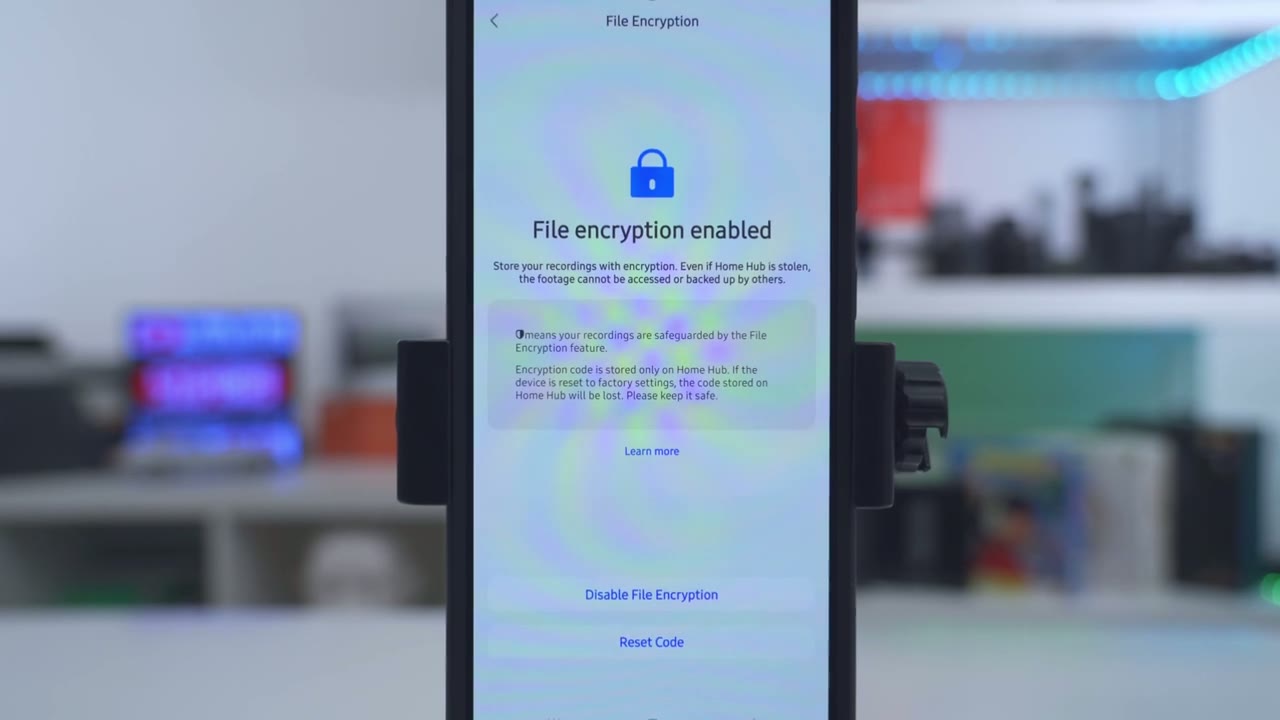
if you have the rear link H Hub this is what the settings look like so that’s the home hub right there there’s a blue LED light and if you jump into the settings you could see this is the storage so I’ve only left in one 256 GB card and it’s only used you know about 4.4 gigs for both of the cameras recording for the last 11 days so it’s going to take you know months or years to actually fill that up now if I go under Wi-Fi you get set the Wi-Fi name and password for the homehub and if you go into sounds this is if you’re using the homehub as you know an indoor siren when motion is detected if we go to light this is to have the status LED on the front of it and and then under push notifications I’ve enabled this you could disable them if you like and then you can also set up email alerts FTP and then if we jump into storage again this is how much I’ve used and you could just format all of the clips on there now under Advance this is where you can share the device with other people if you could turn on this illegal login lock up and you can change the password time and date under scene modes this is kind of like security mode so you can see they have you know a home one and a way one and a disarmed one and this is just so that all of your cameras can be grouped together anytime you make a change so if I clicked on start using I can just say hey activate this one when I’m at home activate away when it’s away and then you can actually set up your own custom scenes as well event history is where you would go to look at the recordings from all of your reing devices in one place so if I hit filter go to devices you could see these are all the devices set up right now you can also set up file encryption so that no one can just pop off the micro SD card
Video Quality
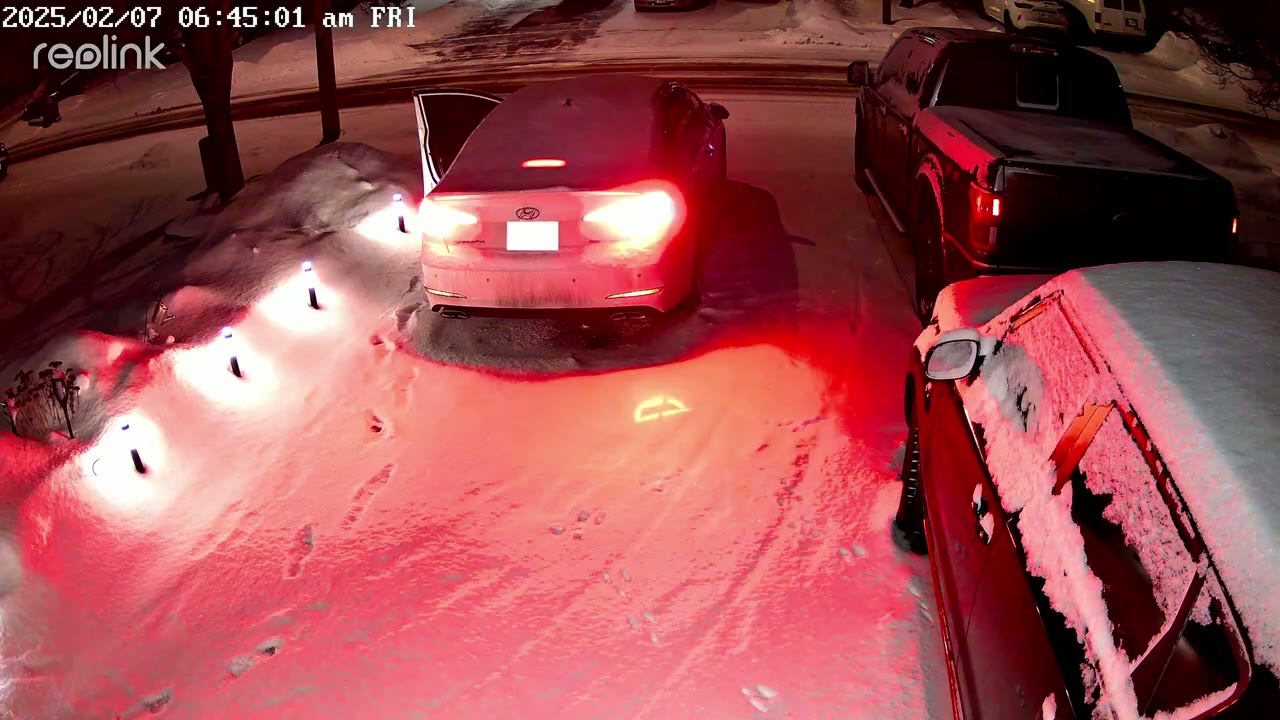
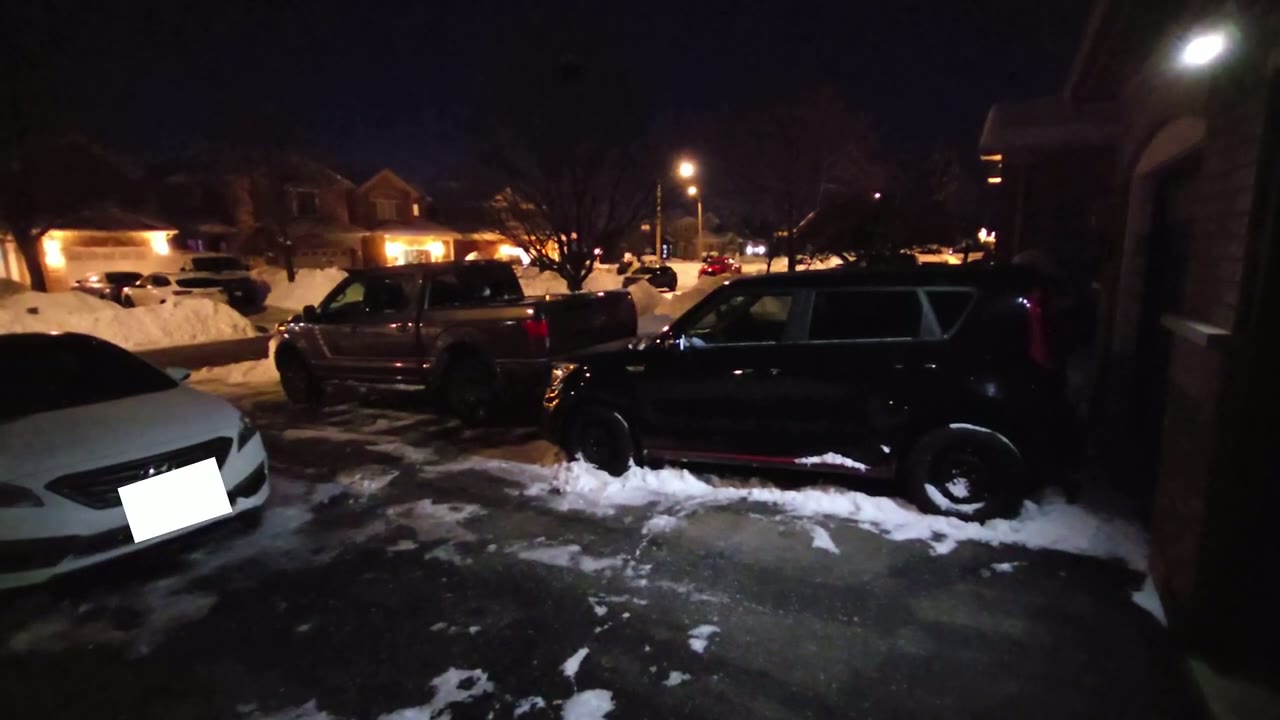
and take a look at your recordings daytime video looks fantastic videos are crisp very detailed enough to make out faces and even license plates up to a good 20 to 25 ft away like you can see in this clip where I’m just kind of digitally zooming in on this plate night vision videos are also detailed enough to make out faces close and far away now you can use the optional Spotlight or if you have a lot of ambient light around your home like I do you can actually turn the spotlight off and just use the infrared black and white night vision
Timelapse Video
and check out this cool time-lapse video that I took with both the front camera and my backyard camera this is a really handy feature if you want to capture you know like a construction build or a
Spotlight
sunset or Sunrise the spotlights do a pretty good job of Illuminating most of my driveway and it makes a good visual to turn anytime motion is detected
Motion Detection
motion detection is also fairly responsive now I left it on the default of 80 sensitivity and as I walked up to the driveway I would say within 3 to 4 seconds it was able to detect me send the alert to my phone and I could just tap on that to pull up the real link app and take a look at what was going on
Pan & Tilt

outside you also have an impressive 355° of pan functionality and 140° of tilt functionality now you can also set presets in the ra link app so I’ve set it so my camera can be focused on the middle of my driveway then I could pan to the very left and to the very right you can also designate a home position for the camera so it’s going to pan until til back after a preset amount of time however there is one potential deal breaker and that is that the camera won’t automatically pan and tilt to follow or track subjects so if that’s something that you need take a look at some of real Link’s other cameras that do have automatic panning and tilting
Two Way Talk
here’s an example of what 2A talk sounds like on the realink Argus PT Ultra
Custom Alarm
camera please step away from my
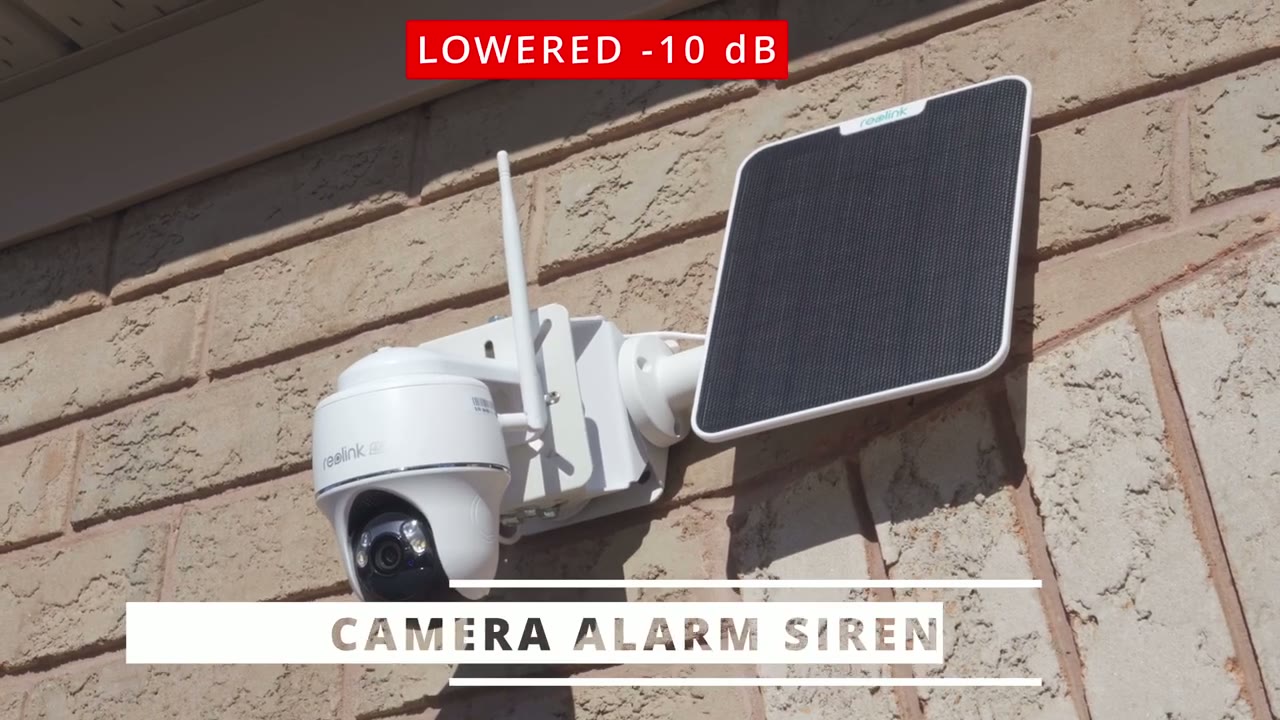
Camera Alarm
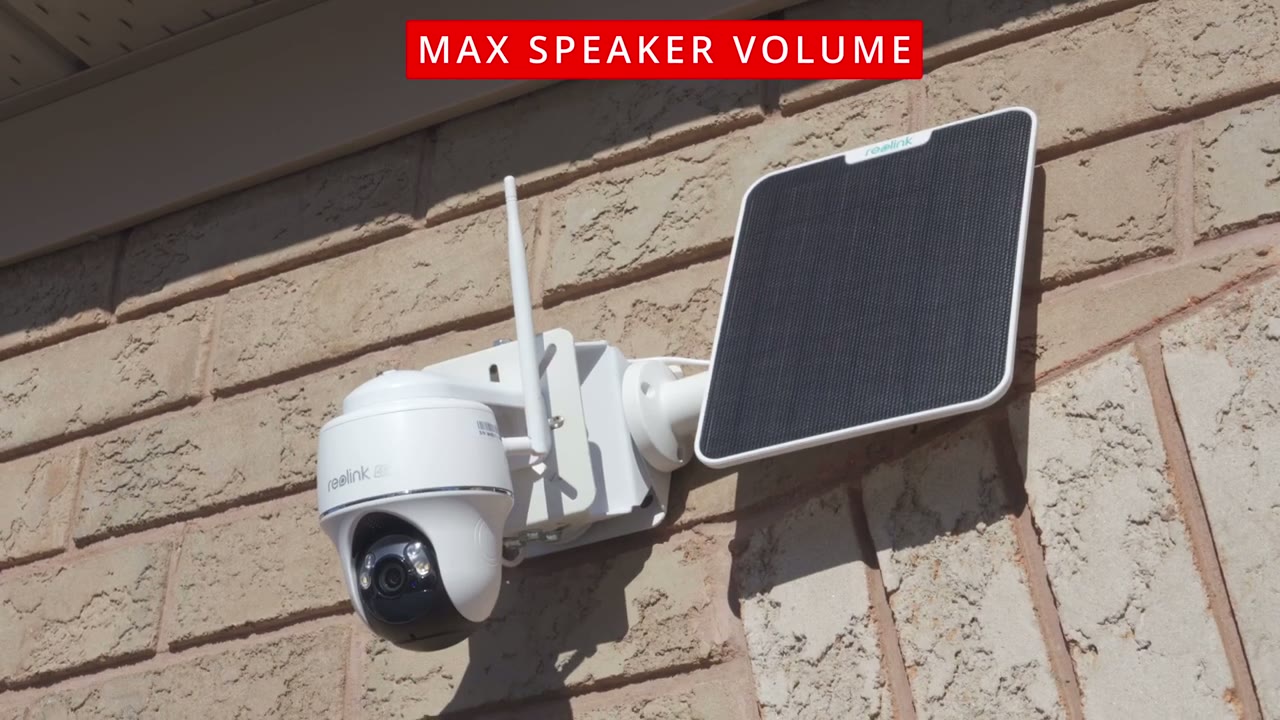
No speech in this section.
Home Hub Alarm
No speech in this section.
Battery

premises so the battery life is going to be dependent on where you live and the type of temperature you’re having so in Canada it’s the dead of winter we’ve had three major snowstorms since I’ve had the cameras installed and we have more on the horizon so the temperatures have been negative like -78 c a lot of high winds and a lot of overcast skies and surprisingly the backyard camera is at around 80% and the front camera is about 93 94% so all in all that’s actually doing fairly well so if you live somewhere Sunny this will easily stay topped up thanks to those really large
Storage
solar panels in terms of storage so I have a 512 GB micr SD card in the camera and in the 2 weeks that I’ve had it up it’s only used about 4.8 gigs so by my calculations for both the front and back camera I’m going to get about 24 months or 2 years of recordings before the clips start getting overwritten also if you have the home hub you don’t need to insert a Micro SD card into the cameras you just insert it into the home hub and the cameras will record to directly now
Home Hub?
if you’re wondering if you should get the realink home Hub or if you should just run the camera Standalone well the advantages of the realing H Hub are that it’s going to encrypt your recordings on her you can insert up to 2512 GB micro SD card so you’ll have up to a terab of storage the second thing is if the internet goes down in your home because this creates its own local area network the cameras all of the realing cameras that is will continue to record to this and then when the internet comes back online you can just go ahead and access the cameras you know wherever you are in the world and all of your recordings will still be on here oh yeah and it can also o function as an indoor siren so
Recommended?
you can see the rear link Argus PT Ultra is a very capable solar powered camera with top quality 4K video motion detection is pretty responsive same with pulling of the app battery life has been fantastic even though it’s winter in Canada with a lot of overcast Skies but the solar charging is doing its job there’s also a ton of storage support with up to a 512 GB micro SD card an ip64 rating to survive the winter storms that I’ve had and manual pan and tilt control paired with the wide 110° field of view let you see your entire property so if you’re stuck with a security camera that only records in 1080P video and it’s hard to make out faces or details it’s probably time to look at a 4K security camera so if you’re interested in picking up the real link Argus PT Ultra I’m going to leave links down below for you to check it out or to learn more I’ll also leave links down below to the realink home hub if you want to pick that up to the micro SD cards that I use and to that Universal Mount as well and I have a huge favor to ask if you did find this video helpful would you mind liking and subscribing it truly does help me out as a small and growing Channel and if you like Tech in general consider checking out some of my other tech reviews I review a bunch of different things from headphones earbuds speakers mechanical keyboards security cameras computers monitors I have something for everyone so I hope you’ll check that out and I hope to see you in my next video soon
Buy Reolink Argus PT Ultra Home Hub Bundle on Amazon
Buy Reolink Argus PT Ultra on Amazon
Buy 512 GB microSD Card on Amazon
Please note that some of the links in my video descriptions are affiliate links where I earn from qualifying purchases. As an Amazon Associate I earn from qualifying purchases.