


Please note that some of the links in my video descriptions are affiliate links where I earn from qualifying purchases. As an Amazon Associate I earn from qualifying purchases.
– Intro

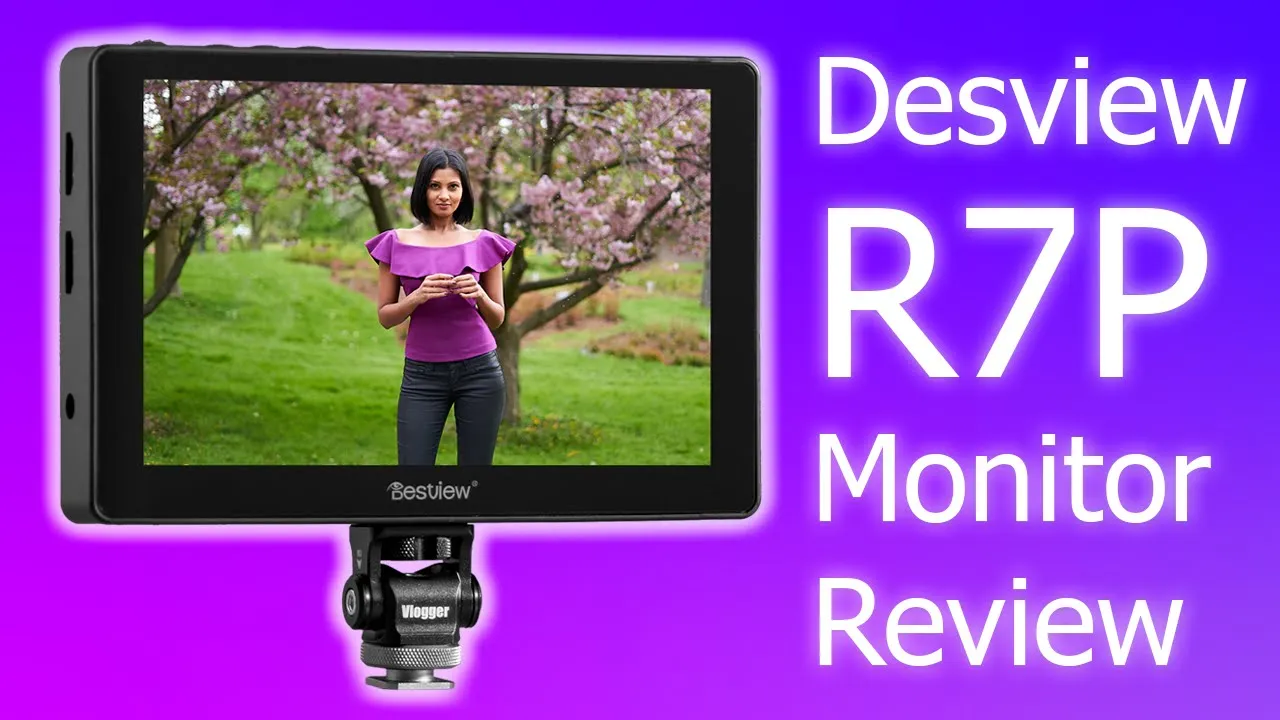
hey guys welcome to my channel dem crumley’s tech today i want to share my experience using the deskview r7 plus monitor i bought this about a month ago and i’ve been using it to help me shoot video with focus and composition and it’s actually been pretty handy with photos as well so if you’re looking for a monitor for your camera or if you’re looking at this model specifically hang around because i go into some of the features and menu options on there and hopefully this review helps you decide if this is a moderate for you or if something else works better so the desview r7p is a seven inch touch monitor has a thousand units of brightness and resolution of 1920 by 1080.
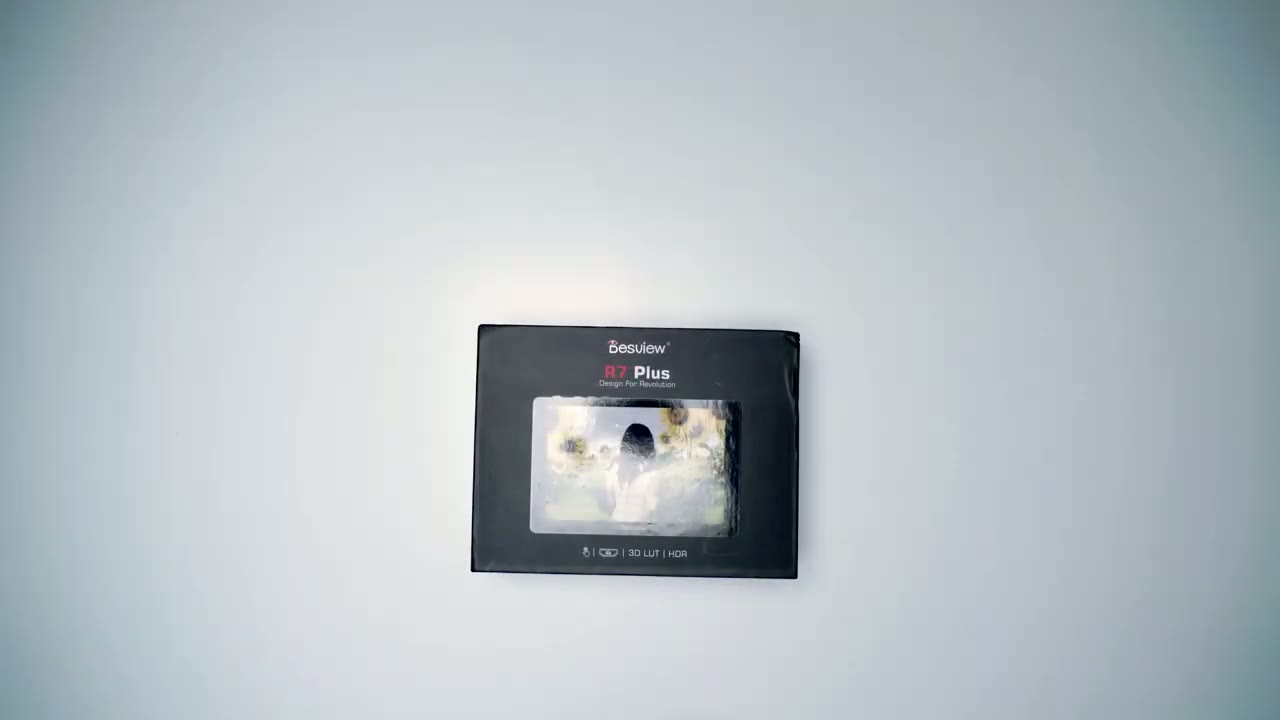
i’ve been using this for about a month now and i want to get into what it comes with and also the menu settings so you can see if this is the right monitor for you so let’s get started with the unboxing
– Package Contents
first okay guys so in terms of the cables it comes with a micro and mini hdmi cable you also have a d-tap cable if you want to use an external battery pack you also have a usb drive loaded with luts and you can also add your own luts and upload it to the monitor it also comes with this mount which is pretty good because you can actually swivel it right and left and then you can tilt it forwards and backwards and you attach it right here now i have it set pretty stiff so when i use a big or heavy battery pack it doesn’t lean backwards or forwards and you have an allen key so that you can adjust the tension you want in there now the monitor also comes with
– Monitor Features
a rubber protector so i’ll just apply that right now you can see it’s a pretty good fit everything fits you have access to all the buttons and to use the supplied sunshade there you go okay guys so let’s take a look at the actual monitor itself so here you have the power button you also have the f1 f2 and exit keys and you also have a multi selector key and these can all be programmed for shortcuts on the monitor on this side you have a mount and at the bottom you have another mount you also have a headphone adapter if you want to monitor audio and you have a usb drive here to load custom luts you also have a hdmi in out and a port for a power power adapter power brick if you don’t want to use a battery at the back you have a slot here you can use either these uh big sony style batteries or the flatter profile and all you do is you just pop it in there very easily and then you can just press that and then pop it out now this only lets you hold one battery so if you’re planning on running on batteries you know maybe get the bigger battery if you’re not gonna be plugging it in there okay guys so let’s go into the actual
Monitor Menu & Settings
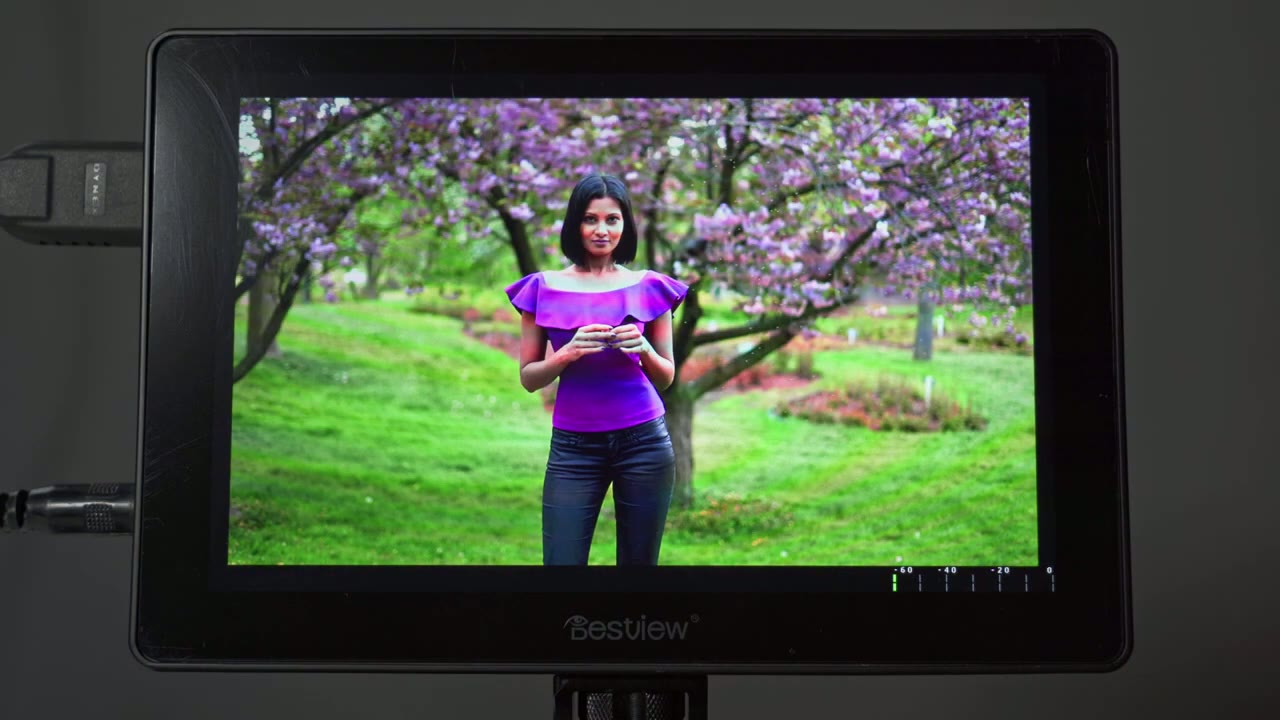
menu settings on the monitor now i only have one camera that can shoot video so unfortunately i can’t hook the monitor up to the camera to give you a live view display of what the monitor is showing from the camera so instead i’ve hooked up the monitor to my laptop but just to give you an idea of what the menu settings looks like so it shouldn’t matter much now one of the main reasons why i bought this monitor was the ability to pinch to zoom and to check focus so you can see here if i just pinch out you know i can go to a 4x and then if i go in again i can go to a 2x and once here i can actually drag the focus point around to check focus and to cancel out of here you just pinch out and you’re done so that’s a main reason why i bought this just really to check focus and things like that now to access the actual menu settings you’re going to double click and you can see it brings up the menu and it’s broken down into these sections here so exposure assist focus and composition the lut section display and just a general system configuration so that’s going to each setting one by one just to give you a quick overview i don’t use a lot of these but if you do hopefully you find this helpful i’m just going to get in a bit tight so you can see the menu a bit better so for the first tab we have false color so you can turn that on or off you also have zebras so you can change the strength of that just to show you what’s overexposed you also have a histogram and once you turn the histogram on there we go rgb you can change the position of the histogram you can also change the transparency so that it’s not taking up too much space or it’s not too distracting just keep in mind i’m not really playing with the monitor in an ideal position so it’s going to take me a couple of times to tap it but it is pretty responsive next we’ll go to waveform and same thing once you turn it on you can play around with the position and transparency you also have the same for vector scopes first you open it up change the position now if you want everything on you can see it’ll minimize the display and it shows you everything at once so let’s get out of that i’m going to close that close the vector scope and hdr i shoot in hlg too so that’s on by default but you can turn it off if you want now when we go into focus and composition you can change the colors so you have single color you can also set peaking so you can set the peaking color and you can change the strength of the peaking as you can see here just going to turn it off you also have center mark you just turn it on and then you can see you can change the color there i’m going to turn that off you have safe areas so you can set that whatever percentage you need there’s also the ratio so 16 by 9 10 i’m going to turn that off you can also have the grid lines you know a 3×3 8×8 whatever you need and you can change the color of the grid lines i’m going to turn this off you have the built-in audio meter i have on the corner there you also have your lut section so this is where you can load custom luts um for grading so you can see i have mine set right now and you just plug in the usb drive at the bottom and you can load it there now for display settings you can set the aspect ratio to you know a 4×3 16×9 16 by 10.
you also have display flip so you can flip it horizontally or vertically i have the f1 and f2 buttons mapped to the top so if i click it you can see it flips right away so it’s just easier to set it that way instead of going in here you can also zoom in similar to what i showed you with the pinch you could zoom in how you know however you like but it’s just better to use a touch i find let’s go back into zoom you also have pixel to pixel hv delay to be honest i’m not sure what that does so i don’t use that you also have the option to freeze the frame so while you’re reviewing video you could freeze the frame you know zoom in check focus composition things like that and then unfreeze it you also have a battery notification if you’re using a battery pack i’m not using one right now so it’s not showing anything and you can also set the anamorphic right there then in terms of the menu or the system configuration you can set whatever language you want these are the languages available now you can also set the color so the brightness sharpness contrast and saturation to match the display finder on your camera color temperature you can set that to some of the defaults here or you can go to user and then set it to whatever you like backlight i keep mine at 100 but you can you know you can lower the brightness if you want sound i have mine on mute and this is where you change the hotkeys it’s pretty easy you can see f1 is yellow so if i click the f1 i can now pick a new setting for the f1 then you just do the same for the exit and the f2 button you can also reset all the settings you can update the monitor and you can also check what your current settings are so these are my current settings um you know it only supports 60hz i believe even though it is a advertised as a 4k monitor the actual resolution that it shows is 1080p but i believe if you do hdmi out you can hdmi out to another 4k screen if you have one and that’s pretty much it so you can see the menu is pretty full feature there’s a lot of stuff on there but
Summary

i mainly use it from focus composition sometimes the occasional peaking and zebras hope that helps but if anything was unclear or if you have any questions about the menu just pop a question and a comment below thanks i can highly recommend this monitor after using it for a while the touch screen works great and the swivel head design is really neat it allows you to just twist the monitor front and back without having to fill with any type of adjustment arms i also haven’t noticed any issues with the monitor shutting off due to overheating although it does run a little bit hot i also haven’t had any issues with the monitor ports becoming loose with constant plugging and unplugging unlike some other type of monitors if you’re interested in checking out this monitor for yourself check my description for amazon link below alright guys so i hope that video was helpful if it was please consider liking and subscribing and if you have any questions about the monitor that i didn’t cover please leave them in the comments below i’d love to help you guys out and i’ll see you in the next video you
Please note that some of the links in my video descriptions are affiliate links where I earn from qualifying purchases. As an Amazon Associate I earn from qualifying purchases.