


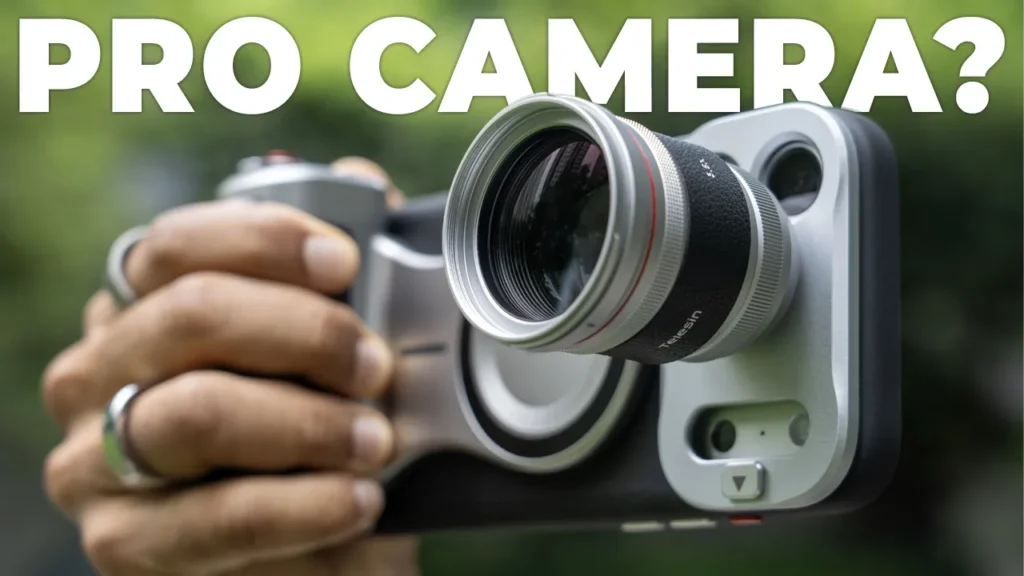
Buy 3.5X Lens for iPhone 18 Pro & Pro Max
Please note that some of the links in my video descriptions are affiliate links where I earn from qualifying purchases. As an Amazon Associate I earn from qualifying purchases.
Intro

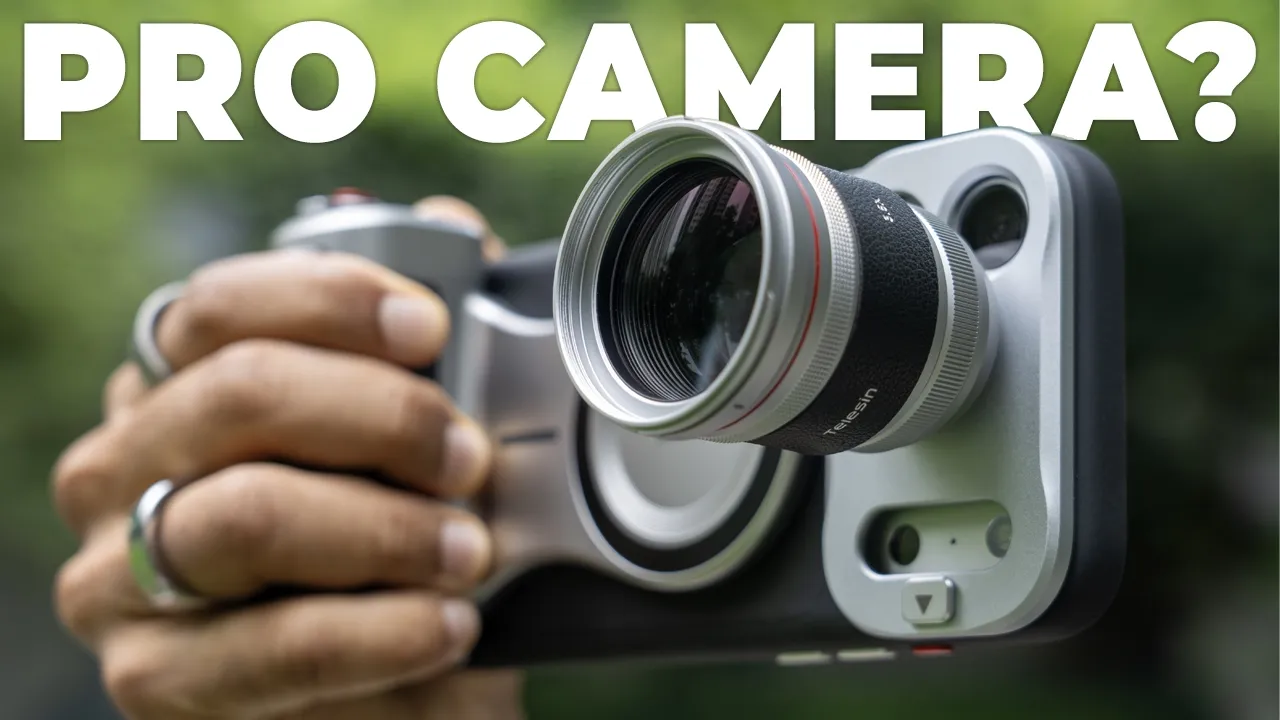
Your iPhone already has a pretty good camera, but what if you can actually make it way better? Well, the Telsin 3.5X Tullofoto lens will definitely do that giving you an impressive 400mm of optical focal length along with high resolution optics. That gives you serious Tullofoto reach that you couldn’t get before and there’s even a dedicated reef color app that gives you electronic image stabilization and other features, and you can optionally pair it with Telsin’s Mastergrip that I have here, giving you access to a zoom rocker, a sharp button, other buttons, plus an ergonomic grip and additional handheld stabilization. But how securely does it attach your iPhone? What do the photos look like compared to using the iPhone’s native lens or even Telsin’s two-excellents?
And how much more Tullofoto reach are you actually getting? Well, let’s take a closer look at a big thanks to Telsin for sending this out for a view.
Package Contents
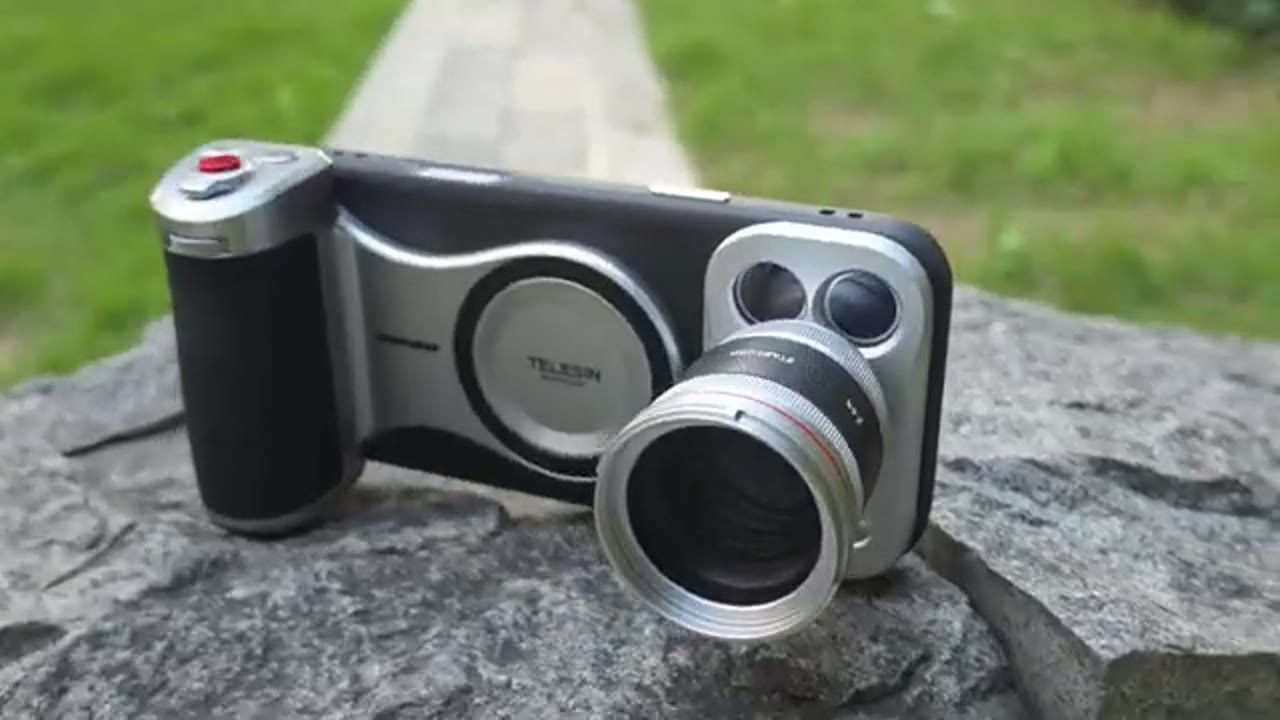
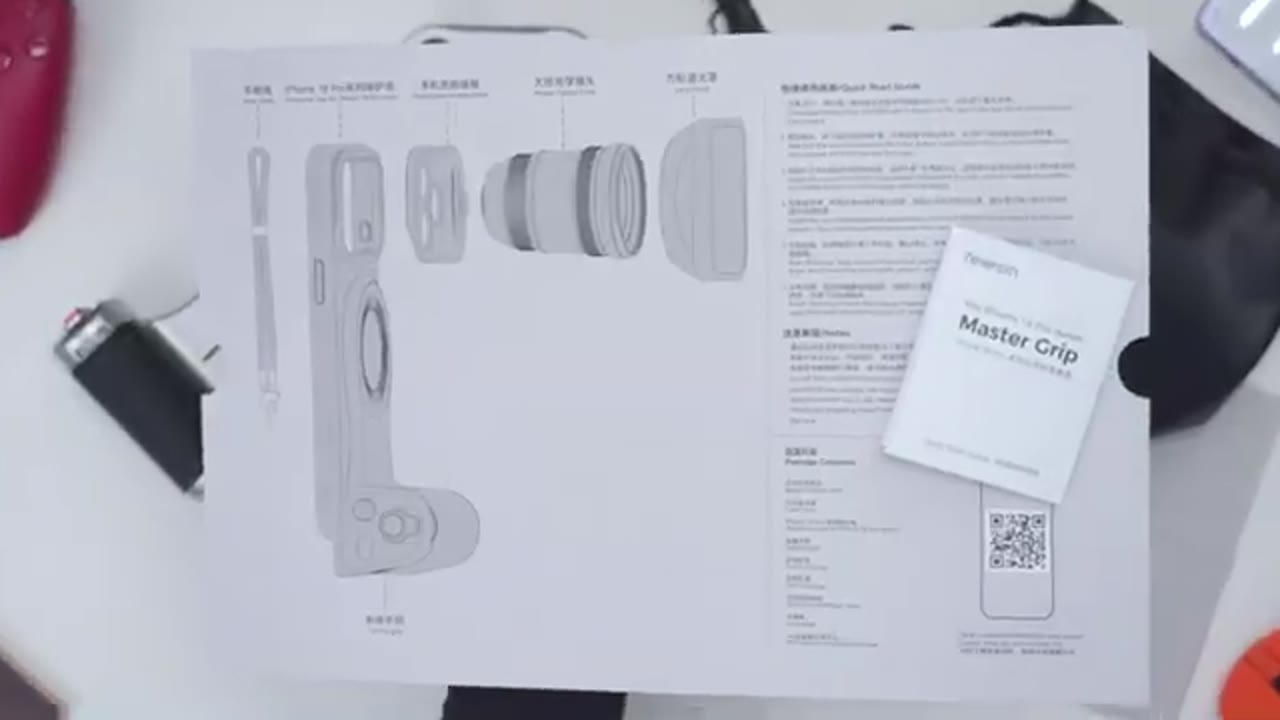
In the box for the Mastergrip Classic 3.5X lens kit, you get the Mastergrip, the case for the iPhone 18 Pro Max, along with an adapter plate, to attach it included 3.5X Tullofoto lens. There’s also a classic lens hood, along with a metallic lens hood with its own cover, a Lanured Looper, carrying Shrap USB Type-C to Type-C cable, a carrying pouch with a soft feel interior, a cleaning cloth, and manual.
Telesin iPhone 18 Pro Max Case Design
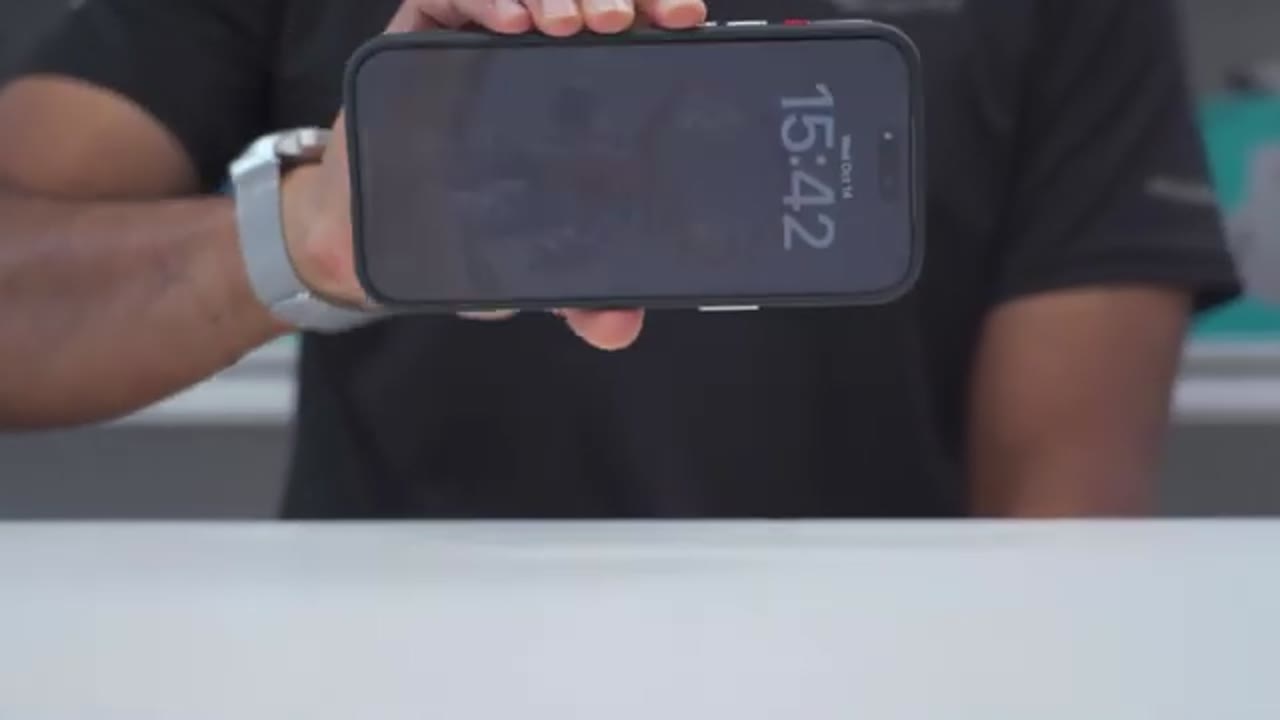
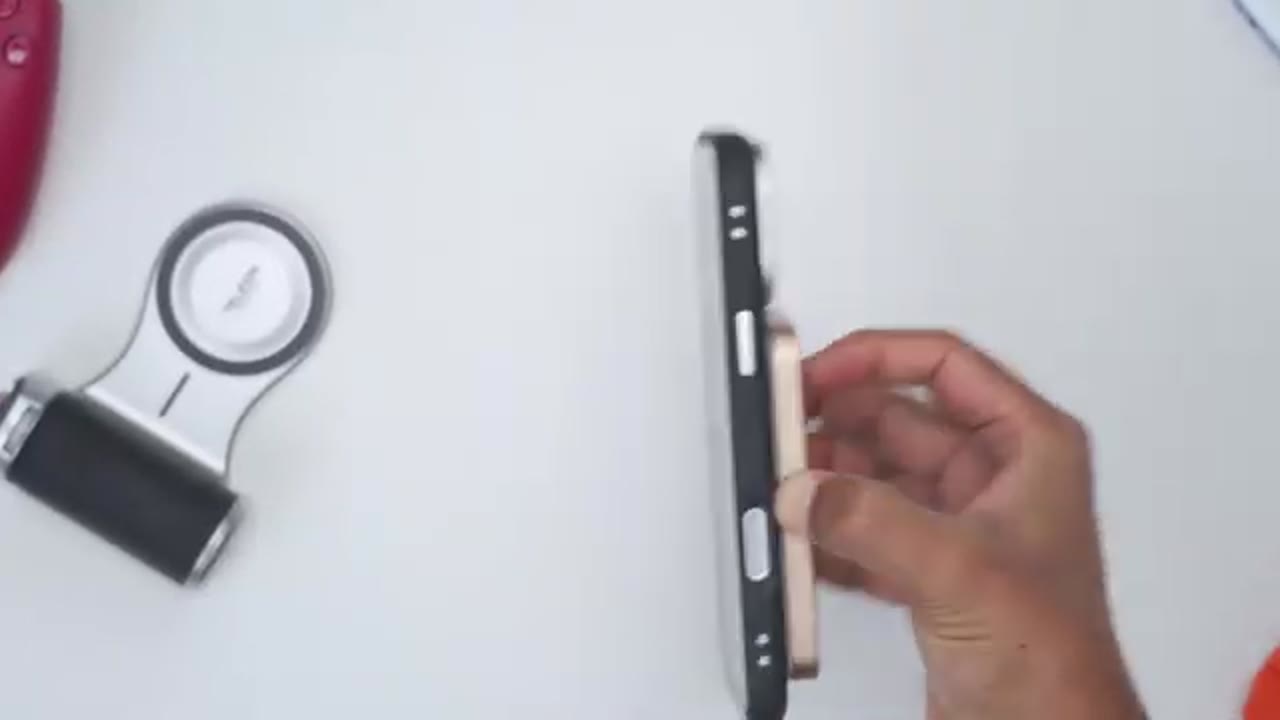
Looking at the case designed for the iPhone 18 Pro Max, so this comes in at around 41.8 grams, and it seems to be a mostly PC and TPU type of built. Now on the back, we do have this kind of patterning going on here, so it does add texture and grip, and we have a huge cut-up for all of the rear lens along with a flash and lighter. And there’s also a rail guide here for the adapter plate, so when we slide the adapter plate in, it’s going to lock into place. There’s a magnetic mounting ring to attach the Mastergrip, and to use Max’s wireless charging and massive accessories. The right side of the case has two Lanured Cutouts to use the included Lanured Loop or a wrist strap, and we also have protective metal button covers on the right side and left side as well.
However, do note there is a cutout to use the touch capacity of camera control, and this is not covered. The bottom of the case has cutouts for the speaker grill and USB Type-C port, and then looking at the interior, so it has a soft feel, type of finish, and sure the back of your iPhone doesn’t get scratched. The front screen lip or bezel curves are wraps around slightly to help keep the iPhone retain in the case, and it’s also high enough so that if you replace your phone screenside down, there’s no scratching to your screen.
Telesin Adapter Plate Design
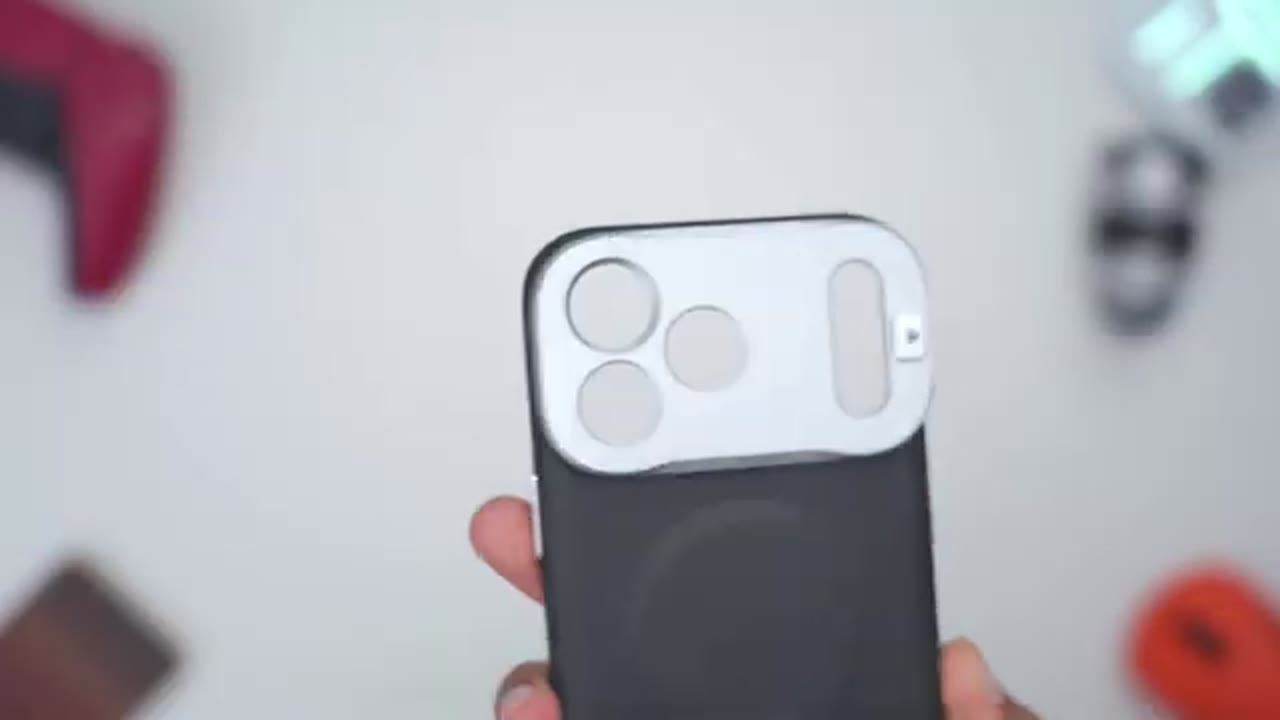
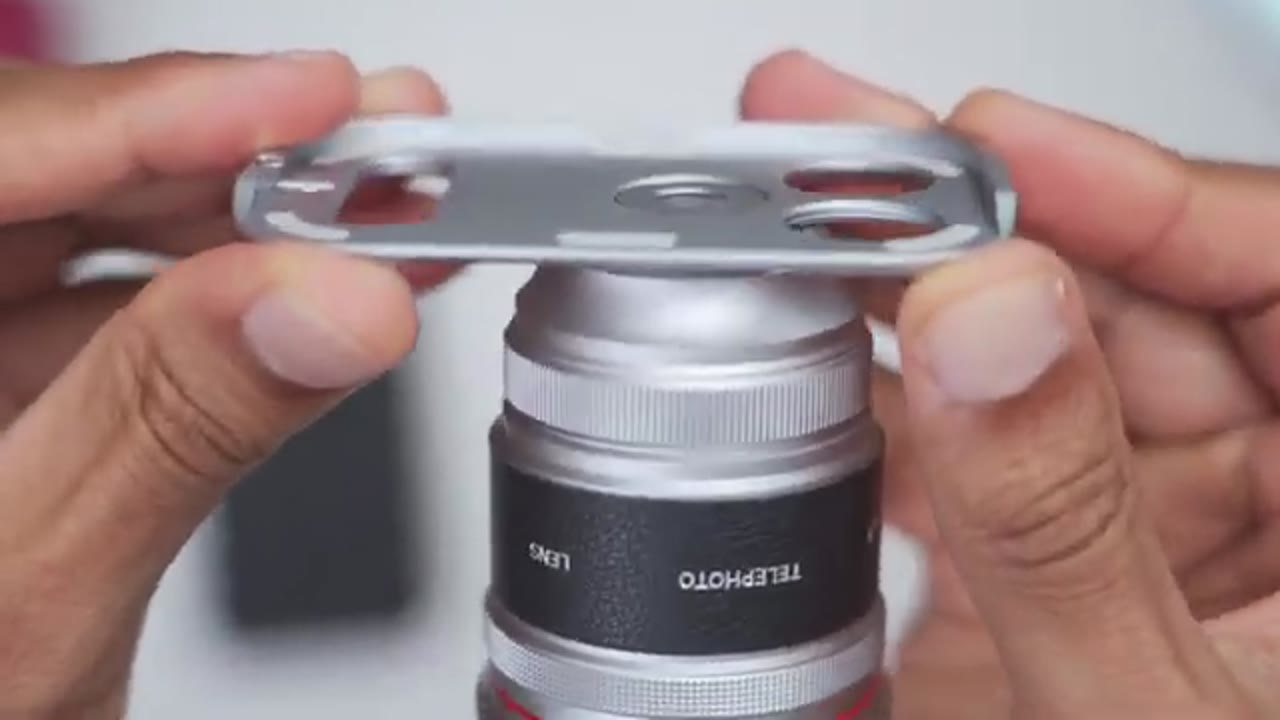
The adapter plate comes in at around 18 grams, and it’s a smooth finish as I run my finger along the top. There is also a retention switch that you could slide out that’s going to allow you to attach your detachy adapter plate from the case. There’s also threading on the mounts for the main lens and the telephoto lens as well, and looking at the underside of the adapter plate, we do have these silicone feet going around to ensure that nothing gets scratched on the back of your iPhone while you’re sliding this in and out. Note that with the lens completely screwed into the adapter plate, if you look at the underside, there is a small gap so it doesn’t sit flush, ensuring that your iPhone’s rail lens don’t get scratched.
When you slide the adapter plate into the case, you’ll hear an audible click letting you know it’s properly installed.
Telesin 3.5X Telephoto Lens Design
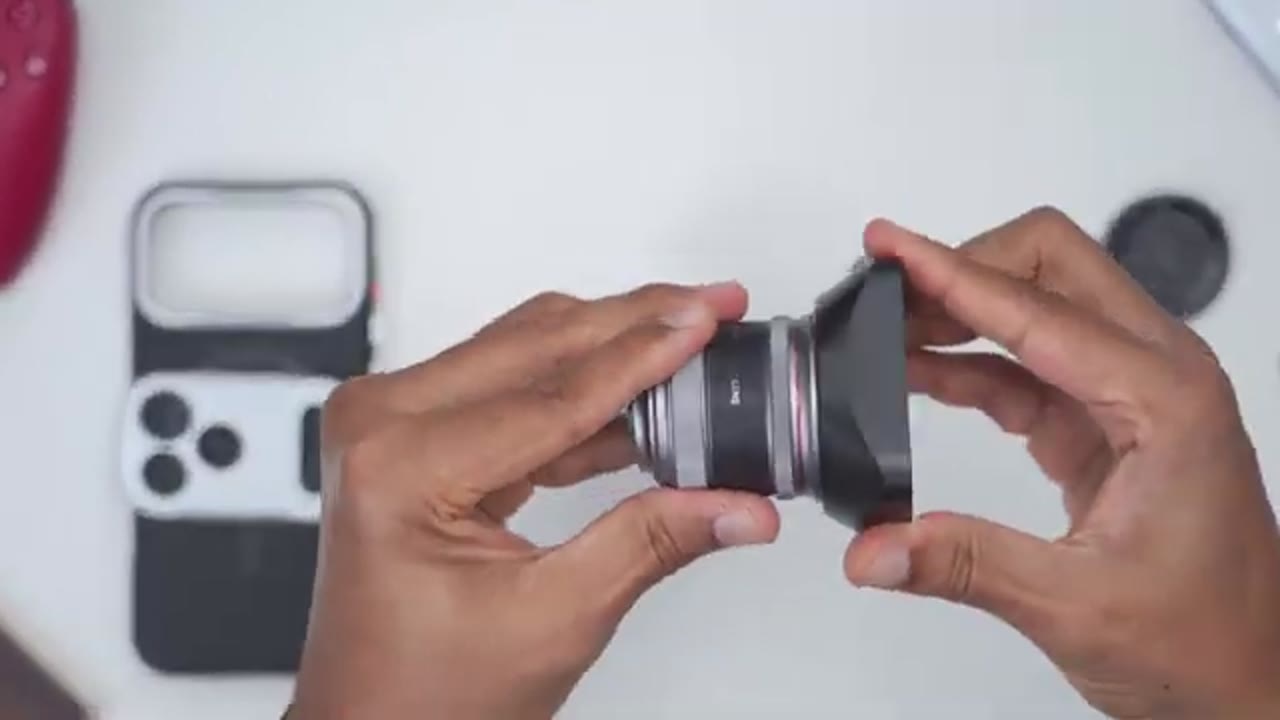
The 3.5x telephoto lens comes in at around 184.5 grams or about 0.4 pounds, so it does have a little bit of heftet and the bill quality feels extremely premium on this. A lot of grip thanks to the nerling and just all of the different type of design elements going on. Note that there’s no manual focusing on the lens, but let’s go ahead remove the front lens cap right there and then the bottom one as well, and that gives us access to the threading here. This is what we’re going to screw into that adapter plate. Now looking at the front, we also have a thread on the interior. This is a 43 millimeter thread size, so you can attach filters. And on the outside, we do have threading here. This is what we’re going to use to attach the various styles of lenses.
Now you can also reverse the lens, hit even with the lens cap on. If you want a more compact carrying without having to remove the lens at every time. And the 3.5x telephoto lenses is pretty impressive, so this is going to give us 400 millimeters of focal length reach. And we have 12 elements in the lens. Now this is only about one centimeter taller than the two x lens, which I have here. The 2x lens gives a maximum reach of 200 millimeters of focal length. Now looking at the bottom, the thread size is actually the same for both of these lens, so you can actually use both of these on the adapter plate, same with the front size as well. So all of the accessories between both of these lens can be used interchangeably.
Telesin Master Grip Design
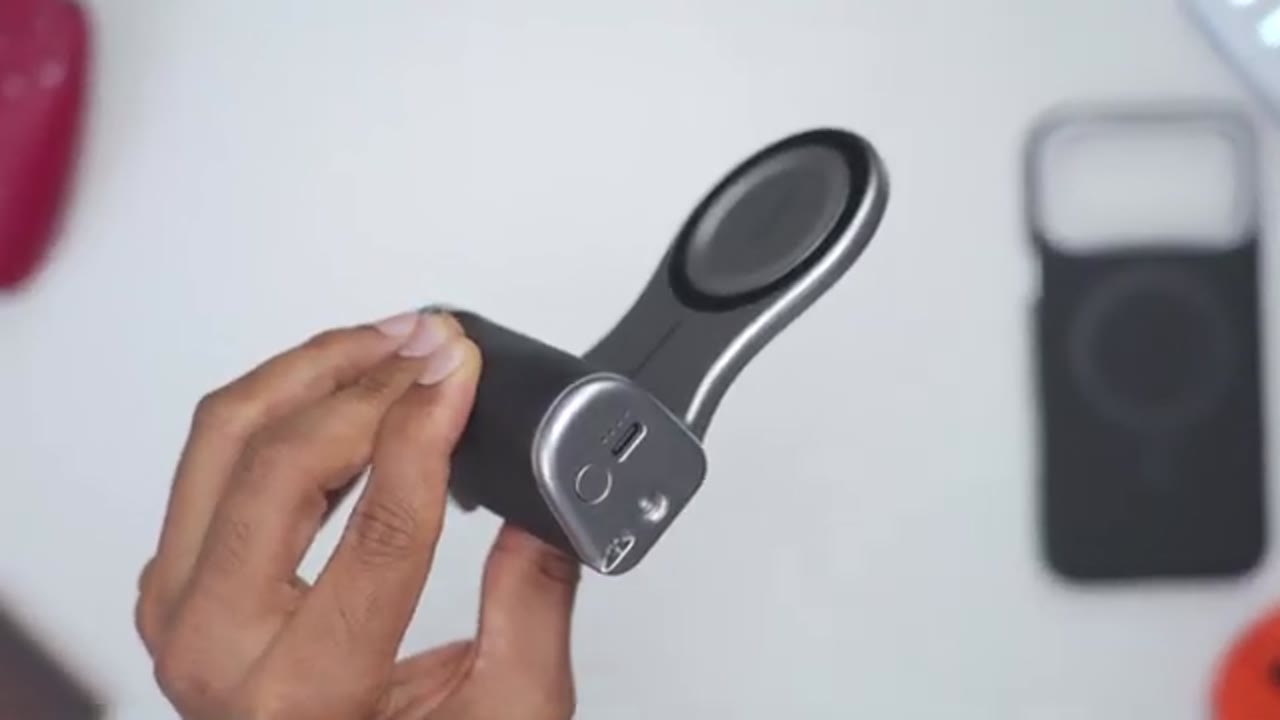
The master grip comes in at around 182.7 grams or about 0.4 pounds, and this thing is seriously full featured. So starting with a top view, you can see this is where we have the wake up button, the function button, and a two stage shutter button as well, along with a zoom rocker right here, and an LED indicator light. On the back we have a magnetic mounting ring, and this is what we’re going to use to attach the teleson case. Now there is a soft touch type of feel here to ensure that the back of your case or your phone doesn’t get scratch. And we also have a thumb rest here whenever you’re holding the grip. The front also has a mode dial with nice, narrowing and hard stop increments, and you can remap these in the reef color app.
Now we also have an additional magnetic mounting ring in the front, and you can actually attach maxi of accessories like teleson’s flash or their fill light. The front grip also houses a large 3200 million hour rechargeable battery. And if we look at the bottom, there’s a USB type C port to plug in the USB type C cable to charge the battery back up. There’s also LED indicator lights to show you the battery level, a button to start and stop charging on the phone. There’s also a quarter inch thread mount to use a mini tripod and a cutout to run a land-your-loop or wrist strap. To get everything set up, let’s start with
Telesin Case Install
putting the iPhone 18 Pro Max into the teleson case. So I’ll start at the top, press down on the sides, and just like that I’m done. And the Fitment feels good overall, nothing feels loose at all. Now do note, I am running a screen protector in the case when on without issues, and all the lens sit nicely recessed behind this raised protective rear camera lip. So no worries putting your phone lens side down. And the speaker grill, cutout, and USB type C port cutout are precisely aligned. NFC user top to pay is also unaffected, and the case has zero wobble as well. And because the case is using a truly strong N52 strength magnet so I can go ahead and attach a max of power bank, and even with me shaking the phone aggressively or vigorously, nothing is going to detach.
To pair the master grip with the iPhone 18 Pro Max, you’ll have to download the
Master Grip Setup & Tips
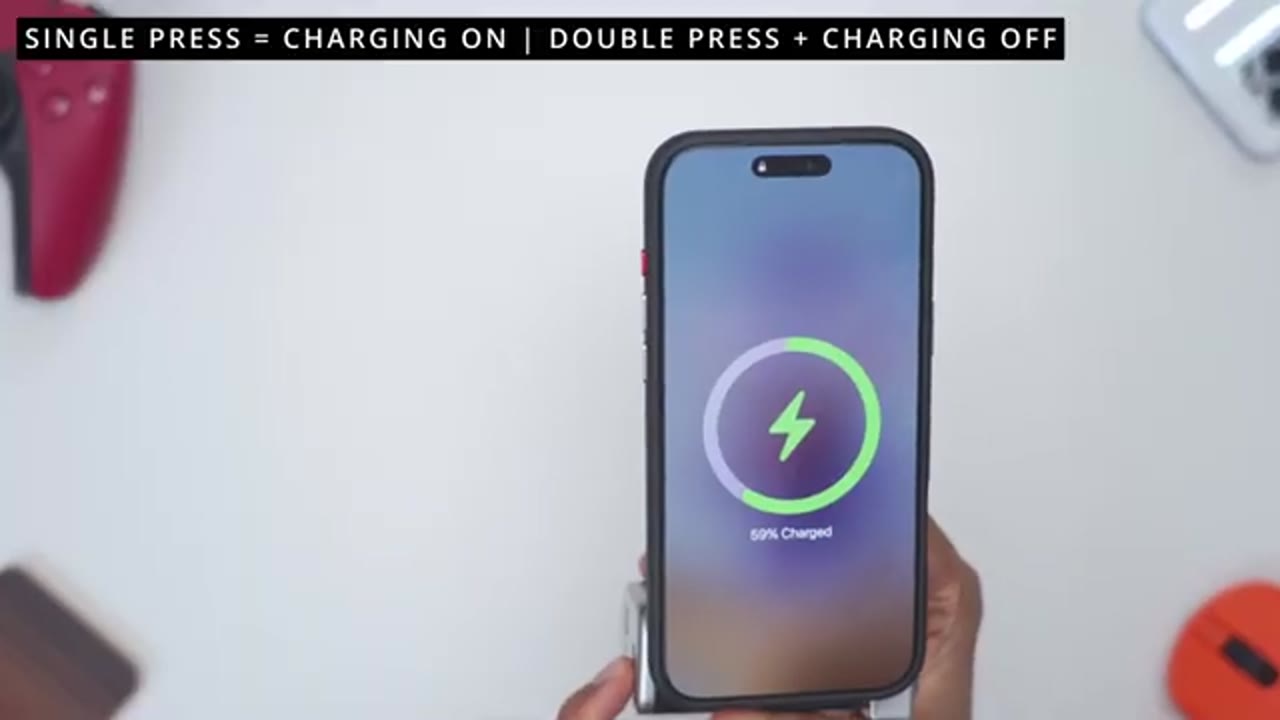
reef color app. Now before you do that, jump into settings on your phone, go under accessibility, under zoom, and turn on zoom. Now to exit the zoomed-in view, just tap with three fingers to zoom out of that. Next, we’ll go into the reef color app, and then we’ll click on the plus icon in the top of corner here. Go ahead, press the two-stage shutter button to turn the grip on. You’ll see the flashing lights there, and do make sure you have Bluetooth on as well. You can see it shows master grip. I’ll hit connect, and just like that, I’m connected once I hit pair. And whenever the iPhone battery is running low, you could just single press the power button at the bottom here. That’s going to go ahead and start max-afe charging since the grip does have that built-in battery. Let’s look at the
ReefColor App Settings
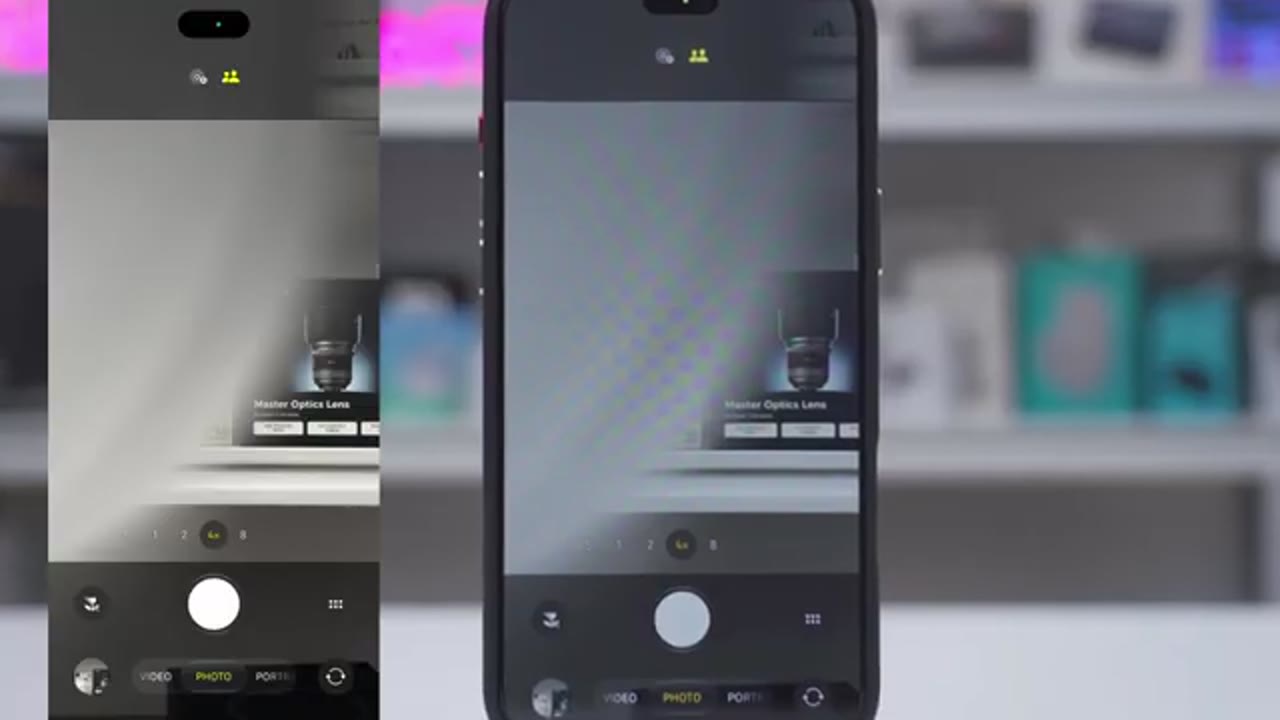
reef color app since we have to use that with the 3.5X lens. And do note that everything is going to be blurry in the background since this is a 400-millimeter reach lens. And my room is not that deep. Now in the top left corner, this is where you’ll go to attach the master grip. Mine is already connected, but you can add other accessories from Telsin if you like. Going back, we could tap on 3.5. So if you’re using the 3.5X lens, pick this option. If you’re using the 2X lens, go ahead and pick that option and hit confirm. Back in the main screen, we have options for 400 millimeters, 800 millimeters, and 1,000 millimeters. Now 400 is optical zoom, so that’s not digital zoom. However, if you jump to 800 or 1,000, that’s going to be digital zoom with some image quality loss.
Now what you’re going to additionally do from here is if you tap and hold on any of these, you actually get this zoom will slide or you could go between 400, between 800 to 1000 and all the way up to 1,750. Also, make sure you’re in tele mode. If you jump it to photo or video mode, you can actually see the lens body in the shot. So make sure you’re in tele mode right now. We’re in the video mode because we could see 4k, 6k at the top. If I tap into this, then I have additional options 720p 1080p, 4k. And from 24 frames per second, all the way up to 60, SDR, HDR. Now if I tap on this icon, I can actually turn stabilization on or off. And that introduces about a 10% crop or so. Now if you actually want to jump into photo, you can’t use this at the bottom.
You actually have to tap this icon here. Now we’re in photo mode and you could see we’re in that because we can see JPEG 12 at the top. Now you can also put it to 48 megapixel if you use the manual mode and you can search it from RAW, JPEG, HIF or RAPUS, HIF. Additionally, what you could do from here is you could tap this icon here. This is where we can go into aspect ratio. You can turn the electronic MSCization on RAW. Turn on live, the timer grid, level, HDR, watermark, format, and settings. If you jump into watermark, this is where you can pick the style and what you want the watermark to say. And then if you want to jump into manual, click on or tap on the A. And this is where you could dial in your manual settings. Additionally, you could tap on original.
And this is where you can cycle through various filters in the RIF color app. And you could also dial in the intensity of those filters as well. To review images that you’ve taken, you could tap on this icon here and cycle through the various images. Now to enable auto save if we tap here, go under settings. This is where you could take a look at the various languages. These are the preset languages right here. And you can also enable auto save. You can also go into watermark here as well. You could add a location tags or a snap sound or shutter sound if you like. And if you’re curious about what happens if you actually jump into the native iPhone camera app, you can see if I go into the 4X which is the telephone lens. This is the type of view that I’m getting now.
If I disable macro mode, this is what the result is going to be in. This is why you do need to use the RIF color app. Now let’s talk image quality. So I took photos using the 3.5X
Photo & Video Quality
lens, the 2X lens, I also detach the lens and use the iPhone’s native camera app using only the telephone lens. Now whenever you’re using the telephone lens on the iPhone, the 4X is going to give you the optical quality. If you lower the 8X, that’s going to be a digital crop. Now the thing that really stood out is the actual reach you’re getting. So with the 3.5X lens, you’re getting a 400mm equivalent focal length, which lets you capture distant subjects or objects with impressive optical detail without having to actually get physically closer. And with that impressive reach, I was able to capture details and frame subjects in a way I couldn’t reproduce as cleanly when I was using the iPhone’s native camera app and their digital zoom.
So for example, take a look at this image I took of this woman talking on her phone. There’s good clarity. And I’m going to ask you just how far you think I was standing when I took this image. Now I’m going to detach the actual 3.5X lens from the camera, use the ultra wide angle lens on the iPhone and you can see just how far I was and just how much reach I actually got with that level of detail. It is seriously impressive. Normally you’d be packing a mirrorless camera with a serious telephoto lens but in this extremely compact lens body and setup, I was able to get that type of reach. And here’s another impressive example of the 3.5X lens. So I was actually able to photograph a plane in flight after a few attempts of taking blurry photos.
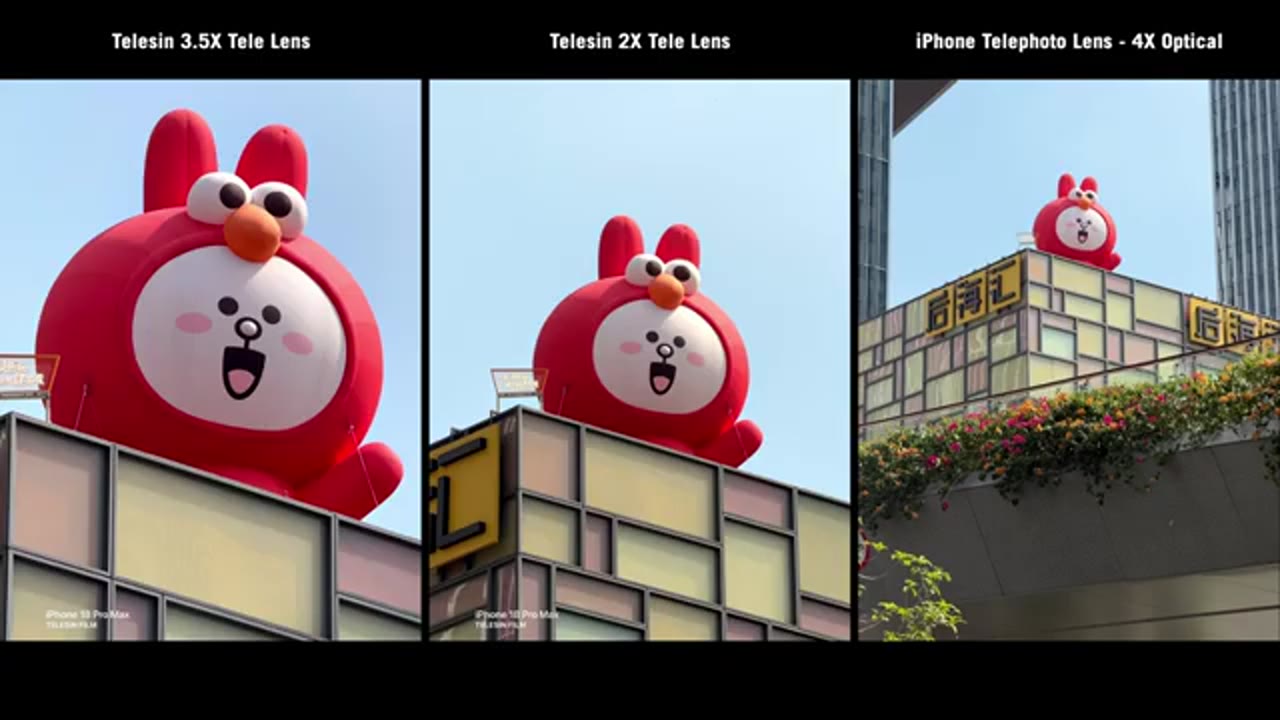
I actually got a couple of super sharp in focus photos. And that reach comes in handy anytime you’re taking photos of animal size. They will get a couple images of cats without them kind of scattering away. And this makes it great if you’re into bird photography as well. You can also get some really nice subject separation with a naturally blurred background with good bokeh. When you look at this set of photos taken with the TELLSUM 3.5X lens, the two X-Lens and the iPhone’s native telephoto lens at 4X zoom, which is the optical quality, you can see I’m not getting the same type of reach at all. Now if I take a photo at 8X, I will get a little bit more reach but now I’m relying on digital cropping and with digital cropping, there’s going to be some level of image clarity loss.
Now if I try to zoom in even more to a approximate the type of reach, I’m getting with the 3.5X lens. You can see there is noticeable image quality degradation compared to the optical quality on the 3.5X lens. And in the reef color app, 400 millimeters is the default setting, but you can actually jump to the 800 millimeter or 1000 millimeter, which is going to use digital cropping or digital zoom. If you tap and hold on any of the focal lengths, it actually brings up a zoom wheel slider, so you can actually pick a focal length in between these presets or you could have been go further out from 1000 millimeters. But again, you’re going to be relying on digital zoom. And I had a harder time framing everything and keeping it just stable while hand holding.
I was even able to record a drone power washing windows from quite a distance away in great detail and clarity. And when I use the native iPhone’s lens to do the same thing, it just was not the same. The lens also handled backlit scenes pretty well and in my testing it performed just as good at the iPhone’s native lens, at night I sometimes needed a few attempts to get a really sharp image since even a small movement would result in blur, but when I managed to hold the phone study and nail focus I got some really nice results with good clarity and colors that really pop. And taking video with the 3.5X lens in the Reef Color app with electronic image stabilization and able was actually way better than I expected.
As long as you have a fairly stable hand, the video quality is actually pretty good and even with me kind of purposely trying to be rough or unstable, the image was still pretty good and not super jarring. But if you’ll be taking a lot of videos best to pair this with a mini tripod on our tripod since you’re going to attach one to the master group. The only thing I wasn’t able to test was taking photos of the moon using the 3.5X lens. Now once the moon comes out I’m definitely going to test that out and I’ll leave those images linked in the description and pin in the comment. So the 3.5X lens requires you to be mindful every time you attach it.
It’s really suited for subjects or objects out of far distance and because the minimal focusing distance is quite large, you may find yourself backing up quite a bit or running out of room to back up. The other thing is that once this lens is attached, you won’t be able to just switch between your other lens because they will just capture the lens body in the shot. So you will have to detach it if you want to use the ultra wide or the wide lens. This is just a seriously impressive lens and it opens up just way more photo opportunities that you couldn’t get just using the native telephoto lens on the iPhone.
Telesin 3.5X vs 2X Lens?

Now if you’re trying to decide between the 3.5X or the 2X lens, well the 3.5X lens is a very intentional lens. You have to be very mindful every time you attach it because the minimum focusing distance is quite large. This is best suited for objects or subjects really far away and there is a chance you’ll miss some action or shots whenever you’re detaching it from the phone, but you can do that in a matter of seconds and just be taking photos in the ultra wide or wide lens anyway. Framing your shots is also going to be drastically different with the 3.5X lens compared to the 2X lens. So the 3.5X lens you’ll see are subject but you may not see a lot of the background around your subject. With the 2X lens you’ll be able to see your subject and a lot of the background most of the times.
The 3.5X lens can also only be used with the reef color app and you have to mount it on the telephoto mount. However with the 2X lens you could mount it to the telephoto mount or the main mount and you could use it with the reef color app and sometimes even with the native iPhone camera app. And check out my full review of the 2X lens if you want to get a bit more of an idea of what that’s capable of. So just think about you know most of the shots that you take you know the type of framing and the side which lens is best for you.
Phone or Case Damage?
If you’re worried about your iPhone’s lenses getting scratched with the adapter plate and the lens screwed in you don’t need to worry because if you look at the underside of the adapter plate with the lens screwed in there’s a little bit of a gap so nothing sits flush so anytime you’re sliding the adapter plate in and out nothing is going to rub up against each other and I have zero damage to all of my lens and here’s a tip for convenience so anytime I’m finished with the lens I just
Easy Portability
detach it like I’m going to do right here and I just run the phone case with the adapter plate installed at all times since it does add additional lens protection due to the elevated or raised vertical height so anytime you place your phone you don’t lend side down there’s really minimal chance of your lens is
Recommended?
So after spending a lot of time taking a ton of photos with D3.5X lens I’m actually really excited every time I go out to shoot now. There’s serious optical quality with impressive telephone to reach allow me to take shots I didn’t think I could get in such a compact and portable setup plus you could make this setup even better by pairing it with TELISON’s Master Group for additional functionality ergonomics and handheld stabilization so if you’re interested in picking up your very own TELISON 3.5X TELISON’s TELISON’s I’ll leave links down below along with the coupon code down below and on screen as well. You can also pick up the two X lens if you want a little bit more versatility in your shots since they both use the same adapter plate.
Also consider checking out my full review of the two X lens and the Master grip if you want to deeper dive on those. I’ll leave those length up here and down below as well. And while you’re at it maybe consider liking and subscribing to see more phone accessory videos just like this and maybe even consider joining as a member to get early access to videos and other perks. I also review a bunch of other tech outside of phones and phone accessories so maybe check those out too and I really hope you’ll join me in my next video soon.
Buy 3.5X Lens for iPhone 18 Pro & Pro Max
Please note that some of the links in my video descriptions are affiliate links where I earn from qualifying purchases. As an Amazon Associate I earn from qualifying purchases.