


☑️ Get the ieGeek Floodlight Camera on Amazon
Please note that some of the links in my video descriptions are affiliate links where I earn from qualifying purchases. As an Amazon Associate I earn from qualifying purchases.
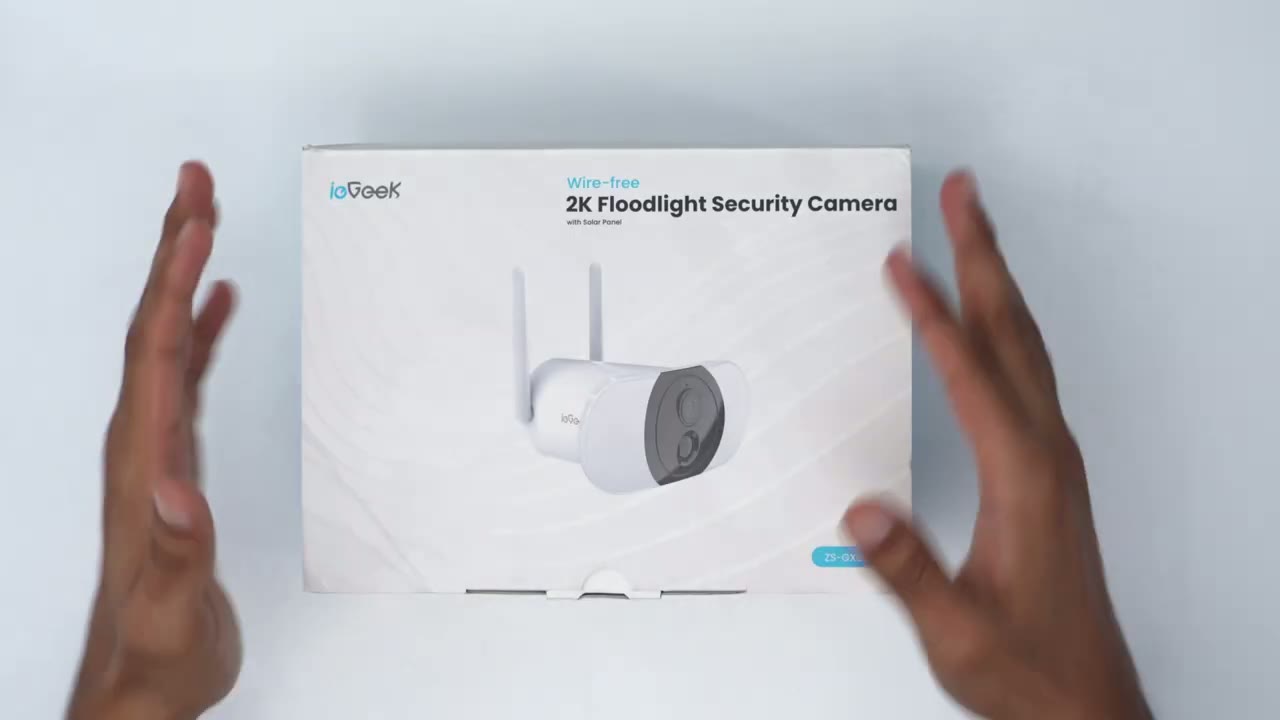
Package Contents / Unbox

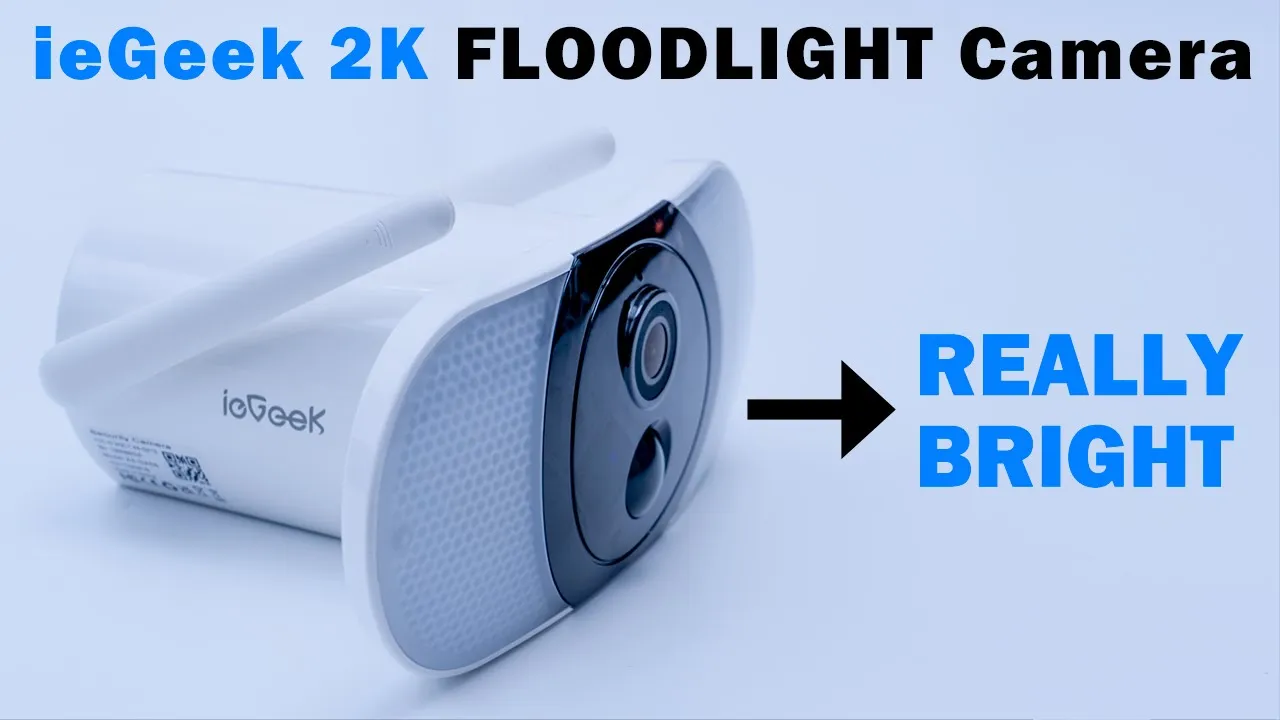
hey it’s Adrian today I’m taking a look at this 2K floodlight security camera from IE geek so this camera features a 13 500 milliamp hour battery humanoid detection so I’m going to go ahead and set it up mount it and I’ll let you know my thoughts on video quality and app performance so let’s get started
Package Contents
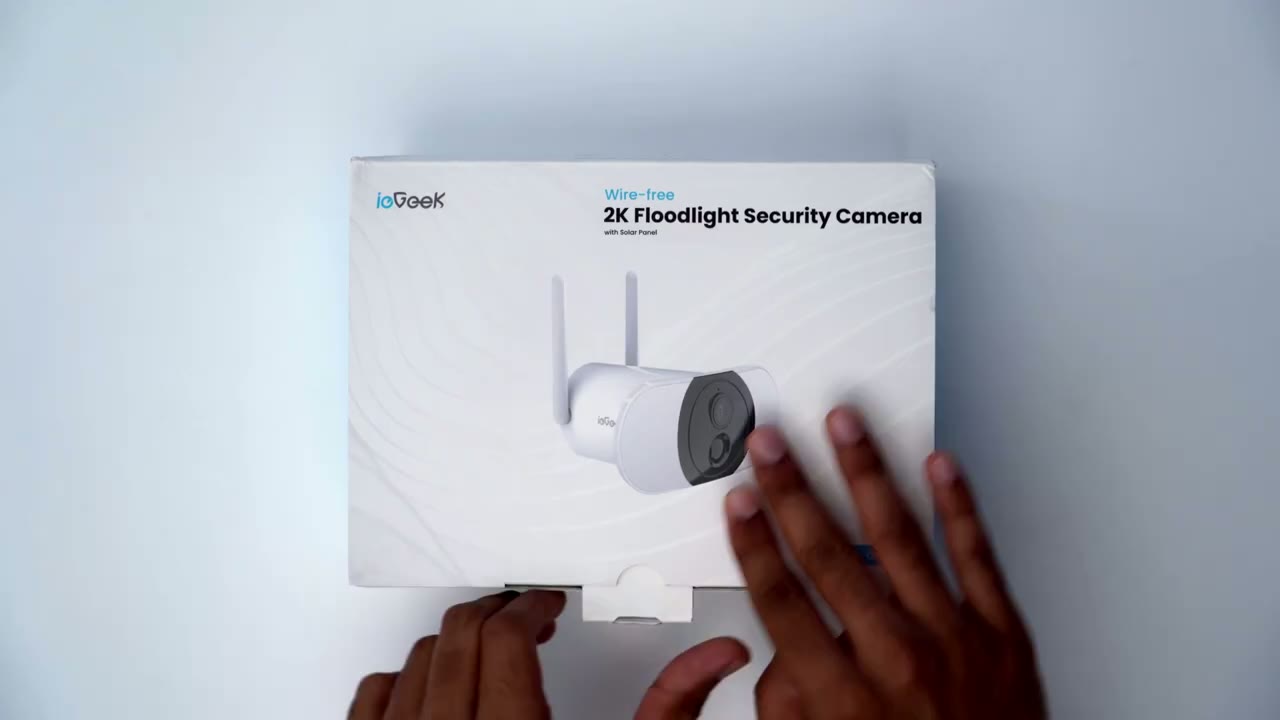
in the package we have the solar panel which is great to have to keep the battery topped up throughout the year we also have matching black mounting hardware to go with the solar panel we also have mounting hardware that’s white to match the camera body and then we also have a quick start guide sticker and a micro USB charging cable all right
Design
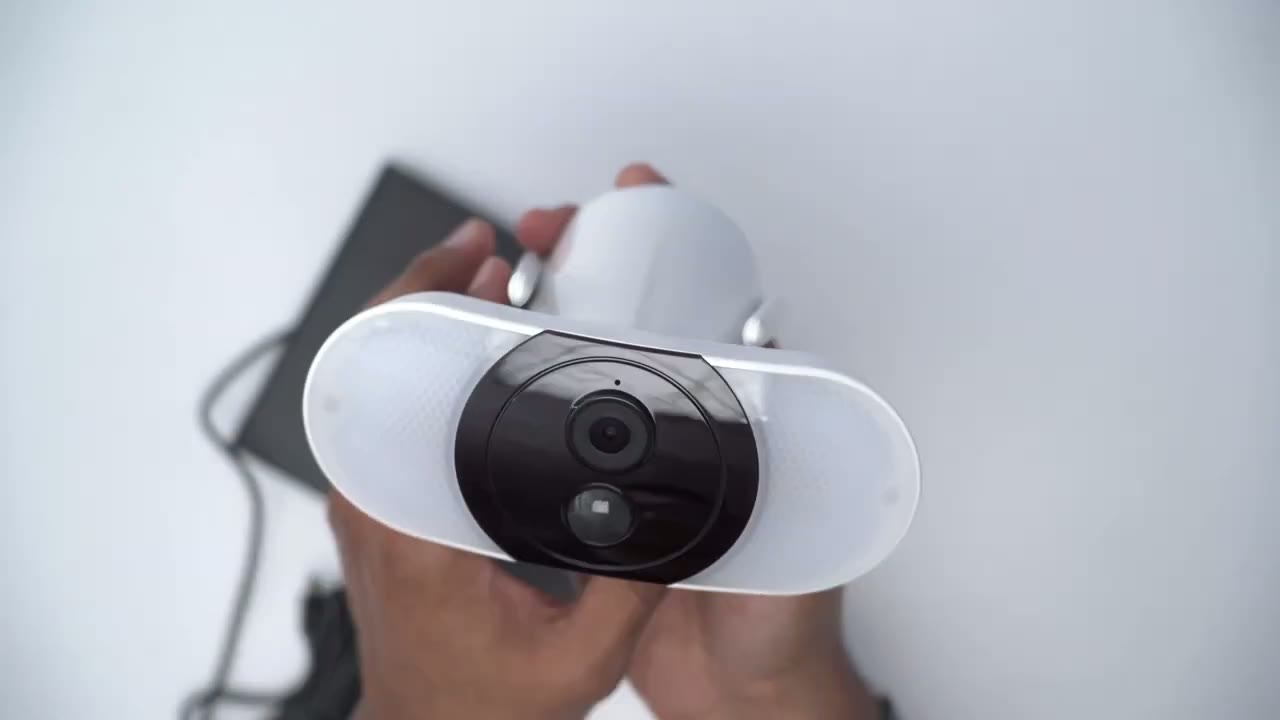
let’s take a look at the design of this camera and it’s a really unique design I’ve never seen a camera with such a large Spotlight and the spotlight is so big that it’s right and left side but taking a closer look so we do have the camera lens right here there’s a motion sensor here there’s also some LED lights behind this black piece of plastic here for um charging LED and Status LED and there’s also a microphone hole at the top there now taking a look at the top there’s nothing on the top of it but we do have these two Wi-Fi antennas and one thing I want to mention is that these are really taut they’re really tight and they’re not going anywhere once you position it so that’s great to see now the back of it is where you have the mounting Port so you’re going to screw that in once you mount it to a wall or whatever surface at the bottom we have the speaker and then we also have kind of a small opening here and this is where you could plug in a micro USB cable to charge everything I do wish I was a type c but we also have this large rubberized area that you can pull down you also have access to that micro USB charging area power and reset button and also a slot for a Micro SD card and you can see it’s a pretty thick piece of rubber so you know that’s going to do well with preventing any type of water or dust from getting in there Weight Wise it does have a pretty healthy weight so it comes in at around 474 grams or a little over a pound and that’s largely in part to the built-in 13 500 milliamp hour battery the overall design is really good on here even though it is an all plastic build nothing feels cheap or weekend I could even hold it by one of the spotlight panels and you know it doesn’t feel like it’s going to stop it’s well constructed the solar panel seems to be a pretty much all plastic build which makes it really light so you’ll just have to be careful not to drop this especially in cold weather because it would likely crack now the charging cable that goes into the camera to supply the solar power it is hardwired in here so this cable gets cut or damaged you’re going to be out of luck just be mindful of that and finally you have a mounting portrait to match with the mounting bracket specs wise you have a 2K
Specs
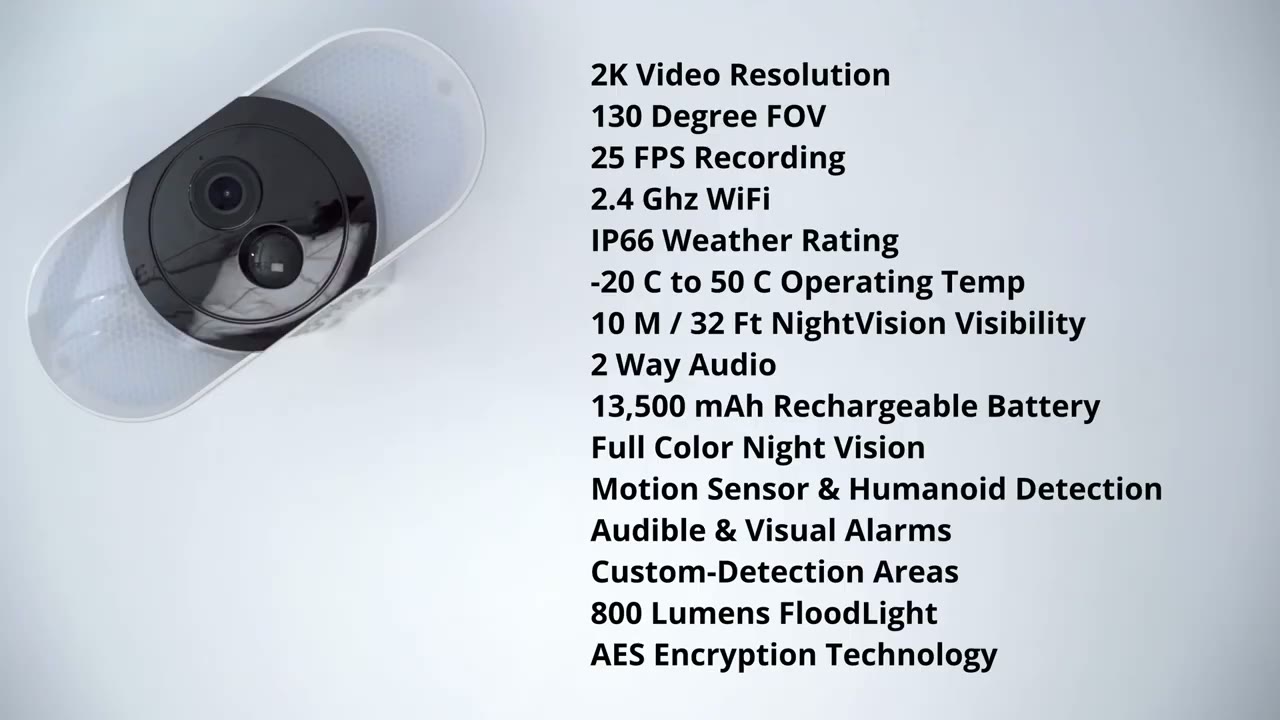
resolution on here it’s 130 degrees field of view and it shoots at 25 frames per second so you do have Wi-Fi connection 2.4 gigahertz an ip66 rating and the operating temperature is from negative 20 Celsius to 50 degrees Celsius you also have night vision visibility up to 10 to 15 meters there’s two-way audio a 13 500 milliamp hour battery built-in full color night vision motion sensor humanoid AI detection you have an audible and visual visual alarm custom detection area you also have a 800 lumens with the spotlight output this camera also uses AES data encryption Technologies all right let me
App Setup
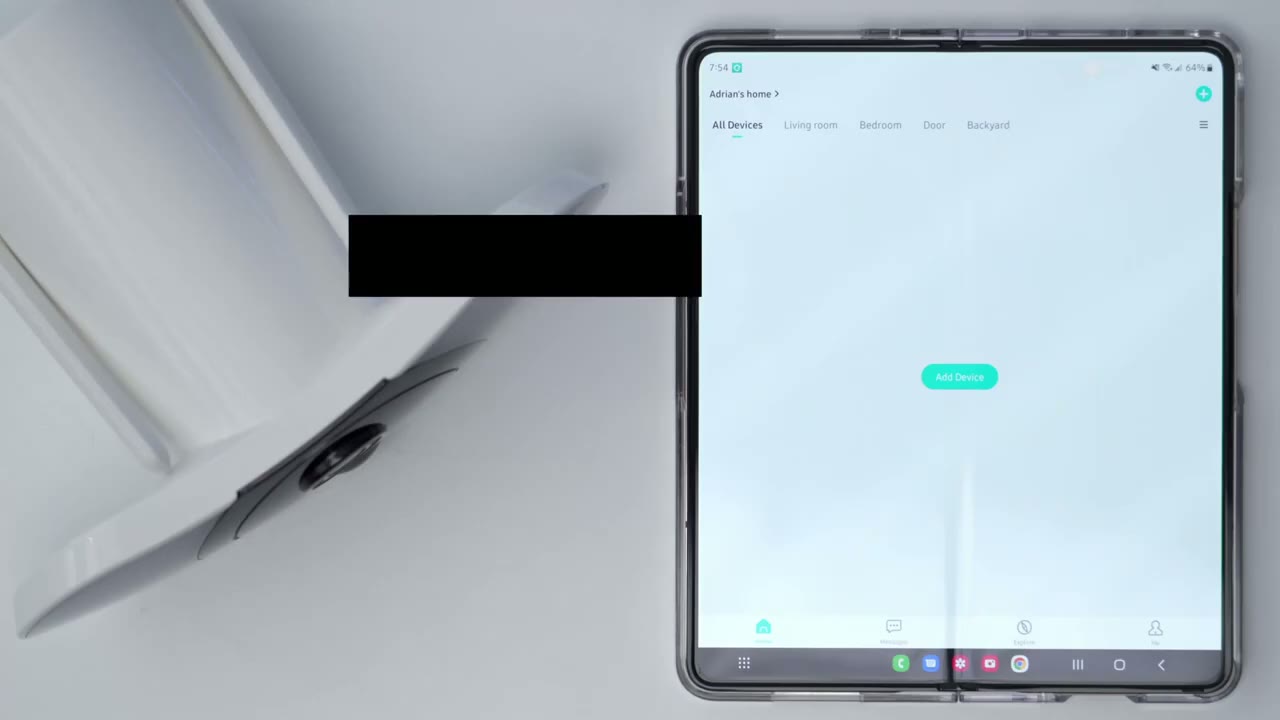
show how you can add the camera to the app so I’ve downloaded the app signed in and I’ve added the micro SD card to the camera I’ve put in 128 gigabytes and they do recommend that you add the card before you go ahead with this process so I’m going to add the device it is a floodlight camera I’m going to pick that for Wi-Fi now it’s going to power on the camera so I’m just gonna remove this bottom portion here press power [Music] okay so it’s saying to press the reset button for five seconds and have the indicator like flash red so I believe that’s it [Music] so looks like it was added successfully I’m going to go to the next the camera
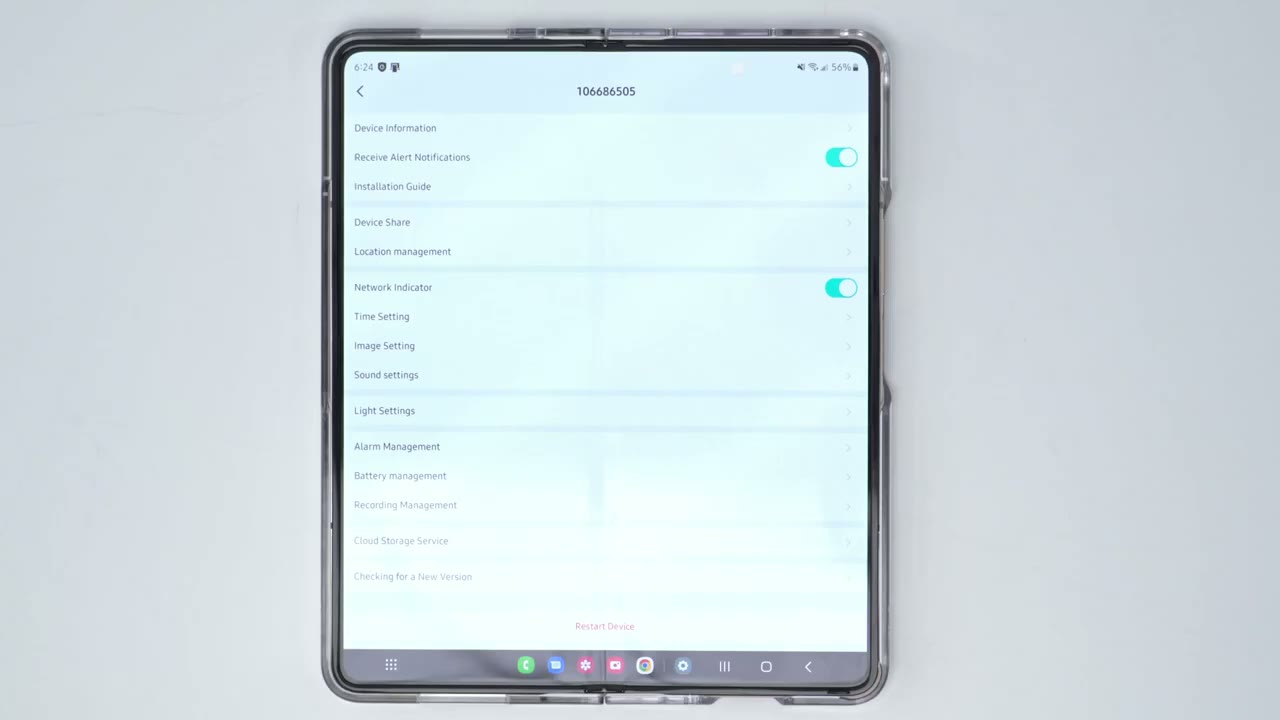
App Settings
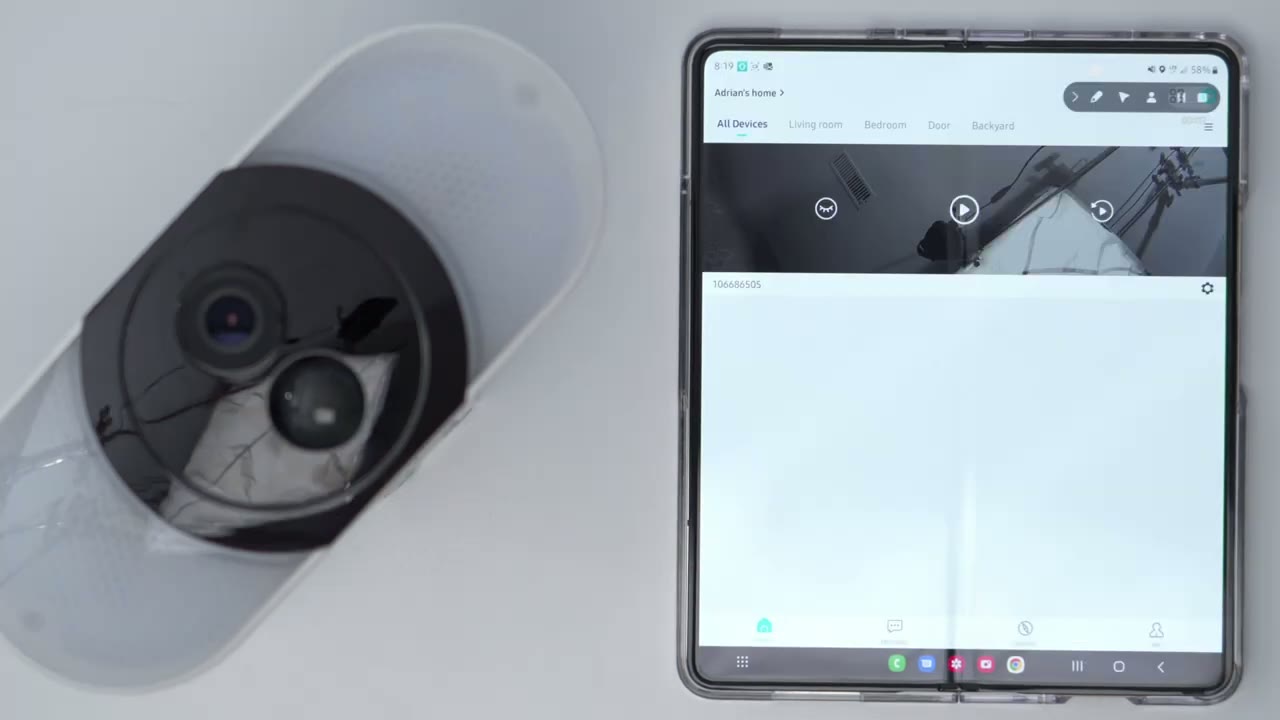
has been added to the app and what I’d like to do now is just to test everything in the app before I mount it so you can see if I go ahead and I pull up a live view that opens up pretty quickly and it is at the full HD or you could set the standard definition a little bit on full HD now if I go into full screen you can see it’s pretty big and it’s very clear now I’ll just put this remote over here and you could see that you know there’s not too much latency and you’re able to make out the logo on that so that works pretty well but while we’re in here we can also take a screenshot if you see anything interesting you can also hit record and you see it’s flashing record right there and one thing I want to point out is your layout is going to look a bit different than mine is just looking this way because it’s one of those foldable folds now if we go into motion detection we have options to turn motion detection on our off or change desensitivity now it does have these options linked lighting and buzzer these were off I turned them on I’ll let you know how that goes but I believe these are gonna have like an audible alarm or alert and a flash of light when it detects motions I’ll let you know how that goes but if I go into custom mode you can see there’s a power saving mode performance mode and a performance mode is going to drain battery and it records really long Clips I’ve gone into this custom mode here and it’s going to detect motion day and night it’s going to record 20 seconds instead of 10 seconds and I’ve turned the alarm interval off so I’ll let you know how battery life fares with those options what I like to do now though is I’m just going to test the audio to let you know how loud it is so I did set this to 100 so it’s going to be quite loud but let’s first do an intercom test testing testing so you can hear that’s really loud I know there’s a lot of feedback but believe me when I say it’s quite Loud Let’s test the siren also really really loud um that’s definitely gonna wake some people up now the light you can see that’s it’s very bright you may not be able to tell on camera but it’s like basically blowing out everything or uh because of how bright that light is so I will demo that you know real life in the dark to show you what that’s like let’s go to the next screen here so we do have light settings you can adjust the brightness I did set it on the brightest settings but you can also adjust the lighting time to you know 10 seconds or something automatic so like 10 20 30 40 um even up to 30 minutes but I’ll leave it on the default since I think that’s what most people are going to do you can also set a schedule but again I’m going to leave everything on the default by uh for now there is a history tab obviously I don’t have anything recorded right now since I haven’t mounted it but this is where you would go to review clips and things like that and then you also have a cloud plan I’m going to go ahead and click activate it seven days for free so I’ll go ahead and do that but you can see if we go into change plan here these are this is what the pricing looks like so you know you have a three day overriding plan seven day and 30 day so the cheapest plan starts at 2.99 a month from the dashboard you can also hit this gear icon here and you could turn notifications off completely if you’re going to be coming going from the house and you don’t want to get bugged now you can also turn on device share and let’s go into settings though so you can see right now it’s set to receive alert notifications that’s going to stay on and you can share the device you can change the location if you decide to move it but let’s go into the image setting and you can see that there’s an anti-flicker option here and you can also adjust screenflip depending on how you mount it when we’re in the sound settings we have options to change the loudspeaker volume we can also turn off the speaker and the microphone and you know recording voices if you like now let’s look at the battery management you can see I have 86 right now what I’m going to do is I’m going to plug this in top it up attach a solar panel and mount everything and see how battery life fares I’ll touch on that later now recording management I have put in a 128 gigabyte card in alarm management there is also this alarm area here and this is where you can dedicate whichever Zone you want to record so you can see I can pick to only record motion that occurs
Video Quality
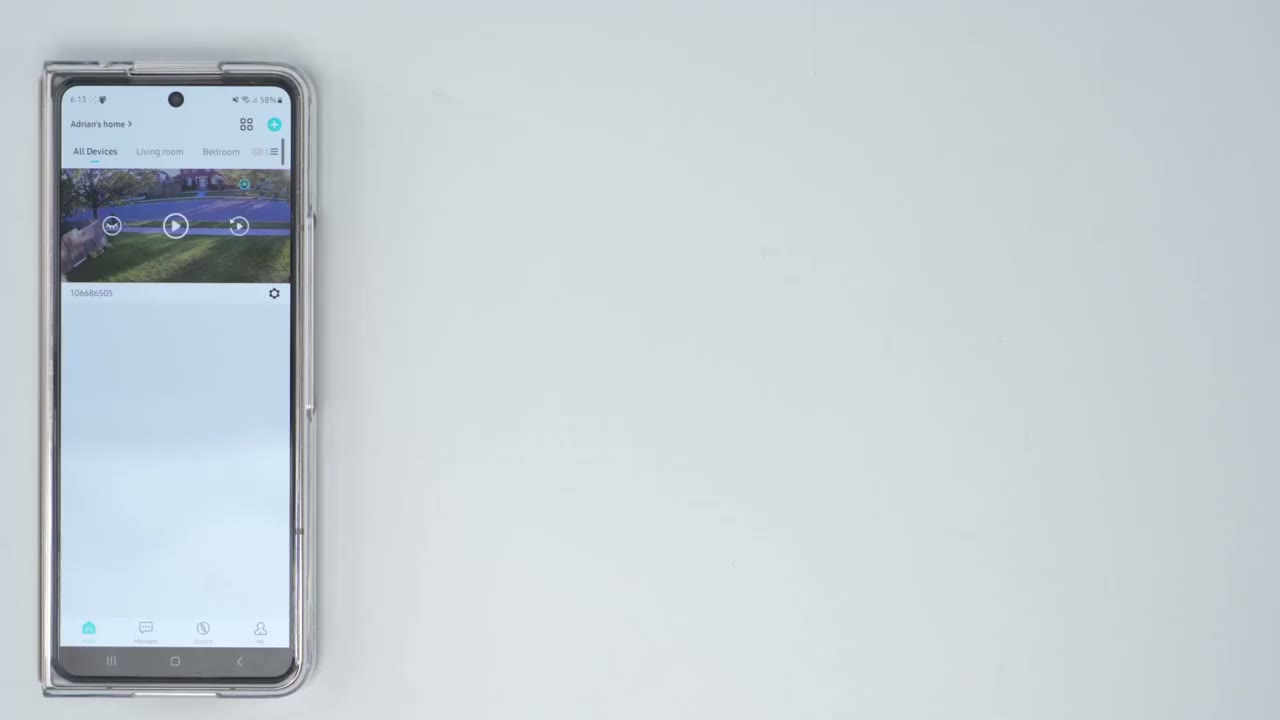
here now that I have the camera installed and it’s captured some motion I just want to showcase what the video looks like so if I go into messages go to motion detection you can see there’s a bunch of Clips here from today so I’ll go ahead and click this one where there is someone here make that full screen [Applause] [Laughter] thank you all right so here’s an example of what you can expect from night vision so you can see right now it’s black and white but when the spotlight comes on or the floodlight it’s going to fully illuminate everything and you can see you can easily make out you know myself that I’m wearing glasses that I have a camera so that floodlight really comes in handy now the battery life that
Battery Life
remains to be seen it’s really going to take me a while to figure out just how efficient this battery is if I go into battery management right now it’s at 79 now I did install this before it was a hundred percent uh just because I wanted to install it kind of earlier in the day and right now it is connected to the solar panel and I may not have the solar panel in the most ideal location right now I kind of wanted a clean install but I’m gonna be monitoring this to see you know how well it retains battery life of course when you’re outputting 800 lumens you know that’s really gonna make or take a hit on battery life and you know it is something that I’m gonna have to monitor a bit more carefully now when I go into light settings though you can see that I can adjust the brightness I’ve left everything on the max right and I haven’t put a light schedule or anything like that it’s just on the default settings but one thing that I want to mention is like with any type of device you know a camera cell phone whatever it is when you first buy it you know you’re going to spend a lot of time combing through these options playing with it checking the live view you know taking a look at exactly what the quality is like so initially up front there’s a huge hit on the battery life of anything that you know you’re normally playing around or setting up for the first time and then the battery life will normalize or equalize out once you get your settings dialed in so can I
Recommended?
recommend this IE GE 2K floodlight security camera and if you’ve seen my channel I’ve been reviewing a lot of security cameras recently and overall they’re honestly all really good now once you get into the 2K level obviously that’s a big step up from just a standard HD camera and you can tell in the video quality the other thing is I notice a lot of these cameras the apps are pretty well polished like I’m not gonna getting glitches or crashes or anything like that so it’s a pretty good overall user experience however each camera usually has something that it brings That’s Unique from the other cameras and this is one of those cameras and the unique thing here is obviously this 800 Lumen floodlight or Spotlight and if you’re looking for something to act as a that turned either at your front door or on your garage this is probably one of the best options out there I have not reviewed another camera that comes even close to the light output of this camera if you’re interested I’m going to leave some links in the description down below if you found this video helpful please consider liking and subscribing and I’ll see you in the next one Adrian
☑️ Get the ieGeek Floodlight Camera on Amazon
Please note that some of the links in my video descriptions are affiliate links where I earn from qualifying purchases. As an Amazon Associate I earn from qualifying purchases.