


Buy GVM 600S Ring Light on Amazon
Please note that some of the links in my video descriptions are affiliate links where I earn from qualifying purchases. As an Amazon Associate I earn from qualifying purchases.
Intro


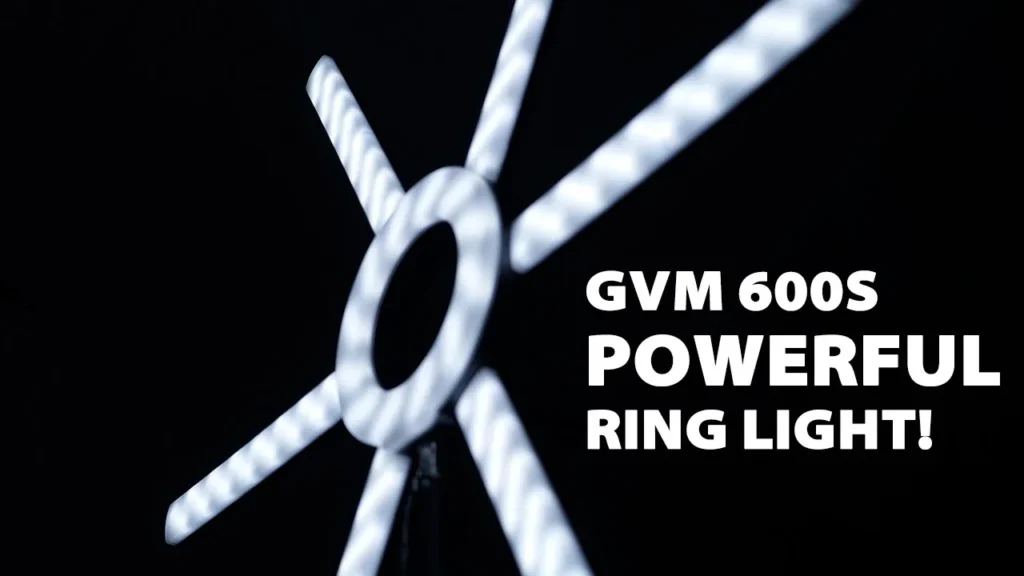
[Music] it’s adrian from dump crumbles tech and today i’m looking at the gvm 600 s ring light so you can see this is a pretty sizable ring light much different in size than like the portable ones that you see for cell phones and things like that so let’s take a look at the features like how bright it is and see if it’s worth the price [Music] okay so in the package you get this
Package Contents
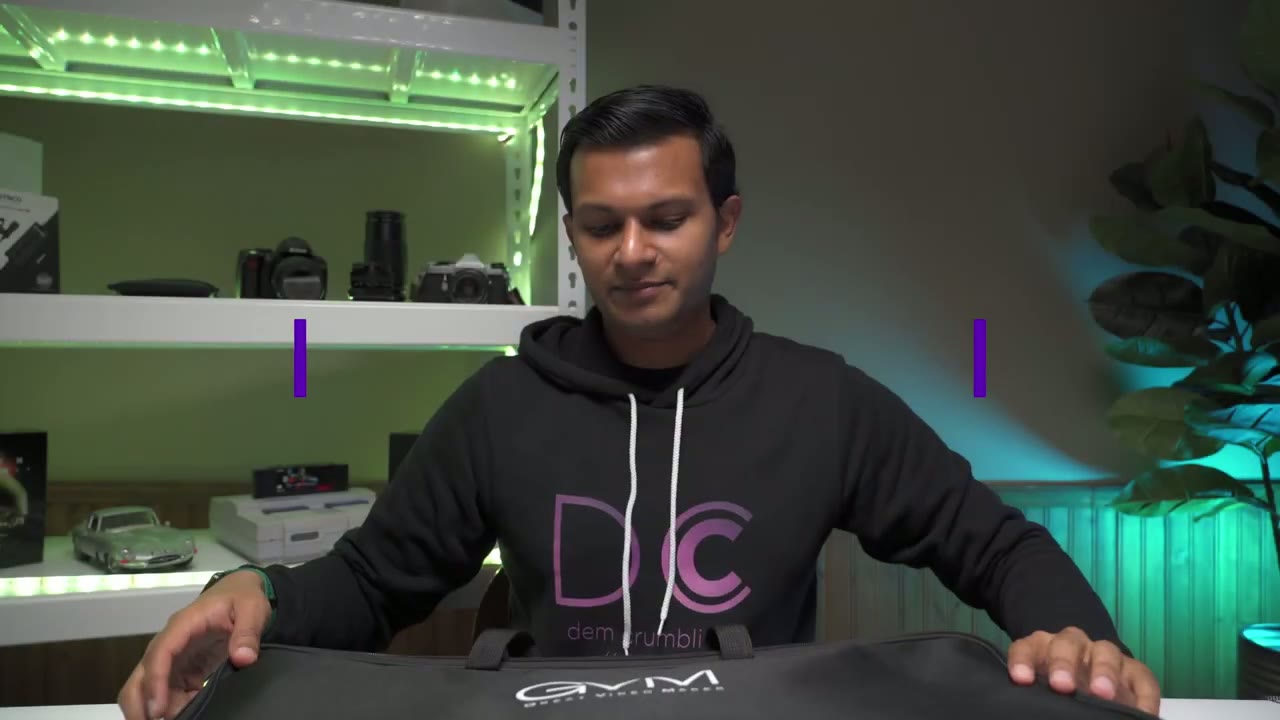
carrying case you also get this power bar here and you also get these two power cables and these are to power the light rod separately i’ll explain that so in the unit you get the main housing which is the ring light and you can see there’s um indents here where you would attach the light the lighting rods and it comes with six lighting rods at the back of the unit there’s this uh display here that shows you color temperature and brightness output and you can see down here this is where the power cable goes in there’s an on off switch here and then there’s two power ports here and that’s where those other two cables that i mentioned would go in so you have the option of attaching all six um lighting rods in here and then you can also attach four and then have two of them off to the side which is what um these two power ports are for now looking at the lighting rods so you can see there’s a metal connection here um that’s where it grabs power and then on the side of it there’s a power port here and that’s where you would plug in those two um cables if you wanted to have like one light here one light here off to the side um and now all six of these uh lighting rods they have a power port so you know you’re not picking which one you could just pick any of them off to the side and it’ll work lastly you get this like tripod bracket so what you can do is um you can attach it to the bottom of the ring light here um there’s also an area to attach it here so i think the most common is probably going to be to attach it um back here and then you can see you have these threads here so you can attach a camera body here and then just have your camera lens shooting right through so next i’m just gonna assemble it real quick and then we’re gonna do like a light demo all right i almost forgot but the unit also comes with this tripod just for the ring light so it’s adjustable from i believe 32 to 87 inches so for assembly it’s really easy
Assembly
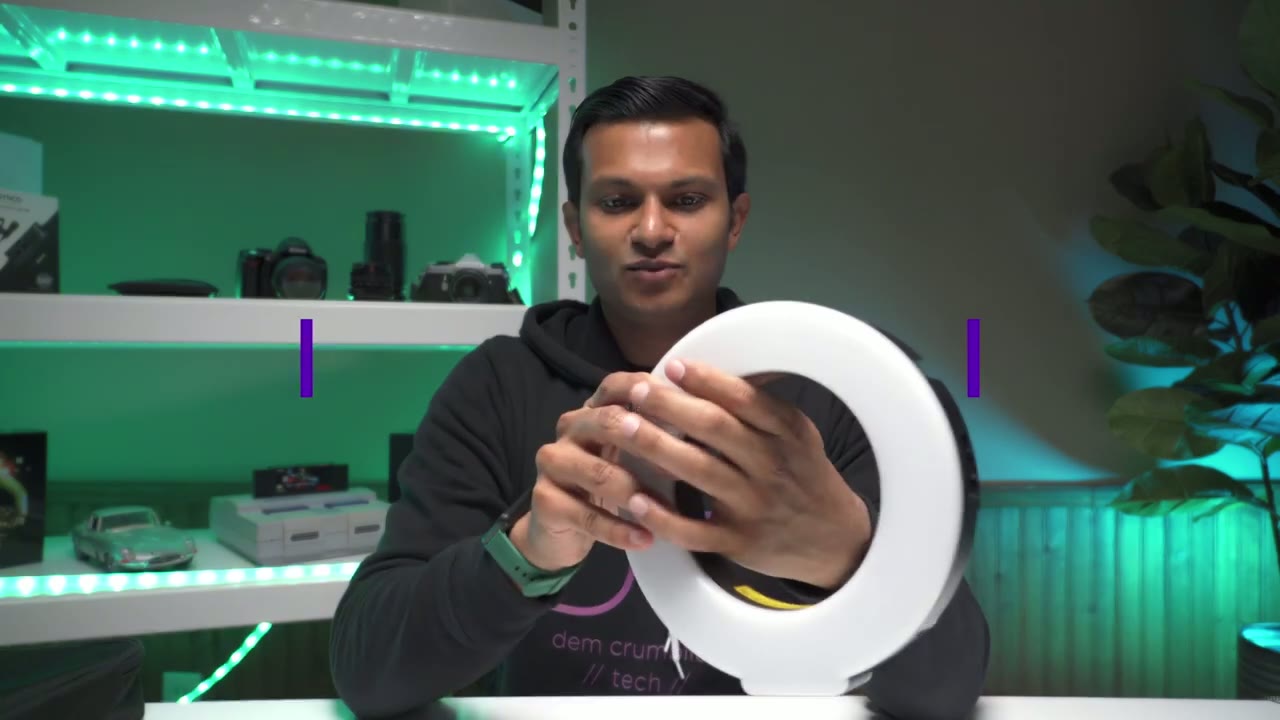
you just take each of the lights and you just align it into this area here so when i put it in you can hear that you know there’s not a click or anything like that so it’s that one there’s a little bit of a click um it slides in pretty pretty easy um but there’s no like button to press to release or engage it just kind of goes in there kind of like by friction um so that’s something to keep in mind if you’re going to be assembling and disassembling this all the time it is an all plastic build so you got to be careful with it so here it is fully assembled pretty easy so what i’ll do now is i’ll plug it in and then we’ll take a look at what the brightness and settings are like so i’m back with the fully assembled
Settings
ring light so right now the temperature is set to 32 and it goes from 32 to 56 so i’m gonna turn the brightness up so right now it’s at zero that’s at one percent at 32k this is 10 let me go all the way now to 50 so that’s a 50 power output at 32k um and then i’ll go right to 100 so that’s how bright it gets at um 32k now if i switch it this is at 4000k and now we’re at 56 5600 kelvin so that’s what the light looks like at full power at 56 and then let me just back it right back down to 50 that’s it at 50 and then let’s go to 10. that’s a 10.
so you can see there’s a lot of adjustment that’s at zero one and then from one all the way to a hundred so you can see it’s a it’s a pretty powerful light um quite bright now what i’ll do is i’m just gonna put it on the tripod that it came with and i’m gonna turn it on and then we’re gonna see how much it fills in like some of the shadows on my face right now my light is uh mounted overhead so there are some shadows here so let’s see how well it does it fill those in okay i’m back the light is set
5600 K Demo
up and it’s about 40 inches away from me on my left side here so right now it’s completely off so this is what it looks like at 25 percent okay so that’s a 25 you could see it’s kind of like filled in more of the shadows now so this is what it looks like at 50 percent okay 50 i’m looking kind of at the monitor it is very bright it’s fully illuminating my face but just if you’re gonna have it further back from you here’s what it looks like at 75 percent okay and then finally at 100
3200 K Demo
so you can see it’s like really bright it’s fully illuminating even the background here so this is at 100 at 5500k um this is going to be a 3200k and right now it’s at zero but this is what it looks like at 25 percent so you can see very warm um nice glue and this is what it looks like at 50 keeping in mind that this is 40 inches away from me so you know if you’re going to be further back you could really crank it up um now 75 and finally 100 so there it is maximum brightness 3200 k okay so
5500 K to 3200 K

the lights are um 5500k the brightness is 100 and now i’m just going to show you what the different color temperatures look like so i believe it goes out to 32k so this is what 32k looks like so you can see it’s very warm now and that’s at um a hundred percent
Recommended?

okay so just summing up um i wanted to show you guys a quick demo so i do have an overhead light here it’s like a falcon eyes led light with a soft box and all that and that’s my main light that’s what i’ve been using the whole time and this light is going to be like a complement like this so right now this light is on 5500k at 100 about 40 inches away and you can see i have like pretty much full illumination with the top and then this light directly in front now i’m going to cut this main light that i’ve been using just to show you what it would look like if you were going to buy this it’s just like your only light source so here’s um the top light cut and now the only light source is the ring light and 100 500k and if i look at my monitor i can see like my face is still nicely illuminated so you could get away with just buying this ring light and just using this of course if you have like another light like overhead you know it is going to make it you know much brighter but definitely if you’re just starting up this one ring light will get you most of the way there i’m back and i’m actually super impressed with the quality of the light it really provides a nice even illumination now that i like i’m looking at the monitor i can see on my face the light is really nice very smooth not too harsh even though it’s only about 40 inches away from me um it does have kind of like a matte um layer i guess or just like a matte finish so that does help with softening the light you don’t need to buy anything extra so just like some tech specs for those of you who are interested so it’s um it ranges from 3200 to 5600k it’s a 90 watt light like i mentioned you have the six light rods right now all six are attached the intensity you can go from zero to a hundred so a lot of room there when i have all the uh light rods attached the total diameter is 31 inches so you know you need a decent amount of space to accommodate it and you also have the option of just using the ring light so you could just not plug in any of the light rods if you wanted and if you just use the ring light um just as like a basic setup then that’s about seven and a half inches alright so if this video was helpful please consider liking and subscribing i’m always going to be doing these kind of like camera accessory videos maybe some like phone and computer stuff later on so if that’s what you’re interested in please consider liking and subscribing and i’ll see in the next one bye you
Buy GVM 600S Ring Light on Amazon
Please note that some of the links in my video descriptions are affiliate links where I earn from qualifying purchases. As an Amazon Associate I earn from qualifying purchases.