


Buy Reolink Argus 4 Pro on Reolink
Buy Reolink Argus 4 Pro Cam on
Buy Reolink Duo 2 POE Camera on Amazon
Buy Reolink Duo 2 Wifi Camera on Amazon
Please note that some of the links in my video descriptions are affiliate links where I earn from qualifying purchases. As an Amazon Associate I earn from qualifying purchases.
Intro


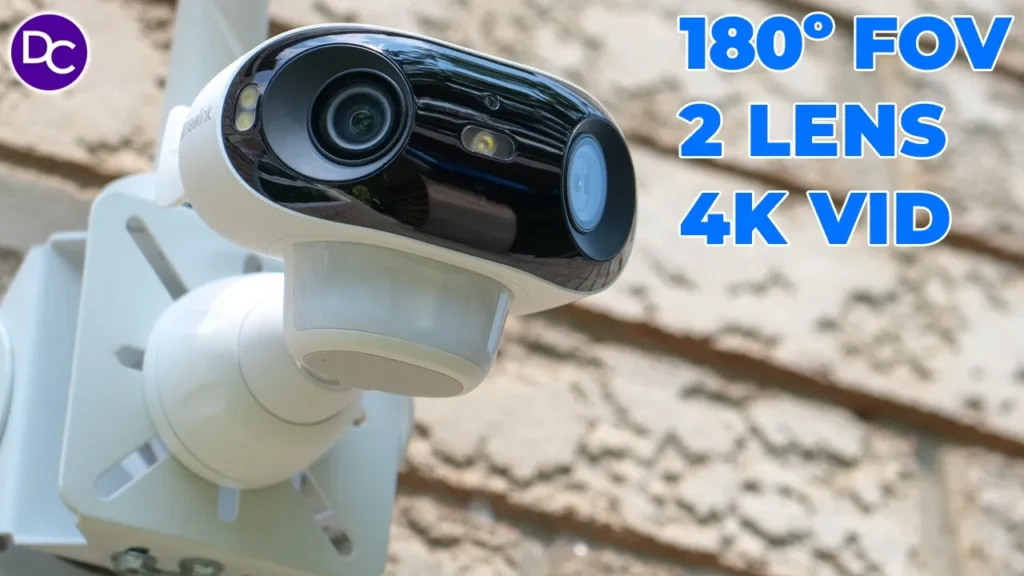
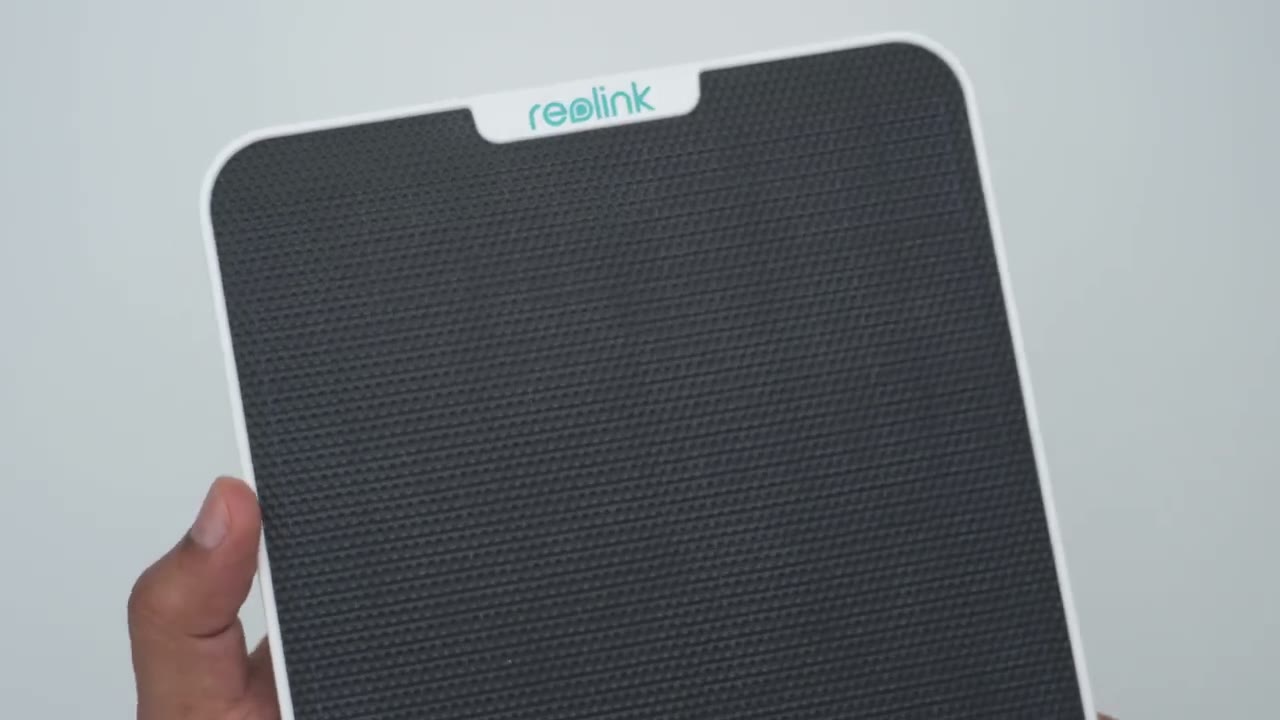
hey it’s Adrian and today I have a very unique solar power camera so this is the realink Argus 4 Pro which records in 4k quality in an impressive 180° Feld of view ensuring you miss nothing thanks to its dual lens setup on top of that we have great low light functionality for night vision videos thanks to the large F10 aperture there’s efficient solar charging Dual Band Wi-Fi 6 quick app alerts and detections ip65 waterproof rating and zero monthly fees so if you’ve been looking for a solar powered security camera this should definitely be on your short list once you experience 180° field of view you get spoiled it’s hard to consider anything else but let’s take a closer look so you can see what I mean and a big thanks to realink for sending this out for review
Package Contents
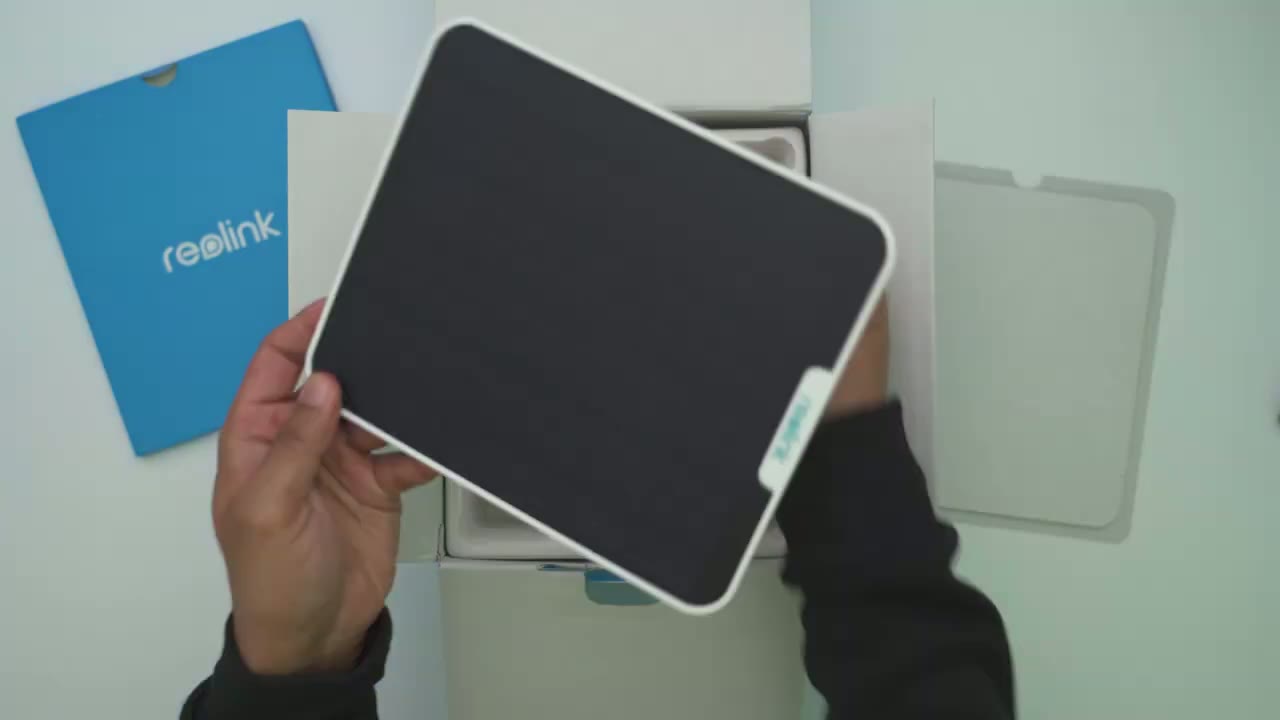
the box has the rear link Argus 4 Pro Camera along with Mount quick start guide solar panel with mount installation Hardware security sticker and charging cable The realink Argus 4
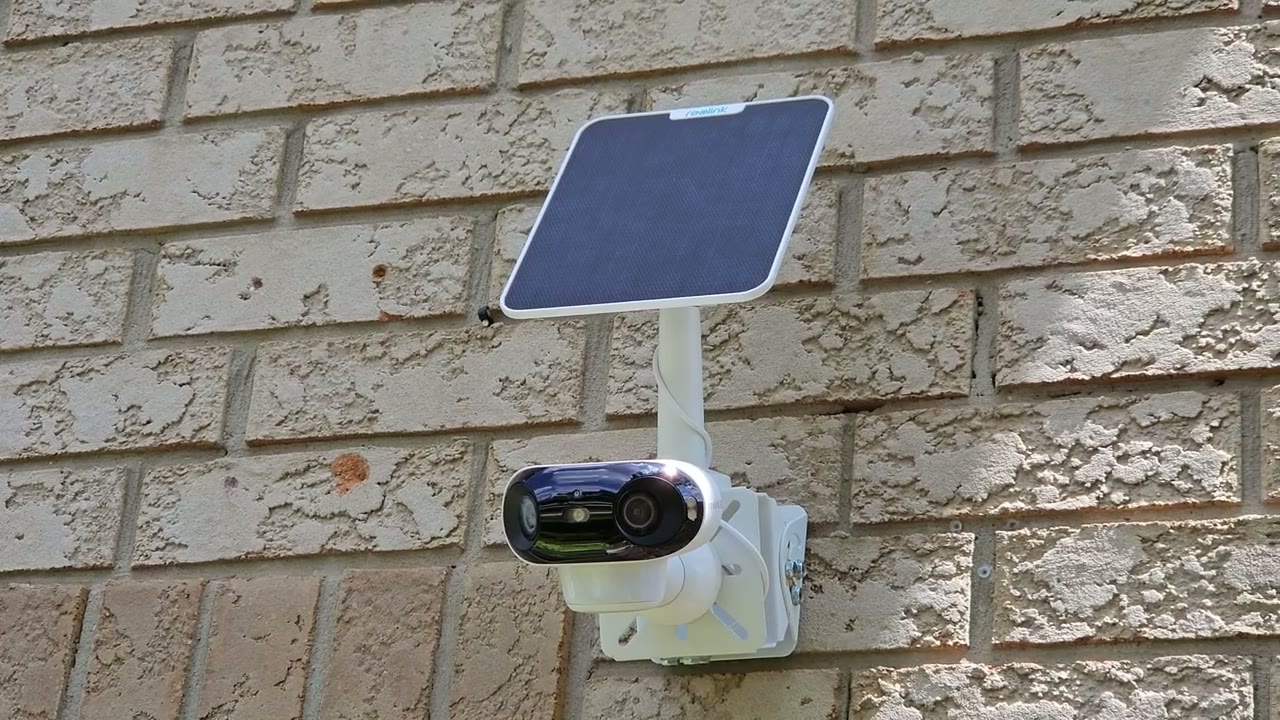
Design
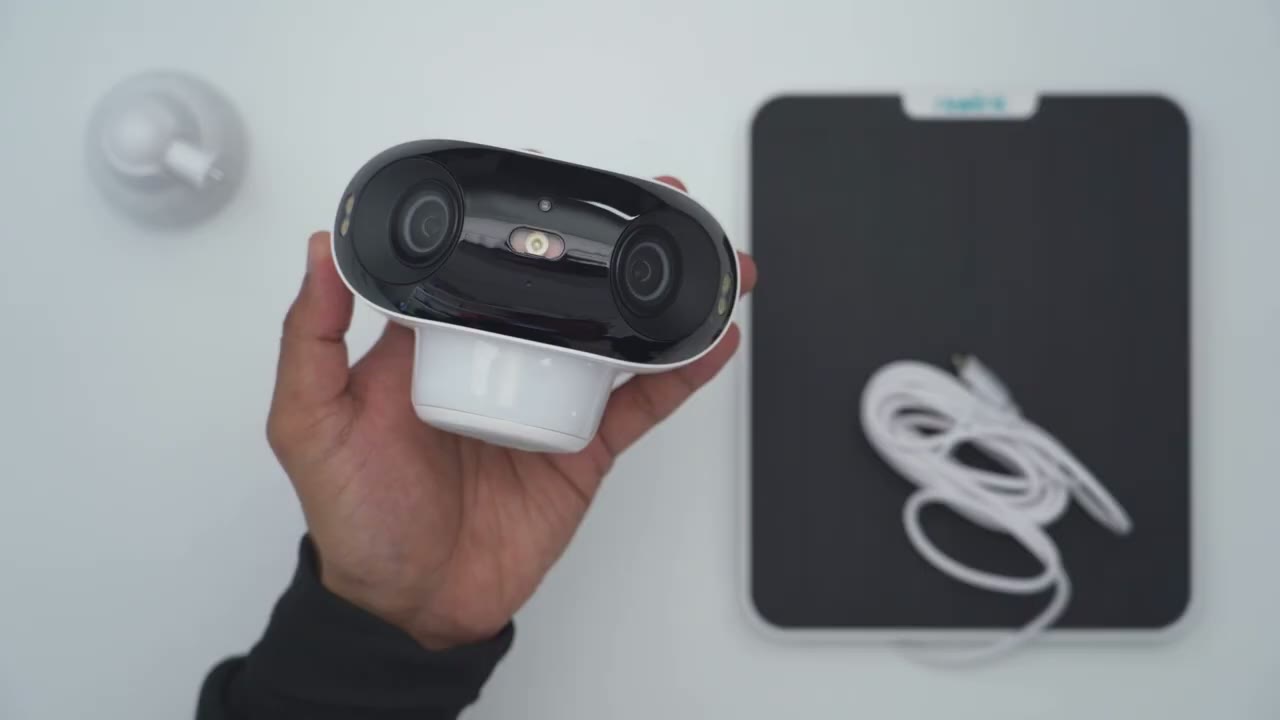
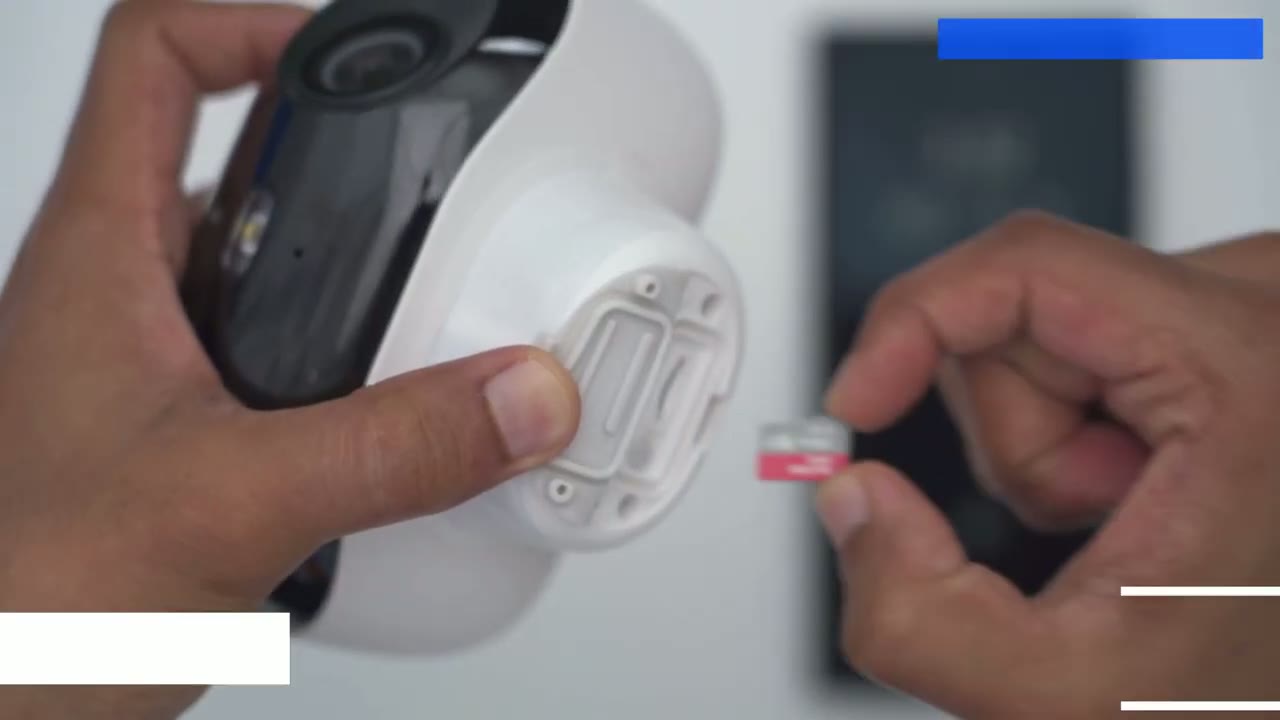
Pro is fairly Compact and this is when I compare to the realink Dual 3 which is also capable of 180° fuel of view now by itself it comes in at around 397 G or about 0.8 lb and with the additional mount it comes in at roughly 500 G or 1.1 lb on the front we have the Dual 4K lens with impressive f1.0 apertures for great low light capability there’s three small spotlights on the right left side and in the middle we also have a daylight sensor microphone and the P sensor at the bottom on the right and left sides we we have the 4K rol Link logo and then at the very bottom we have access through this weather sealed area here for the power button and into insert a Micro SD card up to 128 GB on the very rear this is where we have the speaker Grill and a USB typ-c port and this is what we’re going to use to initially top the camera before we install it the solar panel is large and it’s pretty much the span of my entire hand now if I look at the pre-and wiring if you look at the USB type-c connector and you can see it’s a special connector with weather ceiling so that when you connect it to the camera you’re going to maintain that ip66 rating installing The Argus 4 Pro
Installation
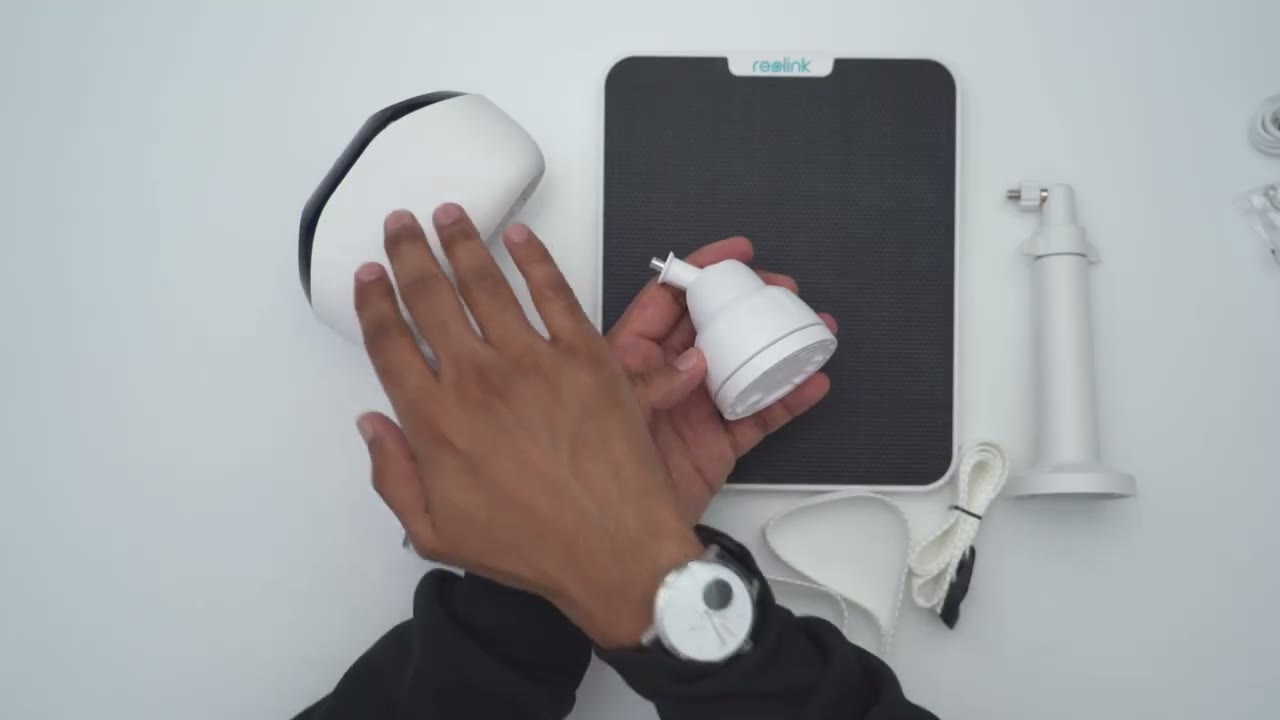
is really easy the first thing we’re going to do is loosen this bottom part of the mount and there’s two holes to drill screws through to attach it to a wall once that’s done you’re just going to fasten that back till it’s nice and tight and then you’re just going to screw in this thread into the thread mounter at the rear of the camera and then we do have um like an articulating ball head here so we can adjust the angle of the camera you can also ceiling mount the camera in this type of configuration to install the camera to a pull we would take this metal bracket here screw it in with the supplied screws and we’ll take the end of the connector strap here thread it under here Loop it back over and then connect it to the Buckle here to tighten everything up the solar panel can also be installed using strap since it does come with two straps so you would use a different rear bracket thread this strap underneath and then connect it with the Buckle like I showed earlier and if you prefer a traditional insulation there’s three screw holes you would just screw this into any surface and then use the rear thread Mount to connect to the back of the solar panel there’s a quick look
Specs
at the specs feel free to pause and review or skip ahead to the next section
App Setup
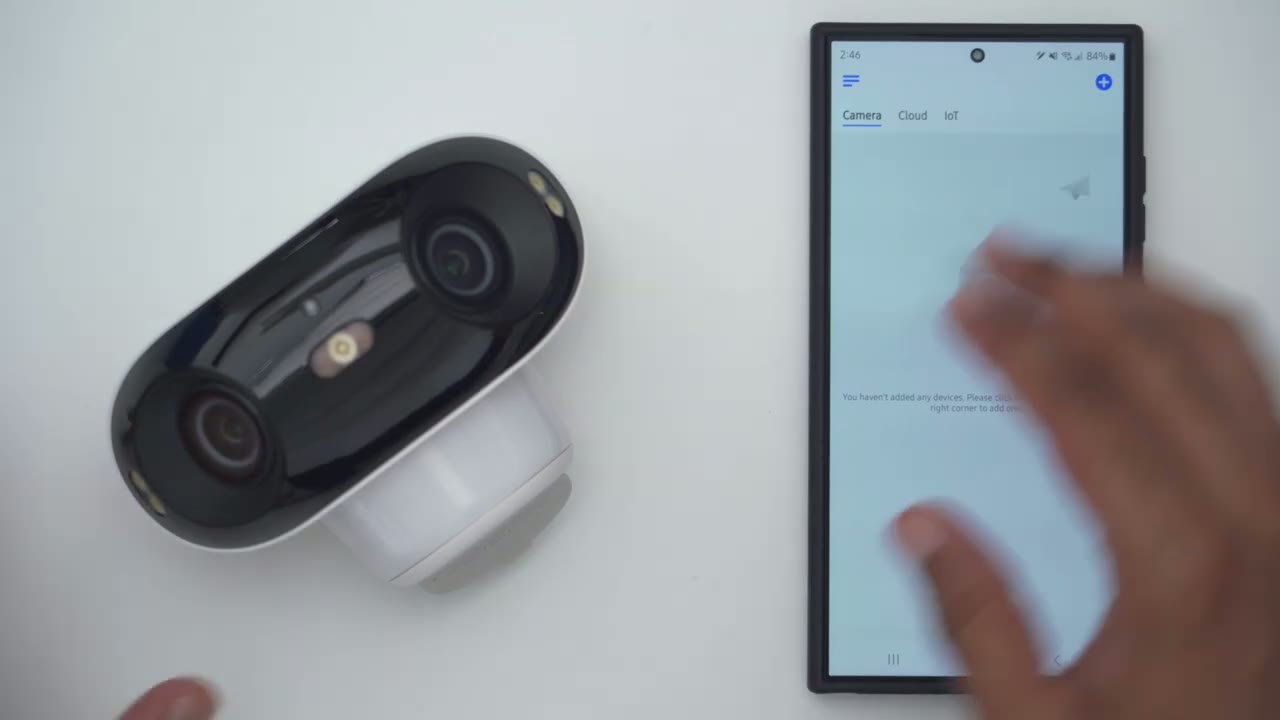
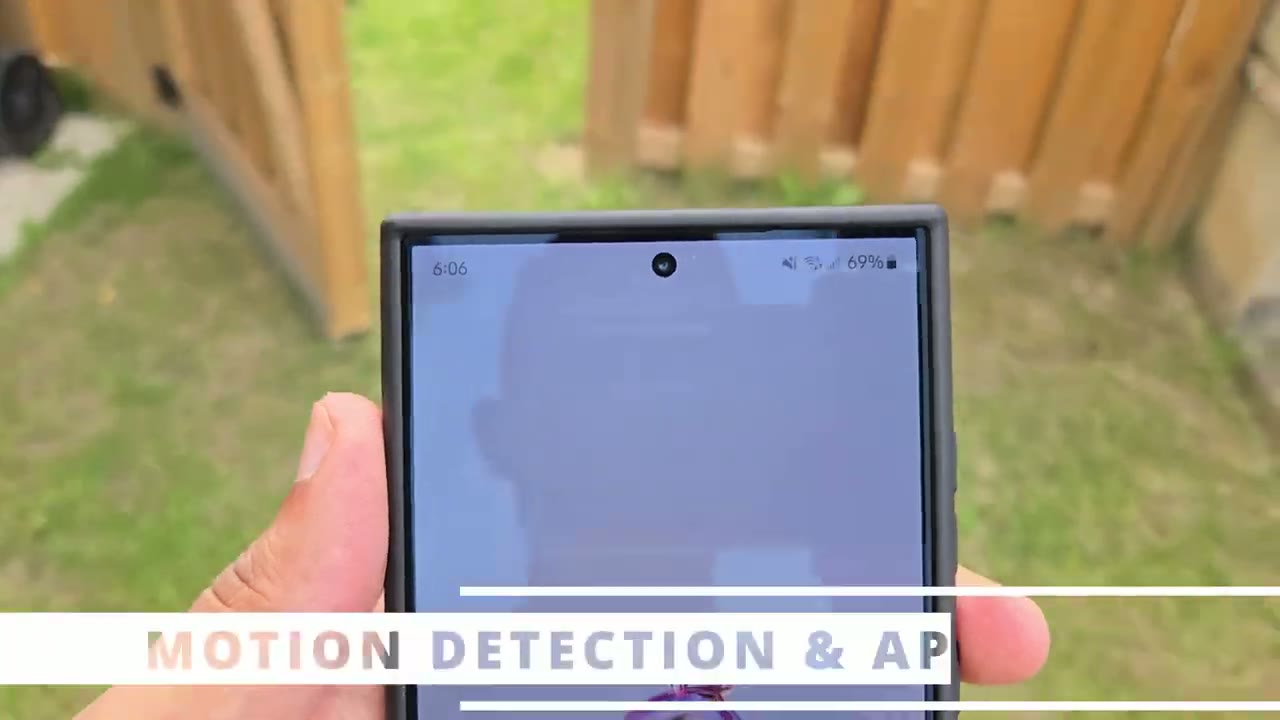
I’m now going to add the camera to the real link app so the first thing is to press and hold the power button for about 2 seconds and I can see the red LED so it’s powered on and I’ll put the please install realink app and scan the the scan the code [Music] and I’ll configure WiFi via Bluetooth I’ve heard the voice played and connection successful now I’m just going to put in my Wi-Fi password and you could use both a 2.4 and 5 GHz band which is nice all right so that was really easy I’ll just create a password now all right so I’m now finished to set up process that was pretty easy setup was successful the camera is now added to the r link app and I can see a live view right there so everything’s good to
App Settings
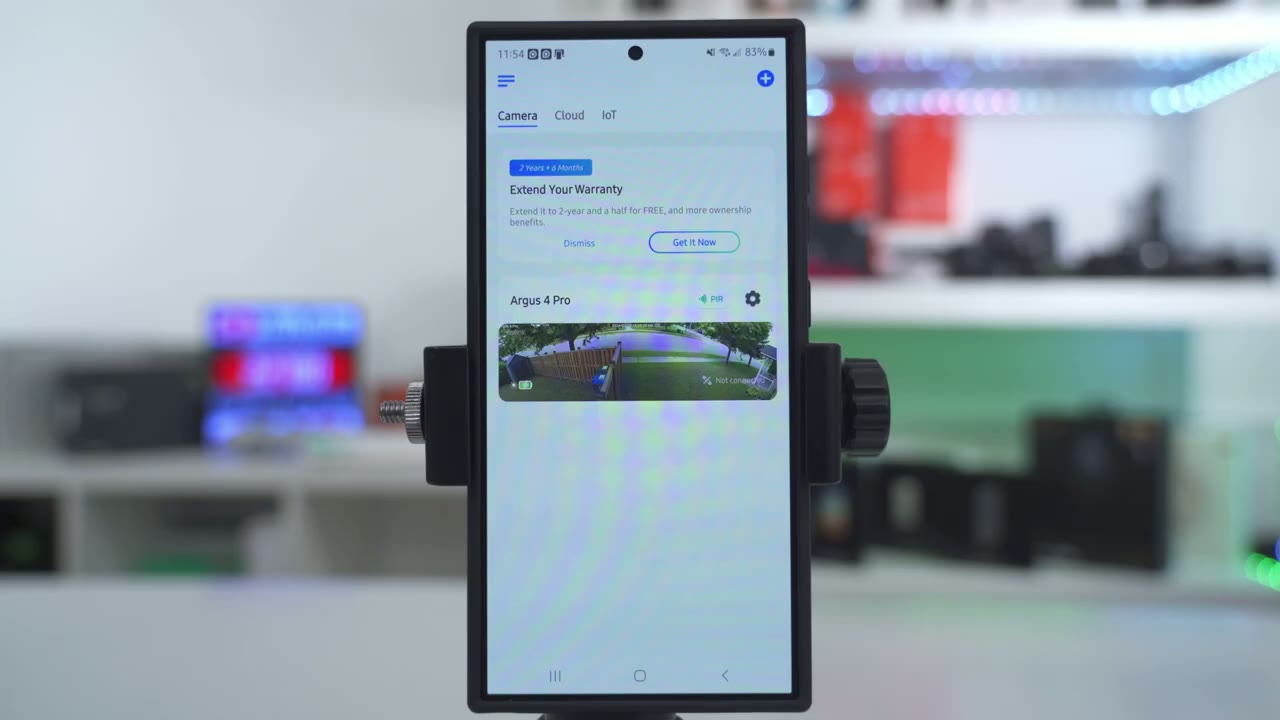
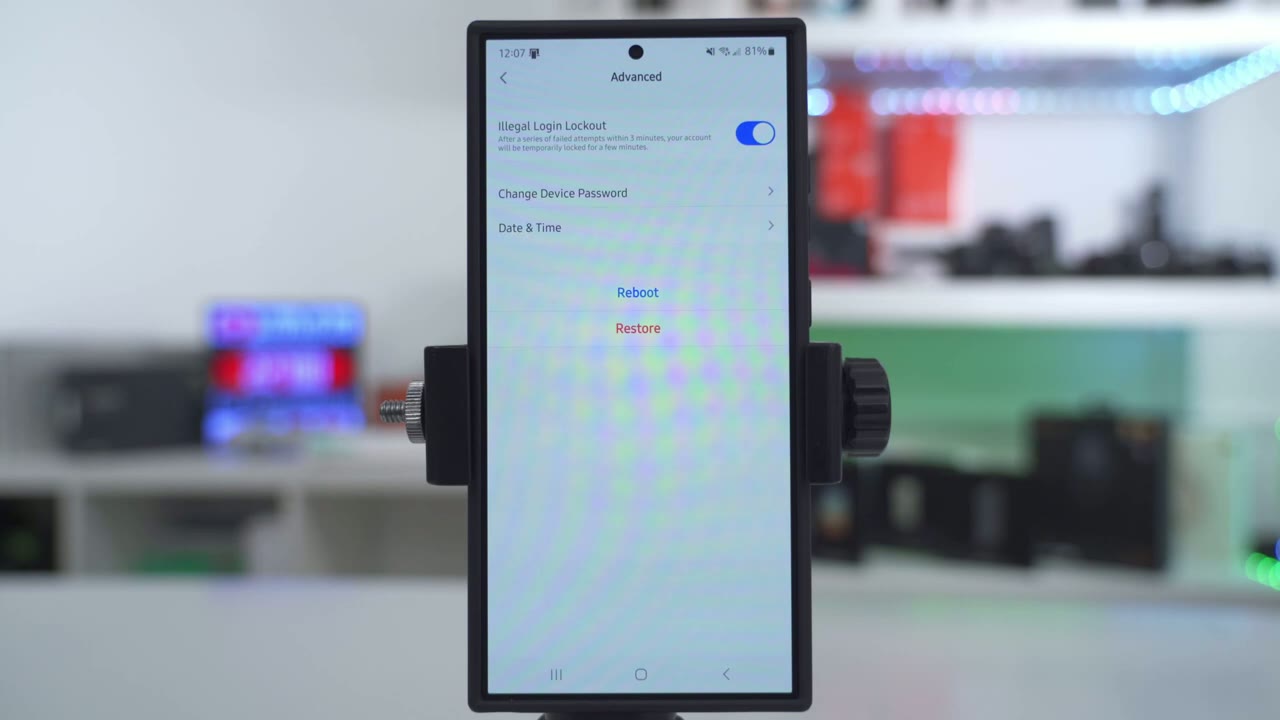
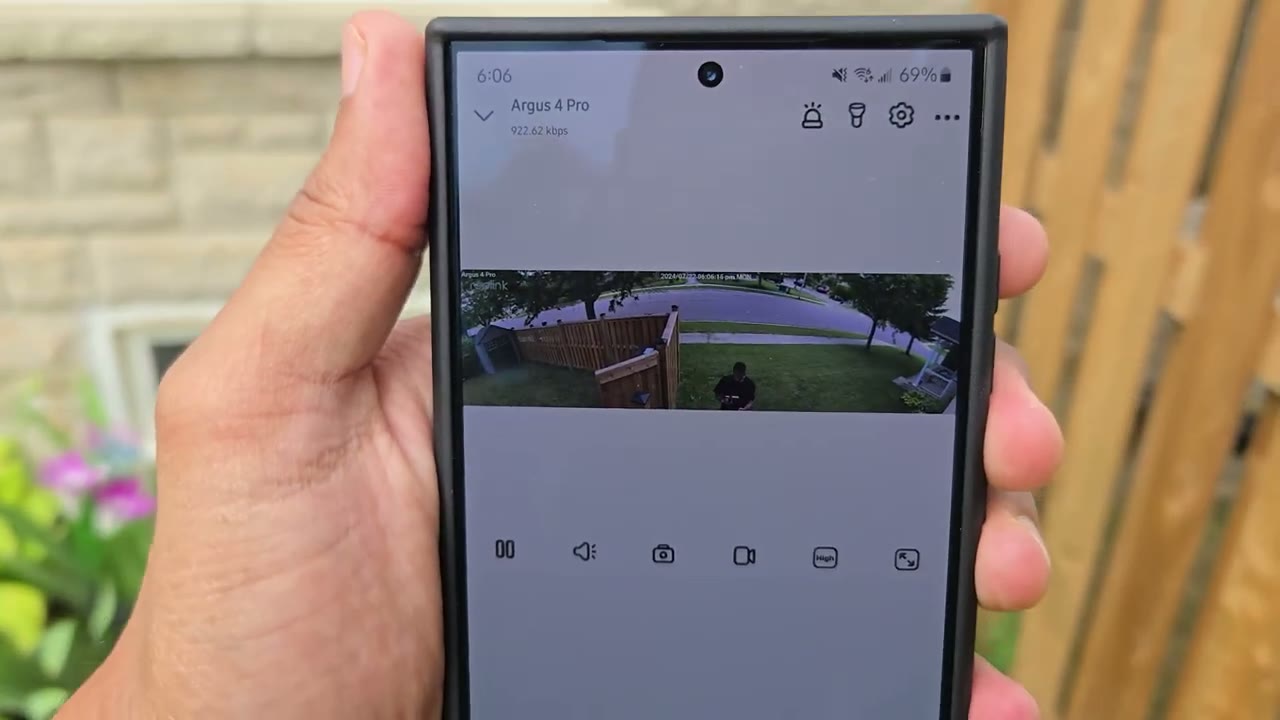
go let’s take a look at the full app settings in the r link app so as soon as you open it up you could see all of your cameras I can see the battery level charging status it is being charged right now I could turn off P right from here without actually going into the whole settings but I’ll just turn that right back on and there’s also an option here to extend your warranty which is pretty nice but let’s go into the live view and I’m just going to let this load up now notice it says high and that’s because I’m loading it at the highest bit rate and I am using my phone’s mobile data I’m not using Wi-Fi so basically anywhere you are in the world you can access the camera using your phones mobile data or any type of Wi-Fi now once the camera opens up you could see that impressive 180° field of view and that’s something really a lot of cameras cannot match I can see all the way from my backyard shed all the way to the front of my house um it’s really amazing you can see subject trajectory from any direction they’re coming at anyway from here we can go ahead and turn the speaker on or off if you don’t want to hear what’s going on outside right now I’ll put the speaker on the highest so you can hear the ambient noise a little bit if a car goes by you can also take a snapshot which is really loud and you can probably hear birds chirping so yeah here here’s a car [Applause] passing and I’m mic phone pick is really good I’ll just lower it so it’s not bugging us now aside from taking a screenshot or snapshot you can also go ahead and start a manual recording if you see something um interesting or suspicious you can do that it’s going to save directly to your phone’s gallery and then of course you could switch it from the high bit rate to fluent bit rate so it is going to drop the quality a bit but it will load faster or you know if you’re trying to preserve your phone’s mobile data or your Wi-Fi um you know quota and then we can also go into a full screen view and you can see you have much more detail and just yeah really look at that detail here I can see there’s a trash can here I can make out like you know cracks in the road um my recycle bin I could read that writing you know it says region here L3 uh 14 it’s just fantastic um the level of detail that you could see I could see this person walking across the street herea really fantastic cannot really be beat now from here we can also trigger the alarm if you tap on that it will trigger the alarm I’m not going to do that now and then you can also turn on the spotlight right from here um say you saw someone suspicious we can also go ahead and activate you know two-way talk so you can just tap on that and then you can have a conversation with whoever is standing in front of the camera before we go into the full settings if you tap on these horizontal Dots here you can go into picture and picture and you could just have this kind of floating around you have a live view of what’s going on and you can just use your phone in any other app as you please in the full settings we could see the remaining space on the micro SD card and the Wi-Fi connection information now I can also see at a battery level it’s at 92% and it’s showing you know the running time for the last four weeks and it actually shows alerts anytime a person is detected now one thing I want to mention is where I mounted mine it’s not the ideal spot because I have a very large tree um let me see if I can show you there’s a large tree right there um top left corner here that kind of casts a shadow you could see the shadow on the ground and it casts a huge Shadow even on top of the camera and the solar panel so still having 92% is fairly good in my books now we can see the WiFi um Network that it’s connected to and then you can also check the wifi strength or signal you can do a speed test if you like to make sure you mount it somewhere optimally now if we go into display so stream this is where you can see it’s either going to be clear or fluent so clear is the max resolution 15 frames per second and 2048 for the bit rate fluent is 1536 15 frames per second and you know a much lower uh bit rate almost you know a quarter of the quality and then we can go into anti flicker and you could switch it to 50 or 60 HZ if you need to and then we can also change the brightness of the image now once I took the camera out of the box and I mounted it I did not touch anything now you can see I can go ahead drag that slider to you know kind of artificially boost the brightness but um it’s really not necessary I found that the way to have this tuned or dialed in it’s pretty much perfect for me now you can also choose if you want to have the camera name and you could set the position of that or you could just hide it completely same with the date you can change it to be on or change a position you could turn on the watermark on or off and you could put a privacy mask so if you live somewhere where you know because of regulations you can’t be um having the camera pointed towards a neighbor’s house you have that option to enable the Privacy mask and then if we go into advanced this is something um where I did find I needed to do on the Dual versions but on this camera it stitched pretty much perfect for me I didn’t make any adjustments on here but you can also you know switch this up if you find that you do need some um adjustments cmage stitching but for me it’s working perfectly and then under brightness and shadows um I’ve just set everything to Auto and it’s been working great for me under audio you can deci side if you want the camera to record audio outside and you can go ahead and switch the speaker on the camera to the max volume or lower and I find even at max volume I would like it a little bit louder so I recommend just leaving it on the loudest setting under light and Spotlight I have it set to the max because I find that you know I need it as bright as it gets especially because I have ambient light outside I’m not in a pitch black area if you are you may not need to put it on the Max and then you could switch to M you could just keep the light off all the time if you like or have it on auto mode where the camera’s going to intelligently decide when to switch the light on I’ve just set it to Auto under P motion sensor you can turn this on or off and you can change the sensitivity so I have it on medium and this is the one level just below high and you know this is a pretty good balance for me in terms of getting recordings and I have also turned off reduced false alarms now with this if you find that you’re not getting enough recordings then disable this option because that could be contributing under detection alarm this is where you can set a non- detection Zone and you could set it by person vehicle or animal if you need to I’ve just not used it you can also turn on this motion Mark mode so detected moving objects will be marked and then we can also change the sensitivity for the smart detection you could set it per subject now I don’t really want to be notified of vehicles or animals so I just put it all the way down I’m only interested in suspicious people and then we can also go into object size and if you have like a lot of false um triggers you can say hey I only want things that are you know uh a certain size like this size um as a minimum or this size as a maximum to be triggered with the camera you could set it for person’s vehicles or animals but I’ve just not used this feature under camera recording this is where you can tell the camera to record or not so say you didn’t insert a micr SD card then you know you would not be able to really toggle this on or if you don’t want to record certain EV for that day you could just disable it temporarily you can also set a schedule so you can see it shows whatever is in this type of light blue here is going to be an abled and then whatever is in Gray is going to be disabled so I have it pretty much 24/7 all the time I want it enabled for person detections um you can also set it for vehicles animals and others but again I’m only interested in person so I’ve only set it for that but a lot of fine control on here and then you can also set the post motion record duration so after a camera has determined the motion has ended you can have it continue recording for 8 15 or 30 seconds if you think the subject May re-enter the frame um of course that’s going to impact battery life depending on what you pick and then I’ve set it to overwrite my oldest files which is what you should do if you want to have this type of loop recording I’ve also enabled push notifications and again you can set a schedule for this so you can have it you know off whenever you’re sleeping and then you can disable it for certain types of um subjects or triggers so yeah tons of um fine control on here and then if we go into email alert you can actually have this email um anytime motion is detected and I did use this on the rio3 the re uh realink duo3 and it worked really well but I’m good enough with phone alerts you can also use the FTP and you could turn into siren on when motion is detected um depending on if you live somewhere remote but I don’t use that feature and then you can also share the camera with other people in your family and you can also go ahead and activate this time-lapse feature which is pretty need if you’re into that under Advance you can enable the option for illegal login lockout so if someone’s trying to kind of brute force their way into your account you can enable this to just kind of block them out for 3 minutes at a time to review
Video Playback
video playback I’ll tap on the playback icon here and we can see all the clips on this horizontal timeline you can just tap into it and it’s going to automatically start playing now one thing to note is you can see right now there’s a child here and you see this kind of rectangle around her so that’s the motion Mark feature I had showed earlier you can also change the view if you don’t like the horizontal timeline so you have you know kind of a larger thumbnail of what’s going on and of course instead of going through all of the videos you can filter it by tapping the icon here and you can pick if you want to see people cars or pets you can also change the playback speed from 1X to half speed or quarter speed and then if you find an interesting video you could go ahead and download it and you can see right now it’s set to clear so I’m going to get the best possible quality if I download it with it set to clear one thing I noticed with video playback is you could see the length of the clip so this one 17 seconds 30 seconds 12 seconds uh 22 seconds 8 seconds Etc so there doesn’t seem to be a way in the real link app to set kind of a minimum recording length it seems the camera intelligently decides when it thinks motion is ended and will stop the recording of course you have the option to set the post recording duration to extend it by say 15 or 30 seconds and that’s as much control as I could find in here when I review video playback on the 13th you could see I have solid blue bars and the reason for that is because this is when I set the camera to detect vehicles and vehicles are just going you could see vehicle person vehicle person vehicle so like this would really tax the battery and that’s why I’m saying you know it’s really going to be dependent on how much activity you have going on because basically almost every minute there is a car going by on my street so I have to disable vehicles to preserve battery
Video Quality
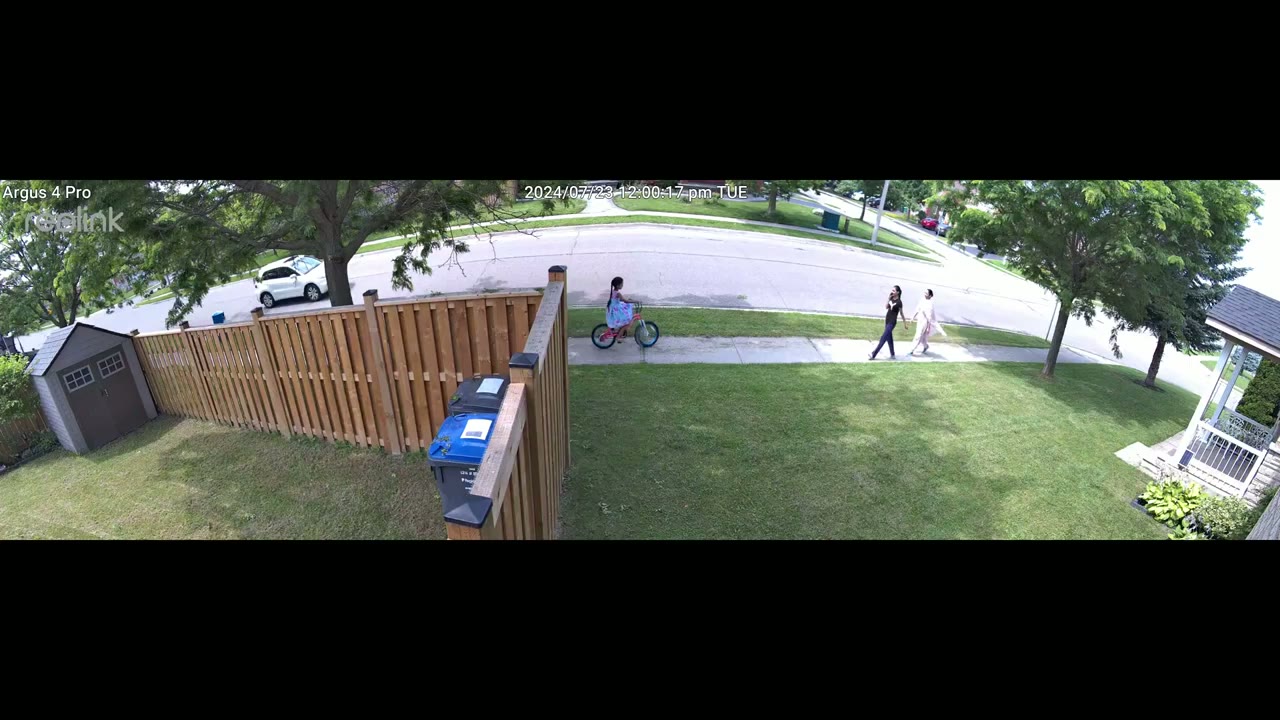
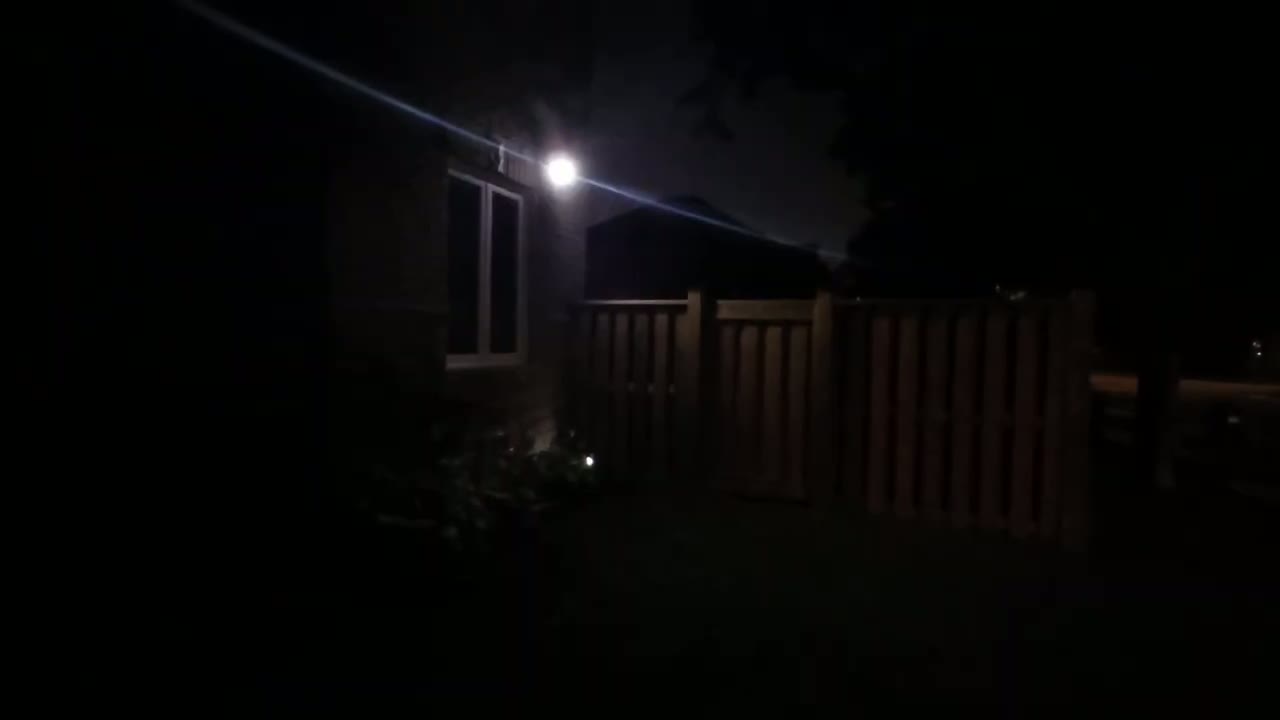
life the video quality on here is just stand out so you you can see just how clear and crisp everything is it’s easy to zoom in to make out faces outfits details I even stood with you a print out of a license plate and you could easily make that out from a fairly large distance away you also have black and white or color night vision but I just recommend leaving it on color night vision it gives you very usable video and you could still make out details pretty easily now just taking that impressive 180° F of view I can actually see all the way into my back backyard and all the way to the front of my house and even further it is such an impressive feat to be able to see that now depending on where you have this mounted it’s basically impossible for someone to just hide outside your property or in your backyard because you have even enough coverage as long as you mount the camera high enough and you angle it down enough you know there’s pretty much nowhere someone can hide it makes it so easy to track subject trajectory so if someone just came to your house you know kind of acting s suspicious you can see which direction they came from and where they went the
Motion Detection & Alerts
camera is also very quick at detecting motion sending you the app alert and then whenever you tap on the Apper it opens up live view very quickly so you can easily monitor whatever is going on
Spotlight
outside and here’s what the 300 Len Spotlight looks like at 100% brightness so even though I have the camera placed fairly high up it still did a decent enough job Illuminating the area this is
2 Way Talk
what 2-way talk sounds like on the realink arus 4 Pro Camera
Alarm Siren
No speech in this section.
Storage
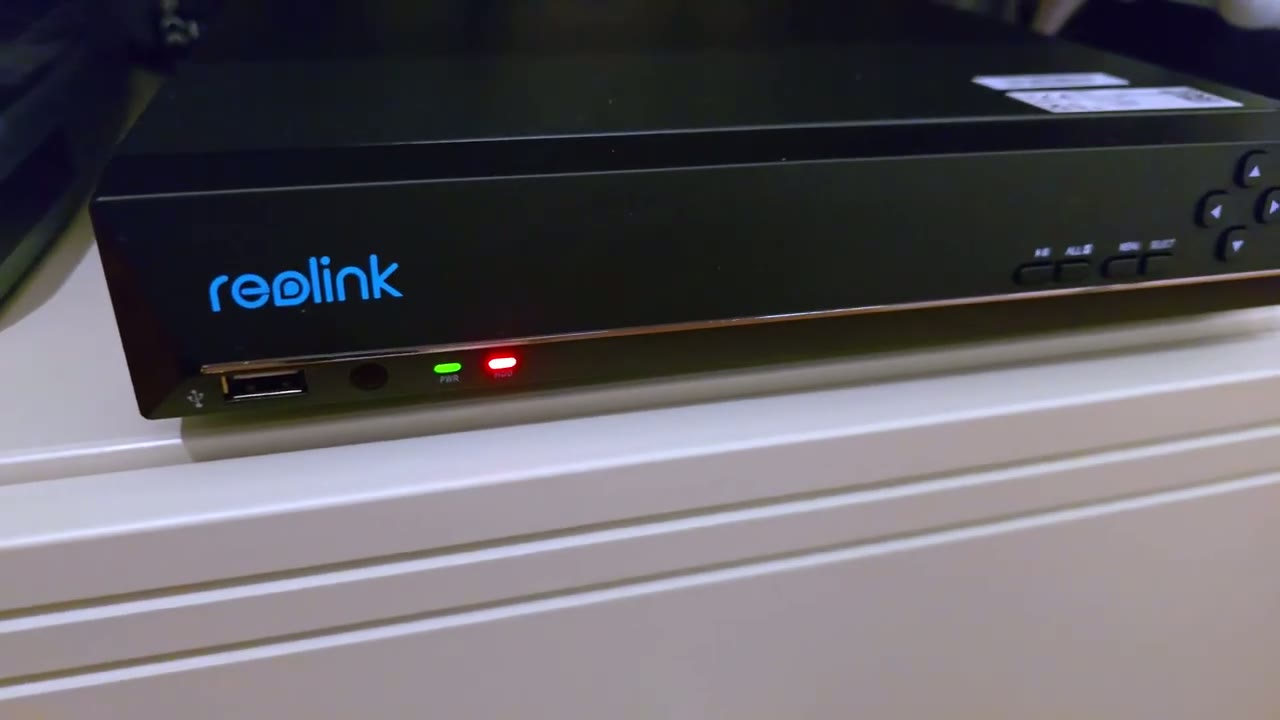
the camera lets you install up to 128 GB micro SD card now that’s good enough since this is just recording by event based not 24/7 recording however due to the high resolution of the video clips I would have liked if we could have had you know a 256 GB capacity or 512 GB capacity but realink is coming out with their own Hub and you can also connect this to real Link’s NVR as well so you have a lot of options I’ve also had
Battery
great battery life so far thanks to the attach solar panel now my battery life usually s between the 990 to 100% range and where I installed this it’s not the best place on my house because where I installed it there’s a tree basically in front of the camera very high and anytime the sun kind of hits it it casts a huge shadow that kind of obstructs the solar charging but even with that the solar charging is so efficient on here I’m living within the 90 to 100%
Build Quality
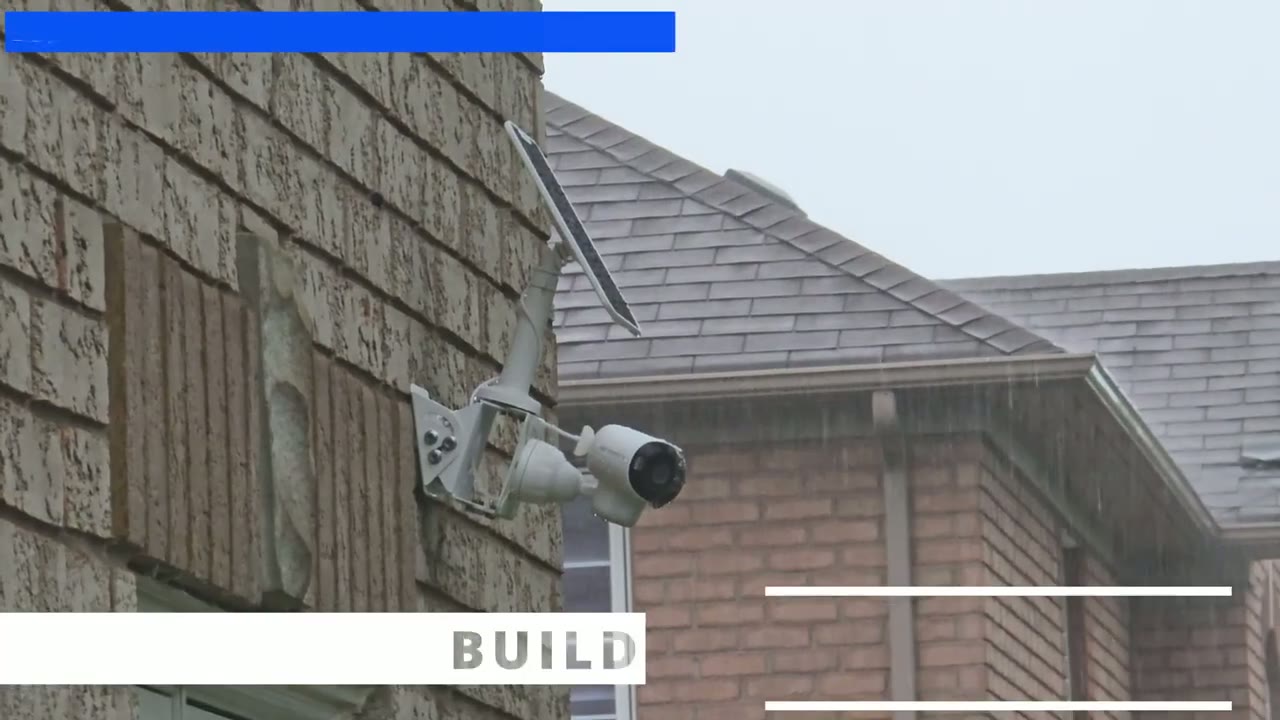
range so can I recommend the real link
Recommended?
Argus 4 Pro solar Pate security hammer and it is such an easy yes for me and that’s especially true if you looked at their other models like the DU 2 or the DU 3 which requires some form of hard wirring either for Ethernet or just providing power with a cable you get all of that type of you know 180 degree functionality but in a very compact body with very efficient solar charging really the only thing you’re giving up compared to the hardwired versions is the ability to have 24/7 recording because this is so feature packed you know we have that great recording resolution and even with that battery percentage is good on here thanks to efficient solar charging build quality is good on here the motion detection and apple speed also very quick and on top of that there’s zero monthly fees so if you’re looking for a solar powered security camera it is very hard to beat The realink Argus 4 Pro because while there are other solar powered cameras out there that have pan and tilt functionality for subject tracking if the subject moves too fast there’s a chance you can miss it by the time the camer pans and tilts but with this 180° field of view being constant you won’t miss anything so I’m going to leave some links down below if you want to pick up the realink Argus 4 Pro and if I manage to get any type of coupon codes I’ll leave those down below as well and don’t forget to check out some of my other Tech related videos I review a bunch of different Tech on this channel I’m sure you’ll find something you like and if you did find this video helpful please consider liking and subscribing it truly truly does help me out quite a bit and I’ll see you in the next one soon
Buy Reolink Argus 4 Pro on Reolink
Buy Reolink Argus 4 Pro Cam on
Buy Reolink Duo 2 POE Camera on Amazon
Buy Reolink Duo 2 Wifi Camera on Amazon
Please note that some of the links in my video descriptions are affiliate links where I earn from qualifying purchases. As an Amazon Associate I earn from qualifying purchases.