


☑️ Get Legion 7i i9 14900KF & RTX 4080 SUPER USA
Please note that some of the links in my video descriptions are affiliate links where I earn from qualifying purchases. As an Amazon Associate I earn from qualifying purchases.
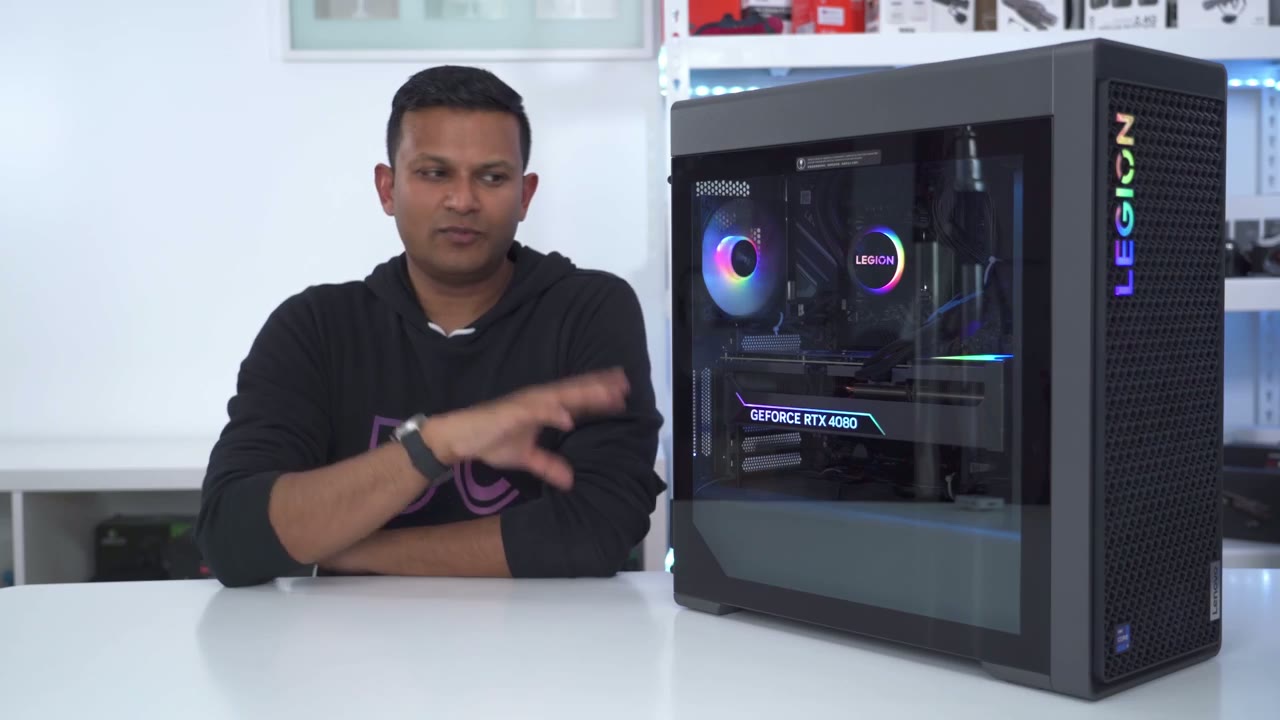
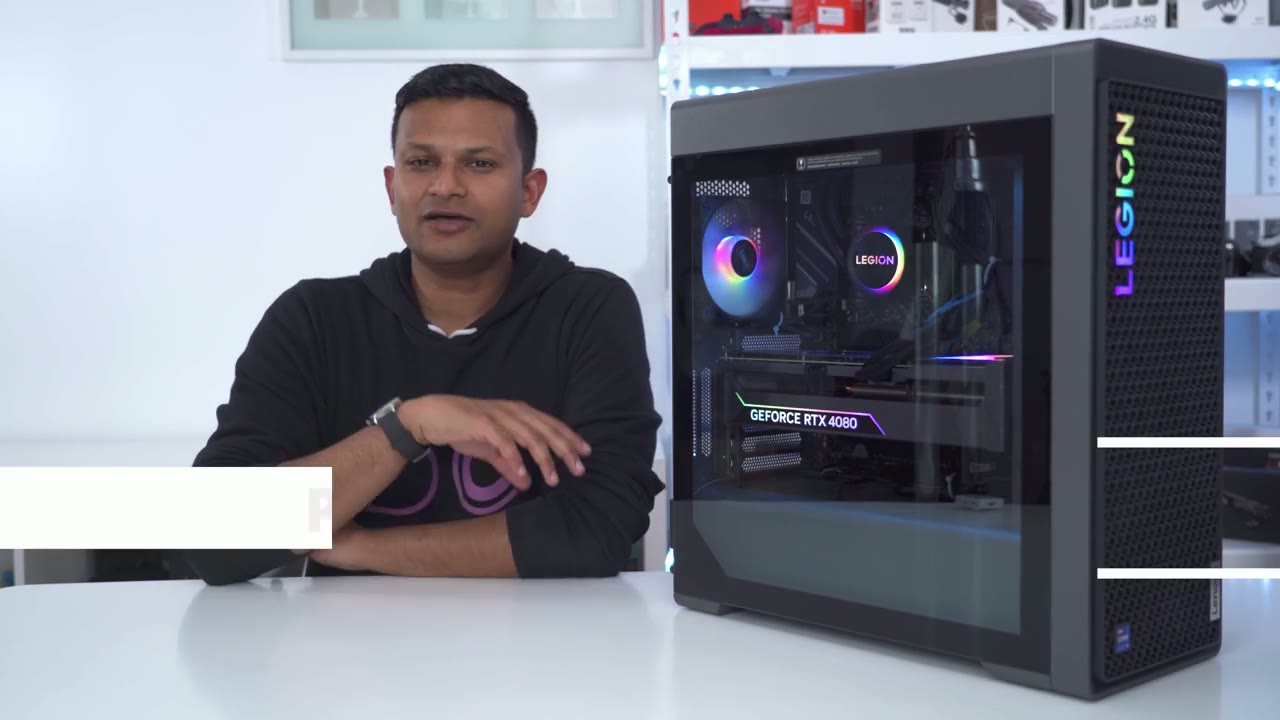
Intro


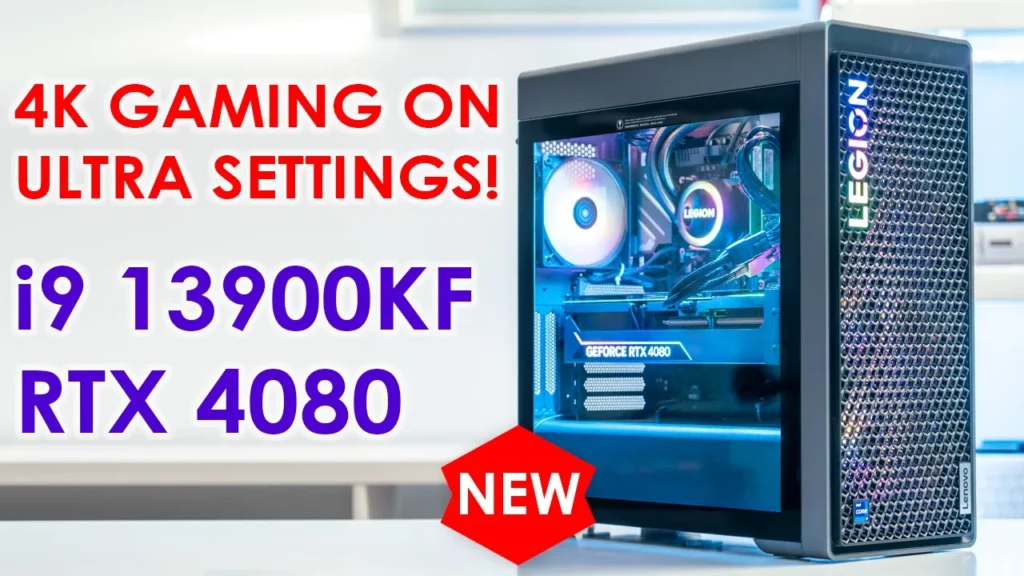
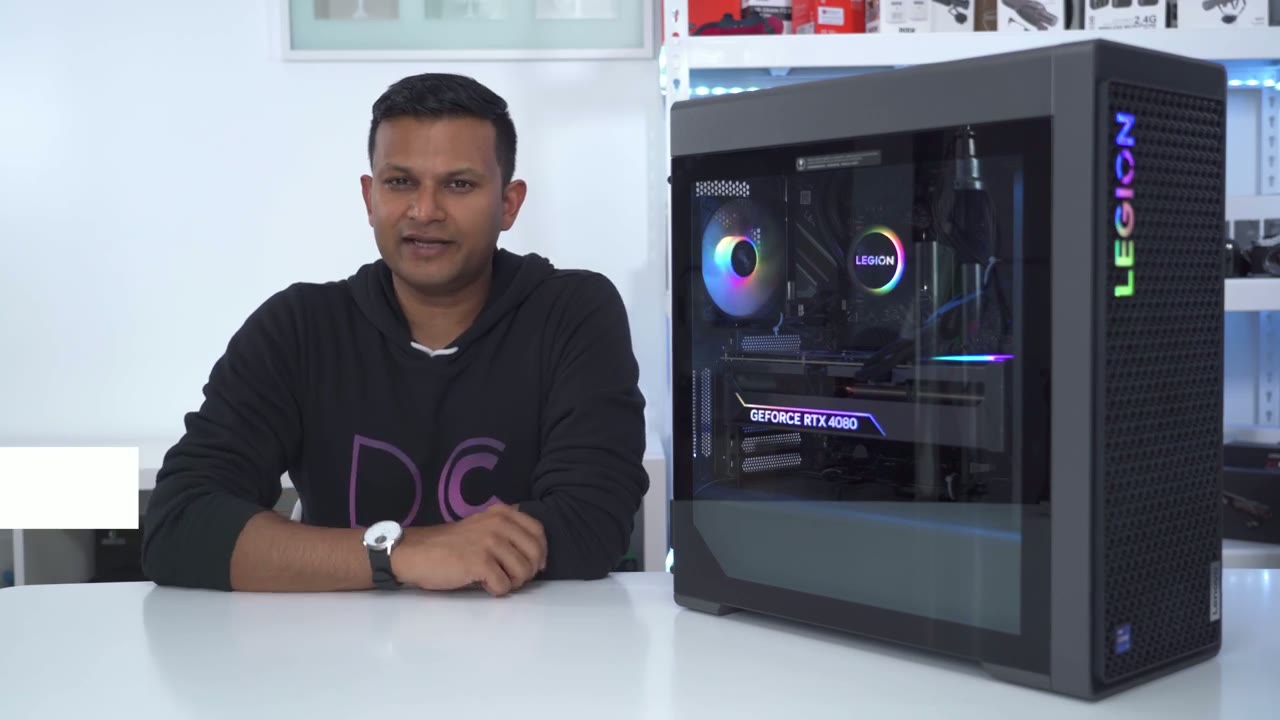
hey guys it’s Adrian today I’m taking a look at lenovo’s brand new gaming PC so this is the legion 7i and is there a generation of this PC this one comes with an I9 3900 KF a 4080 graphics card 32 gigs of ddr5 RAM liquid cooling and an 850 watt power supply so I’m going to review this computer I’m going to take a look at The Thermals noise levels overall performance gaming benchmarks rendering now I also have the previous generation of this computer the 7th generation and I’m going to include some of those benchmarks when I review this
Not Sponsored
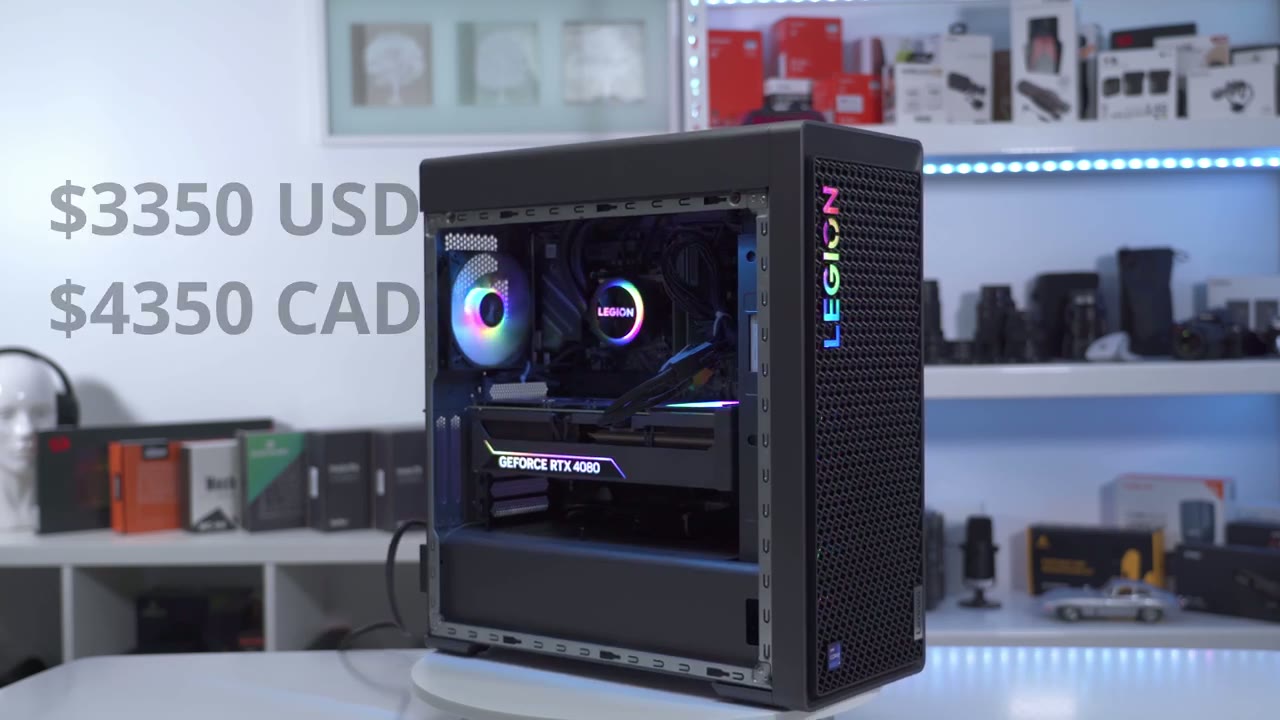
one before I get into the rest of the review I just want to mention that this is not a sponsored video I just bought this by myself and this configuration comes in at 3350 us or 4 350 Canadian and there is only one configuration
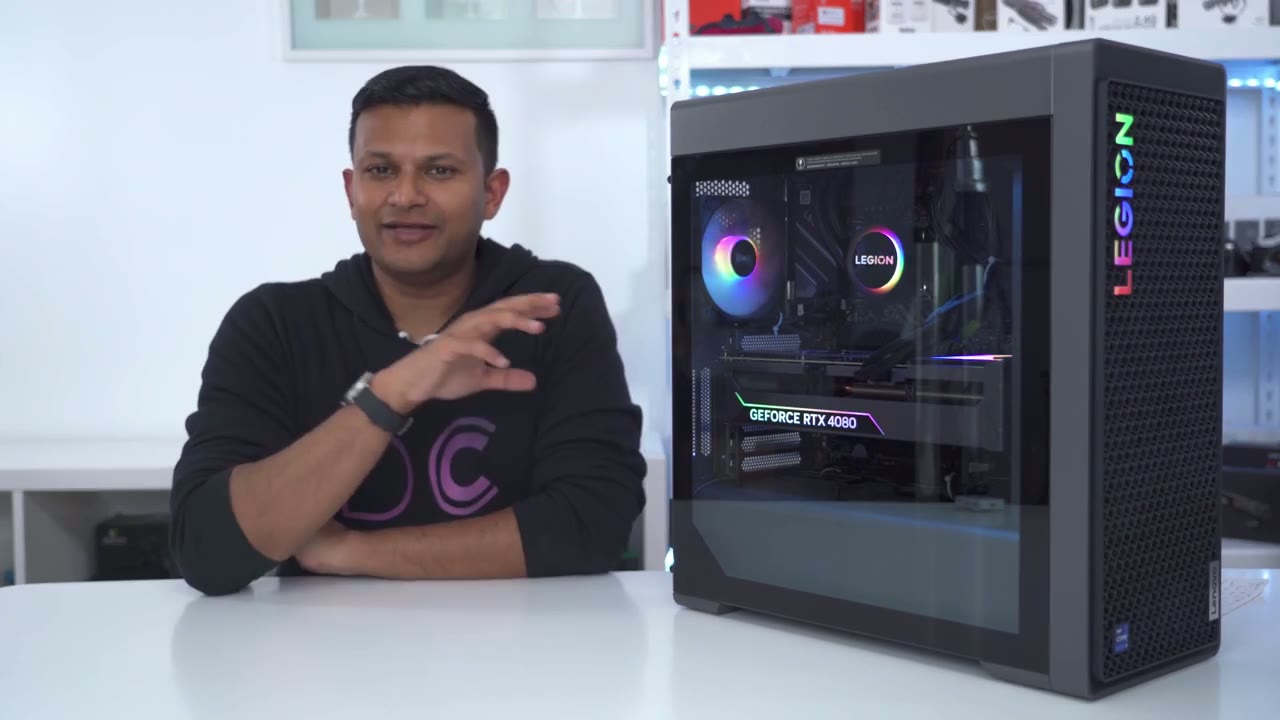
Specs
right now the system is running on a z790 motherboard and it’s also running with an I9 3900 cap but there’s no integrated GPU on that chip it’s an RTX 4080 with 16 gigabytes of RAM and there’s also 32 gigabytes of ddr5 RAM at 5600 but it does doesn’t actually run at 5600 it only runs at 4 400 and I’ll get into that later in the video you can put a maximum of 128 gigabytes of RAM on her it also comes with a one terabyte pcie Gen4 SSD and 850 watt power supply and a 360 millimeter AIO dimensions are 19.3 inches by 8.3 inches by 18.2 inches and it also comes in at around 17 kilograms or 37 pounds the case design is a
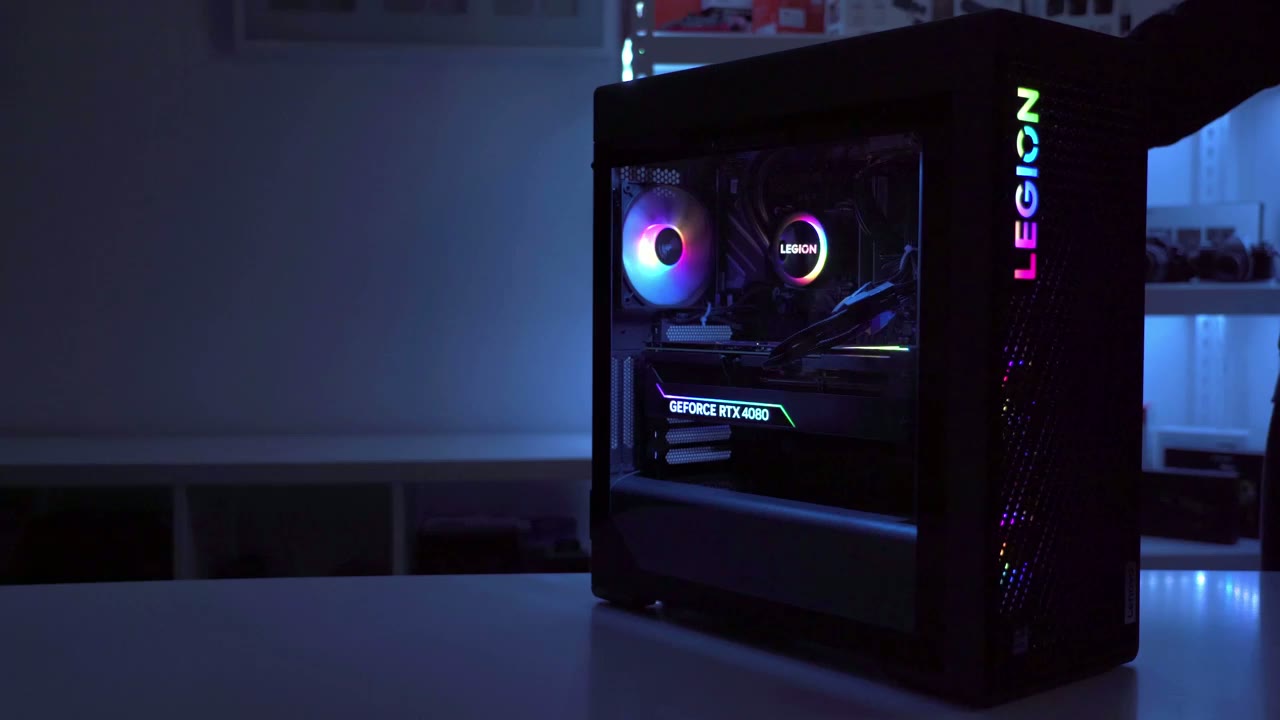
Case Design
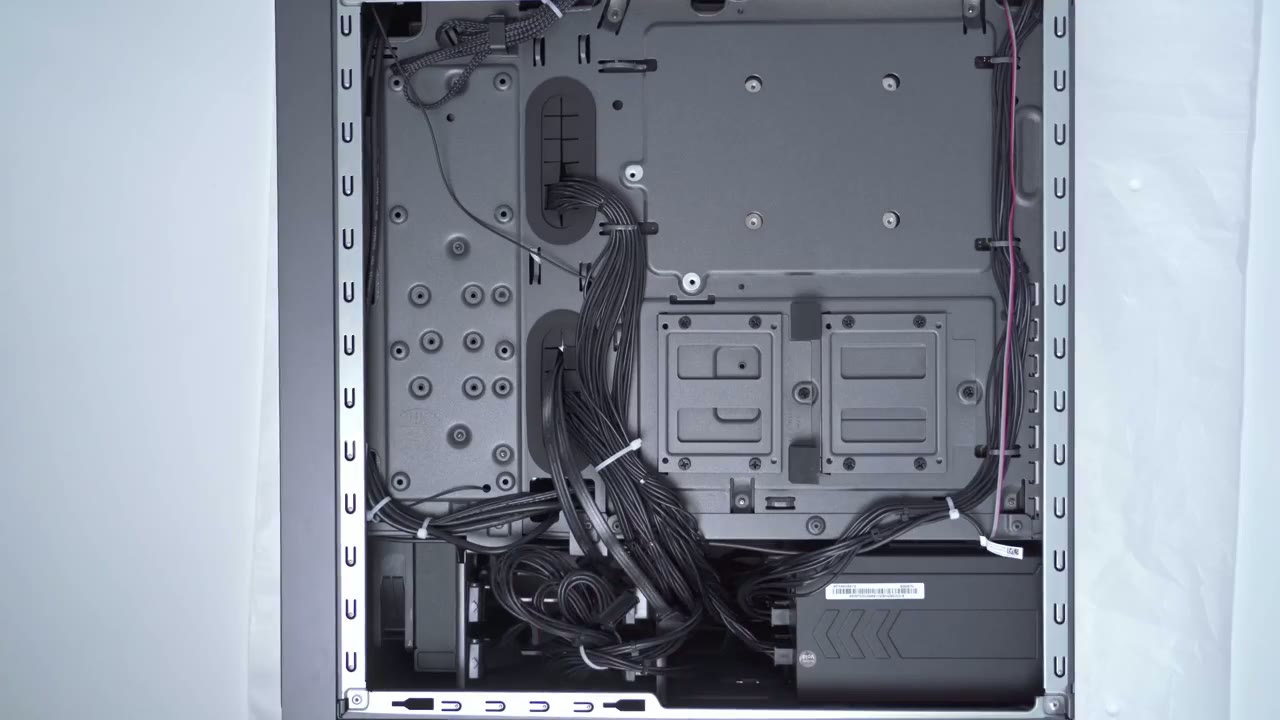
definite improvement from the previous generation and the previous generation didn’t look bad this just looks way more modern as well there’s a quality of life Improvement where you can remove this side panel with two thumb screws at the back with the previous model they had four screws on the side so you have to use a tool to get access to it the rear Parts include one USBC 3.2 gen 2×2 2 USB 2.0 ports four USB 3.2 gen 1 ports One USB 3.2 Gen 2 ports there’s six audio connectors with spdif one lighting switch and an RJ45 connector Port the graphic face card has one HDMI input and three display ports while there is an option to vertically Mount Your GPU it’s only for a two slot card so the 4080 being a three slot card has to stay horizontal similar to the previous case we have two USB 2.0 ports two USB 3.2 gen1 ports a headphone microphone Jack but there still is no USB type-c unfortunately the top vent panel doesn’t run as wide as on the previous case it stops a little bit shorter the front of the case has the most striking part so we have the Legion logo here the Intel I9 badge and the Lenovo batch and it has this type of 3D cube like texture or pattern in addition to the four rubber feet to keep the case planted there’s also a removable dust tray filter that’s secured by one screw put the glass panel out of the way we can see that it’s pretty clean looking interior so it’s an all-block type of belt cabling is well done and I only wish that they use black zip ties instead of these white zip ties the three front fans act as intake and then the top two and the rear one act as exhaust fans pay attention to the width of the 48 you can see it’s a pretty big card it’s a three slot and there’s not a lot of room here so between the radiator and the GPU it’s about uh 0.75 of a centimeter left so not even an entire centimeter of space remaining so if you’re ever thinking about replacing this car the replacement card has to be the exact same type of dimensions and if the 50 Series cars are much wider you know just forget about it unless you’re willing to give up this radiator along with the vertically mounted radiator we also have a shroud here and you can see there’s two standoffs for vertically mounting a GPU again we can’t vertically Mount this this is a three slot card and the vertical mounts at the back are just for a two slot card even though this 4080 is a pretty chunky and heavy car there’s actually no sagging on here because they use the GPU bracelets connect the thinner case this is what the 4080 looks like once it’s removed and it’s such a big and heavy car kind of a tight fit to get it out because there’s not a lot of room right side or left side but yeah triple fan card you can see we have the logo there and that’s what lights up with the RGB power connector Port right there and then at the top here we have that square LED ring light area which is such a nice touch now on the back we have the four ports so one HDMI three display ports now this is the bracket or the brace that’s holding it and preventing it from sagging so you can see you do have a little bit of room if you work to remove this and then just prop the graphics card up some other way if you need to and there is some rubber padding where the brace meets the graphics cards just to prevent vibration this is what the ram stick looks like so it’s a Samsung Ram stick and you can see that there’s an area here where it shows the speed 5600 megahertz now no matter what I do I can’t get it to run at that speed I can only get it to run at 4 400 megahertz it doesn’t matter if I use one ram stick if I change around the slots it’s always stuck at 4 400 megahertz if the one terabyte Gen4 SSD isn’t enough for you you have an additional slot at the top and the bottom on the other side of the case we have the 850 watt power supply but I don’t see any logos telling me what brand it is we do have options to add two two and a half inch hard drives here and there are bays to add two three and a half inch hard drives and we do have cable and pre-ran for that if
Gaming
you’re buying this for gaming you’re not going to be disappointed so compared to the previous generation I was getting from 20 to 93 Improvement in frame rates and that was across a variety of games at a 4K resolution with the maximum settings so if you’re going to be playing at 1440p or 1080p you’re going to get even better results that I’m going to show right now foreign foreign [Music] that I have the computer on the desk right next to me and as it was kind of like ramping up with power draw I was noticing a bit of coil line but then once the fans kicked in you know when the temperatures went up I didn’t notice it at all now I don’t game with headphones so maybe it was more noticeable to me but if you’re going to be putting this on the ground far away from you or you’re going to be gaming with headphones it’s not going to be a problem now if that type of stuff really bothers you you could just you know do like a frame cap just limit the frames I left everything at unlimited I wanted to see how hard I could push it but obviously if you put a frame limit that’s going to reduce some of the power draw as well you could also try undervolting and that’s where for some people but again like when you’re just gaming like right in the thick of it I don’t think you’re gonna notice it at all by the way guys if you’re finding this review helpful please consider liking it subscribing I truly do appreciate it and it helps small channels out like mine but let’s get back into it while there was a big
Rendering
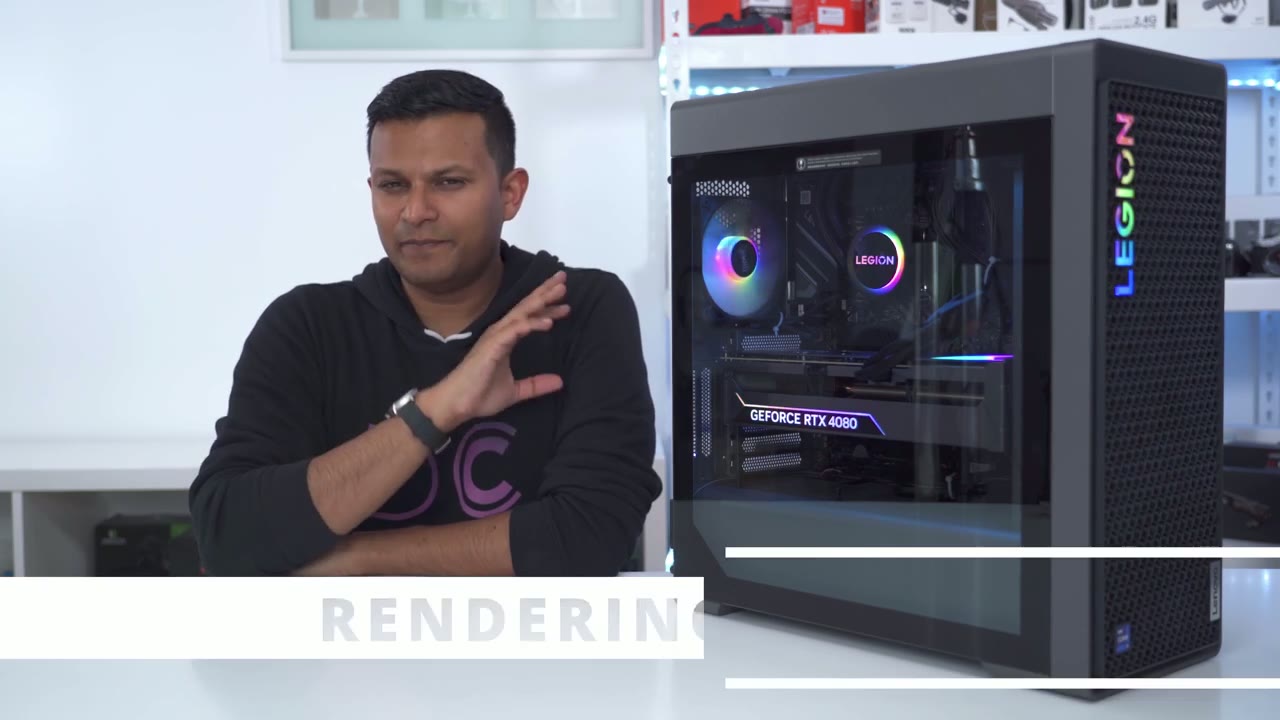
Improvement with gaming going from a 3080 to 4080 when it came to rendering it was a little bit more of a mixed bag for some projects the 4080 was saving me about 10 to 15 seconds off my rendering time coming from the 3080 which isn’t a big difference and not a reason to upgrade but in other project it was saving me close to almost two minutes in rendering time and in one project specifically where I rendered a 4K file about 15 minutes long pretty much like lossless it rendered it one minute and 42 seconds quicker than on the 3080 so about a 43 Improvement but let’s take a look at some of those rendering tests the 3080 rendered the file in 5 minutes and 52 seconds and the 4080 rendered it in four minutes and 5 Seconds so that’s a 43 Improvement and about a minute and 40 seconds faster than the 3080.
running a few rendering tasks the results are pretty interesting because in some cases it was an improvement with the 4080 but in other cases they were pretty similar using blackmagic’s built-in Benchmark you could see the 4080 definitely beats the 3080 in GPU and CPU another thing to keep in mind is that on the previous version of this computer it came with an I9 12900k which had an integrated GPU which helped with rendering tasks on this processor the i939 engine KF there is no integrated GPU so all of the work is only on the GPU it can’t really divide or split that work up so I think if you’re mostly rendering you know short duration projects you can go with the 3080 version it’s pretty good at keeping up with the 4080 and if you really rendering you know long duration projects that’s where the 4080 really shines and it’s probably due to you know better efficiency and you know just better managing the temperatures so that it doesn’t have to actually under clock to have a long sustained rendering time
Benchmarks
if benchmarks are important to you it’s no surprise that the a generation of this PC easily bested the Seventh Generation Now the improvements were anywhere from between 10 to 57 percent across a variety of benchmarks before running the benchmarks I’m made sure that I waited in between tests so the temperatures were dropped back to their idle temperatures for both the CPU and GPU and I did that on both computers now with this computer specifically it has an option to turn on overclocking for the CPU and GPU which the previous generation didn’t have and this is why it took me a little bit longer to run the benches on this because I ran it with the overclock on and then with it off and really it doesn’t matter because I only measured about a 0.42 you know 4.2 percent difference with the overclock turned on so I think it’s really not worth it I also ensured that there were no background programs running and all the latest drivers and updates were applied so let’s take a look at the benchmarks in PC Mark we had an 11.5 percent improvement over the previous model in CPU benchmarks the 3900 KF was faster by 36 percent when looking at all threads in Times by extreme the new system was 37.5 percent higher than on the previous version in Port Royal the new computer was 57 faster than on the previous version in geekbetch we we had a 27 increase in multi-core and a 10 increase in single core for The Thermals I really have no
Thermals & Power
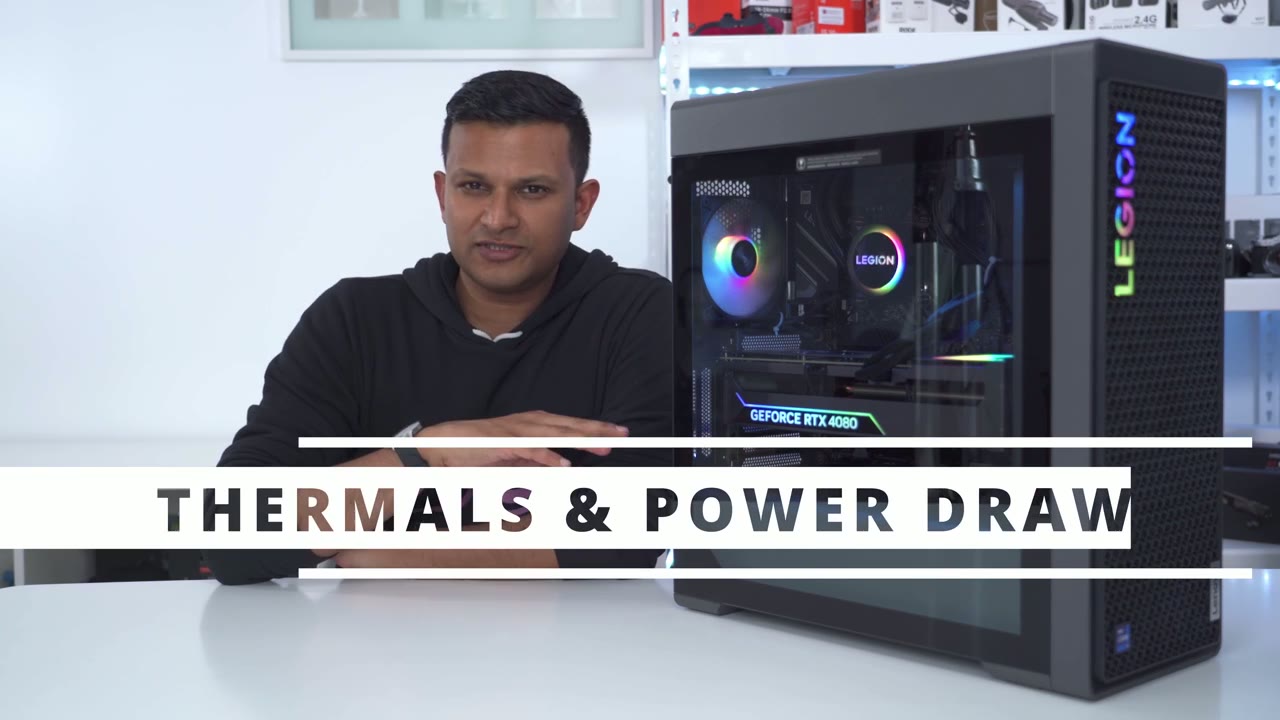
complaints but I did notice one interesting thing so on the previous generation the I9 12900k at idle was around 22 degrees Celsius on this new generation with the I9 3900 KF at idle it was 30 degrees Celsius so that was 8 degrees hotter on the I9 3900k at idle when it came to the 3080 versus 4080 the 3080 was running between you know 26 to 28 degrees at idle and on the 4080 it was around 29 degrees so during normal gaming and rendering I didn’t notice any type of thermal throttling going on however I was able to get it to Thermal throttle by really stress testing this thing like crazy so I ran Prime 95 for the CPU and MSI combustor for the GPU and it definitely did thermal throttle pretty quickly and the power draw just ratcheted it up but the power supply actually didn’t trip it didn’t shut down it didn’t give up and it actually sustained that type of stress test so let’s take a look at that now I have set up a power meter just so that I can get an accurate power draw of you know what the computer is pulling from the wall versus just you know going by whatever is reported in software so you can see it’s fluctuating from about you know 60 to 70 Watts now the only thing I have running is Hardware info 64 and hardware monitor nothing else is running and the temperatures are pretty much at idle for both the CPU and the GPU so what I’m going to do now is I’m going to start a screen recording and I’m going to show you guys what I’m seeing on the screen so let me do that now and you’re going to see that the power draw is going to jump up because now the GPU is recording in 4k quality 30 frames per second so we can see the power draw has gone up into you know the 90 to 100 range now what I’m going to do is something very crazy I’m going to stress test the CPU and GPU past what you would normally ever do in any type of game and rendering just to see if I can you know trip the power supply cause it to crash or just shut down it’s going to get very loud now the computer is on thermal mode so it is set to um use you know the most amount of fan or cooling as possible so the first thing I’m going to do is I’m going to run Prime 95 which is super taxing and then I’m going to run MSI combustor and soon you’re going to hear the computer ramp up you could see the Watts have already skyrocketed we’re now into 380.
so let me run the GPU stress test as well and I’m going to run that at 4K and let’s take a look at the power draw you can see it’s fluctuating a bit let’s let MSI combustor load up that power draw is going to get exponentially higher you can see where right away now at around 650 and this is 850 Watts rated now for those of you who are interested in thermals you could see that the package temperature it’s jumped up from you know the idle temperature of around say 30 32 it’s all the way at 90 degrees Celsius now and then for the GPU that’s usually at around 30 32 that’s not 56 it’s going to get much higher as MSI combustor runs now if we take a look in Hardware info 64 we can see so far nothing is thermal throttling but you could see the core temperature is really jumping up now if we look at Hardware info now you can see it is thermal throttling thermal throttling and it actually is showing which of the performance cores is our thermal throttling so yeah there’s definitely a limitation now again this is not you know something that you would normally run day to day you’re not going to be running Prime 95 and MSI combustor these are two very taxing things on the GPU and CPU but so far the computers actually you know still handling everything the power supply is okay it’s not going into the 850 range even though we could see that it is being thermal throttled right now and the temperature look at that it’s all all the way at 100 degrees Celsius now for those of you who are interested in the vrm and I don’t think that this motherboard has that sensor on there where we could take a look at the package temperatures here and this VR temperature then you can see everything’s around the 90 degree celsius range and again taking a look at our power meter you can see that’s into the 700 Watts so we still have about 150 watts of uh Headroom or you know buffer for before we get into serious trouble and so yeah you can see pretty much yeah the CPU is already thermal throttled some of the performance cores so MSI combustor has been running for a little bit and the GPU temperature is around 66 and that’s kind of where I’ve seen it when I was gaining around 66 to 67.
now I’m not gaming for you know hours and hours on end but yeah around 67 is where I’ve normally seen it at now I am running this MSI combustor test at a 4K resolution which is quite taxing the noise levels were very manageable as
Noise Levels

well so at idle it was around 38 DB which is what I measured on the previous generation as well and then when I was gaming it would go up to say you know 40 45 maybe up to 50 depending on the game I was playing um rendering didn’t seem to bother it that much so it’s pretty manageable I would say though that because it’s you know it seems to be a better ventilated case than on the previous generation you may hear more of the noise especially if you have it sitting right next to you but overall it’s nothing crazy where you’re gonna like lose your focus because it’s going off like a jet engine this is what it sounds like at idle around say 12 inches foreign
Lighting
there’s a switch at the back of the case that lets you cycle through three preset color modes so you can see this is the first mode where all the RGB is on everywhere in the case a single press of that just leaves the legion writing at the front and the GPU another press leaves the GPU alone without any other RGB and right now there’s no way to turn off the GPU lighting or change the color and then another press again turns everything back on we have pretty good lighting options so right now it’s at the profile one which is this rainbow RGB mode two is something called breath and three is where it just Cycles through the different colors and of course I could turn everything off except the GPU lag that just always stays on I really hope they update this software to customize that but let’s go into the first mode and go to customize and you can see there’s six areas on the case where we can modify leading so this first area is called internal ambient lighting and there’s an LED light strip at the very top right now it’s at the static I’ll increase the brightness here but you can see if I put it to off and let’s just wait you can see the case gets really dark it’s just the RGB on the components so you can put that on or off if you like I think it looks better with it off but just I’ll just leave it on for the rest of this now if we go into the second option it’s the rear fan lighting it’s at a rainbow right now I can switch it to something like meteor cycle and you can see it’s now switched actually let’s go into meteor rainbow that’s probably a better one and yeah you can see that rear back fan is just cycling through rainbow colors and of course I could change brightness and speed and that goes for any of these other areas if that option allows so liquid cooling pump so again I can also switch the brightness and speed of this and the same type of effects if I want the other is we can control are the front fan lighting and of course you can set custom colors if you like so if I go into say breath I can switch that to Red for example now I can also go into the top fan lighting again I can switch that to whatever color I like I don’t have a Top Shot for you guys to show that real-time change and then finally it’s the front Legion riding right now it’s this blue color but you can switch it to really any color that you want or the rainbow color in the Lenovo Legion software we
Vantage Software
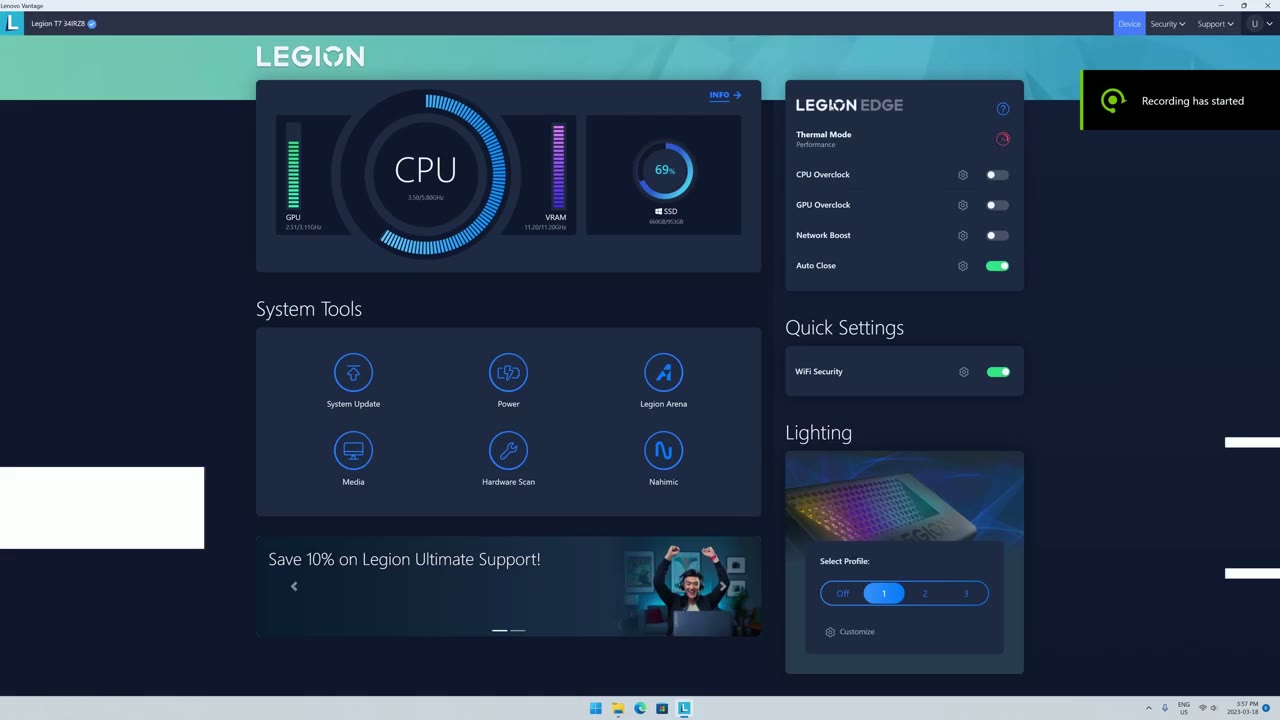
have quick access information like CPU speed GPU speed vram and hard drive space now most importantly is this area called Legion Edge and you can see it says thermal mode if I click into that there’s an option here for performance mode balance mode and quiet mode now I’m going to keep it on performance because I’m paying for all this Hardware I want maximum performance out of it but it’s going to come at the cost of higher fan speed and power consumption now there’s a bounce mode and there is another option under there to enable Legion AI engine to automatically detect gameplay and tune CPU and GPU performance so it does mention that the temperature on your computer and fan noise might increase so that’s you know if you don’t want to keep switching between balance and performance you could just leave balance with this option here and it’s automatically going to do it for you now you can also click quiet mode where it’s going to reduce power consumption and fan noise a new addition and Advantage software that wasn’t in the previous version of this PC is this option for CPU and GPU overclock so if I go ahead and turn both of these on you could see that these will both light up orange so that you know it’s in an overclock State now further to that is you can go ahead and click this gear icon but it pops up with a warning that you know changing these values may result in damage to the computer and the original factory warranty will not apply so this is probably not something you want to use unless you’re out of the warranty period now if I go ahead and click proceed you can see that I can manually dial in certain settings I can go ahead and increase or decrease and I can change the core voltage offset now I’m not going to change anything on here I want it to be within the warranty period now if I go into GPU overclock I have the option to change GPU clock offset and vram clock offset again I’m not going to touch anything on here now should you actually turn this GPU and CPU overclock on and for most cases I was only able to measure a performance increase of you know as little as say 0.2 percent to up to 4.5 percent the bias is still
BIOS
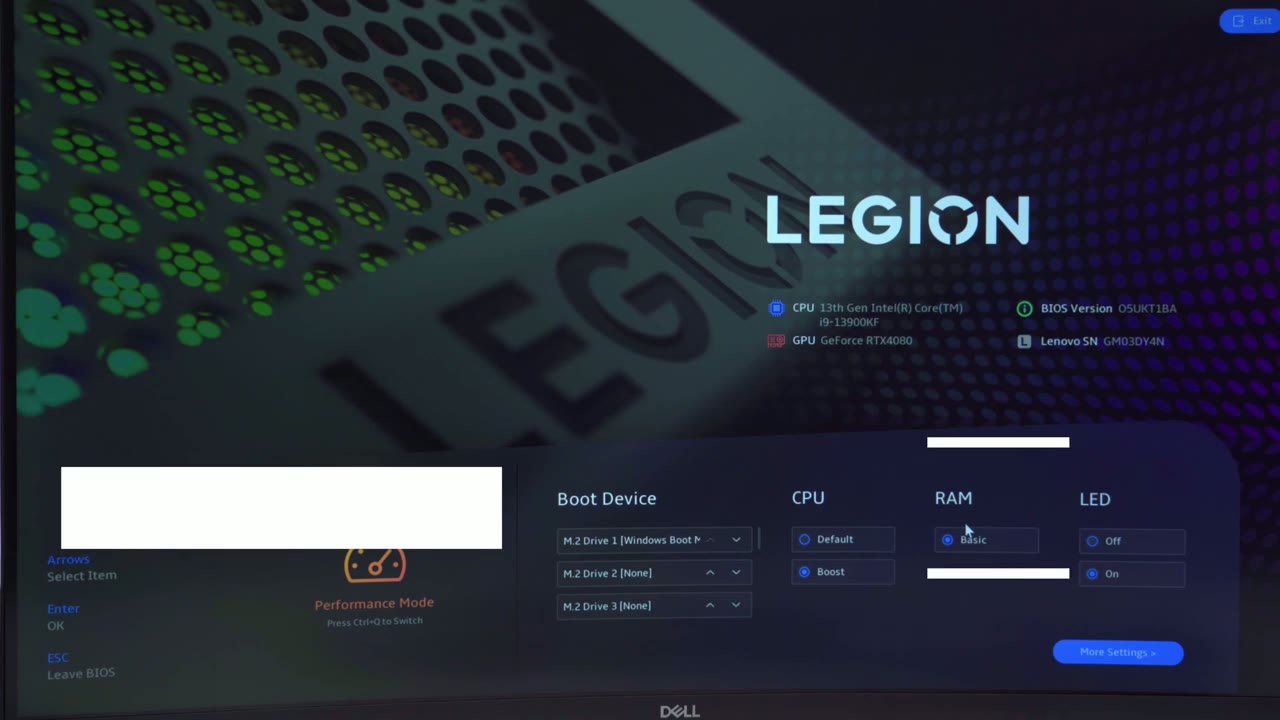
disappointing like it was on the previous generation so for CPU it can be set to default or boost it’s on Boost but Ram is at the basic now why is it such a basic why even use the word basic because this is a computer that’s supposed to be lenovo’s top of the line gaming computer it’s almost 3 500 us and we have basic Ram settings so there’s no XMP option there’s no options to overclock it now if you look at their product page it shows the ram being ddr5 at 5600 megahertz but when you actually go into task manager or any other app that measures Ram speed it’s limited to 4400 megahertz now I checked the ddr5 stick that came with the computer and it is a 5600 megahertz thick but there’s no option to change it from 4400 megahertz and honestly that really bothers and annoys me but let’s go into more of the settings here so you can see this is where you have access to all the rest of the BIOS settings you know USB storage setup whatnot Advanced resizable bar that’s enabled and we also have some CPU settings here and and pretty much everything is enabled for maximum performance but there’s no option on here at all for any type of ram customization so super disappointing I really hope it was going to be different on this new z790 motherboard so in most
Buy or Build?
pre-built review videos there’s always people who say well you should just build it yourself instead of buying a pre-built and they’re 100 right you know it usually does work out cheaper to just build it yourself so I did go on PC part picker and I tried to pull out parts of the same spec I couldn’t get the case to match of course I don’t know the power supply but I just tried to match it spec for a spec and it would be around say 350 to 450 in savings and I picked kind of like low options or middle of the road options so the savings might be even less than that but one of the benefits with buying a pre-built of course is you’re not sourcing all the parts you’re not like ordering from all these different places if you have an issue with a part you’re not going through the refund or RMA process you just call Lenovo um they deal with it because you get aboard T that comes with it at least for a year and then you can extend that all
Deal Breakers
right let’s talk about deal breakers and the number one deal breaker potential deal breaker is the ram speed so this is advertised to run at 5600 megahertz but it only runs at 4 400 megahertz on the previous generation it was spec to run at 4 800 megahertz but again it only ran at 4 400 megahertz so I confirmed this thick is definitely a 5600 megahertz Ram stick but it won’t run at all I contacted Lenovo they said like format the computer exchange it for another one that’s not going to solve the problem this seems to be a hardware limitation I don’t know if the motherboard doesn’t accept it or if the motherboard does accept it but they’ve just crippled the motherboard by just giving us this basic ramp setting with no XMP no Ram overclocking nothing all right so would
Recommended?
I recommend this new Lenovo Legion 7i a generation and I mean it’s a solid computer like I haven’t had any crashes it’s very stable it’s not too loud and I was able to game in 4K resolution pretty much at Max settings and all of the games that I demoed here now for rendering which is what I mostly use my computer for you know it was no problem in resolve Photoshop it’s just really quick really fluid of an experience this computer is also fairly easy to upgrade you know it’s easy to get access to everything you can pop in storage front or on the rear one thing to keep in mind though is say you ever want to get a 40 90 or say you want to get a 50 Series card when that comes out if the width of those cars are much more than this you may not be able to fit it in this case the other thing is if the power requirements of you know the next chip the you know the 14th generation Intel trip or the newer GPU is higher than the 850 may not cut it so yeah guys overall this is a solid option It’s a Wonderful computer great for gaming great for rendering you know just great overall performance and it’s rock solid and stable and reliable same as I experienced on the seventh generation of it also consider customer service before you buy a computer I mean I’ve had great customer service with Lenovo and I just like the reliability of this computer so if you guys are interested in checking out this computer or it’s smaller brother the 5i I’m going to leave my affiliate link down in the description it doesn’t cost you anything extra but it really does help me out if you end up buying one of these computers and if I missed anything in my review please let me know in the comments down below and I’ll do my best to get back to you and as always if you found this review helpful please consider liking and subscribing it really does has helped me out a ton guys I’ll see you in the next one soon
☑️ Get Legion 7i i9 14900KF & RTX 4080 SUPER USA
Please note that some of the links in my video descriptions are affiliate links where I earn from qualifying purchases. As an Amazon Associate I earn from qualifying purchases.