


Buy Sotsu FlipAction Pro 16″ Monitor on Sotsu Official Website
Buy Sotsu FlipAction Pro 16″ Monitor on Amazon
Please note that some of the links in my video descriptions are affiliate links where I earn from qualifying purchases. As an Amazon Associate I earn from qualifying purchases.
Intro


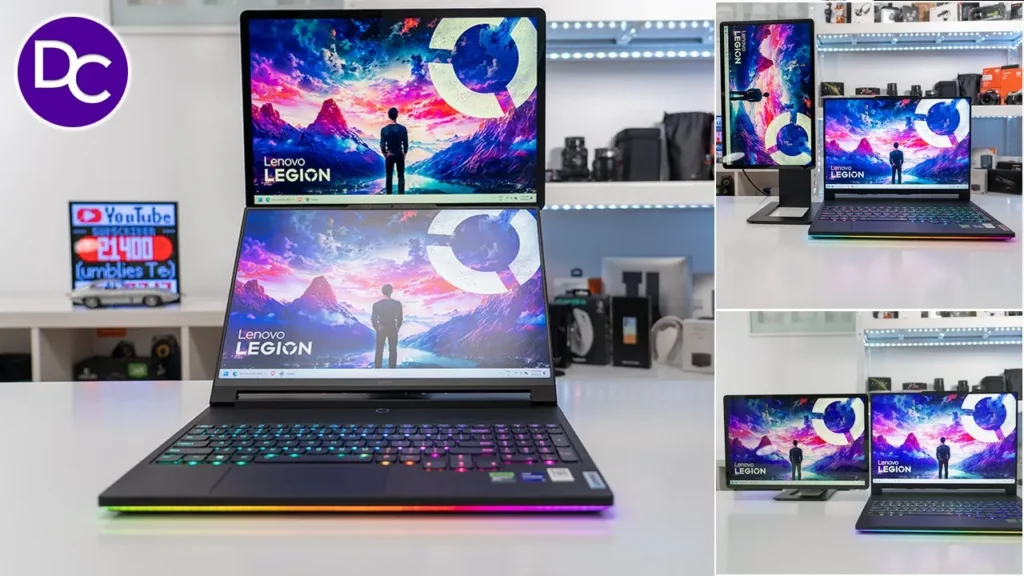
hey it’s Adrian and if you’ve been on the hunt for a portable monitor for your laptop or desktop or even your phone I think you’re going to really love this 16in portable monitor from satu so I’ve been using it for about 2 to 3 weeks and I’ve enjoyed using it every step of the way it’s really improved my productivity when I’m using my laptop now this has a ton of Versatility I think this is the stand out feature of this monitor you can see I can just go into a vertical orientation and then from there another horizontal orientation where it’s really high up and I could stack my laptop at the bottom there super versatile and of course you can go ahead and you know angulate it whichever way you see fit so I want to get into more of the features that this comes with a big thanks to satu for sending out for review but let’s get into it in the box we have the
Package Contents

Susu portable monitor we also have this nice and soft protective sleeve for the monitor there’s also a welcome letter a USB CS type-c cable rated for 240 ws and 40 gbits of transfer speeds there’s also a manual and stickers so the suu portable monitor is a limited edition run this is number 82500 and you know a lot of times when you buy a product you’ll get just a small thank you note but this is actually a fairly nice letter from the owner and it is actually hand sign which is a neat little touch and it just shows kind of like the care and passion that went behind designing something like this it actually does transfer into the build quality so let’s talk about that next so the build quality and design on
Design
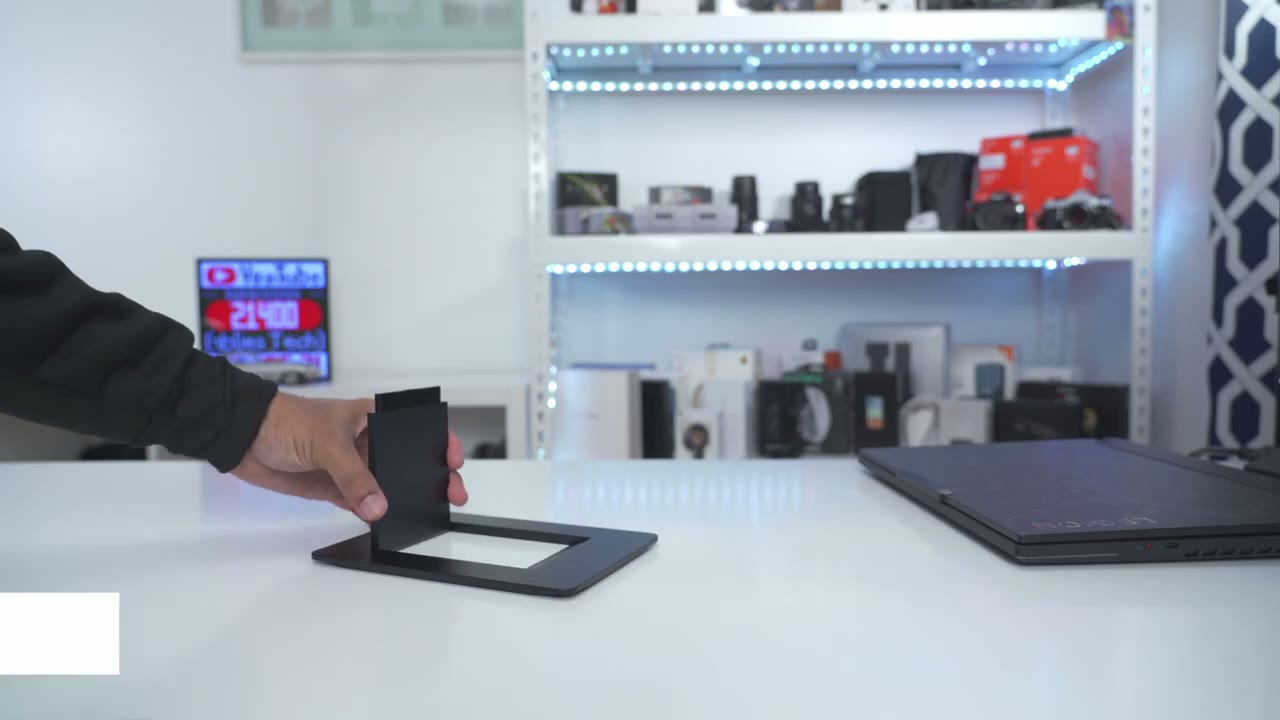
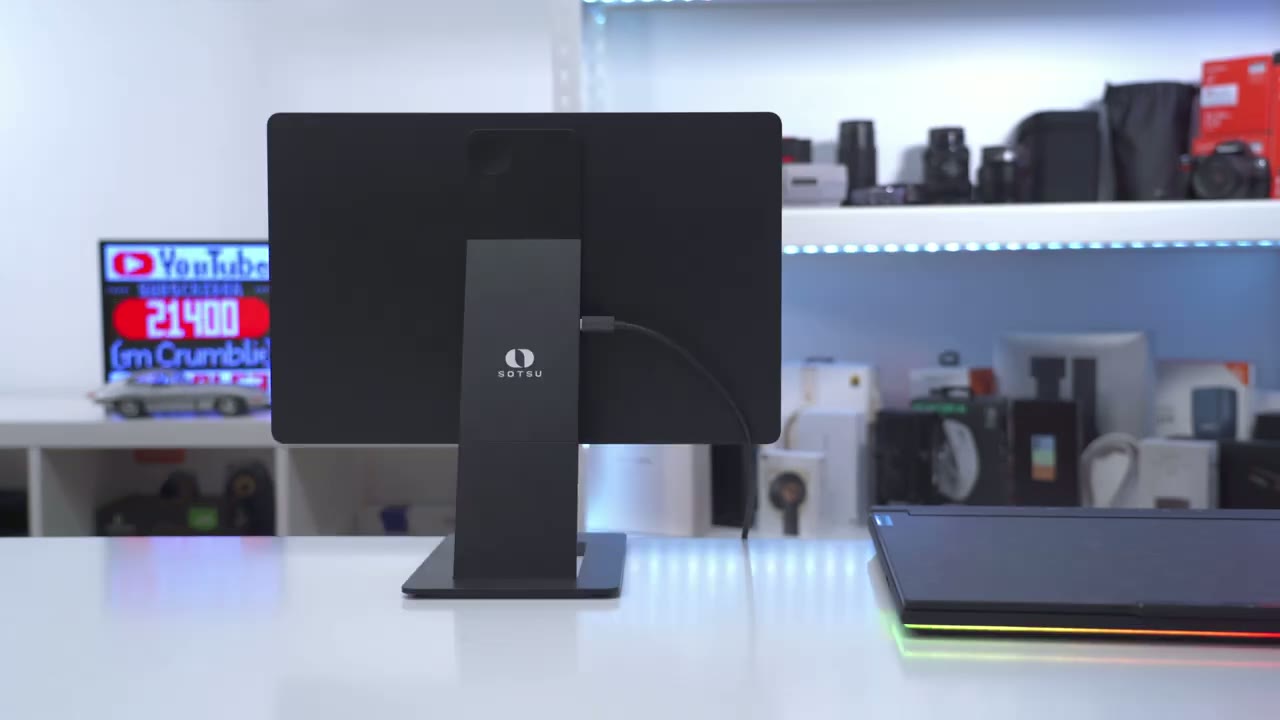
here is topnotch this is just you know pretty much an all metal build and you can really feel it it comes in at about 1.3 kg or about 3 lb and you can see it’s just metal all the way around now you can see this is where we have the different ports there’s a display port out an SD slot power in the main type-c port and a mini HDMI port and we also have a multi-function menu button here so yeah everything is really nice on here now what’s really cool is that this is a magnetic stand and you can see you know that just completely detaches here and then you can just put it back in there for easy stowing you know just to keep everything nice and flush if you’re traveling you know this is really easy and portable to carry around now you know you could see a little bit of fingerprints here even though it is a matte finish a little bit of a fingerprint magnet but what’s really interesting here is that this main stem here can actually be angled out and you can actually prop the monitor up like that but the cool thing about this is actually that you can attach it to this magnetic base that ships with the monitor so overall it’s a really beautiful and premium feeling design just feels topnotch in the hand and you can see we have nice rounded Corners here all right taking a look at the stand or the base this also has a pretty good weight to it and you can see if I flip it around we have this rubberized uh large feet that goes here and this is going to keep everything nice and planted and you know it does a fly good job now with this actual uh adjustment area here you can see if I angle it down you know that snaps resolutely in place nice and flush and then this attaches magnetically back there now to get this out it actually takes me a little bit of doing you know it looks easy on here but I’m actually applying quite a bit of pressure so this is so well friction that whatever orientation or angulation you set this up in you know it’s going to stay nicely in place by the way the Tilt range is from 0° all the way up to 90° and I’ll show a bunch of different orientations where you can have the monitor set up next to your laptop by the way once you attach the magnetic base or stand to the back of the monitor it actually stays nicely in place I can just go ahead rotate that upside down you know and it stays nice and secure in there if you’re going to be using your monitor on the GL on vacation once you’re ready you just attach that rear magnetic base and you can see everything is nice and flush then you’re just going to slide it into the supplied carrying case and there you go nice and compact easy to carry around and travel and it stays well protected the sleeve is actually sufficiently padded so you can see I can just go ahead you know drop it from a little bit of a distance and it’s still nicely cushioned and protected
Specs
specs include a 16-in TFT LC screen the max resolution is 2560 x600 and it’s running at 60 HZ we have a 16 by10 aspect ratio and 8 bit color there’s 189 PPI the viewing angle is 85° to 85° and the peak brightness is 350 Candelas there’s a 12200 contrast ratio and 30 milliseconds of response time there’s 99% coverage for DCI P3 to get
Setup
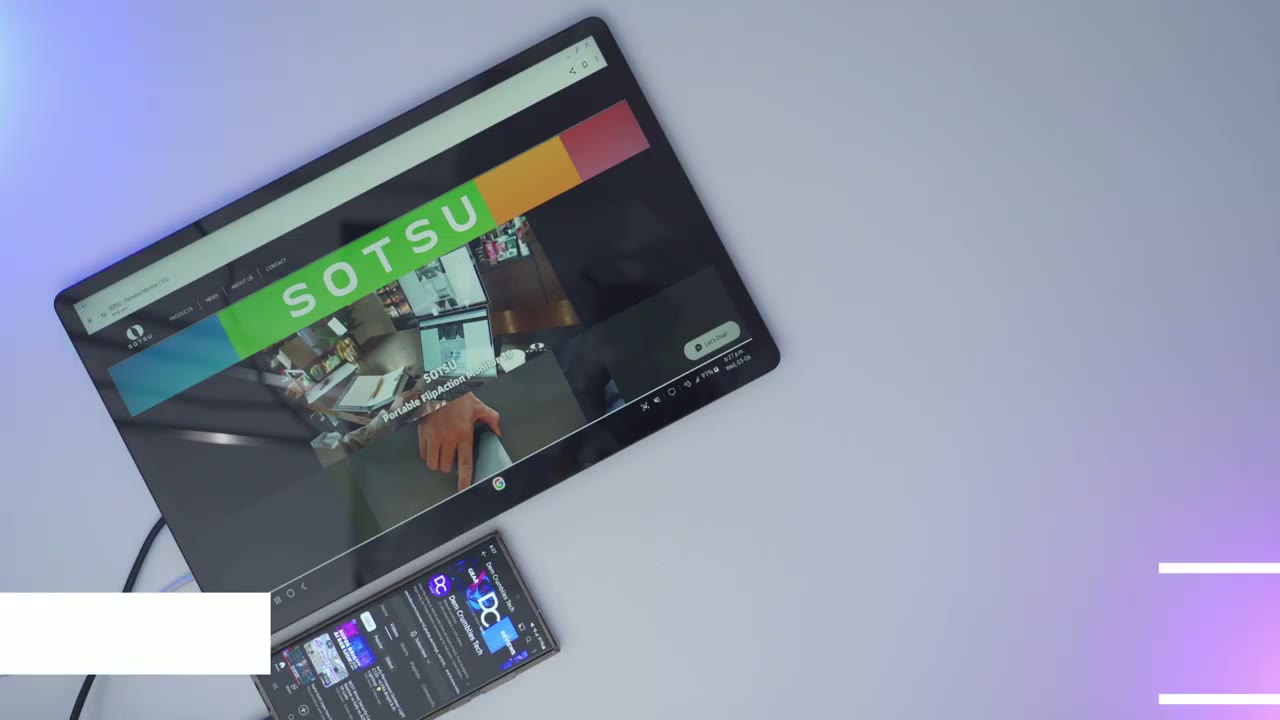
everything setup I’m going to connect the portable monitor into this dummy USB type-c port on the base right here just going to line everything up slide it in and we’re good to go I’m now connecting the 240 W USB type-c cable from the rear of my laptop into the main USB type-c port on the portable monitor and then we’ll just give it a second to power on and you could see that I now have a duplicated display and the only cable going into the satsu monitor right now is that supplied USB type-c cable so it’s receiving power and the display right from that one cable from my laptop if you have limited USB typ-c ports what you could also do is use a mini HDMI cable with a regular HDMI connector in and connect it to your computer just like so and that way you don’t actually have to use any USB type-c ports if you want to use the portable monitor to connect to your phone you can actually do that so I’m just using the supplied USB type-c cable I’m going to plug it into the type-c connector port on my s23 ultra and it’s just going to automatically launch Samsung Dex so while I’m going ahead and using my cell phone I can also navigate around on Samsung deck you know take a look at my apps watch YouTube on the side while I’m doing some other stuff on the phone so ton of Versatility there all right so I
Multi Display
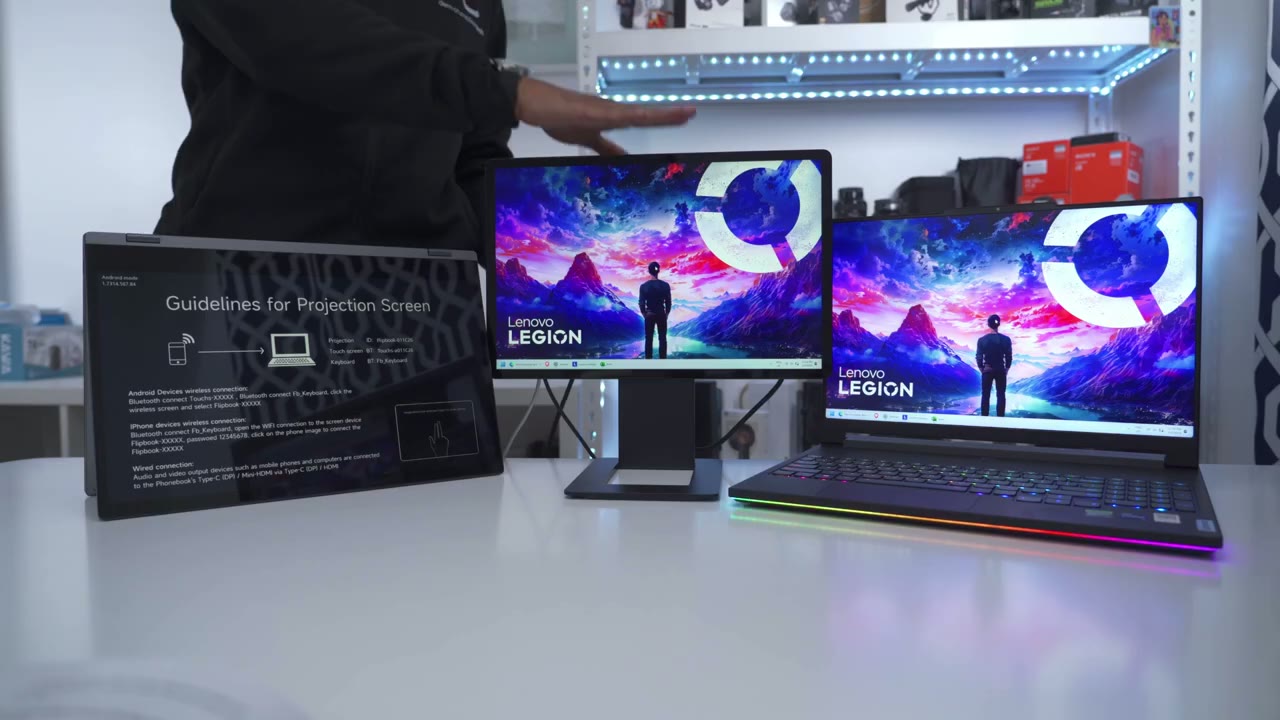
have the suu monitor connected to my laptop using the USB type-c cable and USB type-c ports but if I want to add another display I have another portable monitor here I can just daisy chain that display so I’m going to use another USB typ-c cable and it’s going from the rear of the soou monitor the display outport and now I’ve connected it to the portable monitor and I’ll just give that a few seconds to kick in and now you can see that the display is extended on all three screens so from here what I could do is I could just go into the settings and I could just arrange the screens and what I can do after that is you can see I have this browser window here and I could just carry it over into all the screens and of course you know if you want to just be a bit more productive I could just move one of these onto this screen here and move another program or app or a game for example into the other screen so you have maximum productivity
Adjustability

let’s take a look at all the ways we can adjust the base and there’s quite a bit so in this default orientation it’s about 13 in from the desk to the top here now what I can actually do is just angle this all the way down till it’s touching the table if I wanted it nice and flush and this is about 9 and 1/4 in from the table to the top here and of course I could just you know flare that out if I wanted that type of angulation or I could just bring it in or you know go anywhere in between and angulated so really a ton of options there now what I can also do is use this vertically so I can rotate it both this way or rotate it the other way and of course in your computer uh operating system you would adjust the display to rotate it on this secondary monitor and again you can go ahead and angulate it pretty much any way you see fit another cool thing we could do is to rotate this vertically and then rotate it one more time and we have it horizontally but now it’s super high and this is about about 18 in and we can now just slot in our laptop display here and then have this stacked on top which is really cool if I do a behind view you can see I can actually rotate it both clockwise and counterclockwise so yeah we really have a ton of adjustability options on here and of course I could just go ahead and lower that down as well when adjusting it from a side view this is what it’s going to look like so you can either just bring it all the way down and you can see you have an adjustment with this main stem here if you didn’t attach it to the base and this is with it you know just pretty much touching the table and of course I could just lift this up right here and then angle it down so you know you have a ton of height customizability if you plan on extending the monitor out as much as possible it’s going to reach about 10 1/2 in deep to
Layout Setups
have the most minimal setup possible you’ll need to use the supplied USB type-c cable capable of 240 W that’s going to my laptop right now and you can see that’s enough to power the display and output the display as well here’s one of the orientations you can use the monitor with your laptop and I have a 16in display on my laptop which matches just so perfectly with the Susu portable monitor so this is the Stacked display and this is with this rotated all the way to the maximum height of about 18 in from the desk and this is what the setup looks like from behind now what I can do is I can actually reverse the base which I’ll show also so here’s what it looks like again this is the stack display and I do have the base reversed so before it was pointing this way now it’s pointing the opposite way and I can have the laptop a bit closer Now One Design change I would have liked to see is if we could have some sort of cutout on this part right here so that I can actually route the cables from my laptop right through here so I can make it you know super flush right up against the monitor so that these ports aren’t obstructed of course if your ports are on the side of your laptop it won’t be a big deal but if it’s on the rear like a lot of these gaming type of laptops you know it would have been good to have a cutout through the bottom there here’s another potential orientation that you can do as well here’s another setup that you can also try if you don’t mind having the monitor a little bit higher than your laptop if you want things a little bit more lined up and flush you can of course angulate the satsu monitor so it’s about the exact same height as your laptop setup here’s another orientation you could try as well if you want something vertical here’s another vertical setup where the base is positioned away from the laptop body if you want it to connect anything on USB type-c ports on this side so I’ve mostly been showing the monitor with the included base which is you know decently heavy but what if you wanted to just pack the monitor alone for a really lightweight setup well you can still go ahead and have a bunch of adjustability because you can actually kick out this main stem here just like that so you can have an angulation you know this extreme or anywhere in between you could see you can actually angulate it to different type of angulations and you can actually have it you know just fully ight in this mode you do have to be a little bit careful because the only thing keeping it kind of balanced is is you know this little flat stemmer so obviously if you could kick it out just a bit it’s going to be way more stable and not rocking so yeah you can actually take this you know on vacation without the base if you want it to pack as light as possible so I’m not going to go through every single type of setup method but you could see for a single monitor mode we have such a bunch of different setup methods now if I go to the next page in the manual you can see this is where I showed the inverse setup so you could have your laptop sitting a little bit more flush to the base if you just reverse the monitor on there and of course we also have this multiple monitor mode so if you’re going to buy multiple satu monitors you could have something like this or you can go all the way to a four monitor setup where everything is nicely laid out horizontally or vertically as well so yeah have t of customization and versatility here by the way if you’re finding this review helpful please consider like and subscribeing it truly does help me out a ton guys but let’s
Gaming

get back to it if you’re planning on using the monitor for a little bit of light gaming it’ll definitely do but even with the overdrive option enabled in the menu the ref fresh rate is just not high enough for any type of Competitive Gaming but if you’re going to be casually gaming it’s going to be no problem for General use and watching
Picture Quality

movies the monitor display is actually pretty good now if you’re going to be in a super bright room and there’s going to be sunlight directly at the monitor expect to see a little bit of glare and it may not be as bright as you would like but in a normal type of room where you have curtains and things like that it’s plenty bright like even in this studio where I have a ton of Lights it’s still easy to make out the display now when you’re watching movies like animated movies or just any type of movie In general the contrast level is actually pretty decent considering this is not any type of OLED display and for the price you know it’s actually pretty Pleasant to view content on here let’s take a look at the display so if I use the menu button at the back this is what it looks like at the minimum brightness but you know you can still definitely see what’s going on but if you want it super bright this is as bright as it gets now if we take a look at both the laptop and the so display this is definitely warmer this is cool but I can go into the menu options and make this a bit cooler here’s what the coolest color temperature setting looks like so this is at 9300 kelv and then you can see I can go up as warm as 4500 so I’ve cut the lights just to show you what it would look like if you’re working in the dark and this is with it set to the maximum brightness same with the laptop now if I use my cell phone’s flashlight you can see you can make that out and that’s because it’s a glossy display unlike the laptop where if I put the light on there it’s more of a matte display so it’s not as refle Ive we do also have an option to turn on a low blue light so this is with it on and then that’s with it off reading text on websites in PDF in Excel files is plenty readable and very sharp thanks to the 189 PPI the viewing angle is also surprisingly good on this monitor because you could go from 85° to 85° by
SD Card Reader

the way if your laptop doesn’t have an SD card reader you could use the one built into the suu stand so I’m just going to click that right in there and it’s just going to pop it up so it’s very convenient to have if you don’t have that built into your laptop you can
Passthru Charging

also get pass through charging anytime you connect a laptop or a phone so I’m going to do is connect an optional power cable into the satsu monitor here so it’s externally powered and now when I have it connected to my Samsung phone you can see that it’s now actively charging my phone at the same time as it’s outputting the display all right
Monitor Settings

let’s go through the menu settings on the suu monitor so a quick press at the bottom of the multi-function button just lowers the brightness up and down and there is no volume control because there’s no speakers built into this now if I press right on the menu button right here it’s going to pop up the menu and you can see I can go through color picture input output power saving settings and information but let’s go into color first now I can do the backlight but I could just have a quick shortcut like I showed earlier I can also go ahead and adjust the brightness and you can see this is with it cranked all the way to 100 and everything’s just going to be kind of blown out in a little bit wash out I’ll put it back to the default I believe I had it at around 50 now what I can also do is I can go into contrast saturation color temperature and we can go from 9300 all the way to 4500 I’ll put it back to 9300 I can adjust the color gamma Hue and I could just reset all the colors and or make custom RGB presets now if I go into picture I do have some presets here like standard game movie Paper if you’re going to be reading a lot of documents photo I’ll leave it on standard for now then we can go into HDR turn that off or put it on auto for whenever it detects HDR content I can also go and put the back uh blue light sorry to on or off I’m just going to leave it on off right now and I can go into overdrive and put that to honor off if I plan to do a bit of gaming and and now let’s go into the input source so I can go to SST cloned I can also go to MST expanded which is what I showed earlier when I Daisy chained it you can set the input to automatic and then you can set it to HDMI or sub I’ve just left the default settings pretty much and then you could go into power saving which I have off you can also go ahead and change the aspect ratio so the default is 1610 but you can switch it to 169 3×2 and then finally 4X 3 and I’ll put it back to the default for languages we do have mandarin and Spanish and English you can put the menu timer for 10 seconds to 30 seconds and then you could set it to auto rotate which is already on and then you could just factory reset everything and of course you could just go in and take a look at the firmer information now I’ve used a handful of
Recommended?

portable monitors and this is definitely the best that I’ve used couple things to note though is that there is no touchscreen functionality on on this portable monitor if you need that and there is no built-in speakers but if you’re looking for something that has you know great viewing angles a ton of Versatility in terms of how you can position it where you can position it this is definitely the best monitor I’ve used for that purpose and like I showed or demoed earlier you know if you buy one or two of these you could have up to a four monitor setup and it can be a really Compact and nice looking layout now at 500 us for the monitor it’s definitely not a cheap option this is a premium option and trust me when you touch it or you hold it in your hands you could tell by the build quality you could tell that a lot of thought has gone into the design of this thing in terms of the versatility when it comes to insulation and you know future proofing it if you wanted to include one or more of these in your setup I have the Black Version but there is also a gray version and a blue version as well the overall picture quality is great on here with the 2K resolution in that 16 by10 aspect racio and you know watching movies media on here was excellent same with when I needed to use it for productivity text was also sharp and we have great viewing angles as well so if you’re interested in picking up this 16-in portable monitor from satu I’m going to leave some links down below for you to check it out and let me know if you have any additional questions about it this is going to be a permanent addition to my laptop setup and because it comes with the sleeve and the Magnetic base that just attaches to the rear of it is just so easy to carry around while I’m on vacation or going to a business trip I hope you found this video helpful and if you did please consider checking out some of my other review videos I review a ton of products and I’m sure there’s something else you’ll enjoy and as always if you found this video helpful please consider liking and subscribing it truly does help me out since I’m a growing Channel and I’ll see you in the next one soon
Buy Sotsu FlipAction Pro 16″ Monitor on Sotsu Official Website
Buy Sotsu FlipAction Pro 16″ Monitor on Amazon
Please note that some of the links in my video descriptions are affiliate links where I earn from qualifying purchases. As an Amazon Associate I earn from qualifying purchases.