


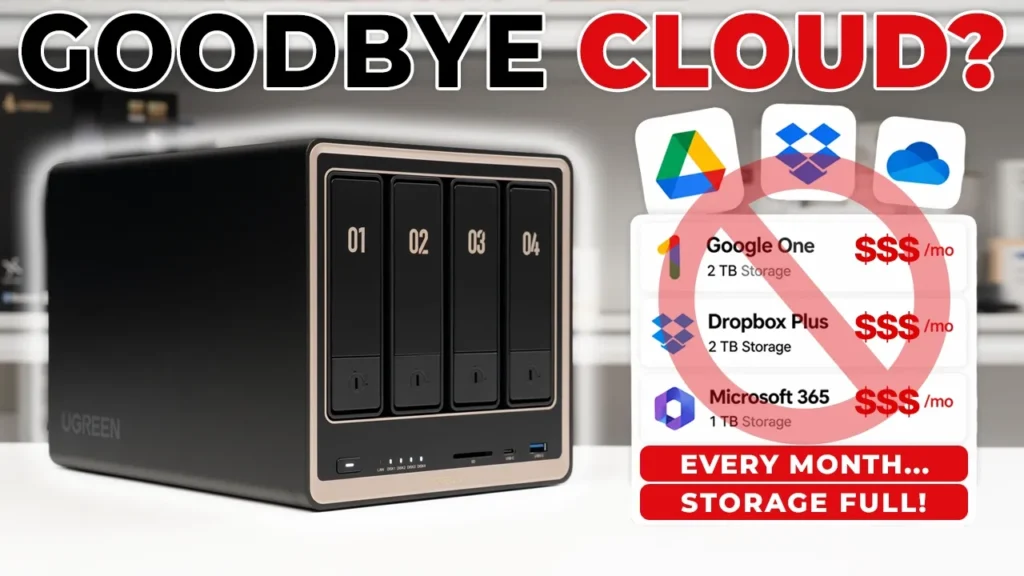

Buy UGREEN NAS Series(15% off)
Buy WD 2TB Drives In This Video
Please note that some of the links in my video descriptions are affiliate links where I earn from qualifying purchases. As an Amazon Associate I earn from qualifying purchases.
Intro

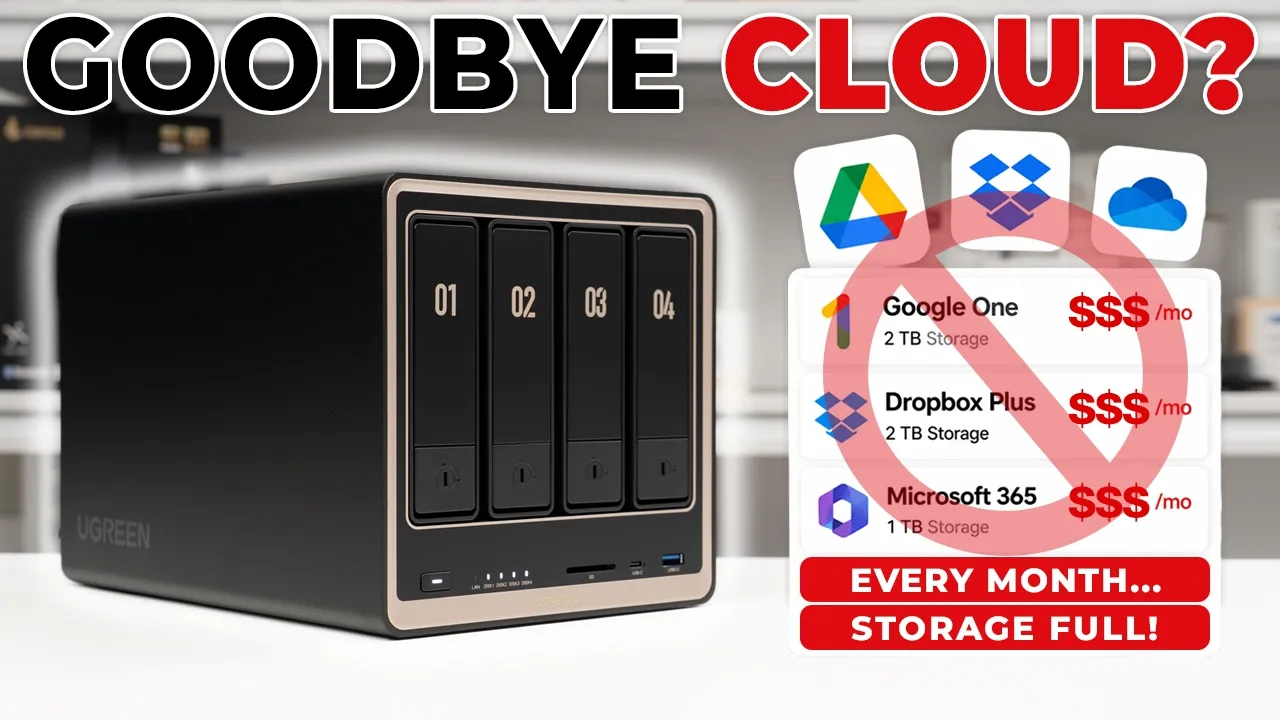
If you’re looking to save money by getting rid of your costly online cloud plan and you need a NAS that can store all of your files from all of your devices securely, the UG NASCP 4800 GT is worth checking out. You can have up to a massive 144 tab of storage thanks to four drive bays with pushpull convenience. And you can even add two NVME drives for fast caching or additional fast storage. You can sync your cloud drives such as a Google Drive, Dropbox, or One Drive for additional backup redundancy. There’s dual 10 gigabit Ethernet LAN ports for super fast file transfers, tons of inputs like a 3.0 SD card reader, a 10 gigabit per second USB type-C port, and multiple USB type A ports along with an HDMI port to output 4K video to your TV.
You can also stream video files wirelessly to your smart TV. You can use the surveillance center to add your security camera and have 24/7 video recordings, allowing you to monitor your camera and control it if you’re out and about. Thanks to UG Green Link, you can easily manage a NAS using UG OS Pro, either from your phone, the UG desktop app, or even a web dashboard. A robust AMD Ryzen 4 core 8thread CPU. How is it allowing you to multitask efficiently? But how fast are the realworld transfer speeds? And can this actually replace your current cloud plan? Well, let’s take a closer look. And a big thanks to you, Green, for sending this out for
Package Contents
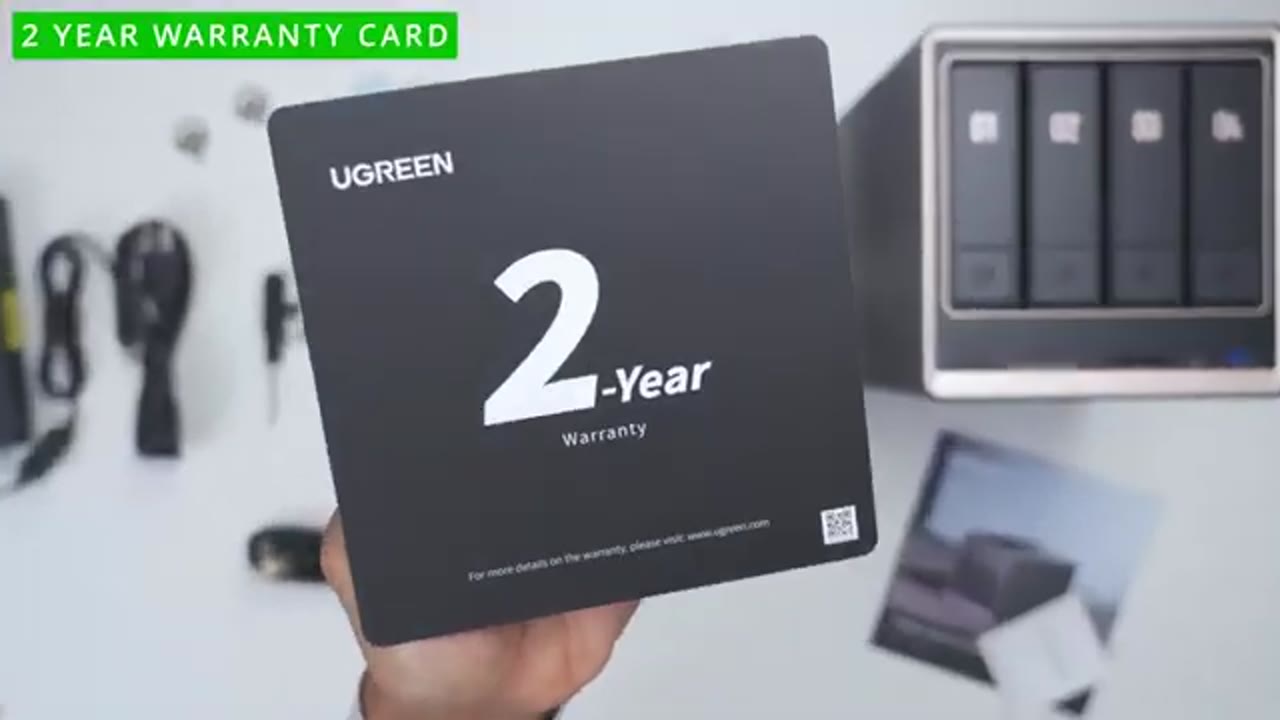
review. In the box, you get the NAS unit power adapter brick power cable, two category 7 Ethernet cables, a high-speed 8K HDMI cable, two U.2 SSD heat sinks with accompanying screws, very thick SSD silicone thermal pads, hard drive tray keys, a screwdriver and screws, manual, and 2-year warranty card. So, the DXP
Design
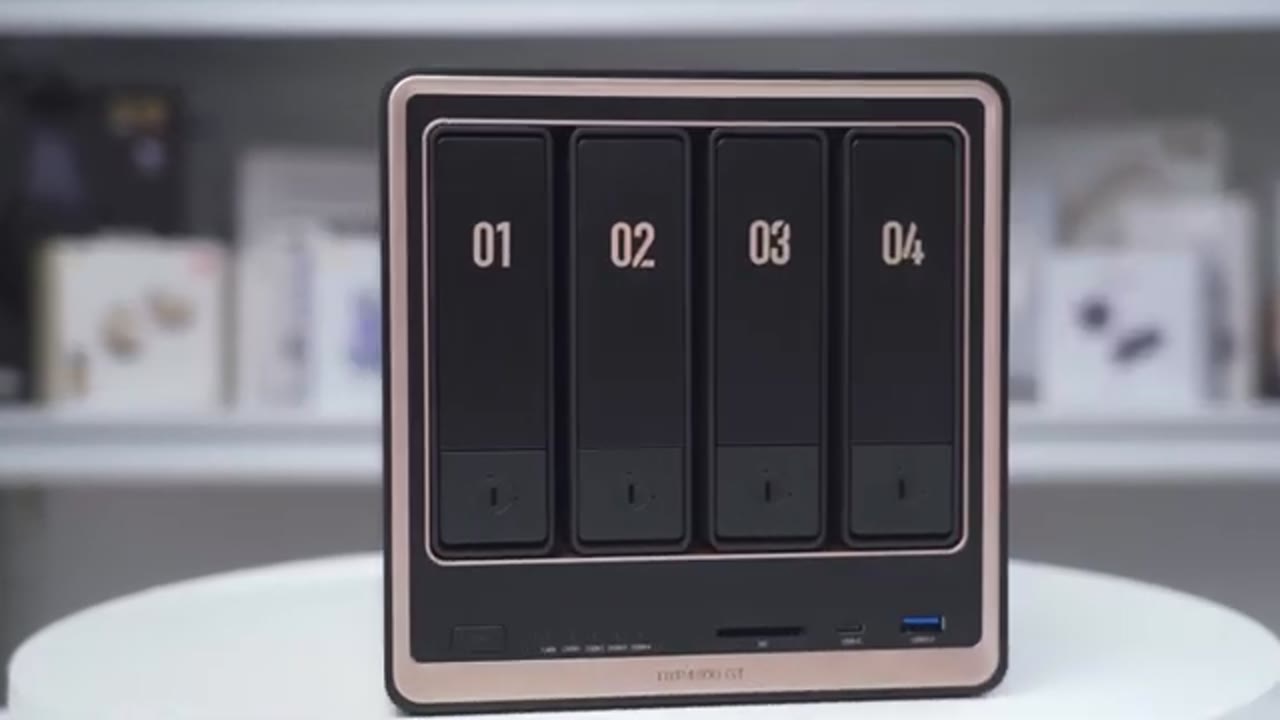
4800 GT comes in at around 3.9 kg or about 8.6 lb. It has an aluminum body all the way throughout in this space gray type of color. And on the front we have these kind of gold or brass accents that makes it look really sharp. So we have the four hard drive bays and these are using a pushpull mechanism. So you can see if I just push down on here it lifts up this flap that you can see right here and I can just go ahead and pull that hard drive bay out. Once your hard drive is installed, you just line the tray right back in here. Push down till you hear a click and then just snap down the cover. You can also use the supplied hard drive tray key to lock each of the base.
There’s a power button with an LED indicator light along with indicator lights for the LAN port in each of the four hard drive bays. And there’s a 3.0 SD card slot. So handy along with a USB type-C port. This is a 3.2 Gen 2 port capable of up to 10 Gbits per second. And also we have a USB typeA port 3.2 Gen 2. The back has an HDMI port capable of delivering 4K video along with a USB type A port. This is a 3.2 Gen 2 port. There’s two USB 2.0 type A ports. two 10 GB Ethernet land ports, a reset port, and power plug port. There’s a large cooling fan at the back that’s covered with a dust filter that’s magnetically held in place. On the very bottom, we have a cover that’s held in place by two screws.
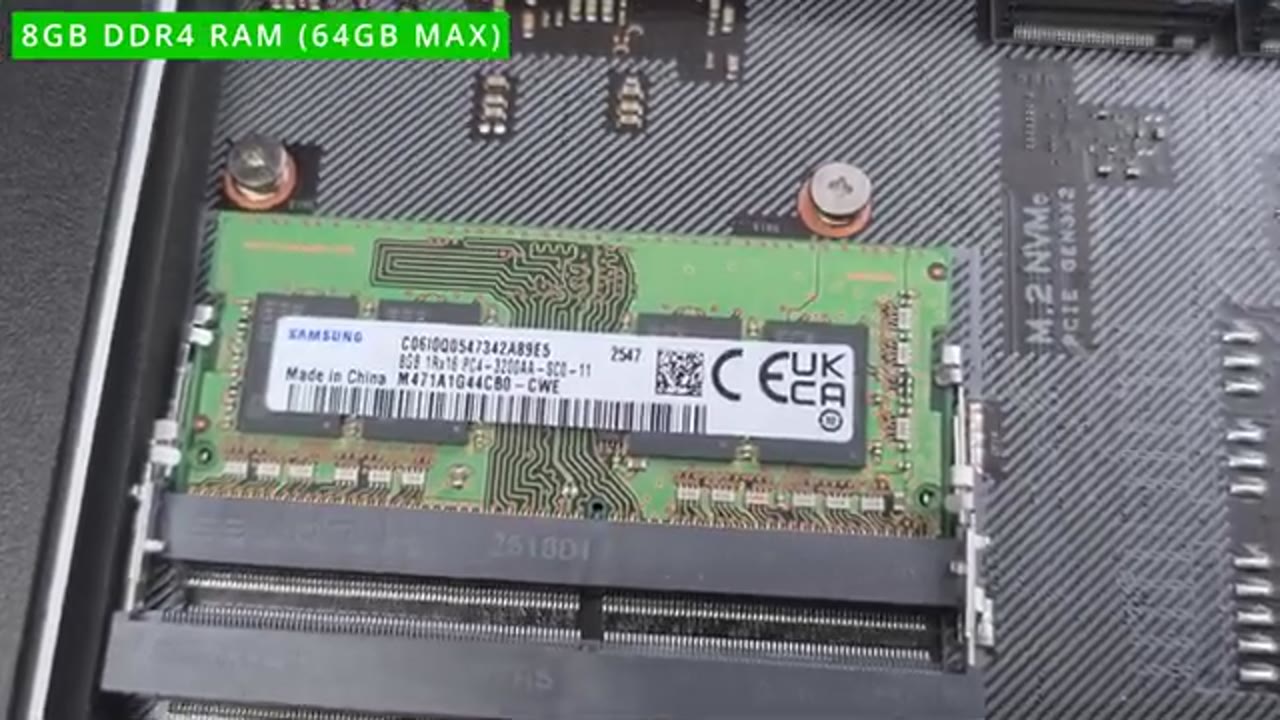
And this is where you can install NVME drives, which I’ll demo later, with the four hard drive bays removed. You could see the interface for the hard drives. In terms of specs, so we have an AMD Ryzen 4 core, 8thread CPU, and 8 gigs of RAM that’s expandable to up to 64 GB. Now,
Specs
there’s a ton of other specs. Feel free to pause and review or jump ahead to the
Drive Installation Notice
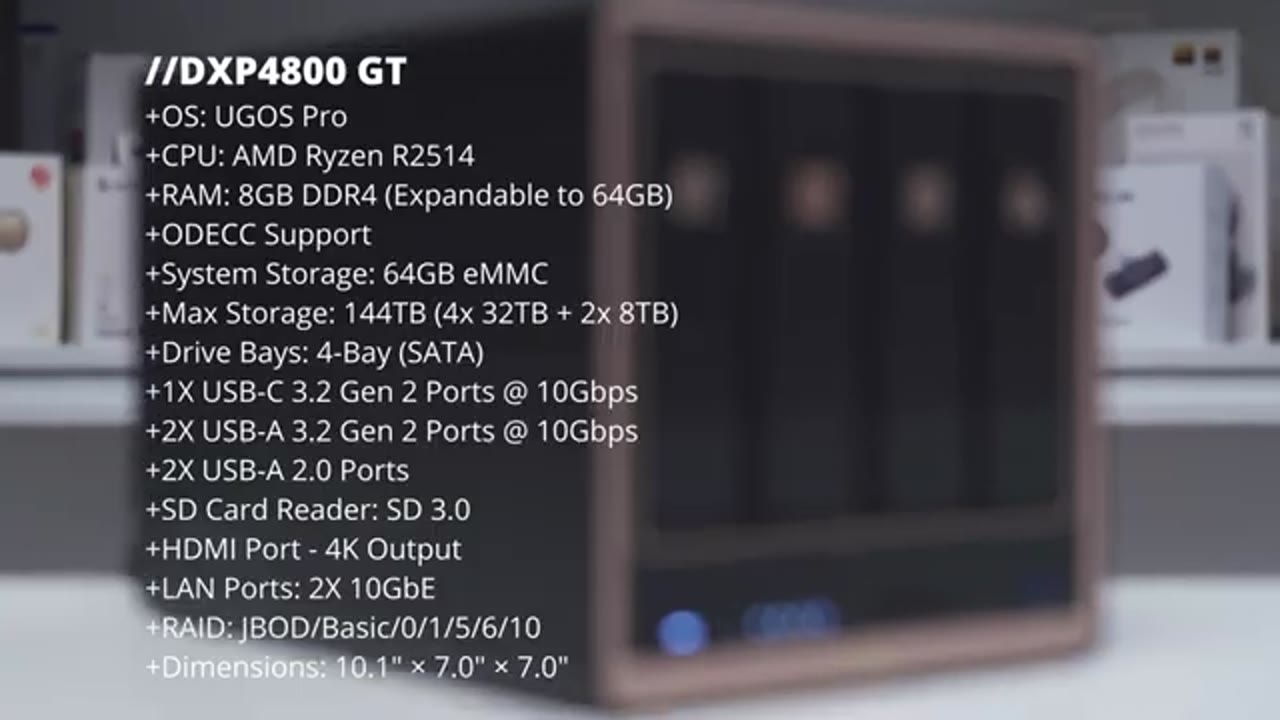
next section. Now, this is a discless system, which means you need to install your own hard drives as well. You have wide drive compatibility with U Green’s NAS system compared to some other NAS systems. And I’ll leave a link down below to all of the compatible drives as well as the drives that I’m using in
DXP4800GT Drive Installation Steps
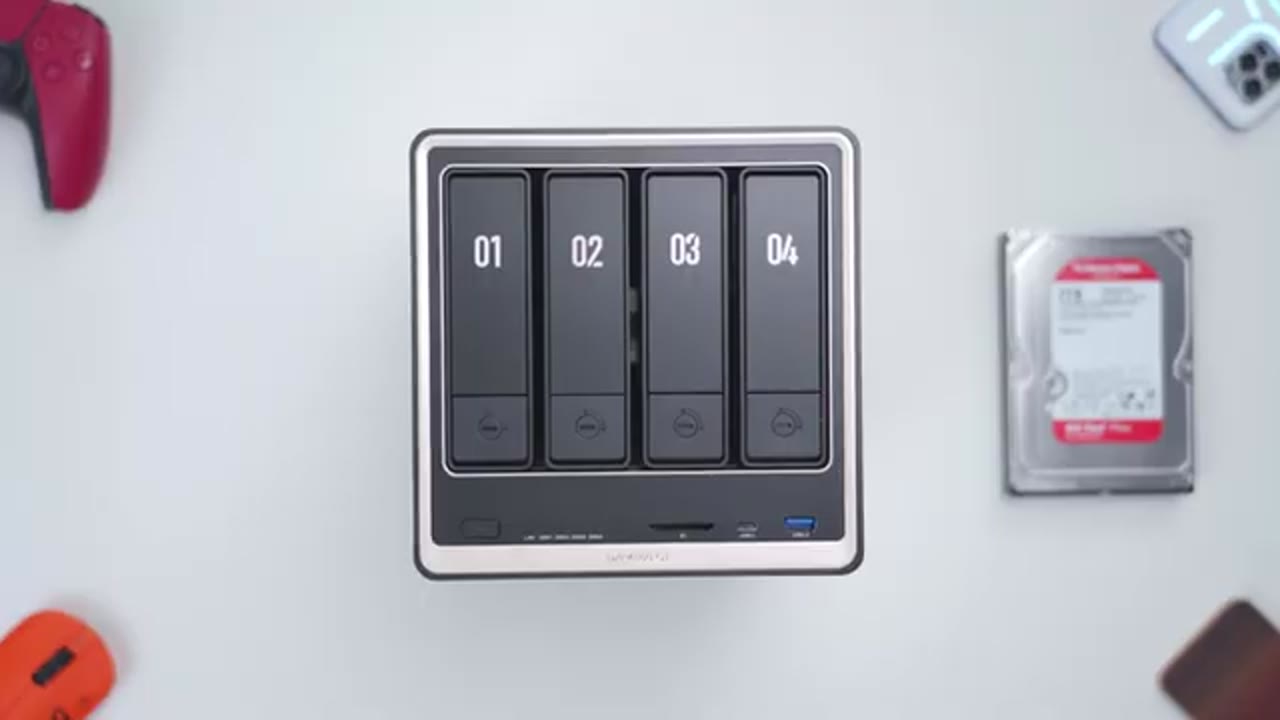
here. To install the drives, make sure the hard drive bay is unlocked, which I can see it is. Press down on the button. Once the handle pops out, go ahead and lift vertically upwards, giving you access to the drive bay. Next, flip the drive bay over. Notice that it says press right on here. Go ahead, press down on that and then pull out. And that’s going to widen the hard drive tray. Next, take your hard drive. Make sure the label is on the top here. And the back of the hard drive is showing the connector end. And you’re going to find four alignment nodules right on this side and on this side. Line those up with the holes on the hard drive. And then once those are lined up, you’re going to go ahead and press in this area that expanded just like so. Click it back into place.
And go ahead and seat the hard drive connector end at the back all the way down until you hear it click into place just like so. And then repeat for the other three drive slots. To install your
OPTIONAL NVME Installation
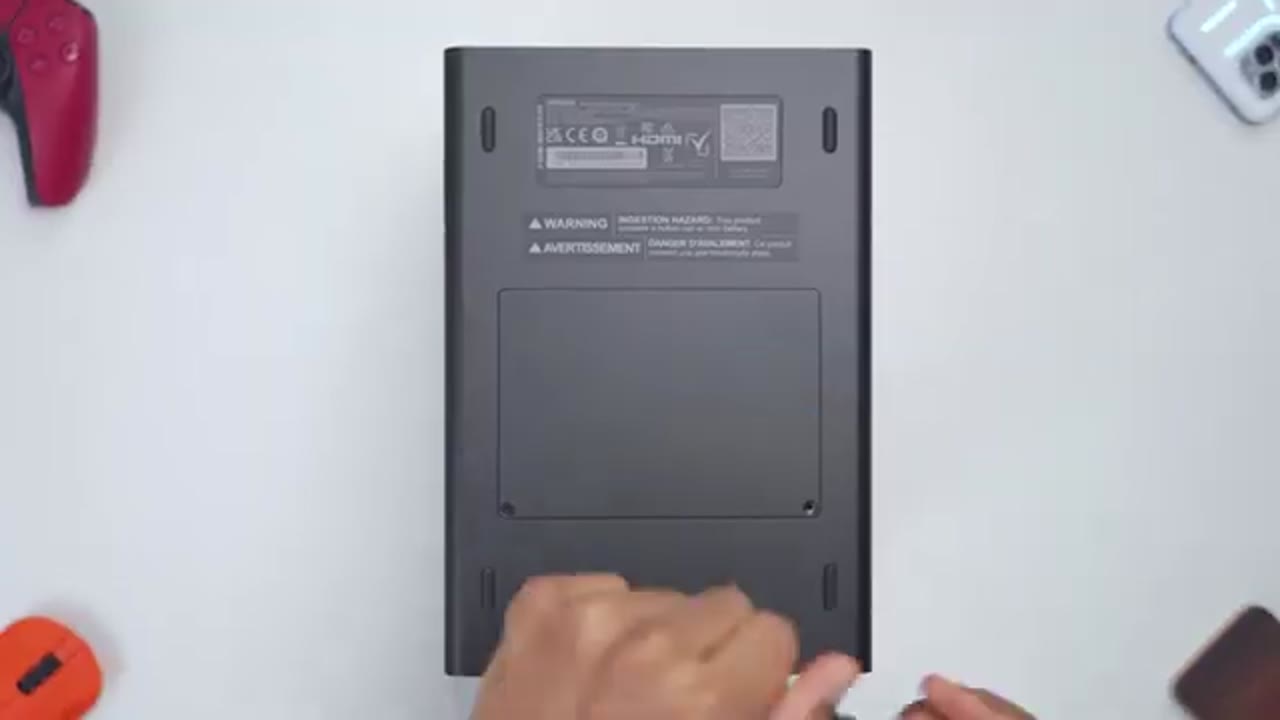
NVME drive, remove the retention screw, line up the connector end with the NVME drive to the connector in the NAS. Go ahead, gently push down on the NVME drive. Replace the screw and then apply the silicone thermal pad. Replace the cover. Tighten and you’re done. with
Raid Setup Options
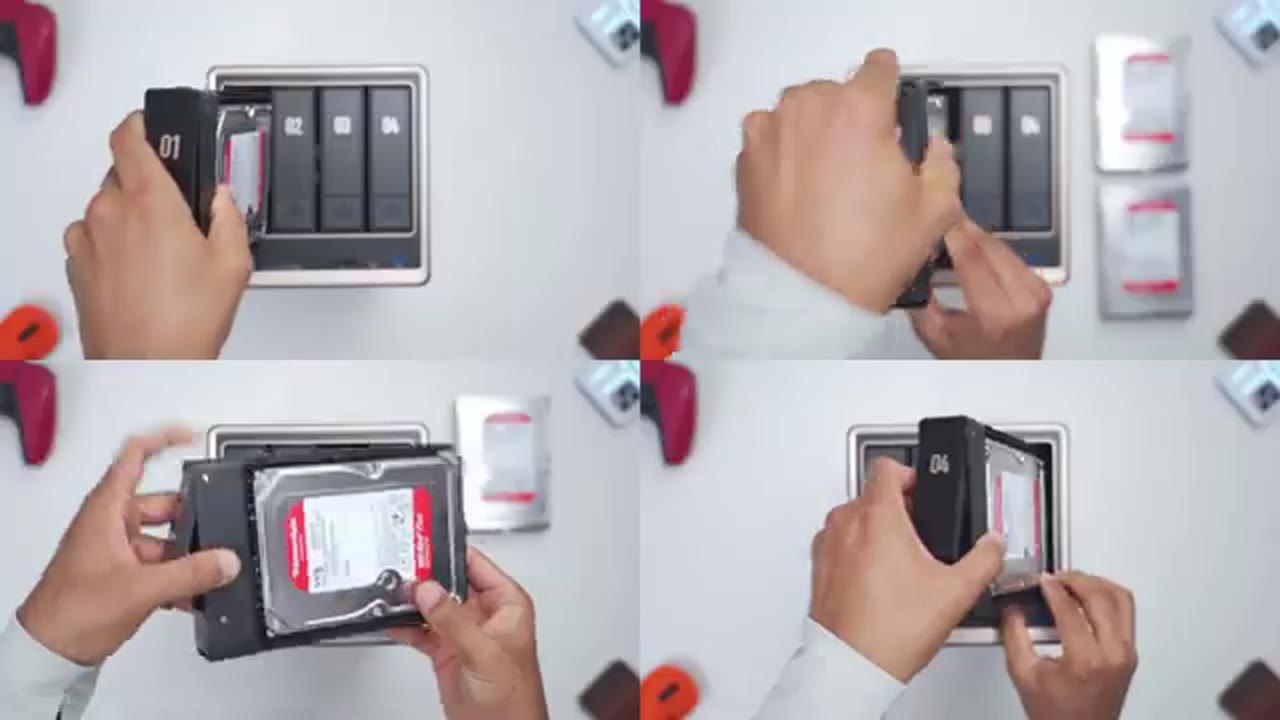
four drives installed in a RAID 5 setup, it’s going to use three of those drives for data and one drive for parody. But you can also set this up as just a bunch of disc RAID zero, RAID one, RAID six, and RAID 10. And while four drives is going to give you the most versatility with the price of hard drives as they are right now, you can start with just one or two and then just add more as you need to. I also added an optional NVME drive to the bottom and you can use that for fast caching or for fast external
Initial NAS Setup
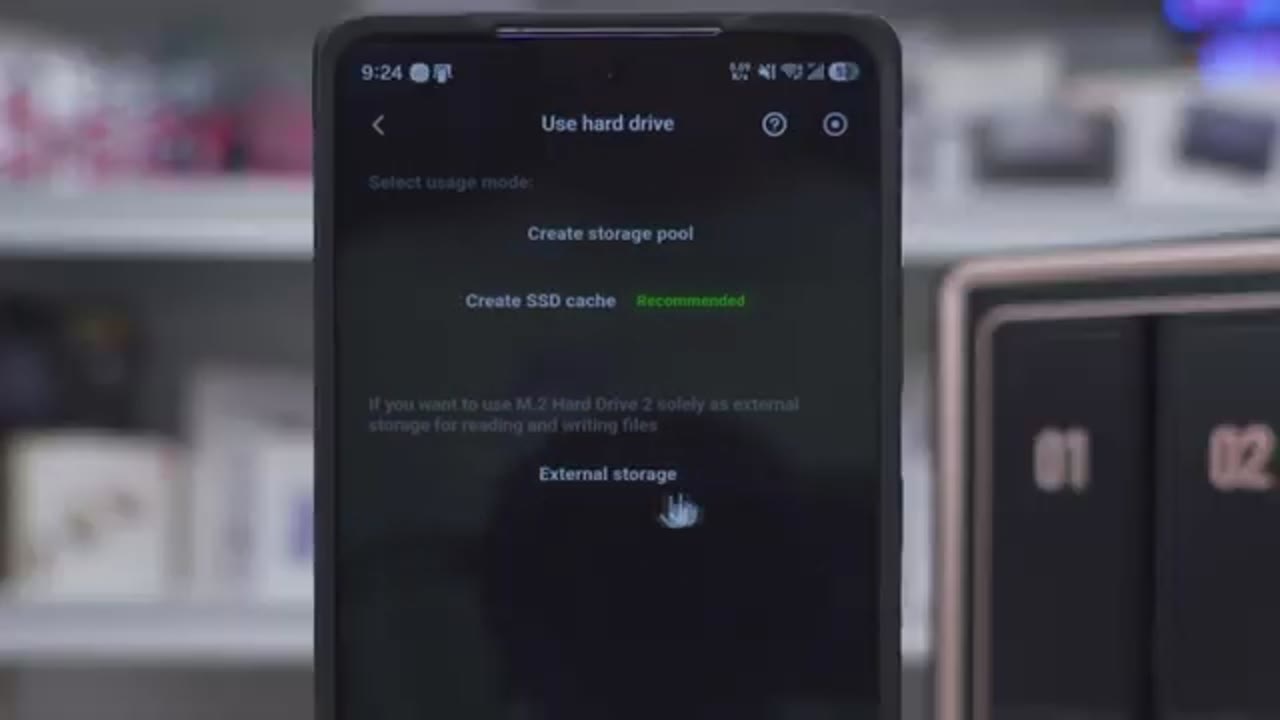
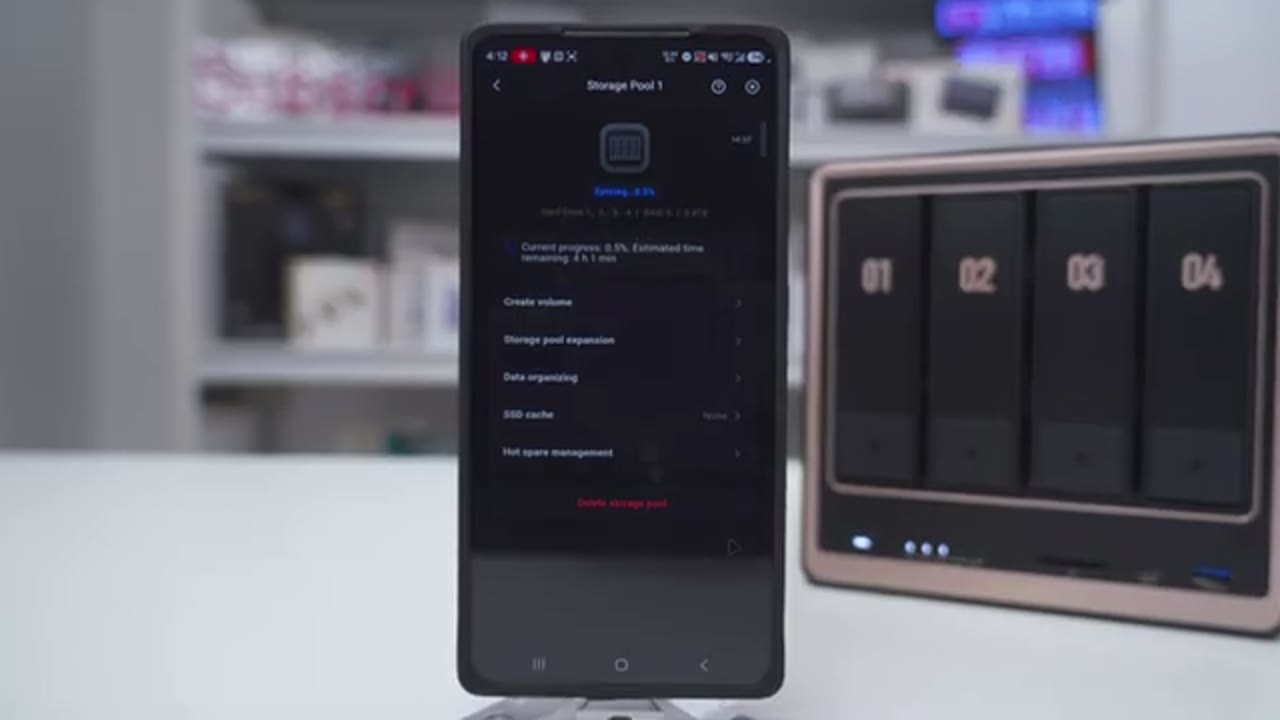
storage for the initial NAS setup. Once all of the hard drives are installed, you’re going to plug in the Ethernet cable into the NAS and plug the other end into your modem or router. Plug in the power cable and then turn the NAS on. Next, download the UGR NAS app and create an account if you don’t already have one. Then you’re going to go and register a new device. Go through all of the steps until you get to the main dashboard. Click on create storage pool and select all of the disc you installed, whether it was one disc, two, three, or four disc, and pick an appropriate rate setup. You’re now finished with the initial setup. Now, let’s take a look at the full settings.
UGOS PRO Settings
To manage the NAS, you’re going to be using UG Green’s UGOS Pro. And there’s three ways to do that. So, one is on your phone using the UG Green NAS app. You can also use a web dashboard, and you could use the desktop software, which is what I’m going to be doing. So, whenever you’re on this kind of main desktop or dashboard, in the top right corner, you could see RAM and CPU utilization. If you click into that, it’s going to open task manager, and you can see you have way more information like, you know, drive temperature, uh, utilization rate. You can also cycle through CPU use, GPU use, uh, memory, network, hard drive, volume, and you can also go ahead and click on this notifications bar. That’s going to show you all of the notifications, you know, everything that transpired on the NAS.
You can click into that to get, you know, a full detailed list. You can also do a universal search. It’s going to search across kind of like the entire NAS, and you can take a look at the task center. So, you can see basically whatever the NAS is actively working on or has completed. On the top left corner, we have a return to desktop and we have this my apps icon. So, this is kind of everything you have installed on here. So, the first thing to look at is the app center. And in app center, you can see it’s broken down by all system management, utility, entertainment, download, etc. So, for example, if I wanted to um download DLNA, I can click into that, you know, get some more uh description about that and then I could just hit install. Let’s go into control panel.
And this is where you’ll want to spend time configuring the NAS to your liking. So under user management, this is where you can add and remove users. So for example, I can click to edit this user and I can change their password. You know, I could upgrade their role here. I could set them to user groups and I could set their quota on here. I could also set their permissions. Under file service, you may want to turn on SMB service. That’s what I have turned on. That’s where or that’s why I could just copy files in Windows Explorer directly to the NAS without using the NAS interface. So that’s something to consider if you need that. Under advanced settings, you can enable a lot of these discovery services.
So you may want to do that so that you know other devices on your network can easily find the NAS and connect it. Under device connection, this is where you can go into remote access and enable U Green Link. And this is what’s going to allow you to kind of remote into the NAS, control the NAS whenever you’re not at home. Under hardware and power, you can actually set when the buzzer on the NAS will come on, or you could just disable all of these so it’s not making any noise. For the cooling fan, you could set it to auto, quiet, or full speed. I just left it on auto. For the most part, it’s not ramping up. And then LED indicator light, you can actually adjust that, and it’s specific to weekends and weekdays, which is nice.
And then power management, you can set it to high performance, balancer, energy saving. Under security, this is where you can enable options to make the NAS a little bit more secure. Under account security, you can enable 2FA if you need to. You can enable account blocks if people are attempting to you know log in unsuccessfully and indexing service. So you can see for universal search if I click on settings here indexing service is turned on and then we can also go into application and you can pick kind of what it’s going to index. Under files this is where you can browse all of the files on the NAS and configure how you want to share those. And I can actually open a lot of file types. So you can see I can open this JPEG file. I can open this uh raw file for my Sony camera.
I can even open this uh PDF file here. Give that a second to load up. You know, Excel files, video files. Really no issues at all. Now, the really cool thing on here is that you could share files with other users either locally or on the web. So, for example, if I right click on this file here, I can go to share and then I can say, okay, I want to share this with either an internal user like on my network or an external user. And then you can set if you want to have a password, how many visits and the access method. So, I’ll just say green link. And then once you create that link and you give it to someone, they can actually download that file without needing to create an account to join your NAS or anything like that. Really convenient.
Under sync and backup, this is where you can set up backups for your phone, your laptop. It could be manual one-time syncs or automatic ones. So, for example, if I click on sync, I click on more here and edit. You can see that I’ve set it up for two-way synchronization between the laptop and NAS. But you can also set it one way sync either way, up or down. under backup and restore. This is where you can actually restore files if you need to. You can see right now it’s set to a manual backup policy. So, anytime I just hit this backup now, it’s just going to back up. And you could take a look at, you know, the backup targets and your backup settings. Under cloud drives, this is where you’re going to go to sync your online cloud drive to the NAS. So, your files are on the NAS securely.
So, if you click on the left where it says new connection, you could sync a Google Drive, Dropbox, uh Microsoft One Drive, Back Blaz, Amazon Drive. So, I have a one drive right now, which you can see. And note that I can actually upload files from my NAS to the cloud or I could download files from the cloud down to the NAS as well. So, that’s really handy. But, if I click on edit, you can set, you know, kind of the drive paths and you could set if you want a two-way sync, a one-way sync. Under photos, this is where you could take a look at all of the photos on the NAS. Now, note in the top left corner, you can actually do an AI search. So, if I search for a cat, it’s going to pull up all images with cats.
And in the same way, if I search for, you know, a car, it’s going to scan through all my files, pull up files with a car. Now, the really cool thing is here under categorization, it has kind of subcategories here. So, people, it actually has my face has pulled up all the images with me. And then it’s even that good that it actually pulled up this mannequin head that I have kind of in the background here. So, it’s actually quite um accurate at what it does. And then under object recognition, it can actually find, you know, text, food, party, vehicles, etc. If I click on food, you can see it’s all images of food. So, this works fantastic. Under security, this is where you can set up real time protection. So, you can actually enable this to do a virus scan.
You can also set up Docker containers and projects. And you can also set up virtual machines as well. Under model manager, so this was not downloaded by default. I had to go into the app store, download it. But do note we have model management. And so if you click on people recognition, I’ve enabled that and I’ve given it access to scan my photos and you have general detection, face detection, uh image recognition. So yeah, UGOS has a ton of settings to configure and the app library just keeps growing. So it’s really easy to use.
Surveillance Center
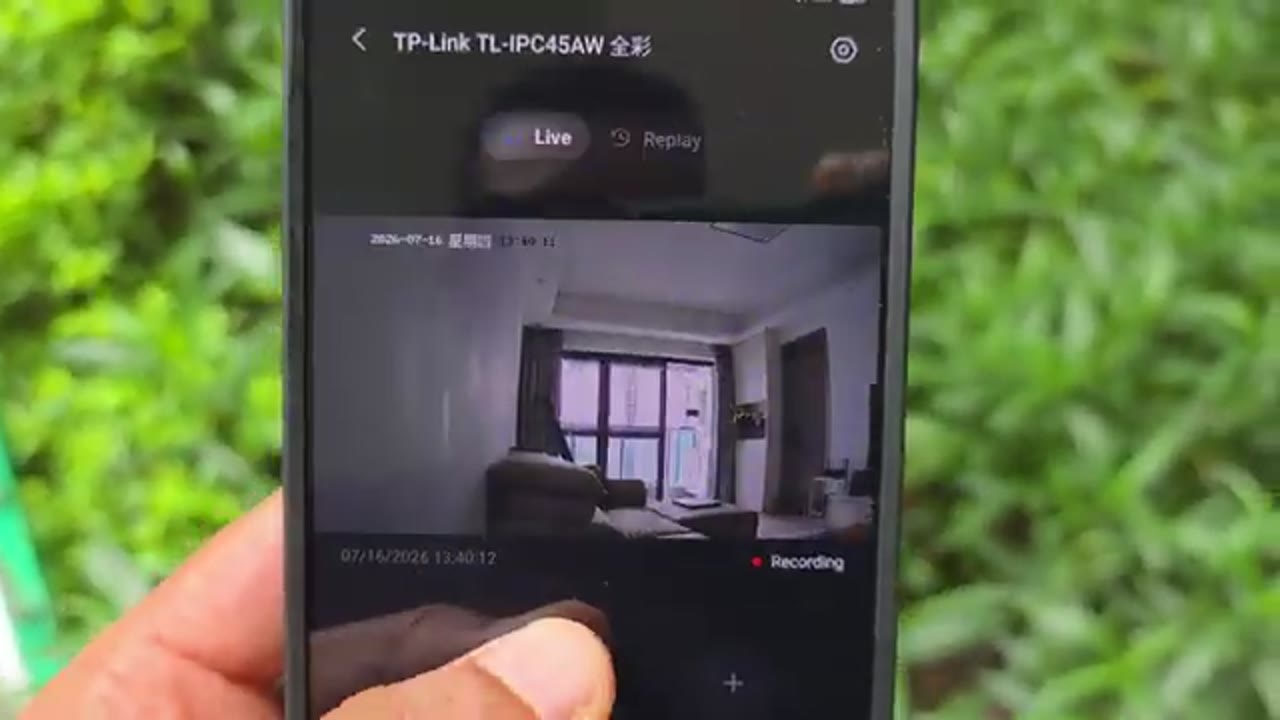
There’s also a surveillance center app in Ugos Pro. So if you have a camera that’s running RTSP or ONVI support, you can add that camera directly in Ugios Pro and it’s going to record the video footage from your security camera or security cameras directly to the NAS. So you don’t have to worry about your micro SD card getting filled up. I actually had touch controls on screen. I was able to pan and tilt the camera. You could review past video clips. You could download video clips. And you could do that while you’re at home or even when you’re out and about because you can just turn on the U Green Link remote
Transfer Speeds
access. Now let’s talk about the real world transfer speeds that I experience on here. So since I have a RAID 5 setup with the four drives, but I also installed an NVME drive as fast external storage. I’m going to share speeds for both of those. So when transferring files from my laptop to the NVME drive installed in the NAS, I was getting speeds from about 700 to 900 megabytes per second with even higher peaks at times. And that was when transferring small files or even massive files like this 74 GB file or even copying about 64 GB of a bunch of different files and folders. Very impressive.
And when I was transferring files from 1 gigabyte to three or 4 gigabytes from my laptop drive to the NVME drive on an NS, it was so fast sometimes it was a matter of one or two seconds where I couldn’t really make out the speed. And at most it was between 5 to 10 seconds for larger files. Either way, it was plenty fast. And when I transferred files directly from the NAS to my laptop hard drive, I was getting speeds of about 470 to 600 megabytes per second. When I transferred files from my laptop to the NAS using the RAID 5 storage, a 1 GBTE file only took about 1 to two seconds to transfer, which is insanely fast. A 2.7 GB file took about 5 seconds to transfer. Also quite impressive. And transferring about 61 GB of files took about 5 1/2 minutes. Also pretty good.
Now, when I transferred files from the rate setup in the NAS to my laptop drive, I was getting speeds of about 200 megabytes per second to 400 megabytes per second. So, definitely slower transferring from the NAS to my laptop versus from the laptop to the NAS. So, the transfer speeds on here are plenty fast for backups or transferring files for streaming, but you will need to make sure that your hardware on your end can take advantage of those speeds. So, my laptop didn’t have a 10 GB Ethernet port. I had to actually buy a Thunderbolt to Ethernet adapter and I’ll leave a link down below to the adapter I
Multitasking
use if you need it for your setup. And with the current hardware, it was pretty easy to multitask. So, I actually had Ubuntu running in a virtual machine. I had Docker containers. I had a 4K video file playing and I had the photos app and whatever was going on in the background in the NAS. Now, I was approaching kind of the upper end of using the 8 GB of RAM on here. But if you’re not running a VM, it’s not
SD Card Reader
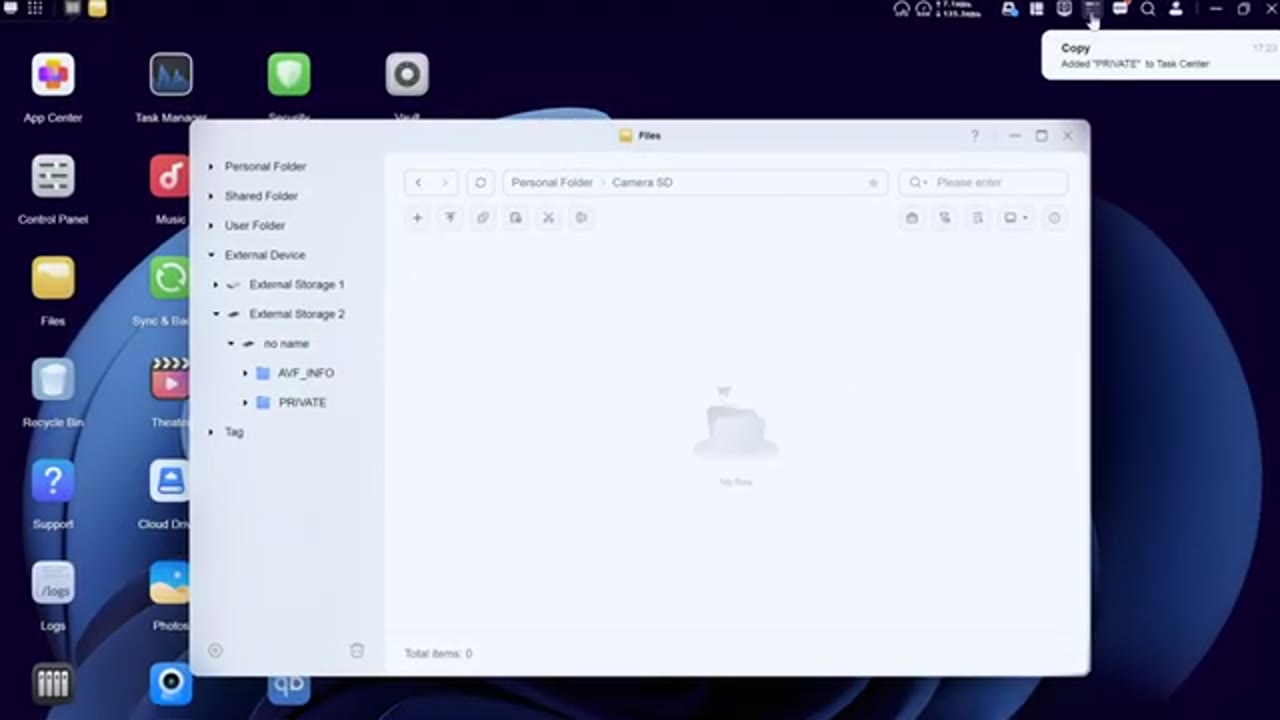
something you need to worry about. If you’re going to be using the 3.0 0 SD card reader on here. Once you insert the SD card reader, you’re going to get a prompt in the UIS Pro dashboard. Click on that. Click that you want to access the files. Then you can actually copy
HDMI & TV Streaming
the files to the NAS. One of the things I love about the DXP 4800 GT is connecting this to my TV using the HDMI port. So that can output up to 4K video and it does come with an HDMI 2.1 cable, which is great. Now, once you have it connected to your TV, open up the UG Green NAS app, pick a video file that you want to play, and then instead of hitting the regular play button, hit the HDMI playback option, and it’s going to output it to your TV. The other way to watch movies and shows on your TV is to actually stream them wirelessly from the NAS. And that’s my preferred way to do that. You just have to add a folder on the NAS that contains all of your movies, shows, video files as a network folder on your smart TV. And then on my TV, I can browse all of those video files.
And the best thing is I could use my TV’s native remote. It’s such a huge quality of life improvement, being able to stream wirelessly like that versus having to plug in a USB drive to the back of your TV or connected by HDMI.
Cloud Storage vs. NAS Storage
Now, let’s talk about using online cloud storage versus having a local NAS. With the four hard drives that I have here in a RAID 5 setup, I have about 5.4 TB of usable space. Now, if I looked at a Google Drive that’s around 5 TB, that’s going to cost me around 323 US per year. And if I get it on discount, it’s going to be 205 US. And if I get a Microsoft One Drive cloud plan, that’s going to cost me around 130 US per year for 6 TB. So with Microsoft One Drive, I can have up to six users sharing the data, but each user is limited to 1 TBTE of data, which is very limiting. And with that expensive Google Drive plan, I can have up to five users sharing that storage. Now, when you compare that with UGS Pro on here, I can add up to 240 users. Yes, 148 users on here.
The other thing to keep in mind is that you have more fine user control on UGOS Pro versus on online cloud. Another benefit of using a NAS is that you can actually scale your storage needs as you go. So with a lot of these online cloud plans, they cap out at, you know, five or 6 TB and if they do go higher than that, the costs get astronomical. However, on this, you can add another drive or just upgrade your drive capacities as you go. And if privacy matters to you, running a NAS is also the better option because all of your data stays local and private on here until or unless you’re ready to share it. Whereas whenever it’s online in the cloud, if that gets compromised, if that gets hacked, well, all of your information is potentially out there.
Another benefit of running an NAS is that your backups are going to be much faster. So anytime you’re backing up, it’s directly on your local network. And because we have dual 10 GB Ethernet LAN ports, it’s going to be very fast. When you upload to online cloud, it’s going to be dependent on your internet speed, you know, network traffic at the time. So depending on how much data you’re uploading, that could take minutes, hours, even days in some cases. Another thing to keep in mind is that any of these cloud platforms can just increase their prices anytime they like and you’re kind of locked in. So while there’s a ton of benefits running a local NAS, cloud storage does have one benefit.
So if your home is subject to fire, flooding, theft, that data may be permanently gone or very hard to retrieve or recover. Now, if it’s on cloud storage, well, it’s going to be safe and protected. So, what I personally do, and this may not work for everyone, but I keep the bulk of my files on the NAS, and if I have anything mission critical where it’s kind of make or break if I lose that permanently, I’ll have a copy in the cloud and I’ll have a copy on the NAS. In that way, I can just be on a free cloud plan or the very basic tier where I’m not paying a lot and then I’m covered in both of those ways. So, if you’re currently paying a lot of money for cloud storage, whether it’s for your iPhone or Android phone, just go ahead, use the cloud sync feature on here.
You could download all of the data from your cloud automatically to the NAS and then just delete stuff you don’t need from your phone and then you could probably downgrade to the lowest tier or even the
Considerations?

free tier to save some money. There is one potential dealbreaker that I see on here for some users. So, the operating system is installed on a 64 GB eMMC drive, which usually means it’s soldered on here and not meant to be user replaceable. So, if you need a replaceable operating system drive, you’ll have to look at UGER’s other NAS
Recommended?
systems. So, after using the UG DXP 4800 GT NAS, I can easily recommend it for anyone who wants to ditch costly cloud storage plans without sacrificing performance or functionality. It’s basically a powerful hub for data backup, streaming movies and media to your TV or to any of your devices, recording and monitoring your security cameras, and it does it quickly and smoothly thanks to the dual 10 GB Ethernet ports and powerful hardware. Just a great all-around NAS. If you’d like to get your very own UG DXP 4800 GT NAS, I’ll leave links down below where you can get up to 20% off your order in the video description and pin comments. Now, if you want a more budget friendly and compact NAS that’s still 4 bay, check out my review of the UG Green DH4300 Plus NAS right here.
This is the NAS I was using previously. Super reliable. The only thing is you’re going to compromise a bit on the transfer speeds, but it may not be a dealbreaker to you if you know your use case. Also, consider liking and subscribing if you enjoyed this video, and maybe even consider joining as a member where you’ll get early access to videos and other perks as well. I also review a bunch of other tech outside of NAS systems, so maybe check those out, too.
Buy UGREEN NAS Series(15% off)
Buy WD 2TB Drives In This Video
Please note that some of the links in my video descriptions are affiliate links where I earn from qualifying purchases. As an Amazon Associate I earn from qualifying purchases.