


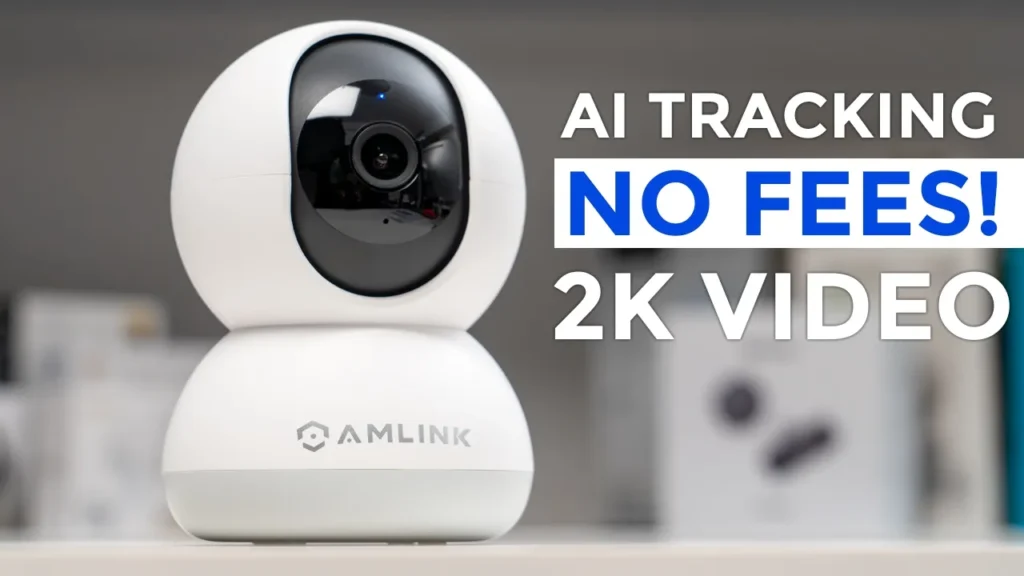

Buy AMLINK Indoor Security Camera
Please note that some of the links in my video descriptions are affiliate links where I earn from qualifying purchases. As an Amazon Associate I earn from qualifying purchases.
Intro

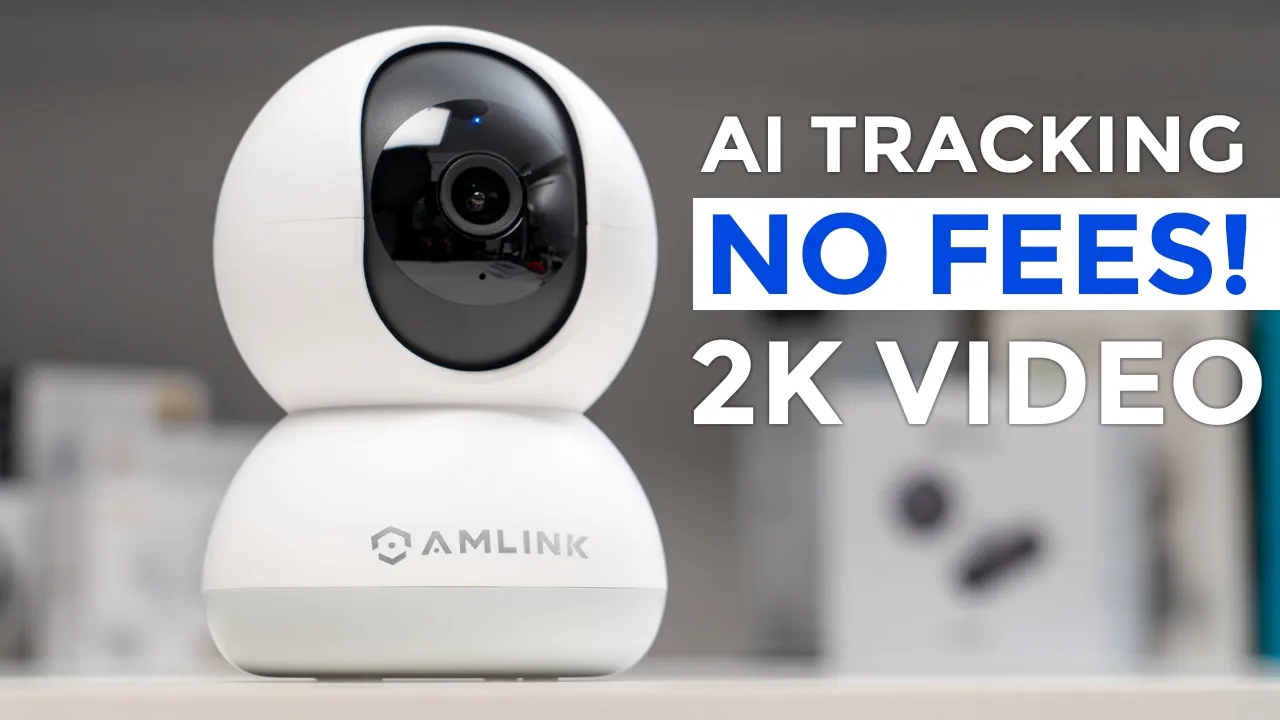
If you’re looking for an affordable and featured pack indoor security camera, the Amlink indoor pan and tilt security camera is worth checking out. It records in 2K resolution with a 4 megapixel sensor at 15 frames per second with an 82°ree field of view. There’s extremely quick motion detection and really quick app alerts that come with thumbnail previews. And there’s even human detection and AI autotracking of human subjects. There’s manual pan and tilt controls, favorite viewing presets, an alarm siren, and two-way talk. You can insert up to a 256 GB micro SD card and have an RTSP support to connect it to a NAS or NVR. There’s 24/7 continuous recordings or event-based recordings up to 30 ft of night vision range, dualband Wi-Fi, a privacy mode, and Amlink Pro app support.
Now, all that sounds good, but there’s a few things you should know. So, let’s take a closer look. And a big thanks to AmLink for setting this up for review. In the box, you get the
Package Contents
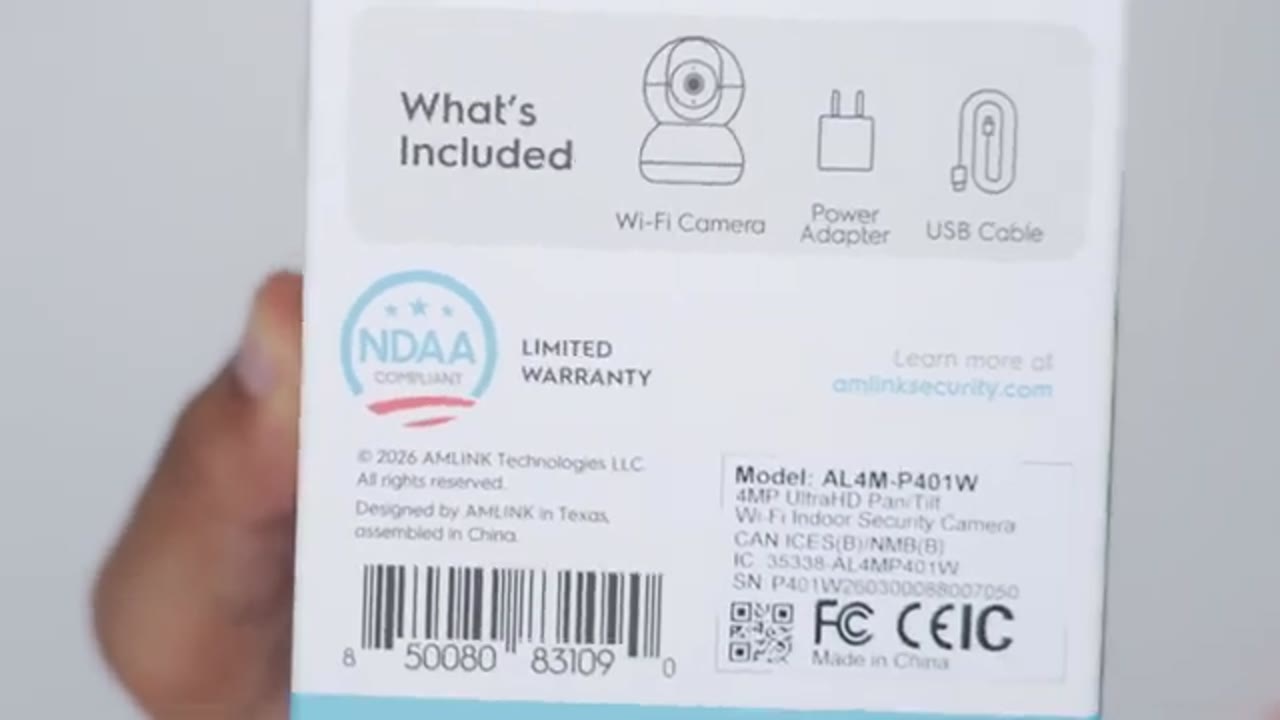
Amlink AL4MP41W indoor security camera, a USB typeA to Type-C cable, power adapter, quick start guide, optional ceiling mount, screws, and mounting hardware. In terms of
Design
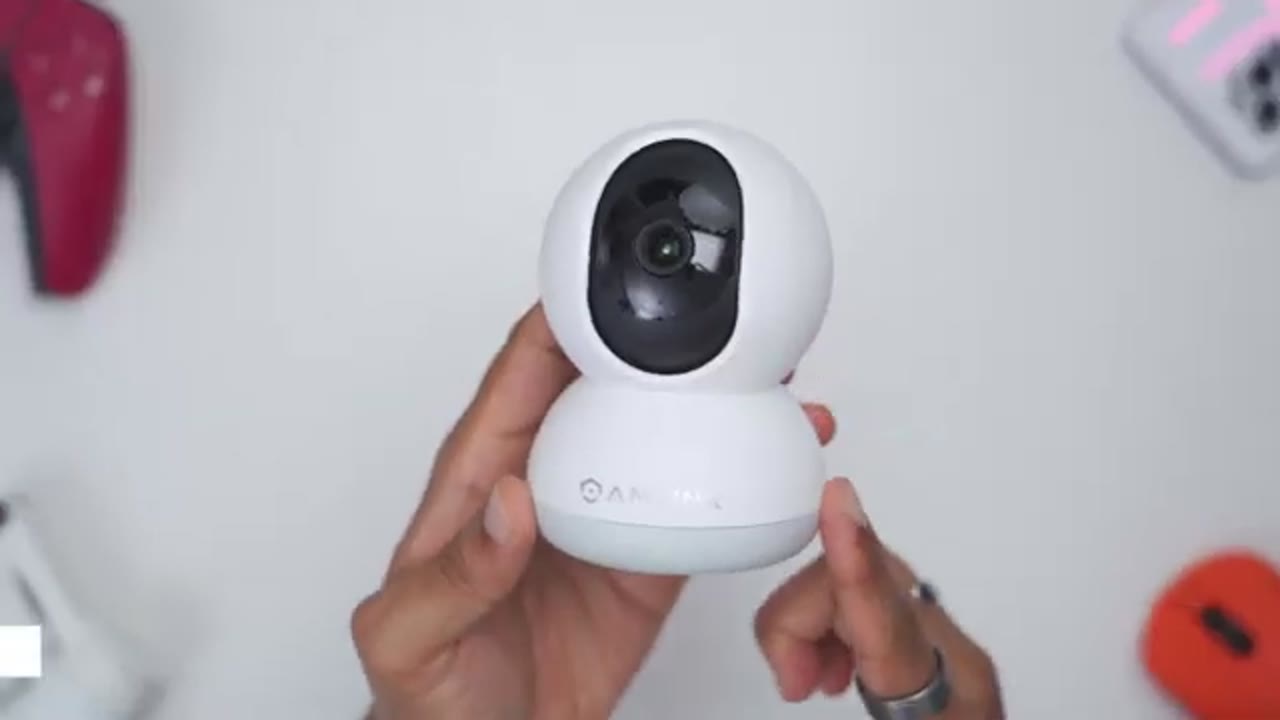
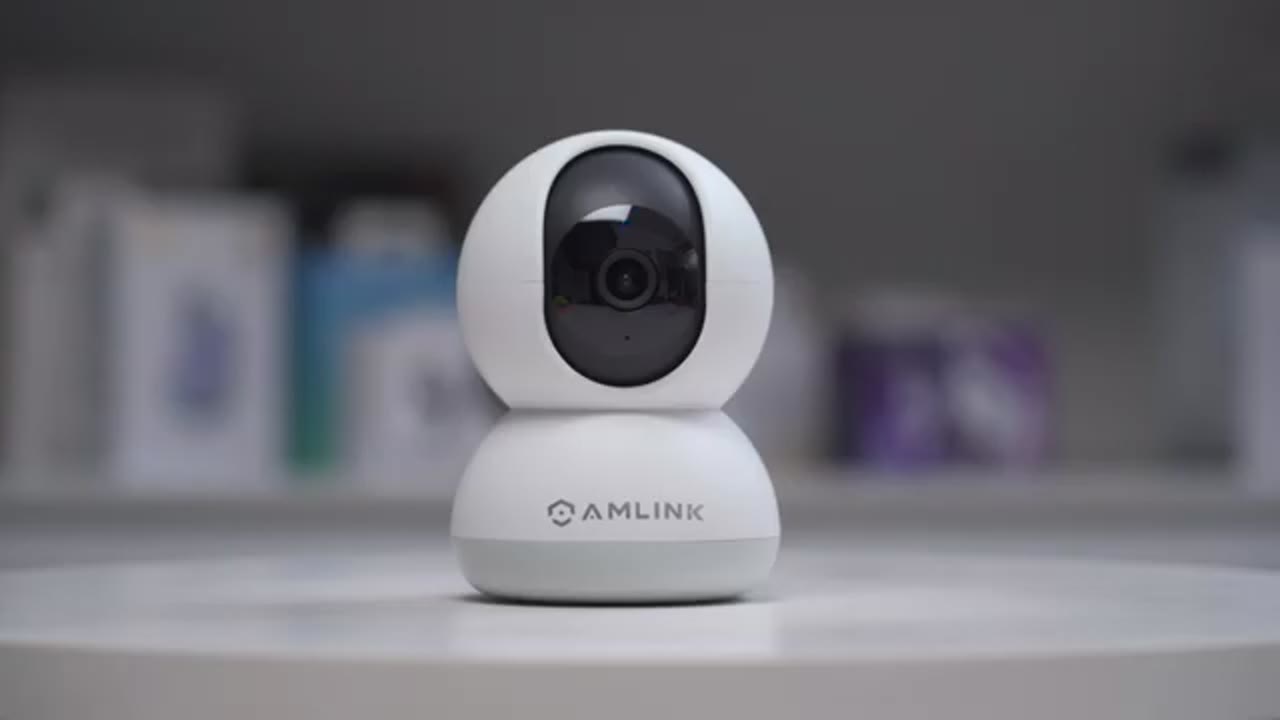
design, so the Amlink AL4MP P41W indoor camera comes in at around 169 g or about 0.37 lb. We have a hard plastic build all the way throughout, and it feels really rigid and sturdy. Now, if I try to kind of twist or apply pressure, there’s no type of flexing or creaking, which is good to see. On the front, we have an LED indicator light, microphone, and various sensors. There’s also a lens here capable of 82 degrees field of view. And that’s paired with a 4 megapixel sensor, giving us 2K QHD video. And if I gently push up on this front section, it gives me access to the reset button. And there’s also a micro SD card slot. I’m going to insert my micro SD card here. And I’ll leave links down below if you need one for yourself.
Looking at a back view, we have the speaker grill, which is what we’re going to use for two-way talk. And there’s also a USB type-C port to plug in the supplied cable to power this up. The camera can also pan and tilt to use smart tracking. So, we have a tilt range of -20° to 46°. And we have a pan range of 345°. And on the very bottom, we do have some silicone rubber type feet to keep this nice and planted. In addition to using the camera as a tabletop camera, you can also ceiling mount it using the included mount. So, just secure the mount to your ceiling using the mounting hardware. And once it’s on your ceiling, you’re just going to go ahead and slide the camera body into the mount till you hear a click, just like so. Here’s a quick look
Specs
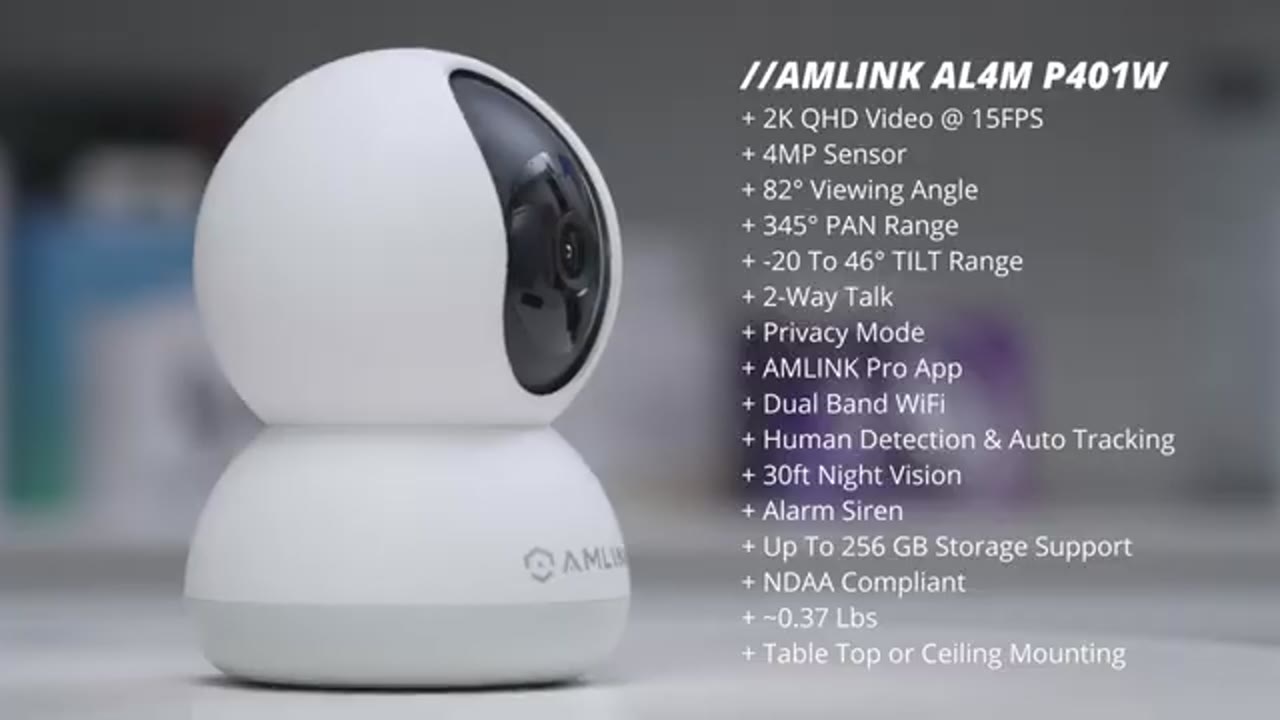
at the specs. Feel free to pause and review or jump ahead to the next
AMLINK Camera Setup
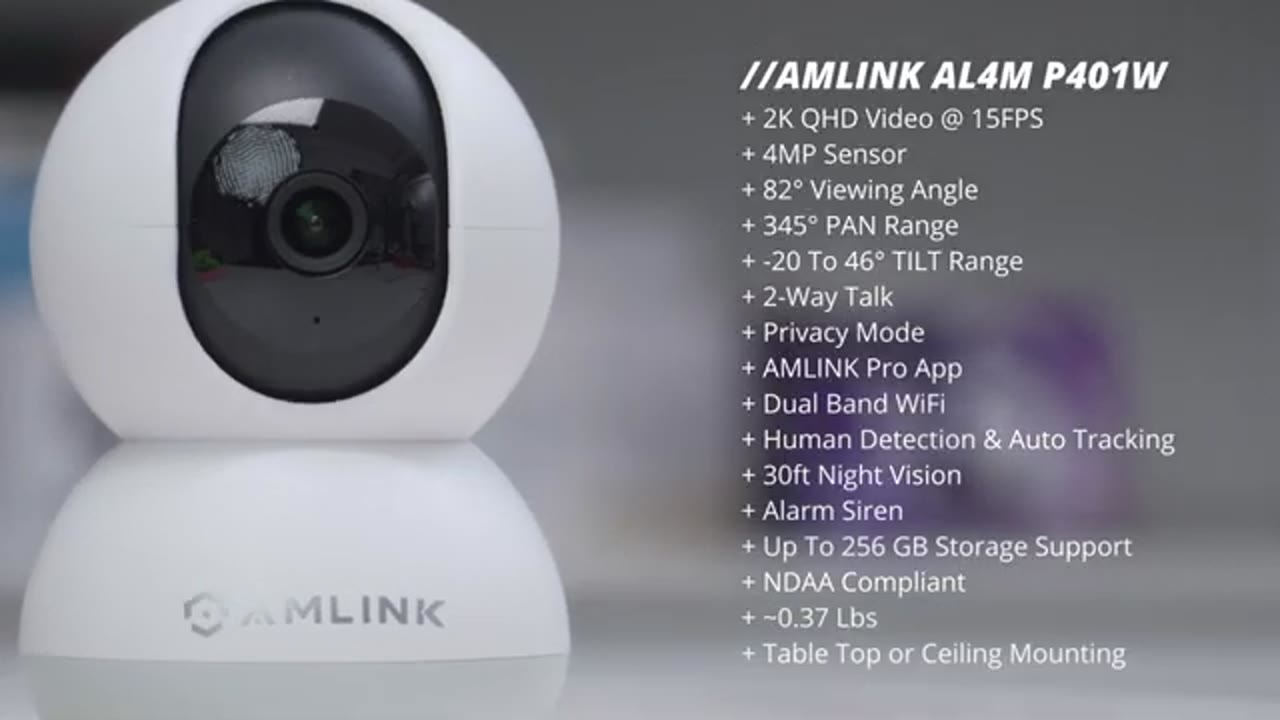
section. To set up the camera for the first time, it’s really easy. So, download the Amlink Pro app from your phone’s app store. Create an account. Once you do that, tap on add device. You can now plug in the camera and wait for the flashing blue LED lights. Once you see those, tap on next. Enter your Wi-Fi password and wait for the camera to connect to your Wi-Fi. And just like that, you’re done. Optionally, if you did insert a micro SD card, you can also tap the option to format it here as
AMLINK Pro App Settings
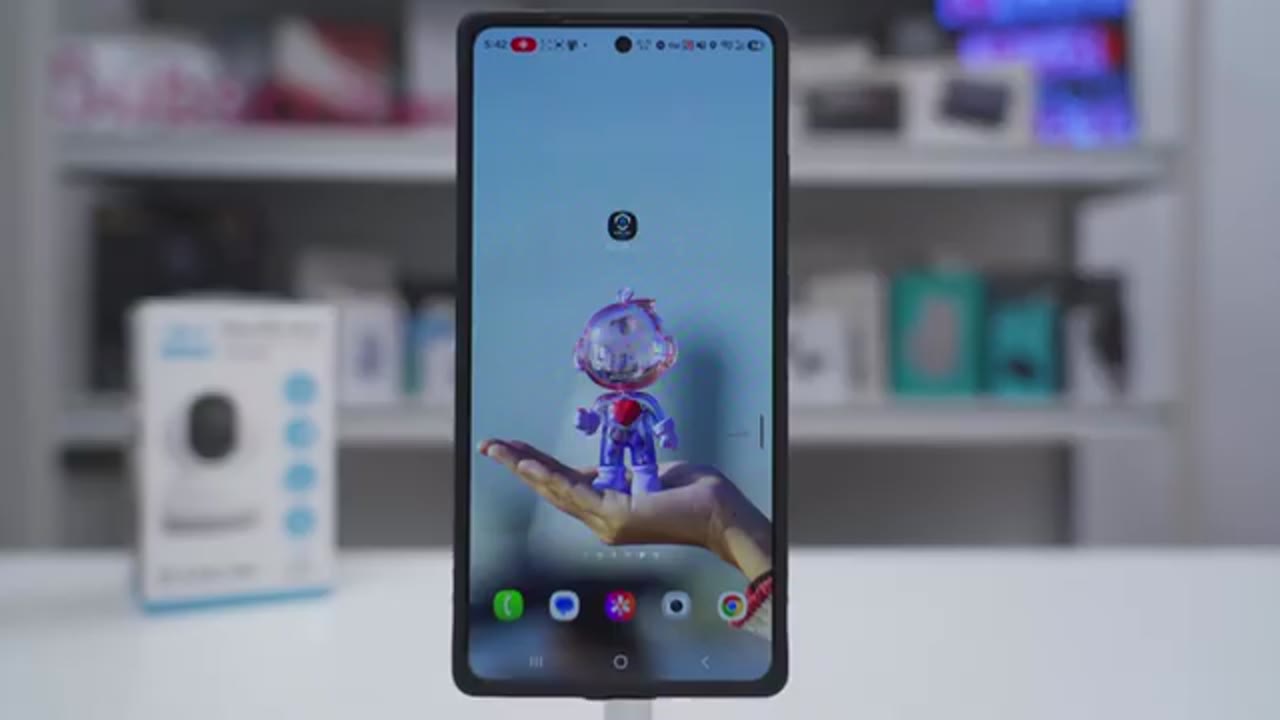
well. Let’s take a look at the Amlink Pro app settings. So, as soon as you open the app up, you can see a thumbnail preview of what the camera last access or saw. We can see the Wi-Fi signal strength. And at the very bottom, we have options for cloud playback, share, in general. But let’s tap into the thumbnail to go into live view first. But if we tap on this icon here, we could hear whatever sound is going on in the room or wherever you have the camera placed. You can also tap the microphone icon to initiate two-way talk with whoever is in the room. You could tap on this icon here to take a screenshot. We also have an option for auto here and you could set the streaming video quality from auto 360p or 2K.
Now the default here it says PT or pan and tilt and this is what you can use to pan and tilt manually. So you can see I can either pan or tilt the camera, you know, up or down. Now, we also have an option at the bottom here, and it has this kind of um plus icon. So, for example, if I like this view, I could tap on that, and I’ll just call it uh let’s just say top for the ceiling. I can hit okay, and it’s going to add it as a favorite preset. And you can have up to five presets. So, you can see 1 2 3 4 5 different presets. Now, if I tap on number one, which is front door, it’s going to go back to my default view, which is to see who’s coming and going.
And do note that there’s an outline around one or front door, which means this is going to be the default or home position that the camera is always going to return to after it’s done autotracking. And then if you tap on control, you have additional options not at the top here. So you can start, you know, kind of a manual video recording of whatever is going on on the screen. You can also go ahead and trigger the siren manually. And you can also enable privacy mode. When you do that, the camera is going to stop recording video and audio. And lastly, you can of course go ahead and put this into a horizontal view if you want, you know, a wider view. And you can see you still retain a lot of those on-screen touch controls. We can also click on message at the bottom here.
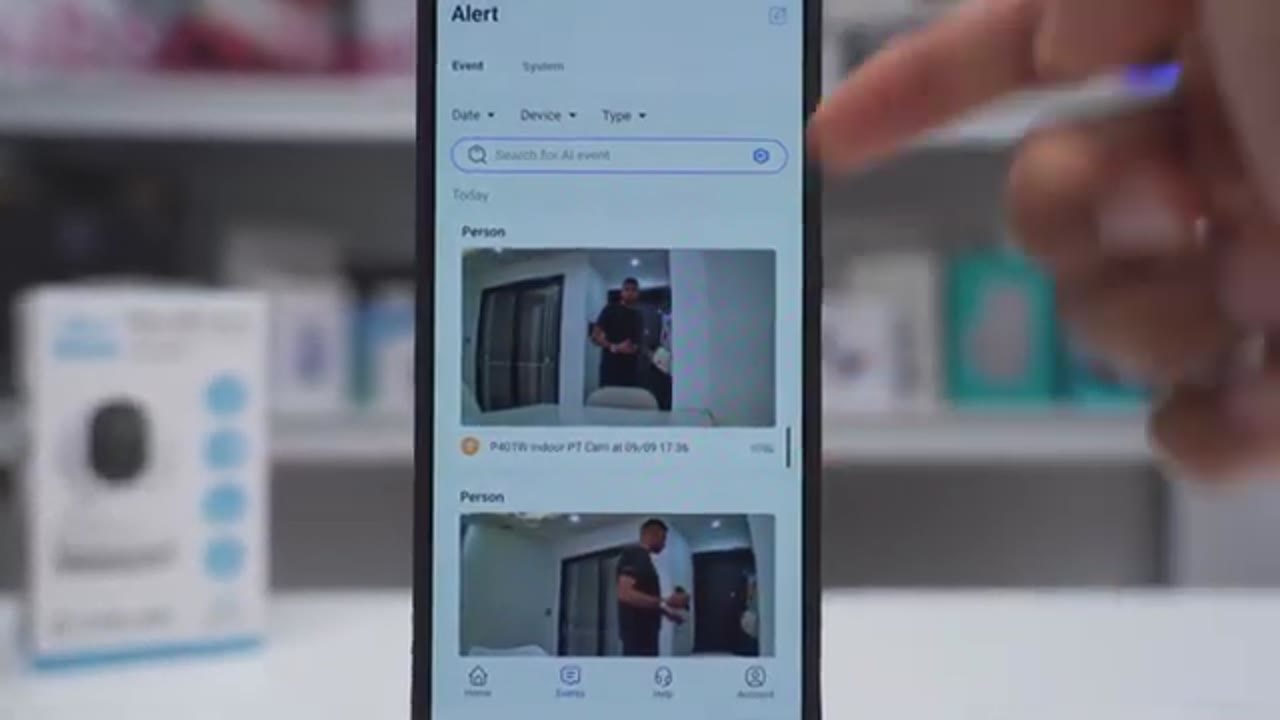
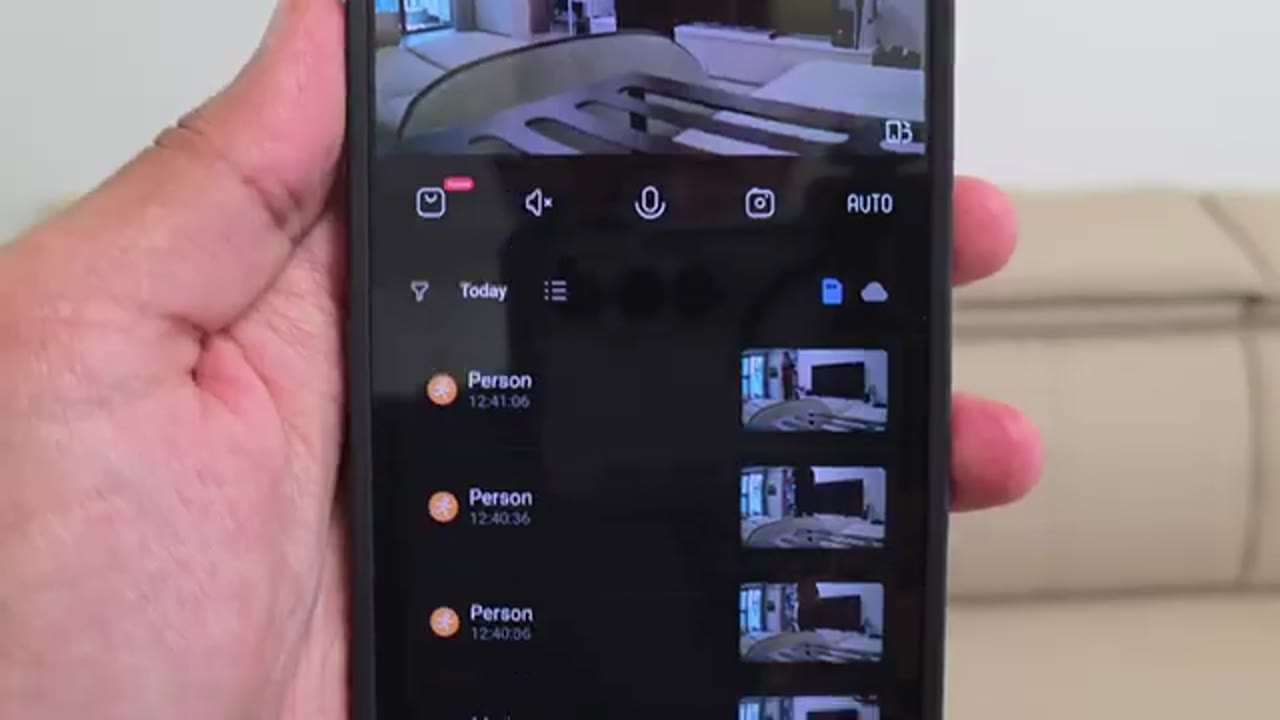
And it’s going to show kind of a log view of everything that’s happened on a camera. So note that some of these say person and some say motion. Person is whenever the camera’s detected a person and motion is whenever it’s detected motion, but it doesn’t know if it’s a person or not. And it is really quick at generating these thumbnails, which is nice to see. Now, we can also go ahead and actually filter these by motion or human. And you can tap on today and sort through the various days as well. Now, if we tap on playback, this is where you can actually review all of the footage from the day. And do note that I’ve set it to 24/7 recording. You can set this camera 24/7 continuous recordings or event-based recording.
So, this light kind of color here is the camera just basically recording all the time. And anytime you see these blue vertical lines, that’s where it’s detected some kind of motion that it thinks is noteworthy. And you can always, you know, zoom in on the timeline, tap over to that, and you can actually see the motion that the camera picked up. And you do have an icon here to switch from the micro SD card recordings to cloud recordings if you chose to pay for a cloud recording plan. So, if I want to download this small portion, I’ll just drag the playhead here. Tap on the download icon. And I’ll just go ahead and drag that over this small portion here. And then I’ll tap download. At the bottom right, it says downloading in progress. Please check the download list.
So, if I jump into account, download list. I can see it’s actively downloading that. And it saved it to my phone’s album. So, the app is really easy to use. And we can also tap on these three horizontal icons at the top here to go into the full device settings. And if I tap into the micro SD card, you can see that I have a 256 GB micro SD card inserted. I do have the recording resolution set to 2K. The other option is 360p. Don’t use that. That’s way too low. And then you can see for recording mode, you could set it to events only, so it’s only going to record when it detects an event. Or you can have it to continuous recording, which is 24/7 recording all day, every day. So nothing is ever missed.
Now, one thing to note is that in the events only, if you tap on that, there’s no additional settings. Like you can’t set how long the uh event recording clip is. So I prefer just having it on continuous so I don’t really miss anything. From here, we can go into detection settings and we could tap into that and you can enable detection for humans and motion detection or just, you know, human detection if you didn’t want alerts when general motion is detected. You can also change the detection sensitivity from the lowest to the highest setting. And you can also turn on the AI tracking option. So anytime it detects a human or a person, it’s going to automatically track them. You can also set, you know, the detection schedule all day.
And you can draw a detection zone if you want to ignore, you know, frequent movement in another area. And under video settings, you can enable flip and mirror if you’re going to be, you know, kind of ceiling mounted the camera where it’s going to be upside down. You can also enable timestamps. And under night vision, you can turn that on and set it to auto night vision. Now, under audio settings, you can actually turn on the alarm sound. So, whenever the camera detects motion, it’s going to play that alarm siren. You can also have audio recordings to go along with the video. And you could set the speaker volume to the maximum output. Under push notifications, you can allow push notifications. Those are the app alerts you get on your phone.
You could have it push alerts for human and motion or maybe just human if you wanted. And you can actually set kind of a cool down uh interval here. And then if we go under general, this is where you can go and look at any type of firmware, you know, updates required. You could turn the status LED on or off. You can also enable RTSP on here if you need that feature. And a really cool thing here is you can actually share access with family and friends. And if you tap on add user right here, you can see that you can set the sharing duration from permanent 1 day, 3 days, uh 7 days. But not only that, you can give full functionality when you share it or you can say, hey, just have the option to look at live view and playback and nothing else.
Under events, you get the same type of log that I showed earlier.
AMLINK Video
In terms of video quality, the camera records in a 2K QHD video resolution at 15 frames per second. When reviewing recorded video, I could make out faces during the day and at night, but in lower lighting situations or scenarios, there was a little bit of artifacting going on in the video due to the lower bit rate. With the auto night vision option turned on in the app, it was easy to make out everything going on in the room, and it was easy to make out my face when I was fairly close up to the camera. However, as you get further away from the camera, it’s going to be a little bit harder to make out faces.
That said, during the day in a very bright room with all of the lights on or even with all of the lights off, just using kind of ambient light coming through the window, there was enough detail in the video to make out what was
Motion Detection & App Alerts
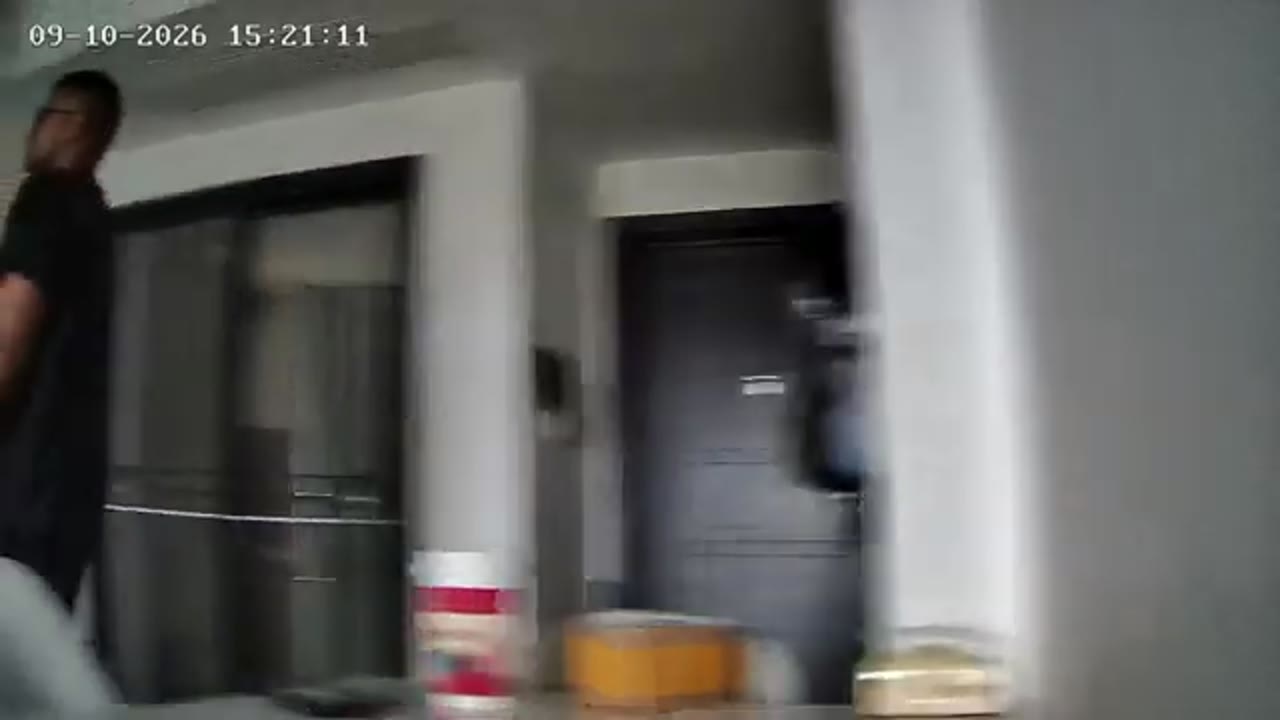
going on. And in terms of motion detection speed, which is pretty vital for any type of security camera, I’m happy to say that this was plenty quick at detecting motion. And once it detected motion, it would send me an app alert pretty quickly within a matter of a couple of seconds. And not only that, it actually had a thumbnail preview. So at a glance, I can see what was going on before I decided if I wanted to click it or not. Now, once I clicked on the app alert or thumbnail notification, it would jump me into live view. So I could see, you know, just live in real time what’s going on. However, if I wanted to see the original clip that triggered the actual motion detection, I could just scroll down in the event log and tap on that clip and it would play that. So you
AI Auto Tracking
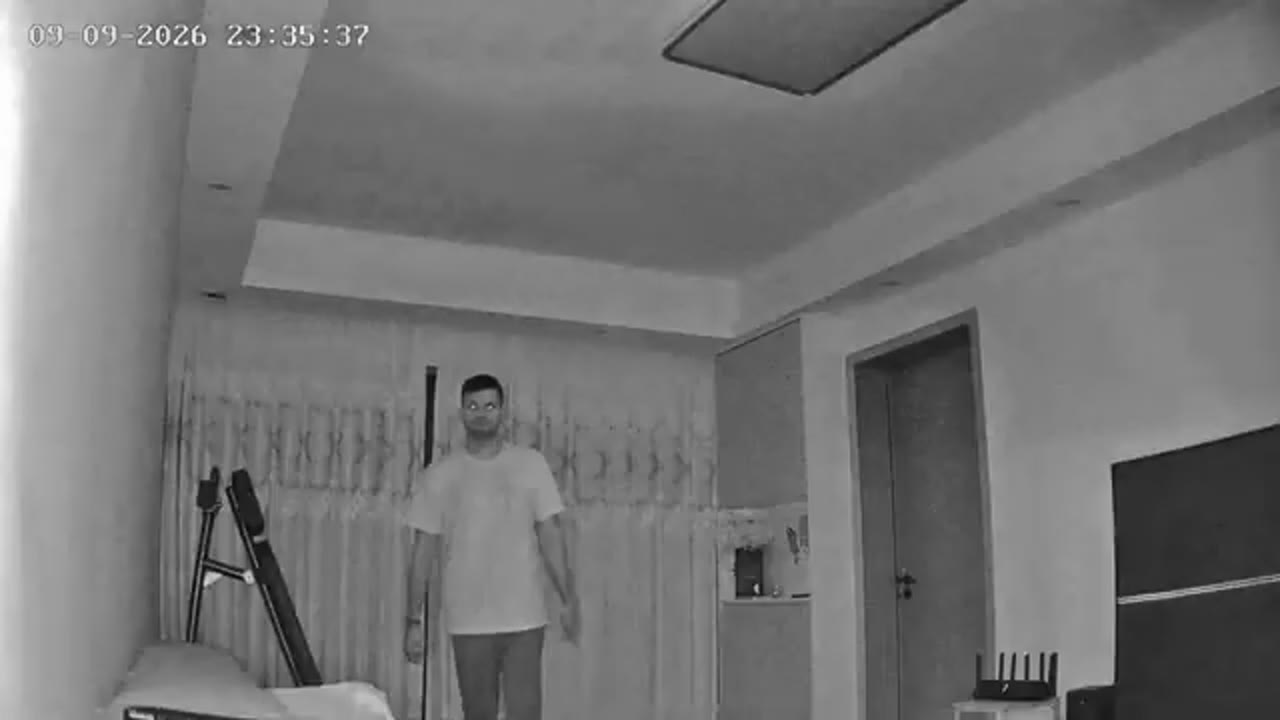
have full functionality. And in terms of the AI autotracking, so once the camera detects motion and identifies that it’s a person or a human, it’s going to continue to track you as you make your way along the room. So you can see in this clip, it easily tracked me as I walked back and forth. I entered a room, came out of the room, it had no problems at all. However, once I started moving really fast, then it just couldn’t pan fast enough to track me. I also noticed that the camera would give up or stop tracking me if I was standing too close to the camera. Because if my head was kind of out of frame and it was only seeing my body, it wouldn’t identify me as a human or a person.
So, if you’re going to be installing or kind of positioning this camera, it’s best to have it, you know, kind of deep or far back in the room so it has a wider field of view to see everything. I also tried the AI autotracking in dim lighting situations or at night. And some of the times it would track me, but other times it would also stop tracking. So, the AI autotracking is best for daytime or bright environments. At night, it may be
Pan & Tilt Controls
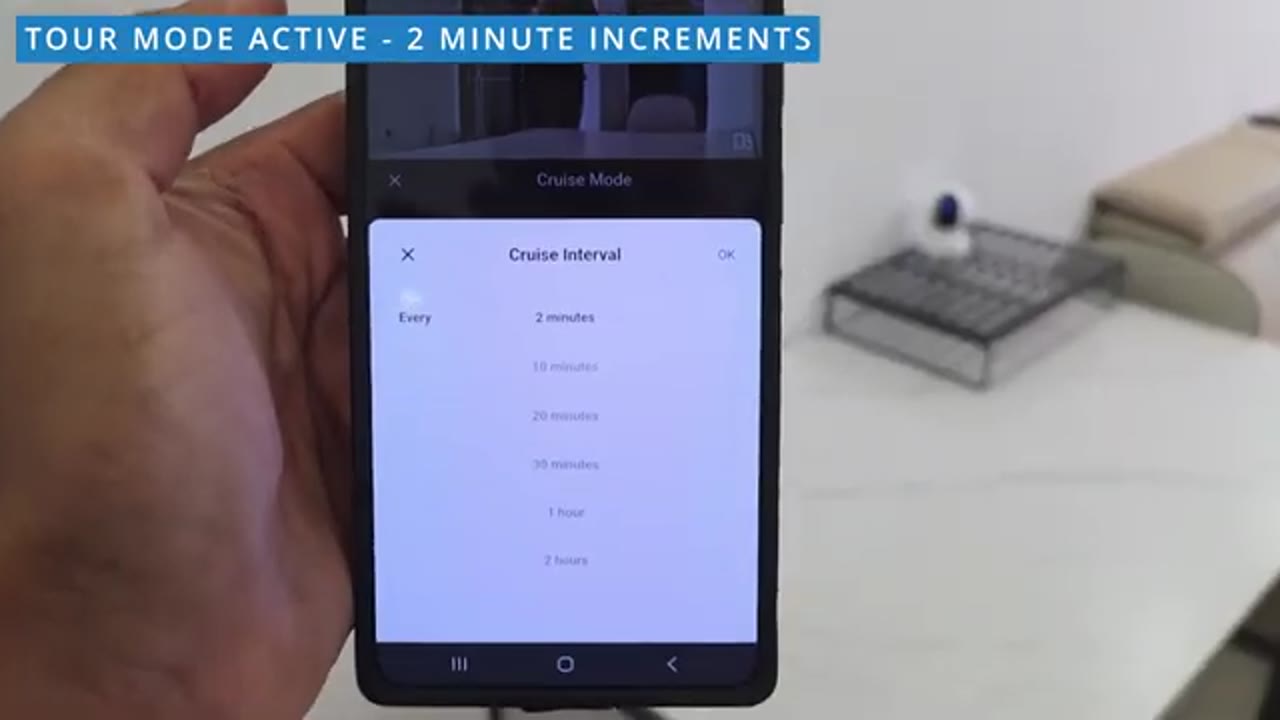
a bit hit or miss. While the camera has AI autotracking, so it’ll automatically pan and tilt. You can actually manually pan and tilt as well. So, it has a pan range of 345° and a tilt range of -20° to 46°. You can also have up to five favorite viewing presets. So, you can have presets for your front door, your hallway, your living room, etc. You can just tap on those presets and the camera will just jump to that. As well, the camera also has a tour mode where it’s going to just kind of cycle through the various type of presets that you set up. And you can set the increments to just cycle through every 2 minutes to every 2
Privacy Mode
hours. And whenever you need a little bit of privacy in the app, you can actually enable the privacy mode. It’s going to stop all types of recordings, video, and audio. And the blue LED light that’s normally on is going to cut off, letting you know privacy mode is active. Once you exit out of privacy mode, that blue LED is going to come right back on. By the way, the camera is also NDAA compliant, meaning it avoids certain telecommunications equipment that’s restricted by the US government. Here’s
2 Way Talk
an example of what two-way audio sounds like from the Amlink indoor security camera. So audio comes through clear. There’s no type of dropouts or signal
Alarm Siren
issues. >> In addition to the alarm siren, there’s also other audio clips that it can play as well. >> How can I help you? No, thank you. We’re
RTSP Support
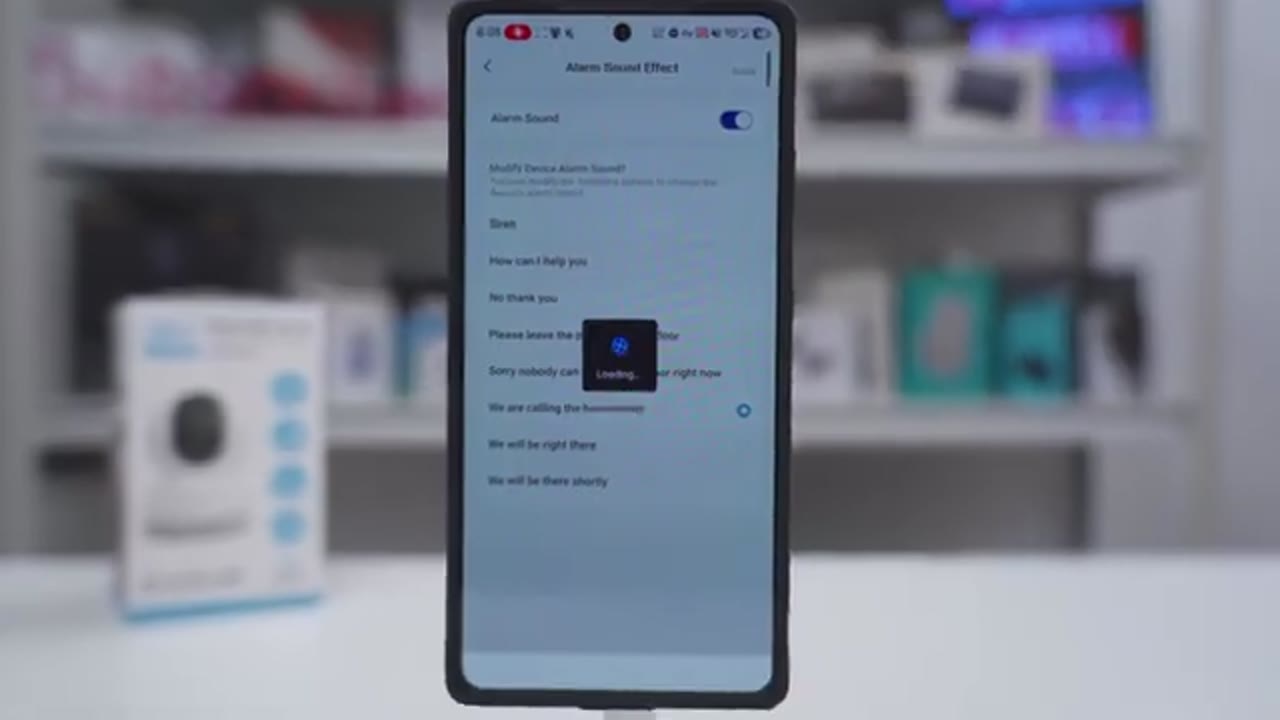
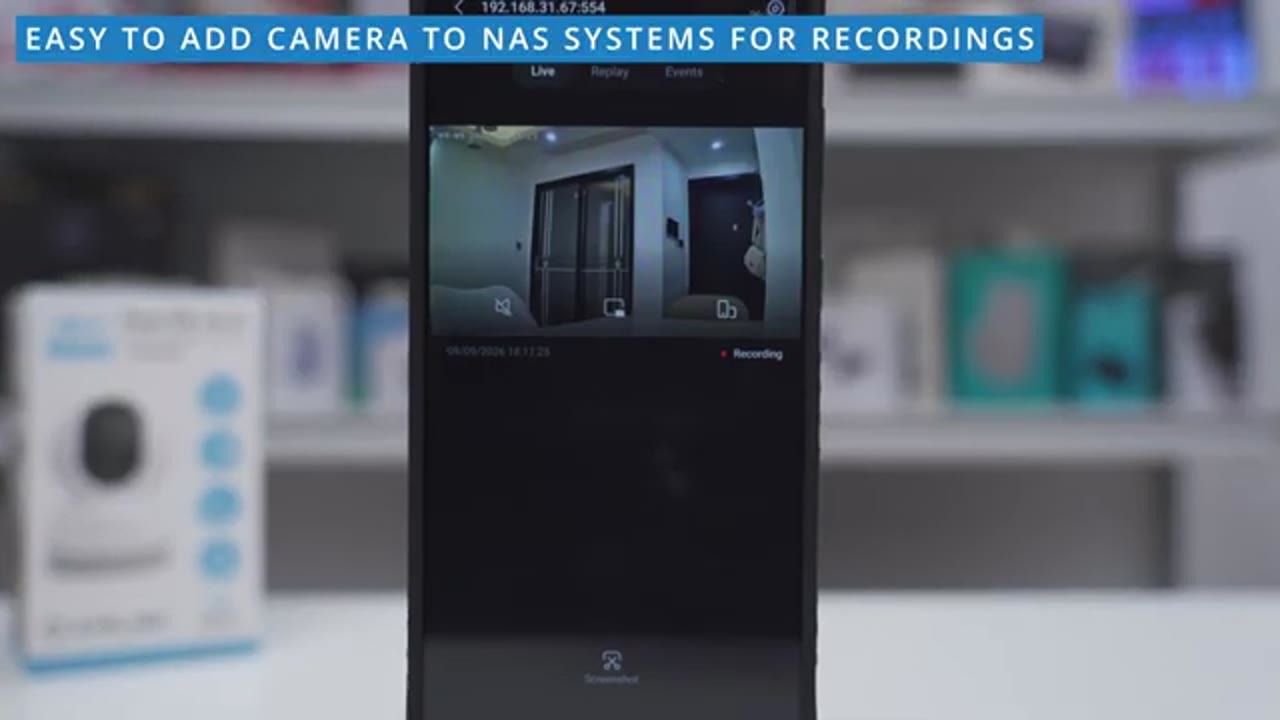
calling the homeowner. >> And with the RTSB support, I was easily able to connect the camera to my UG NAS, which means all my future recordings will be directly on the NAS. I don’t have to worry about filling up the 256 GB card on here. So, yeah, this just gives you a ton of flexibility and functionality for the price. Now, let’s
Storage
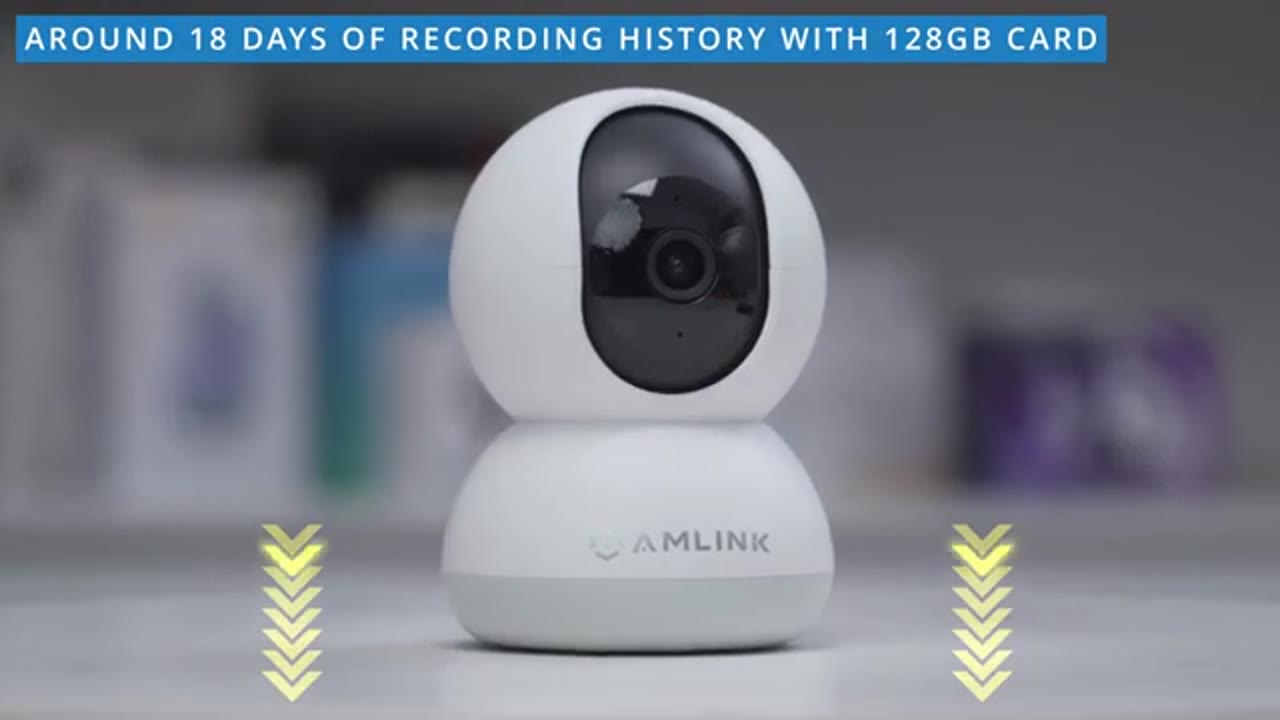
talk storage because it’s pretty impressive on this camera. So, the camera will accept up to a 256 GB micro SD card and I had it set up to record only 2K video and I set it to record 24/7 all day every day. So, there was no type of event-based recording. And based on my estimations, I would get around 37 days of video playback history, which is a little over a month. And that’s great because if you take an extended vacation, say you didn’t get to, you know, review your footage or say you only notice something, you know, kind of a miss, you know, one or two weeks, 3 weeks later, you can still go back and take a look at that again 24/7. So, that’s pretty impressive. And even if you use a lower capacity card like 128 GB, you’re still getting around 18 days.
And I’ll leave links down below to the micro SD card I’m using if you’re
Power Bank
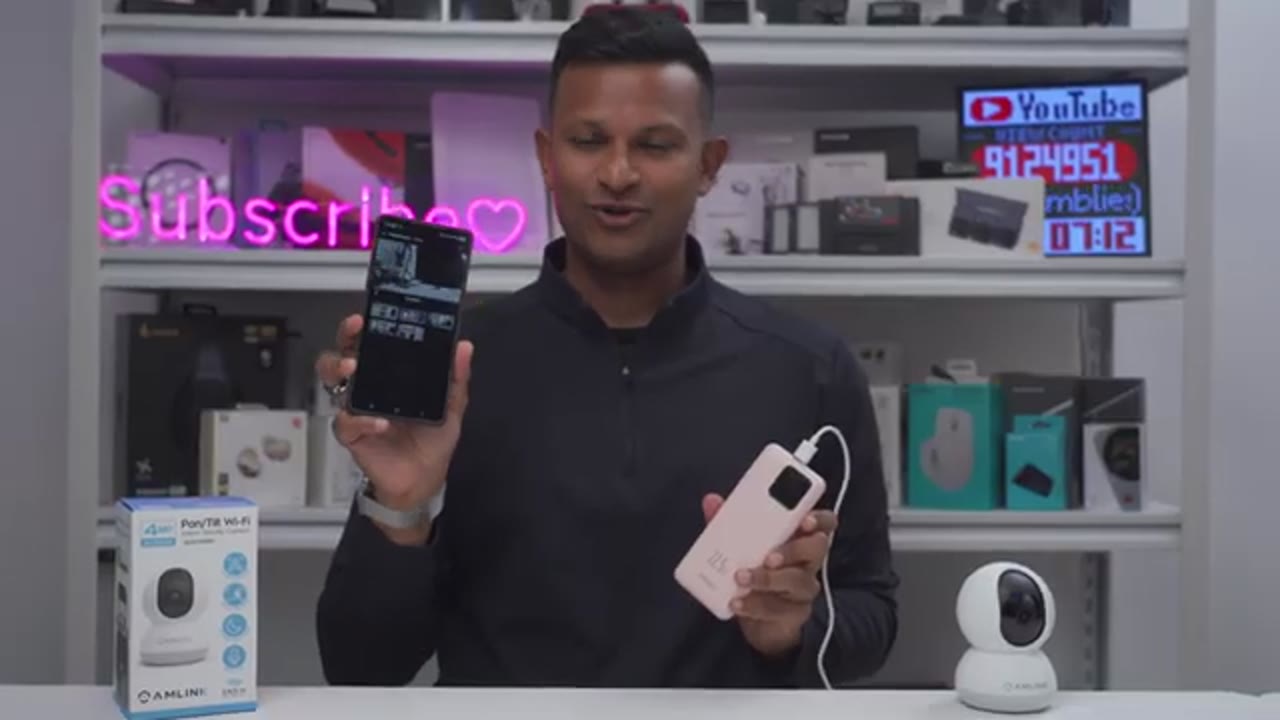
interested. By the way, you can even power the camera up with a standard power bank. So, this is good if you just need kind of temporary surveillance or monitoring and you don’t have a wall outlet. And you could see if I tap any of the kind of position presets and app, I still have full control, no problems
Recommended?
at all. So, if you’re looking for a feature-packed camera without paying feature-packed prices, the Amlink AL4MP 401W is a solid option. It has extremely quick motion detection and quick app alerts with thumbnail notifications so you could see what’s going on at a glance. It also has autotracking of human subjects and manual pan and tilt controls. You get decent day and nighttime video quality and really long recording history thanks to the 256 GB capacity. Plus, you can choose between event-based recordings or 24/7 continuous recording so you never miss a thing. And the best part is that there’s zero monthly fees or subscriptions to get all of that functionality, unlike other camera brands that pay well a lot of those features.
So, if you’d like to pick up the Amlink AL4MP P41W indoor security camera, I’m going to leave links down below in the video description. And if I have any type of coupon codes, I’ll leave those down there below as well. And can I ask a huge favor? If you found this video helpful, would you mind liking it, subscribing, even joining as a member to get early access to other videos and other perks? I also review a bunch of other products outside of security cameras. Maybe you’ll find some of those interesting as well.
Buy AMLINK Indoor Security Camera
Please note that some of the links in my video descriptions are affiliate links where I earn from qualifying purchases. As an Amazon Associate I earn from qualifying purchases.