Buy aosu Solarcam P1 Max on Amazon
Buy 128GB microSD Card on Amazon
Please note that some of the links in my video descriptions are affiliate links where I earn from qualifying purchases. As an Amazon Associate I earn from qualifying purchases.
Intro
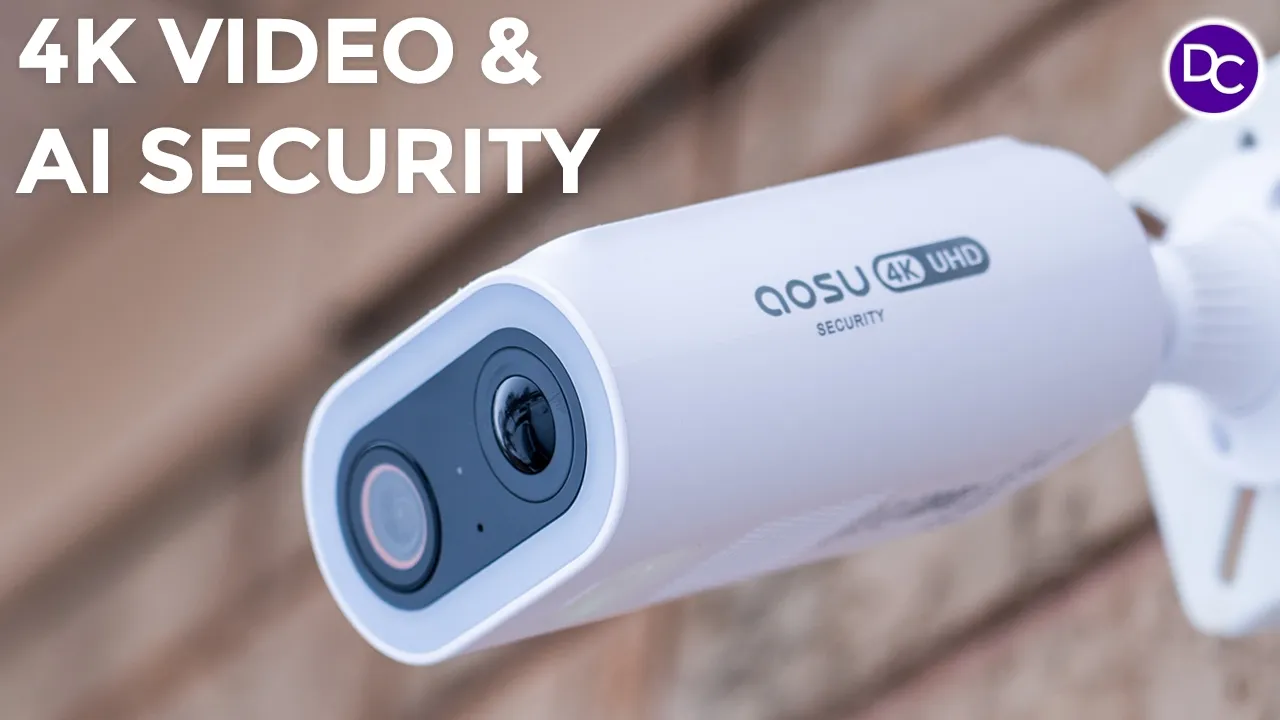
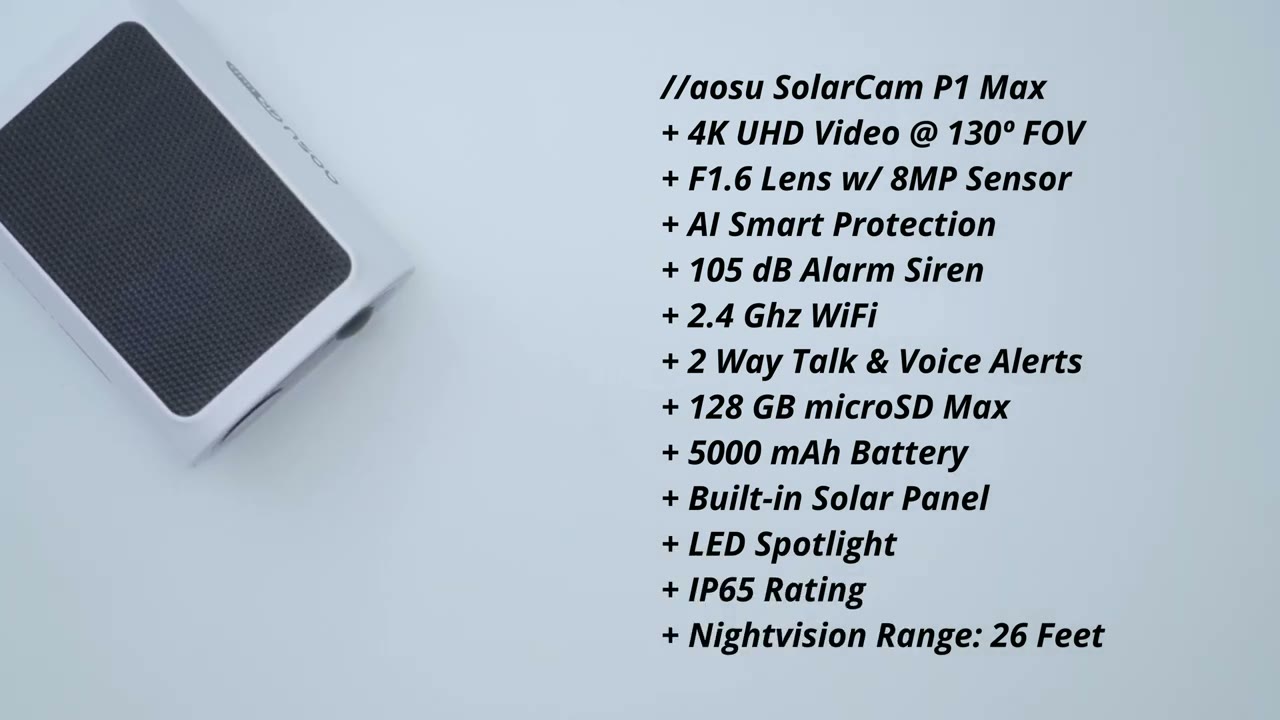
hey it’s Adrien and today I’m taking a look at asu’s solar cam P1 Max camera which comes packed with a ton of features including 4K video 130° field of view and AI detection there’s also an f1.6 lens for low light video 6X digital Zoom a built-in solar panel for charging 2way talk and alarm siren Spotlight color and black and white night vision up to 128 GB local storage and ip65 rating and most importantly there’s zero monthly fees to get all that functionality so if you’re looking for a solar powered security camera this should be on your short list but let’s take a closer look at how well it performs and a big thanks to ASU for sending us out for review in the box we
Package
have the ASU solar cam P1 Max camera a USB type A the type-c cable to charge it up mounting guide manual security sticker and mounting hardware the ASU
Design
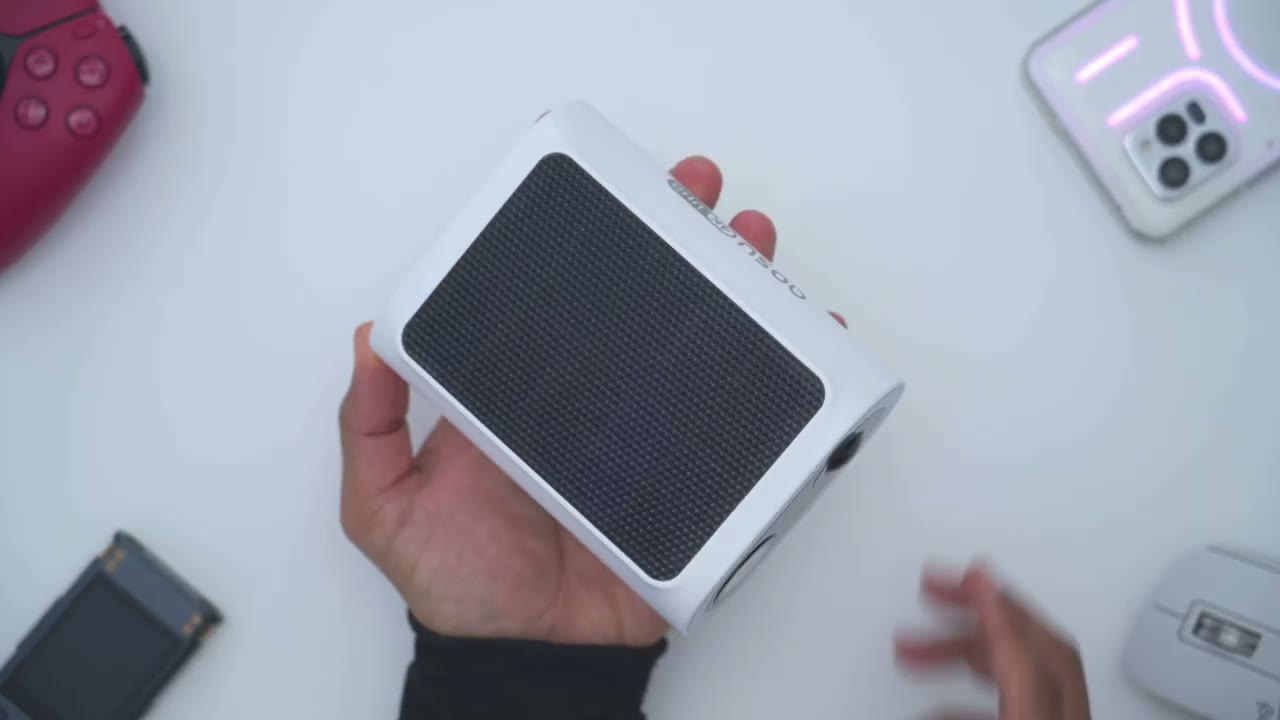
solar cam P1 Max is a fairly compact camera fits in the palm of my hands and it comes in at around 347 G or 0.
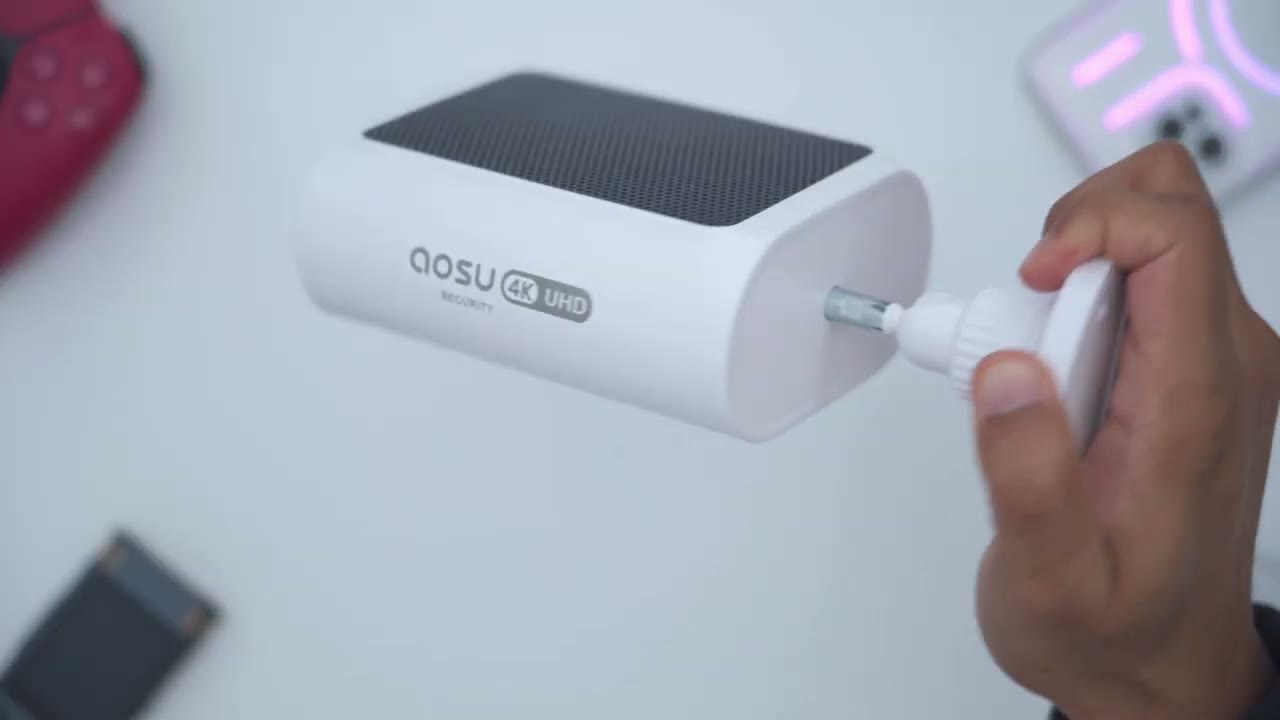
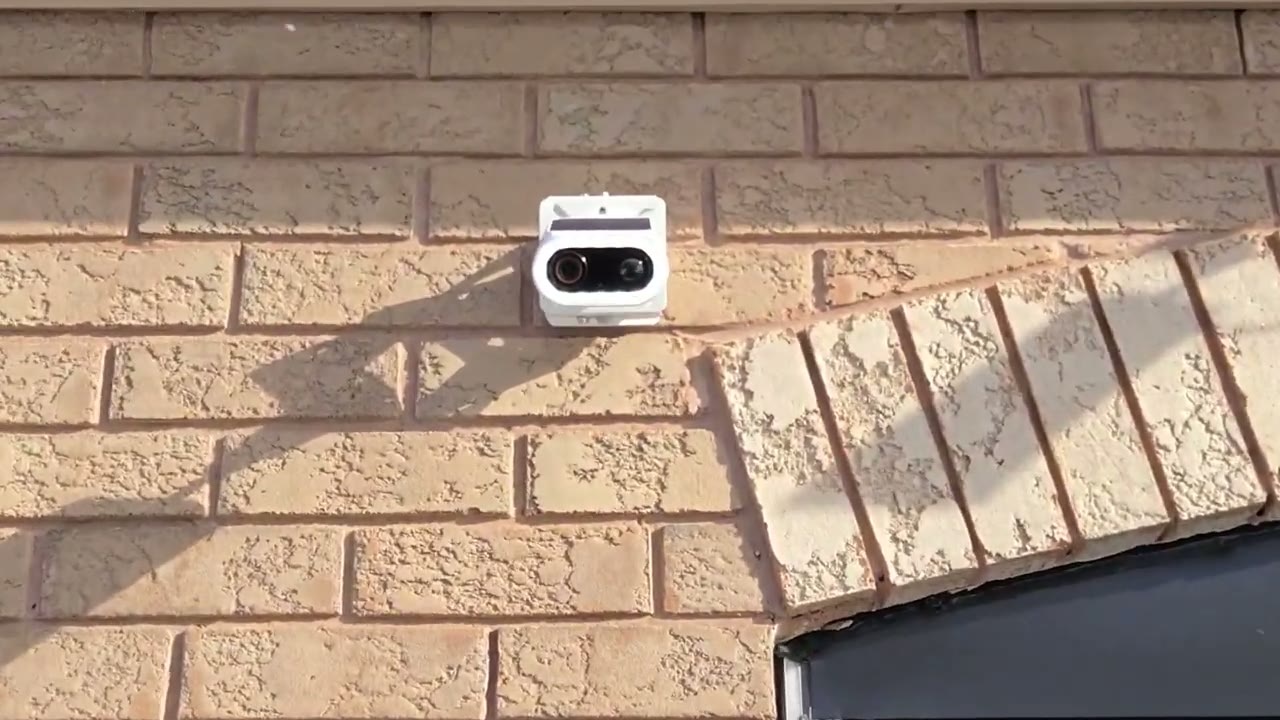
7 lb so this is going to be very easy to mount and keep in place on the side we have the ALU logo showing that it is capable of 4K recordings and then we have that huge solar panel on the top to keep the battery topped up on this now on the front we have the 4k camera lens there we also have a bunch of different sensors and we have the LED spotlight ring going around there on the other side we have a logo again the bottom of the camera has a speaker Grill and this is what we’re going to use for 2way talk in for the alarm siren and there’s this weather sealed area here now I’ve pre- loosened it because it’s pretty um challenging to get it out since this does have an ip65 rating so you can use it in any type of weather and under here we do have a USB type-c port a power button and a reset button as well and then we also have the slot for the micro SD card and now is a great time to put in your micro SD card before you set it up in the ASU app and I’ll leave links down below to the micro SD card that I’m using using on the rear of the camera is
Installation
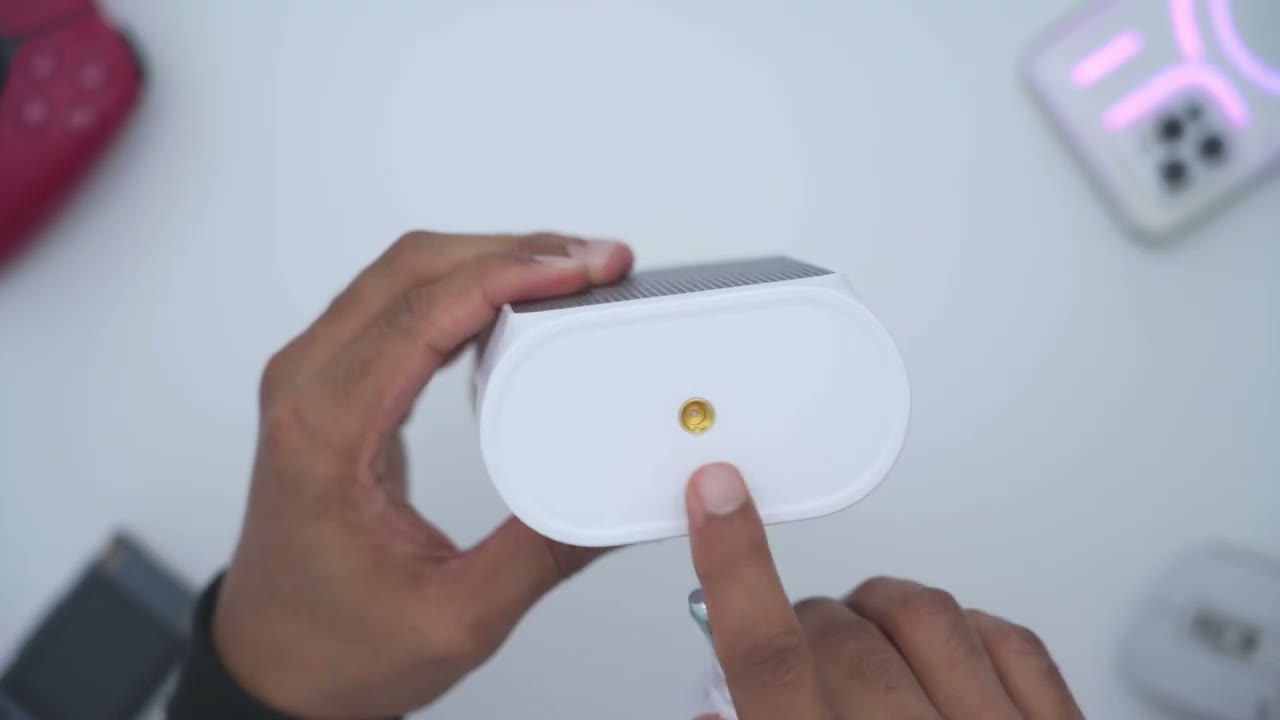
where we have the thread Mount to thread in the included Mount so you can see that just goes in very easily just like so and to install this it’s actually quite simple what you’re going to do is you’re just going to separate part of the mount just like so and you could see that there’s four areas here that you have to drill into a wall or whatever surface you’re planning to mount this and this going be wall mounted you can also ceiling mount this as well now I’m going to be using a special Mount like a universal Mount I’ll link that down below if you want to check that out but basically once you have this drilled in you’re just going to screw in this part here which will already be attached to the camera body or you could just go ahead and attach it afterwards like I’m going to do right now once you have the mount secured to the camera body you could set your angulation so you can see I can go all the way up like this this would be like a ceiling mounted option or I could go for a wall mounted option which is what I’m going to do but once you have your angulation set you’re going to take this part here and you’re just going to rotate it until it tightens all the way up and that’s going to set the angulation for the camera and it’s just going to stay nice and stable
Specs
here’s a quick look at the specs feel free to pause or jump ahead to the next
aosu App Setup
section I’m now going to add the solar cam P1 Max to the outo app so I’ll open the app up press and hold the power button till the camera turns on hello all right so the camera’s on I see the flashing light so we’re ready to pair and I already inserted a 128 G like micro SD card so we’re going to click the plus icon on the ALU app and it says to scan actually it’s already found the camera without scanning anything that was very quick so I’ll click on ADD and it’s going to scan my Wi-Fi networks now you need to connect to 2.4 GHz Wi-Fi um which is this one right here and it already has my password because I’ve connected other outu cameras previously so I’ll click next the camera is connecting to your Wi-Fi network it may take a moment please wait for a while save setting successfully so the camera connected in less than a minute that was one of the simplest setups I’ve ever gone through I’m going to put this up my garage so I’ll hit done and it’s saying smart cloud storage so these usually come with a free trial now I’m just going to skip this right now I’m generally not a fan of playing for monthly plans and I see that there’s a firmer update so I’m going to do that right now the firmware upgrade is complete so I like to run live view make sure everything loads up and and works
App Settings
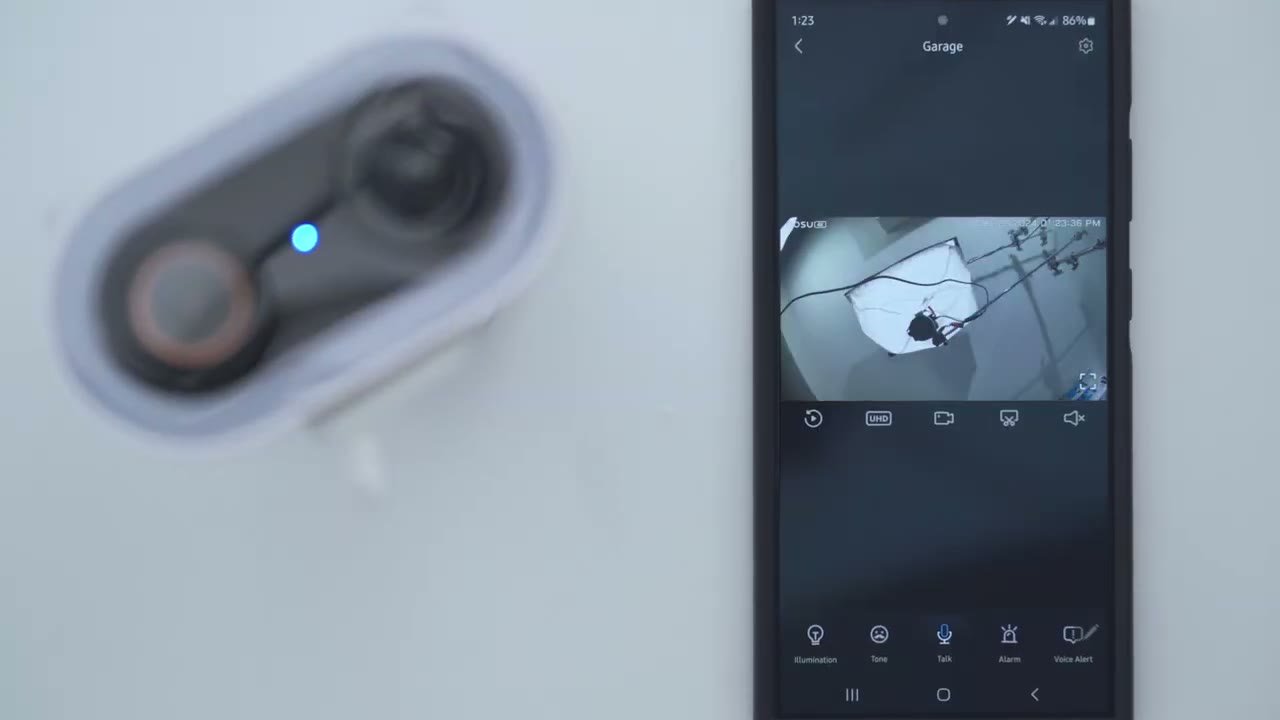
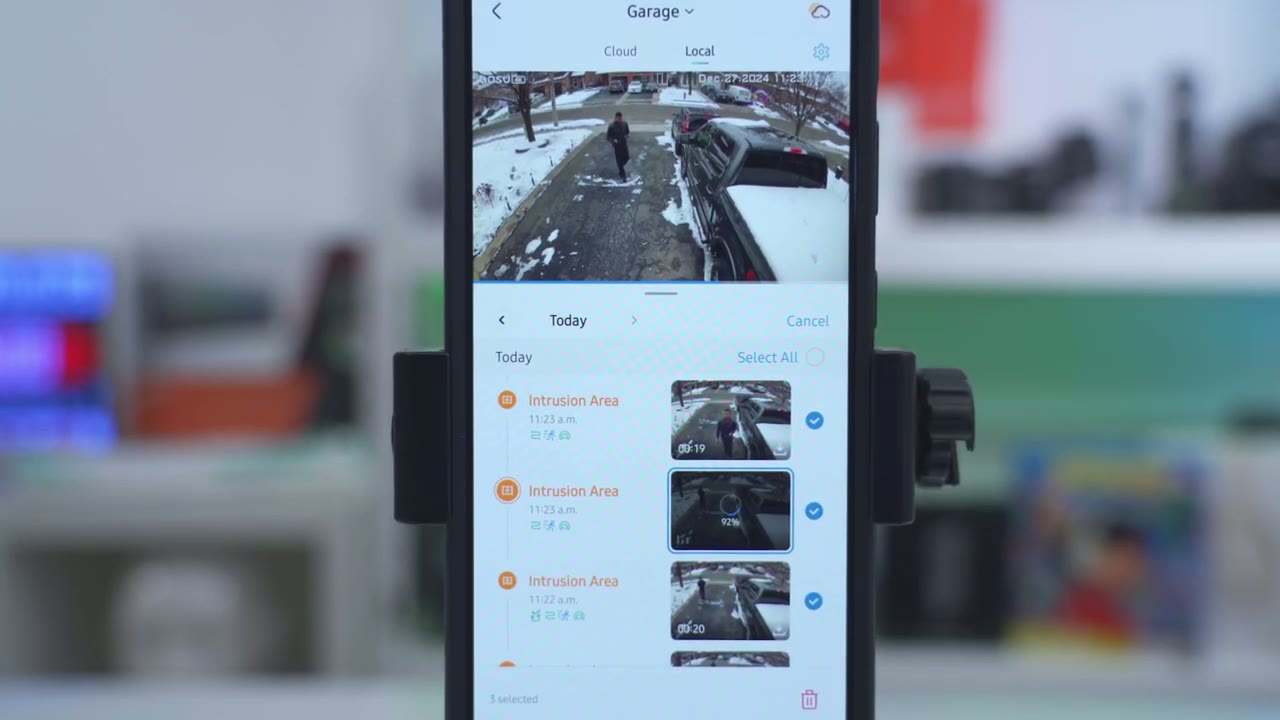
before installing let’s take a look at the ASU app settings there’s a ton of settings for this camera now at the top right I can see my current battery life so it’s 56% and it’s actually actively charging even though it’s overcast which is very impressive now if I go into snooze I get snooze notifications from 30 minutes to 12 hours if I’ll be coming and going on I don’t want to be bothered I can also jump into event it’s going to default to local since I’m using the micro SD card and I’m not using the cloud storage give that a second to up it is pulling these clips from the uh micro SD card that I inserted but I’ll cover that later we can also go into the full settings but let’s go to live view first and you can see that pulls up very quickly Now the default is UHD but you can set it to standard definition if you have you know a weaker internet connection or a connection that’s just not as fast and you could see I could just go ahead zoom in here could see a lot of detail on the snow there you could see you know I have some lawn ornaments there so yeah to quality is pretty good on here now we can also jump into events just like I showed earlier you can take a manual recording if you saw something interesting stop that it’s going to be safe to your phone and you could also take a snapshot as well now if I turn on the volume and I turn this up this is just the ambient noise that’s going on out they’re pretty quiet day today so I’ll just cut the volume back now we can also turn on the spotlight on here you’re not going to see it here since it’s a bright day you can also turn on this kind of a voice filter and then you can start two-way talk with whoever’s out there you can also start the alarm I’m not going to do that right now it does get quite loud and then you can issue these um preset voice uh recordings and I will demo that later as well and of course you could go into widescreen mode and then you can see you know way more detail and just look at the clarity on here with this 4K video it’s pretty impressive let’s go into the full settings here now you can change the camera name you can turn camera on or off and then you can also share the device with friends and family but let’s go into AI surveillance because this gives you a ton of options more than you would find on a lot of other cameras so it says guard your house pets yard and vehicle so we have this human detection you could turn that on so it does use you know AI algorithms to help kind of filter determine what’s a humanoid shape now intrusion that’s enabled we could go into settings here and it says start recording upon the intrusion of any human or vehicle and send notifications so you could see you could set a detection Zone which I’ve done so since I’m sharing the driveway here with my neighbor I just want to be um notified of any Motion in that side and you can add multiple zones you can see I have Zone one but you could add other zones as well and then you can also have an alarm so I don’t have an alarm because you know people are always coming and going delivery guys but you can enable an alarm and have you know sound and lights or just light or just the sound and then you could change the volume for the um siren and you could set it to all day every day or just a custom period and you’ll find that same setting in other areas so if we go to vehicle detection um that is turned on and then you could go into parking guard which is right under here and that is also turned on now you could set up this automated guard and it’s just going to use you know its own AI learning to figure out if your car is parked there um but I did find this you know a bit tricky because I am sharing my driveway with my neighbor so it would often pick up their car so I just disabled it and I set my own custom detection Zone which you can do if you’re going to be you know sharing uh a driveway with your neighbor as well and then you could set an alarm same like I showed earlier and you could set this all day every day or just say at night you could set you know custom time periods and days so a lot of functionality there and then we have this intrusion prevention at yard wall notice it says it’s in beta this is a beta feature and you can turn this on and it CER is going to kind of decide Hey where’s your boundary you know where’s your um fence or your wall and then issue um an alarm if it detects someone or something and then we also have lawn surveillance same type of deal so I have this turn on and then you can set a detection Zone as well which I’ve done on here so you can see you know just a ton of customizability and um functionality on here and then we also have pet detection again another beta feature under detection settings so motion detection is enabled you could set it to detect everything so you know maybe even the leaves swing in the trees but you’re going to get a lot of false positive or false alarms so I’ve just set it to intelligent detection it’s going to detect humans animals um not vehicles and then you could set the Sensitivity I usually leave it on adjust automatically that works well but you can set it to you know really close up or far away of course this is going to impact battery life depending on the setting you choose but um adjust automatically works well for me under notification settings you can choose to receive push notifications you know on an app level and then you could set it you know all day every day or just set a custom period And I have mine set to immediate mode as soon as something happens I want to know but you can set it to intelligent mode and you can see just a ton of you know fine control you have over the notification types it’s very impressive but I’m going to put mine back to immediate mode that’s just my preference under night vision you can set it to Black and White Night Vision color night vision or you can turn off the infrared light so you can just use this one if you have a lot of ambient light already but I’m going to leave it on color night vision and I will demo what that looks like later now if we go under Cloud recording this is if you get the optional Cloud plan but if you use a Micro SD card it’s not really necessary so it’s not something that I ever get under audio and video you can only set the streaming to 4K or smooth mode you know smooth mode for weaker internet connections you can set the camera volume but the default is will always record in 4k there’s no 2K recording or 1080p under privacy settings you could choose to record sound outside you know when whatever type of sound pickup is going on and then you could set privacy zones so say in your area if you need to block out your neighbor’s area you could just um edit that in so you’re not capturing your neighbor now if we go under battery management you can see mine’s at 56% and it is actively charging even though it’s a super overcast day and you know we’re in the negative temperatures it is winter in Canada um so overall the batteries handling it fairly well now we do have a power saving mode Clips are going to be a Max of 20 seconds long and then it’s going to use intelligent judgment to reduce the frequency of the recording if it’s the same person um within a short frame of time you know just so that the camera is not constantly recording or you could set intelligent detection mode it’s going to do a maximum recording of 60 seconds um to make sure you’re getting as much video as possible but I’m leaving it a 20 uh just because it’s winter here not a lot of you know sunlight for charging under scheduled sleep you can set the camera to just sleep you know maybe during the day and just be active at night so you have fine control there as well and then I do like to have the LED status light on so people know the camera is actually powered on in recording and this is compatible with Alexa and Google and then if we go into about device this is where we could take a look at how much spaces use so I have 128 Gaby card in here it’s only used about 1.3 gigs in about you know maybe the two weeks that I’ve had this installed and you can see that my signal strength is at 800% now you can also go in here and update the firmware and then you can also reconnect the Wi-Fi if you need to do that and then if we go into other settings you can also save events and
Video Playback
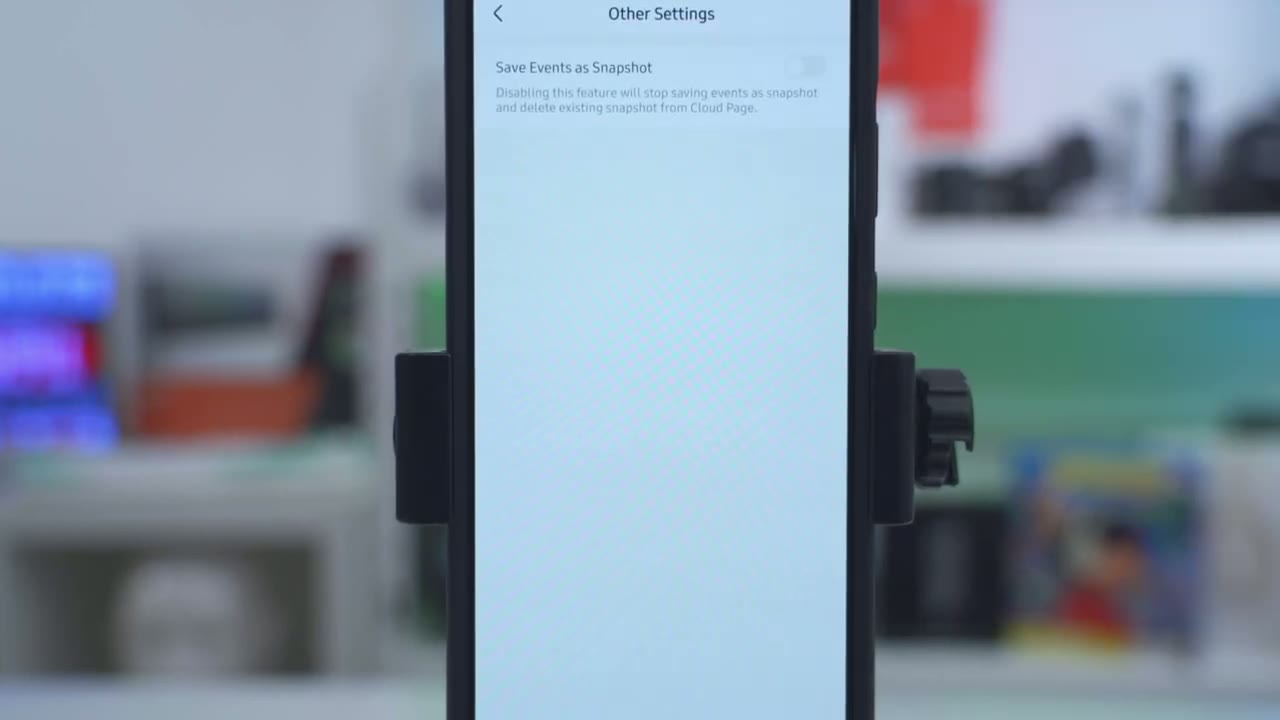
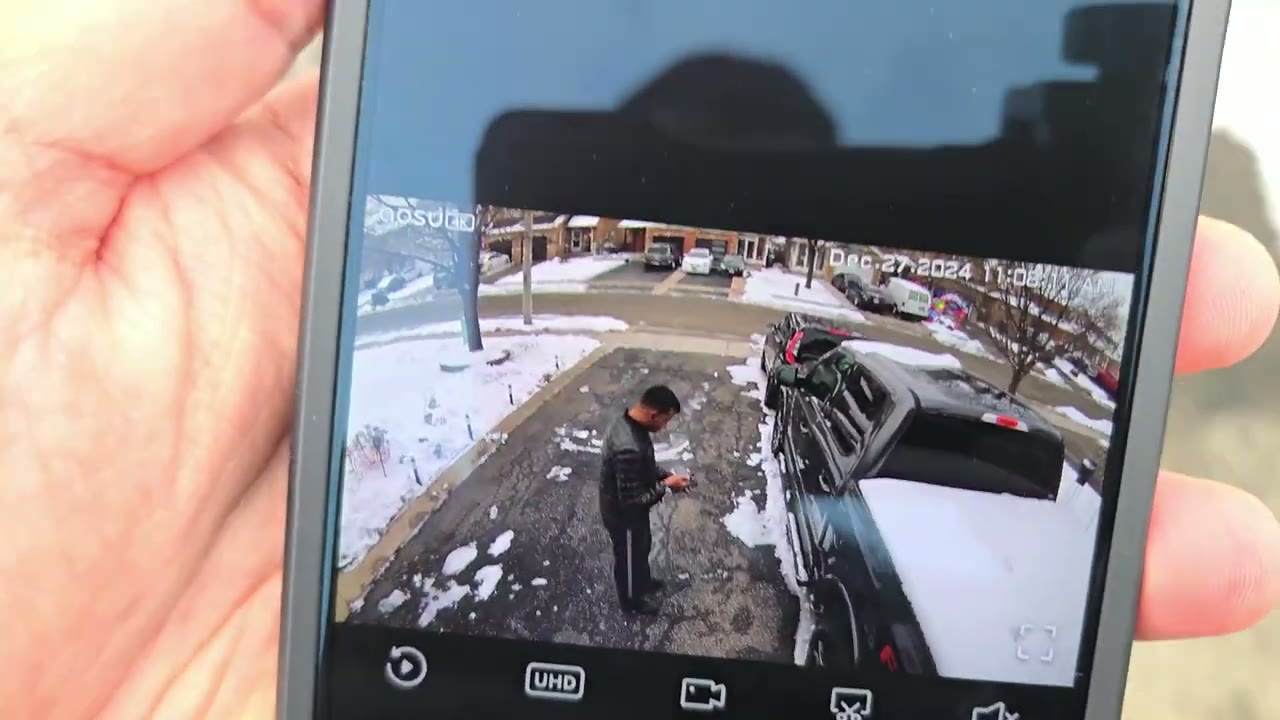
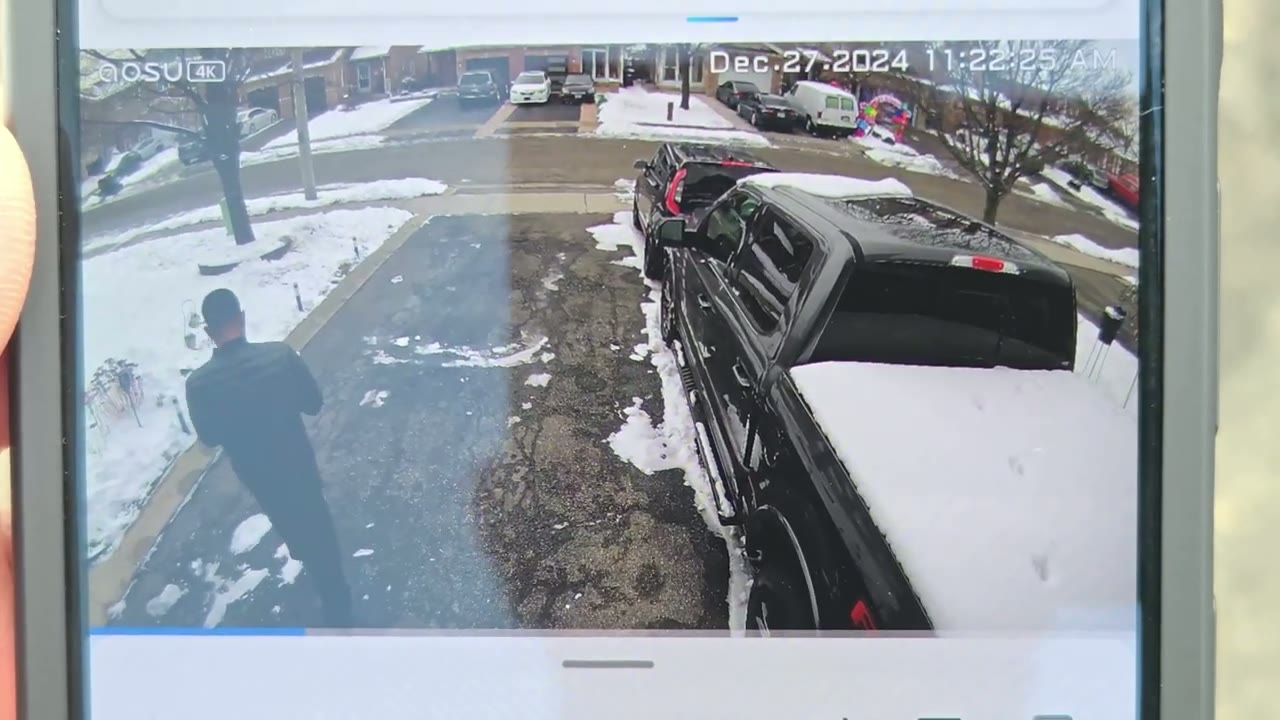
snapshots let’s take a look at recorded video by tapping on events and we’re just going to wait it is pulling it locally from the micro SD card versus Cloud since I didn’t get the cloud plan now while this is playing you could see it CHS 121 12 12 1156 1156 1155 I have a ton of traffic on my street it’s a really busy street so that’s why my battery life depletes quickly um if your street is less busy you’re not going to have all of these issues now you can see I do have a ton of Clips on here um so to make my life easier I’ll just tap on the filter icon here and I could filter by intrusion area parking alert area lawn surveillance you know someone’s stay passing if there’s General motion a car so I’ll put it on staying because I was testing the you know video quality on here on my face and you can see if I zoom in you know it’s really easy to make out my facial details the 4K quality is just fantastic on here and yeah that just makes it really easy I could go by intrusion area or anyone who is just you know staying or lingering around and once you find a clip you’re interested in you could just tap the download icon at the bottom right there or you can tap the download icon right on the screen and it’s just going to download it to your phone you can share it and do whatever you want with it and then if you needed to delete Clips you could just go ahead hit this icon pick your selection Ed clips and then Mark
Video Quality
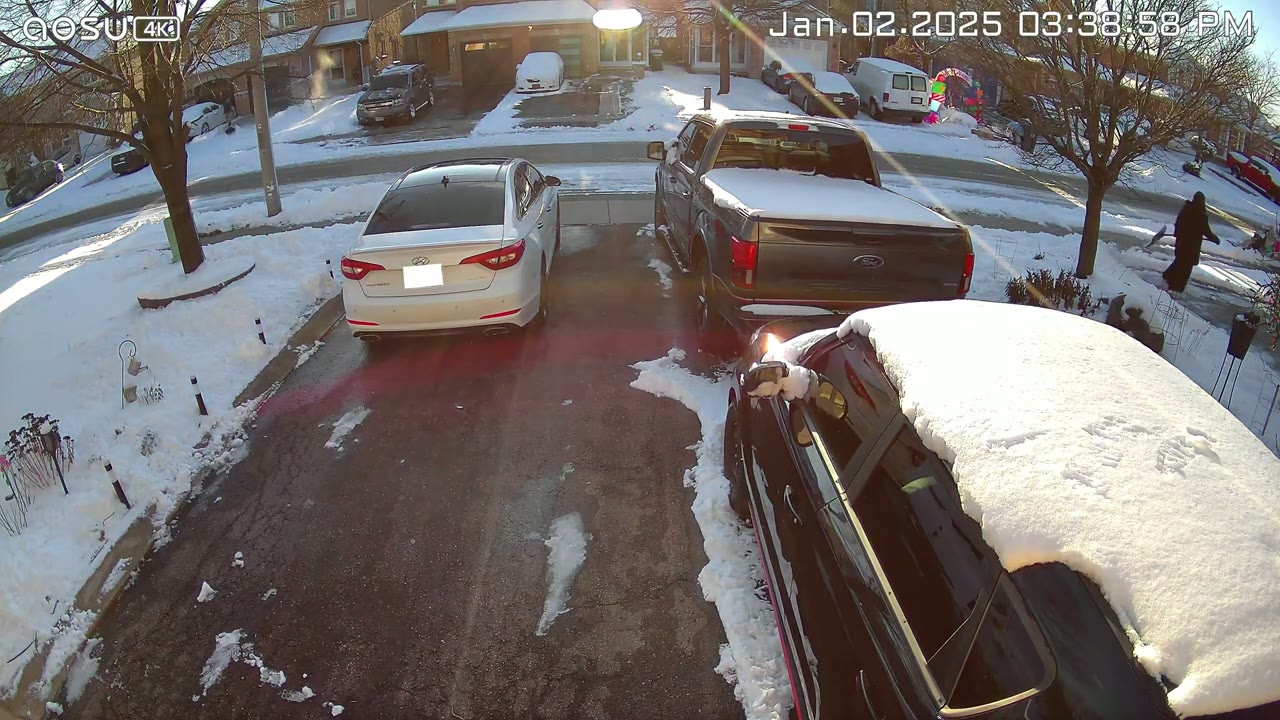
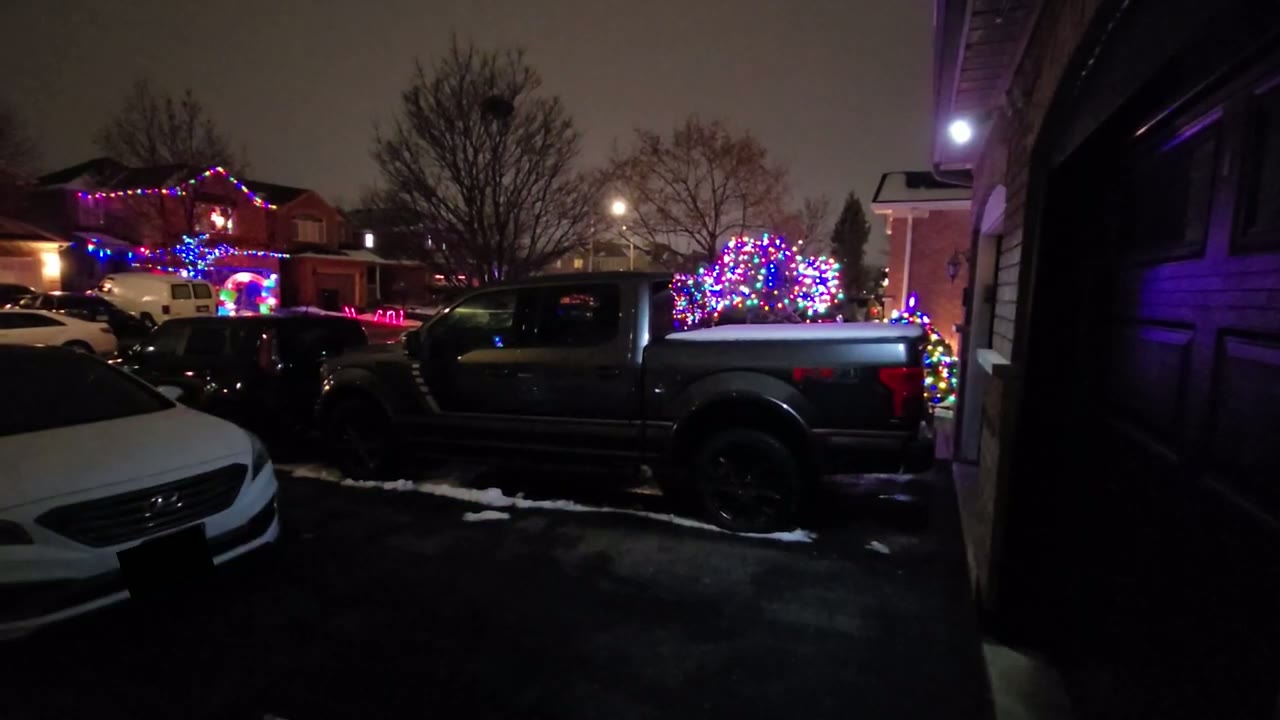
them for [Music] deletion video quality is stand out as you would expect since this is recording in 4K video so whether it’s day or night video is always sharp and clear and you could see that it’s very easy to make out a license plate I would say up to a good 25 to 30 ft away or about you know 7 and 1/2 to 8 m away daytime video is sharp and clear whether it was super sunny out or over which it has been for many days since it is winter in Canada night vision video is also pretty good regardless of if you’re using Color night vision which uses the spotlight to illuminate subjects or if you’re using the black and white KN Vision now on my house I have a lot of ambient lighting so that definitely help illuminate subjects but here’s what video looks like with just all of my ambient lights turned off and just in color night vision and black and white night vision and with 130° fi of view you can see a wide area at any one time motion
Motion Detection & Alerts
detection is also fairly responsive so once I started walking up to the driveway it only took about I would say 3 to 5 seconds for the camera to detect me and send an app alert and then once I tap on the app alert it pulls up live view very quickly I use the option for immediate notifications so I’m alerted as soon as possible but there’s also an intelligent notification system where you’ll get a thumbnail and more of a breakdown of what’s going on notifications can let you know if it’s General motion if someone’s kind of lingering or staying if they’re passing or if they’re in one one of the intrusion or detection zones that you
AI Security
set up in the app the AI guard or AI protection features also work well once I manually set up the detection or intrusion zones showing me whenever motion was detected in a specific intrusion Zone and when I look at video playback I can also see related recordings the parking guard feature works really well so I set a manual detection area where I normally park my car and I called it garage and then I set the camera to flash white anytime motion is detected and to play a voice message letting you know any type of lurkers know that the area is being monitored now you will also get an app alert on the ASU app if someone’s in that specific Zone and you can also filter uh recorded video events so you could see anytime someone was in that area intruding but here’s what that looks like in action as I walk up to my car you have entered a parking surveillance area please leave
Spotlight
immediately the spotlight does a decent job of Illuminating the front half of my driveway to illuminate any passing subjects and to act as a visual
Speakers
deterrent the speaker also gets fairly loud here’s a demo of two-way talk the alarm siren and those pre-recorded messages here’s an example of what 2A audio sounds like on the house of solar cam P1 Max here’s what 2A audio sounds like with the please put the package at the door thank you hey what are you doing here please get out of here now let’s talk
Battery

battery life so I review a bunch of ASU solar powered cameras and they always do fantastic and the reason for that is that I review them in the springtime summertime fall when the sun is out in the weather is good all of those things HT great for Batteries but when I’m reviewing the AL scor cam P1 Max it’s the debt of a Canadian winter and if you’re familiar with Canadian Winters you know it’s cold windy um freezing weather ice snow and that’s what I’ve experienced since I’ve had this camera up you know a lot of snow some ice you know kind of resting on the camera negative temperatures it was like negative 11 to 14 which I think is like 10 to 12 fenit so you know really cold temperatures also not good for battery life the other thing is that I’ve had you know a slew of just tons of overcast days without the sun you know kind of peeking out to charge it so it’s getting very minimal charging and as a result after about 10 to 11 days installed I have around 55% battery left which is still pretty good considering it’s recording in 4K video now the other thing is I get a ton of traffic in front of my house you could see um I just have a ton of video recordings every day sometimes it’s within a few minutes so all of those things you know take a hit on battery life so if you live somewhere you know sunny or if you’re living somewhere where it’s not as busy as my street you’re going to have good battery
Storage
life as well with the amount of recordings that I get daily and with the 128 GB micr SD card that I’m using I’m going to get about a year of recordings which is impressive you know before it actually starts overriding older clips so I’ll link down below the micro SD
Recommended?
card that I’m using so if you’re looking for a solar powered camera that’s easy to install and set up you get great crisp 4K quality you have a spotlight a good ip65 ring it’s been weathering the winter so far in Canada and a ton of features including AI detection and all of this is for zero monthly fees unlike some other camera brands which require you to pay monthly to unlock some of the functionality or to get access to the AI features all of that is done locally on the camera and it’s great to just pay once or buy once and have full functionality in a world where everything seems to be going subscription based so if you’re interested in picking up the ALU Stam P1 Max I’m going to leave links down below for you to pick one up for yourself or to learn more and if I have any coupon codes I’ll leave those down below as well and if you found this video helpful please consider liking and subscribing and consider checking out some of my other tech reviews I review more than just security cameras you know keyboards monitors headphones earbuds a bunch of different Tech and I hope to see you in the next one soon
Buy aosu Solarcam P1 Max on Amazon
Buy 128GB microSD Card on Amazon
Please note that some of the links in my video descriptions are affiliate links where I earn from qualifying purchases. As an Amazon Associate I earn from qualifying purchases.