Buy AZDOME M550 Dash Cam on Amazon
Buy AZDOME M550 Dash Cam on AZDOME
Please note that some of the links in my video descriptions are affiliate links where I earn from qualifying purchases. As an Amazon Associate I earn from qualifying purchases.
Intro
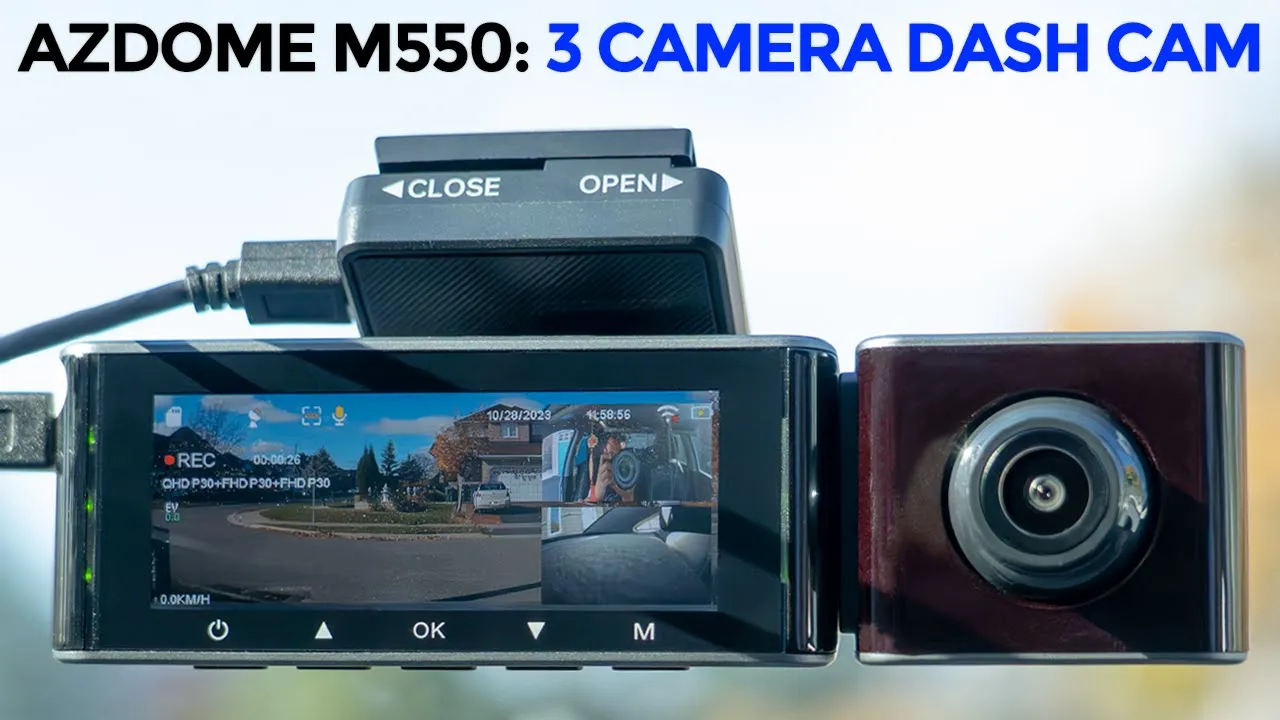
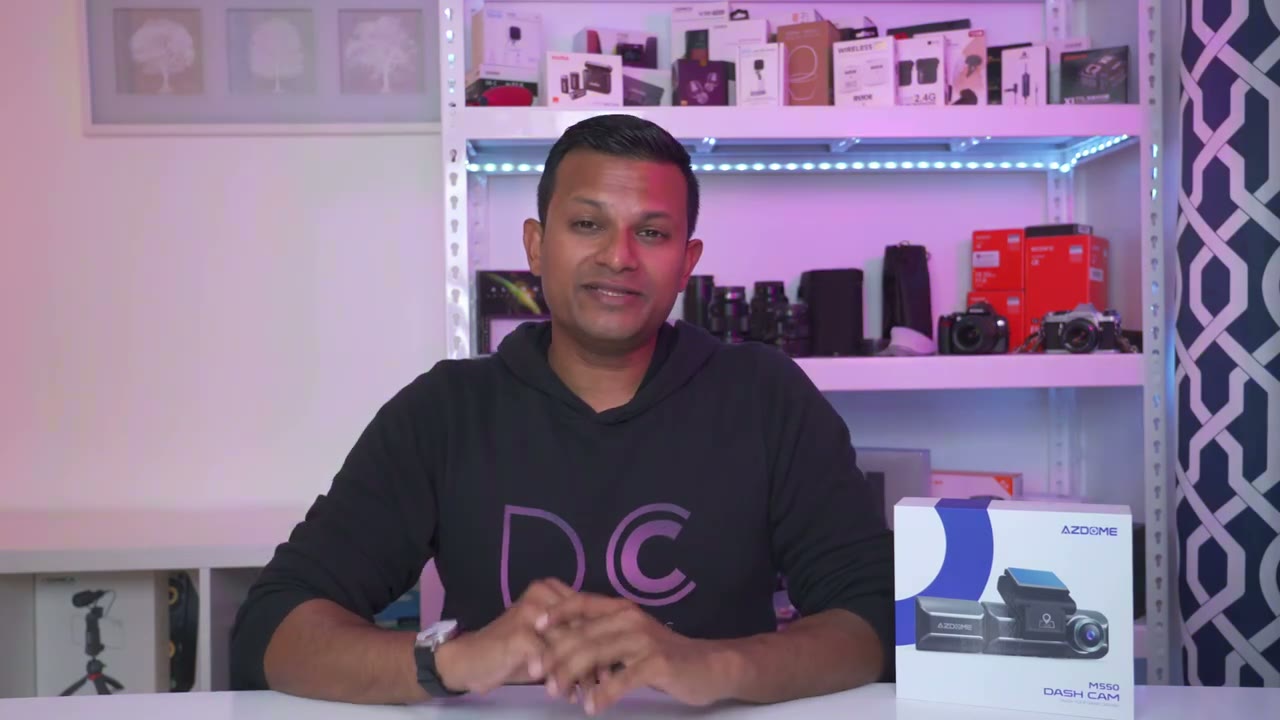
Hey guys, it’s Adrian and today I’m taking a look at this ASDOM M550 dash cam. Now, this is a three camera dash cam. You have the traditional front dash cam, a rear dash cam, and an inc cabin dash cam as well. Depending on how you set it up, you can have up to 4K recordings on here at 150° field of view, as well as there’s optional GPS data recording. A big thank you to Asdo for sending this out for review, but let’s take a closer look at its performance and see if it’s worth it for
Package Contents
you. In the box, we have the M550 dash camera, rear camera with wiring, mini USB wiring, card charger, an extra bracket, 64 GB micro SD card. We also have a wiring tool and wiring clips, the manual, electrostatic films, and a sticker and screws. The M550 has a
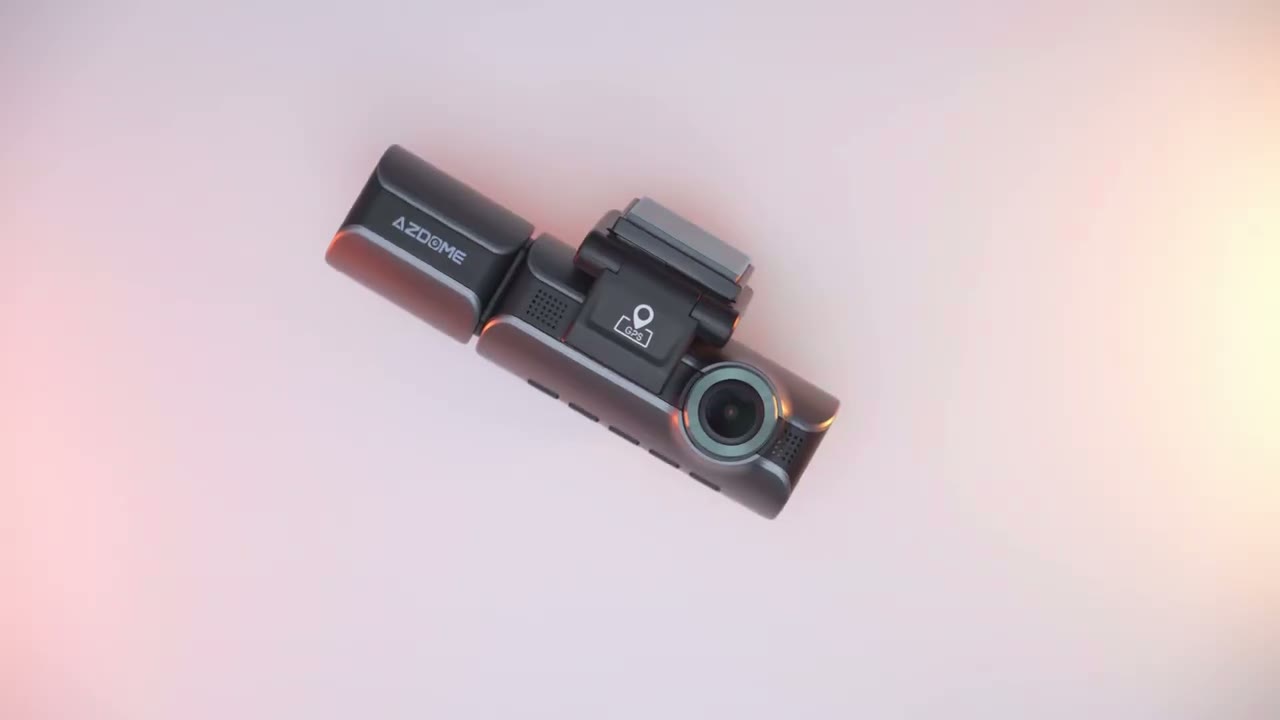
Design
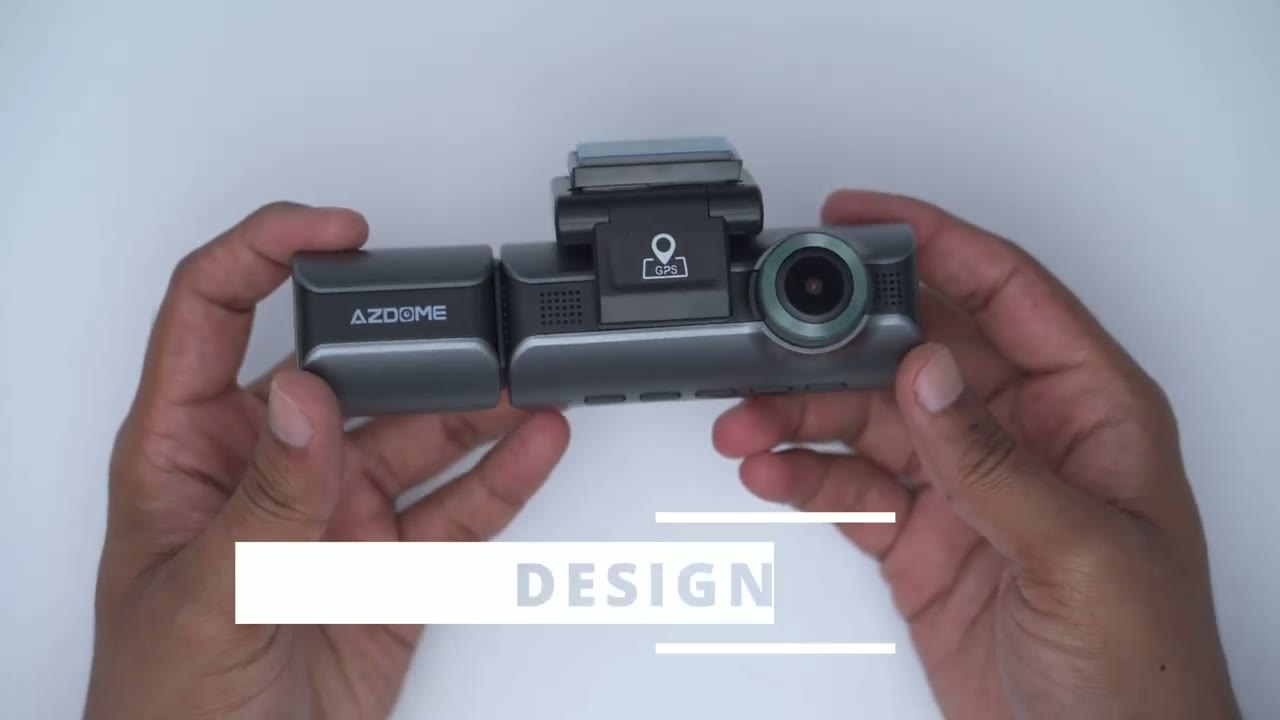
pretty compact design. So, here’s what it looks like from the top and at the bottom. And you can see we have a bunch of different buttons here. Now, looking at the front, this is where we have the main camera capable of up to 4K recording. We have the GPS logging unit here. And you can see that there is a pre-applied adhesive for you to attach to your windshield. And of course, this is articulating. You can just rotate that to whatever angle you like. And there’s the USB port to keep this all powered. Now, there is an additional one of these type of brackets. And you can see you could just kind of slide that out if this no longer is sticky and slide the spare in. And then we also have speaker grills at the front.
The side of the dash cam has the micro USB card slot, and it does come with a 64 GB already inserted, but you could put up to 128 gigabytes. There’s also a micro USB slot that you’re going to use to connect the rear camera. And then we have that 3.19 in screen. And of course, we have, you know, icons for the corresponding buttons at the bottom. The lens of the cabin camera can be adjusted around as needed. And you can actually detach that. And you could see that it’s connected by mini HDMI. The rear camera has a metal type of bracket here that can be angled up. And then you can just tighten that down by using those two screws right there once you have it in place however you like. And then you have two ways to attach it. Either with this sticky pad or with the two supplied screws.
Specs include a 3.19 in screen.
Specs
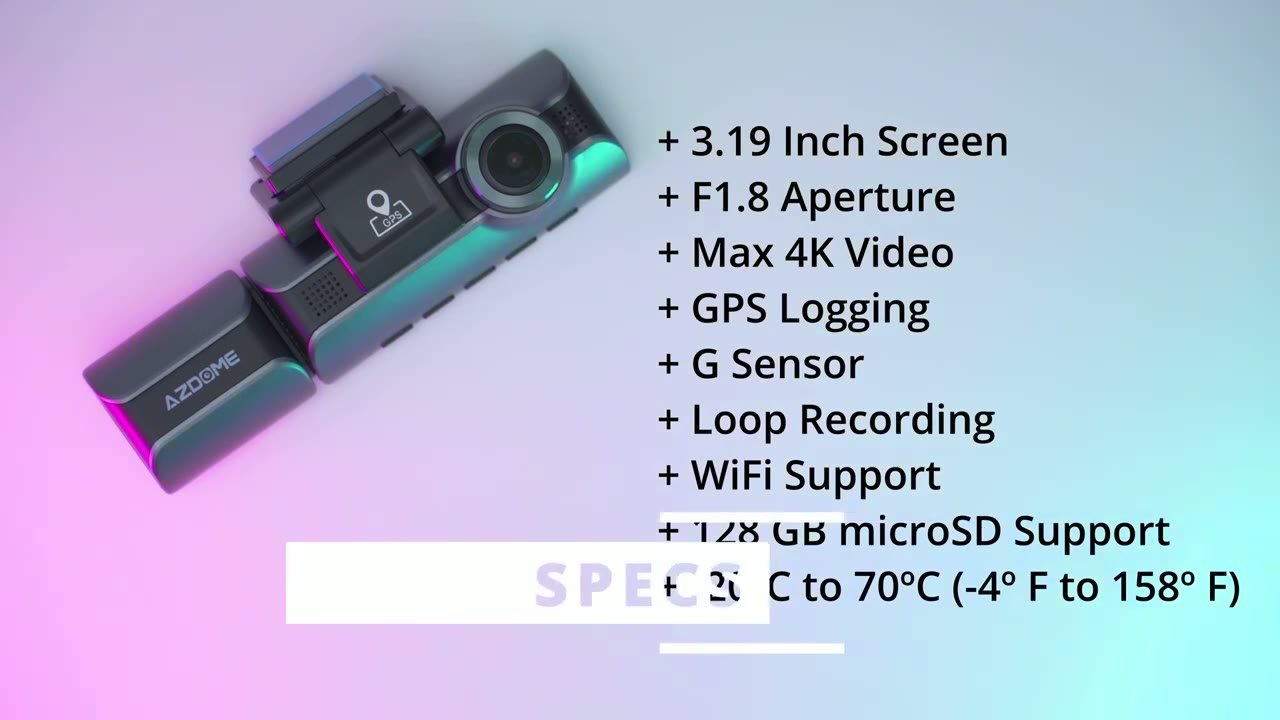
We have an f/1.8 8 aperture, max 4K resolution, GPS support, G sensor, loop recording, Wi-Fi support up to 128 GB micro SD card, and an operating temperature of -20 C to positive 70° C. All right, so I have the dash camera
Settings
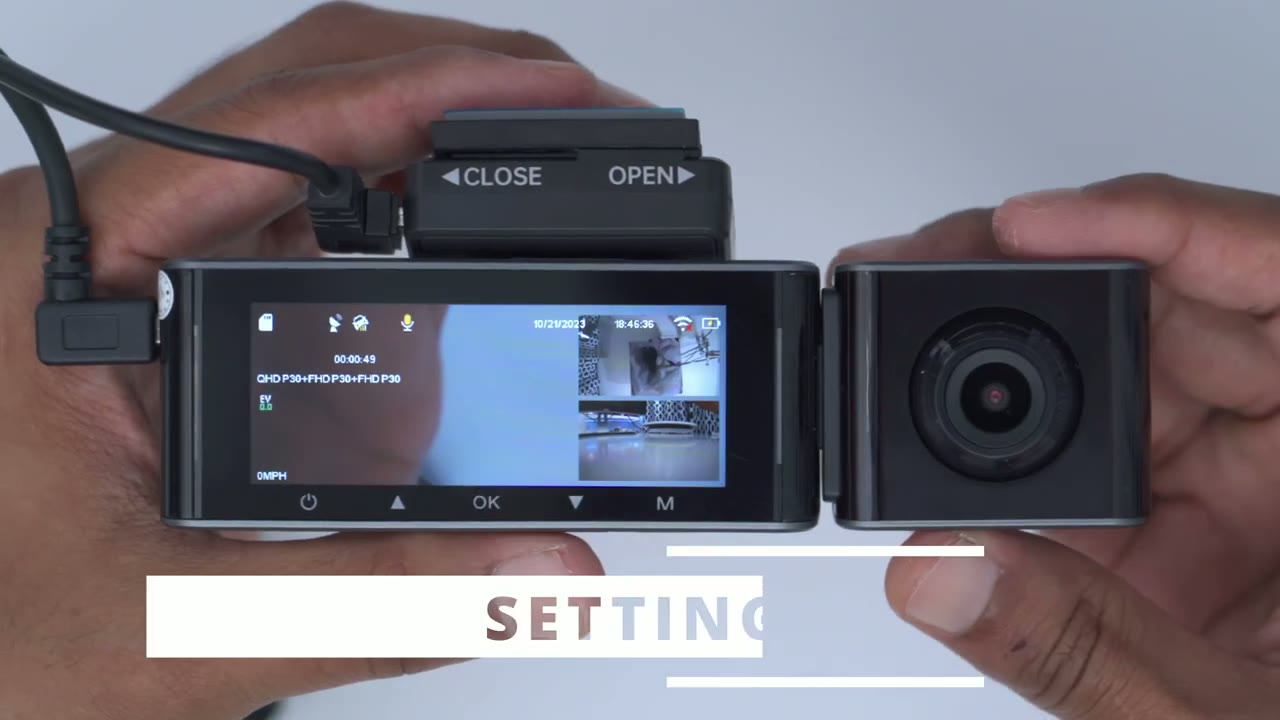
just plugged into the wall, and you could see that I could see the three camera feeds right now. Really clear, really sharp. So, of course, this is the cabin camera. I also have the main lens here if I move my hand there. And then I also have the rear camera here. And you could see that they’re um really quick, you know, to pick up the movement. There’s not much of a delay. Now, if I go ahead and press this bottom arrow here, you can see I can see full screen on this main display and cycle in. And then this is the cabin camera. And then finally, the rear camera here. Um, super neat and easy feature to just cycle through. The blinking or flashing green lights indicate that the camera is on and it is recording.
But if you want the screen to be off, you could just press the power button just one time really quickly. And as long as you see the flashing or blinking green lights, it is still recording. Tapping the up arrow, you could see turns on or off audio recording. And pressing the okay button just starts recordings or stops them. But let’s go into the full menu settings by pressing the button for M. And let’s go into video settings, resolution. And you can see we have a couple of options here. So 2K is the max resolution and then we’ll also have full HD for the other two cameras. So 2K on the main camera and full HD for the other two cameras. And then of course we could do full HD across the board for all of the cameras as well.
I’ve now disconnected the cabin camera and if we go back into the menu settings into video settings resolution, you can see I now have an option for recording in 4K and then also with the rear camera at full HD. So, it isn’t capable of 4K with all three cameras attached. But you could see that if you don’t need the cabin camera, which I probably will not use, then you could get a max 4K resolution from the main camera. Back into the menu settings. Let’s go into video settings again. And now, let’s take a look at loop recording. And we have options to just have that off. Set it to 1 minute, 3 minute, or 5 minutes. I’ll just leave it on the default for now. And then we can go into the rear camera options. And you could see that that is turned on.
If we go down, we can see we have an option for time-lapse record, and that’s going to do at one frame per second. I’ll just turn that on to see what that is or how that works. Now, we also have record audio on WDR for wide dynamic range. I will turn that on as well. You can adjust the frequency depending on where you live. And then we have the G sensor. It’s set to medium. I’ll leave it right there. Exposure can be adjusted. I’m just going to leave it again where it is. But let’s go back. Go into playback mode. And then we can play back just normal video, whatever has been recorded. And there we go. I’m just going to go back again. We can also look at locked video or any pictures if we took them. But let me get out of here.
In the park monitor, it does mention that you need to have a hardwire kit, which I do not have. But if you did have it, you could see that there’s the collision detection for parking mode, time-lapse parking mode, and motion detection parking mode. But I’m going to have to get out of there. I don’t have that hardwired kit. Now, you can also set time zone settings. You can connect to Wi-Fi as well. Under stamp, you can go ahead and put a time stamp, a speed stamp, and a GPS stamp along with the Asdome logo. Under micro SD, we can go ahead and remind us to format it. I generally don’t do that. I just let it overwrite. And we can manually format it here. And we can take a look at the storage information or recorded information. So far, under language, these are the options that we have.
Under system settings, we have a fatigue driving reminder. Um, so I guess it would just alert you that you’ve been driving too long. We can also adjust the speed units from kilometers to miles. I’m going to set it to kilometers. I’m in Canada. And we can also change the volume of the beeps. And you can just turn the beep sound completely on or off if you like. You can set up a screen saver. So live video always on. I’m going to leave this on. I just like knowing it. It’s just added peace of mind to let me know it’s recording. Even though I appreciate the blinking or flashing green lights, sometimes when it’s very bright, that doesn’t easily show up really quickly. You can take a look at IR LEDs. And I’ll just leave that on auto so the camera can decide.
You can set it back the default information and take a look at GPS data.
App Settings
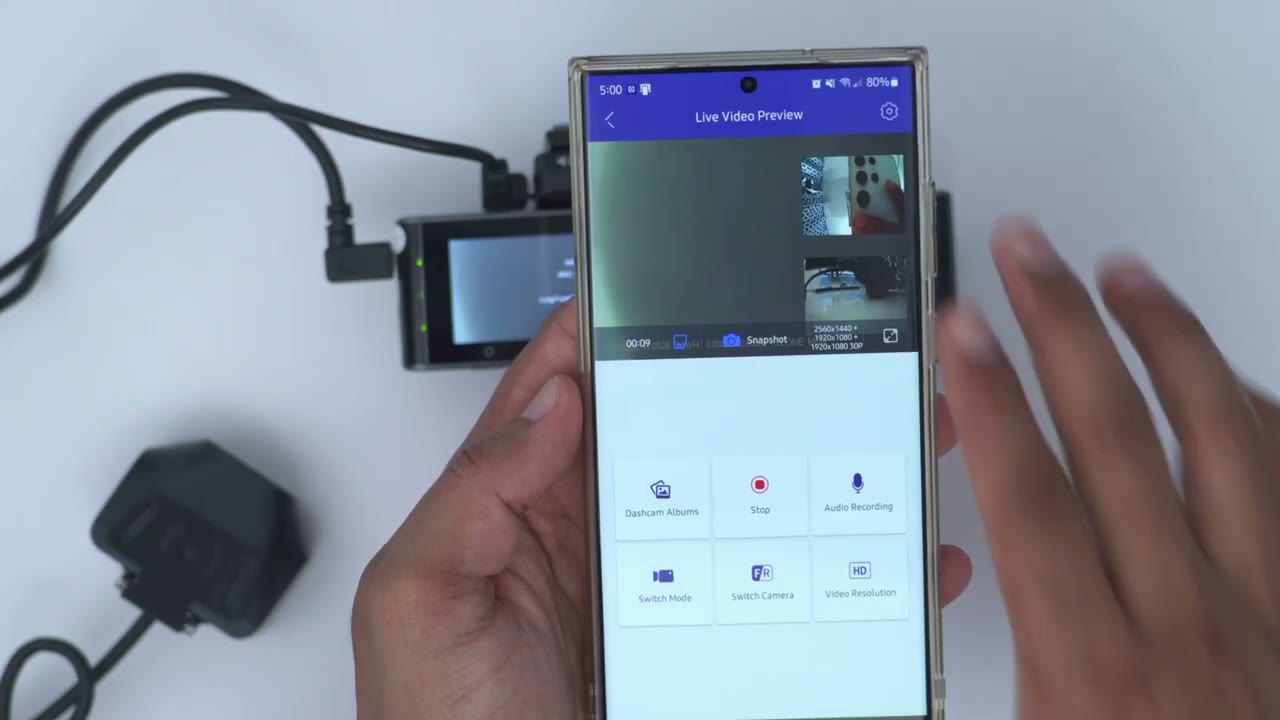
I’ve gone ahead and connected to the Wi-Fi of the M550 dash camera using the Asdome app. So, you can see I have a live view of whatever is going on right now, which is really neat. Now, if I go ahead and stop that, what I could do is I could go ahead and actually adjust, you know, a lot of these resolutions right on the app. And I can access the full menu settings, you know, which is much easier to do on a phone than with the buttons, although it’s not too bad. So, you have a couple options there.
Video Quality
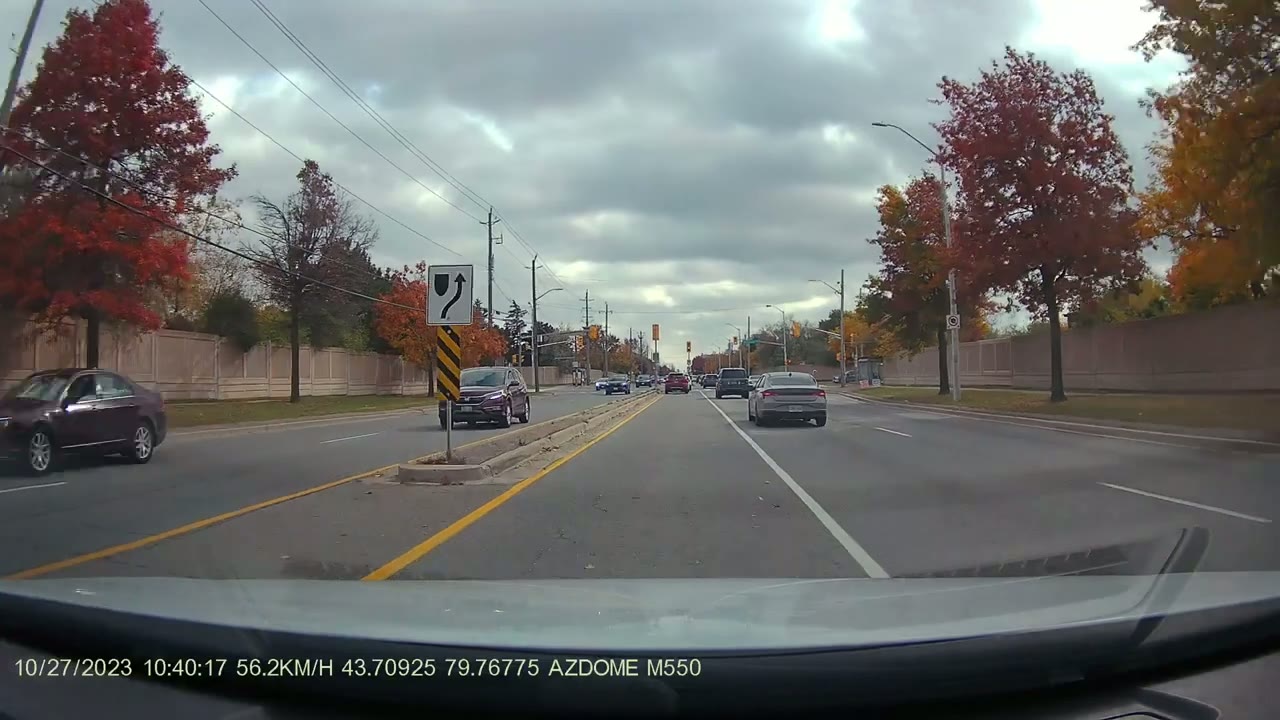
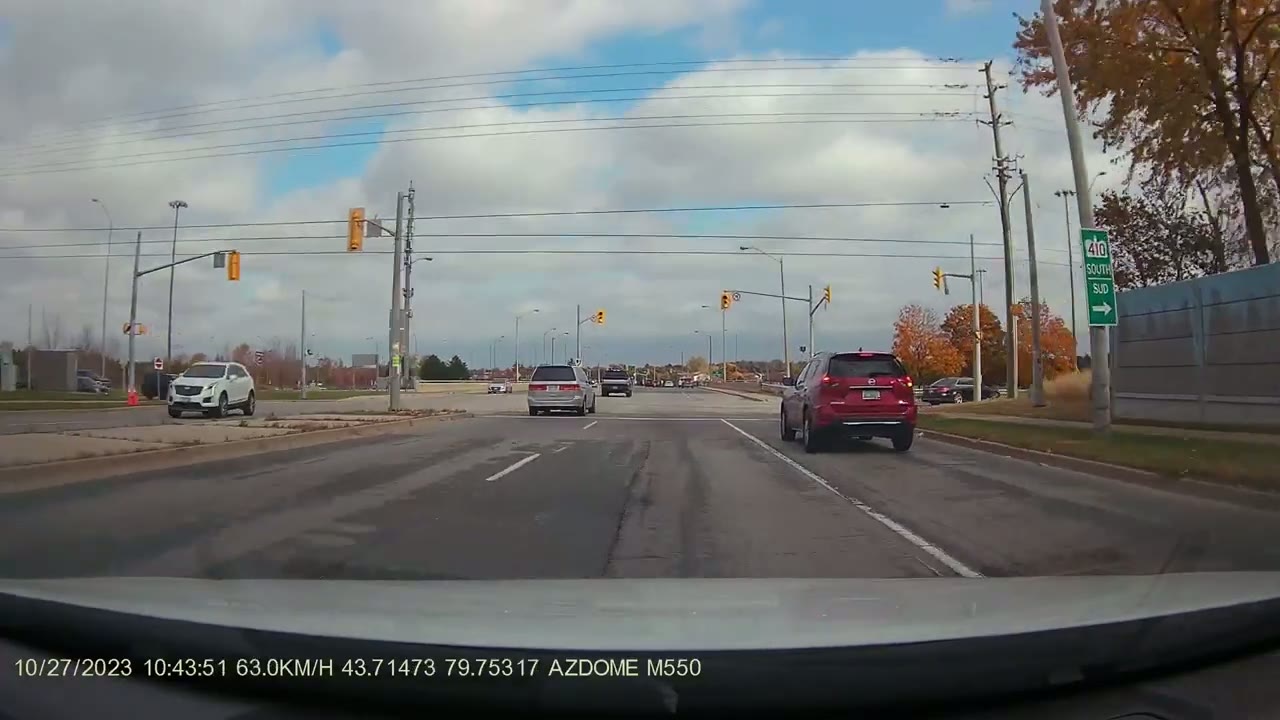
So, the video quality on here is pretty sharp and pretty clear. Now, it is at 30 frames per second as the max, and you have an impressive 150° field of view on all three cameras. If you set the dash cam to record to all three cameras simultaneously, the front camera will be limited to 2K recordings. The cabin camera will be 1080p and the rear camera will be 1080p as well. However, if you remove the cabin camera, which you can just pop off really easily, then the front camera goes to 4K recording and the rear camera is also at 1080p recording. So, whenever you’re looking at the live view display on the dash cam, you could see, you know, the main camera on the front and then the two overlays for the cabin and rear camera.
However, when you’re reviewing video or playback, you know, it’s not going to have any overlays. You get three separate video files for each camera, which is really handy. There’s also an option to turn on wide dynamic range in the menu settings, and I highly recommend that you turn that on. I tried it with it on or off, and having it on makes a big difference. Now, the front camera handled a lot of the scenes, you know, whether it was a sunny day, overcast, or if it was driving into kind of direct sunlight or a backlit scene. However, the rear camera struggled a bit. It’s not as powerful as the front camera and the cabin camera did a pretty good job overall because again you it’s kind of controlled lighting in the car.
Storage
If you use a 64 GB micro SD card and you set all three cameras to record simultaneously, you’ll get about 4 hours and 15 minutes of continuous recording. And if you get a 128 GB card, that number jumps up to about 8 and 1/2 hours of continuous recording. If you set it to just have the front camera record at 4K and the rear camera at 1080p, the numbers drop a bit. So, with a 64 GB card, you’ll have 4 hours of continuous recording. And if you put a 128 GB card, then you’ll get 8 hours of recording.
Parking Features
Now, one thing that I do find missing on this system that I had with, you know, my much older dash camera is that there’s no kind of battery reserve on here. So, if I park my car and I go into a store and someone hits my car or swipes it, you know, I won’t really get that unless I buy the optional hardwire kit to hardwire this so it always receives continuous power. With my old dash cam, if someone hit my car, there was kind of a battery reserve. the camera would just cut in for, you know, 10 seconds, record, cut off, and that saved me a minimum of three times in my life having that feature. I really wish that feature was on here natively. Now, I did contact Asdome and they did say, you know, as a kind of temporary workaround, you could just go ahead and attach a power bank.
Again, though, that is an extra step because you’ll have to, you know, pop out the USB plug from, you know, the socket adapter and then plug it into a power bank. So, yeah, the ADOM
Recommended?
M550 dash camera is a really great dash camera. It looks great, doesn’t take up too much room in the car, and the ability to have, you know, simultaneous recordings from up to three cameras is really awesome. And if you want to mount the camera on your rear glass, you know, without kind of drilling into your car’s body, they also sell an optional mounting kit for that as well. So, if you’re interested in picking up the Asdome M550 dash cam, I’m going to leave some links down below for you to check it out or to learn more. And if you found this video helpful, please consider liking, subscribing. It really does help me out a ton, guys. And stay tuned for upcoming dash cam reviews and security camera reviews as
Buy AZDOME M550 Dash Cam on Amazon
Buy AZDOME M550 Dash Cam on AZDOME
Please note that some of the links in my video descriptions are affiliate links where I earn from qualifying purchases. As an Amazon Associate I earn from qualifying purchases.