Buy GTMedia Game Mate Monitor on Amazon
Buy GTMedia Game Mate Monitor on GTMEDIA
Please note that some of the links in my video descriptions are affiliate links where I earn from qualifying purchases. As an Amazon Associate I earn from qualifying purchases.
Intro
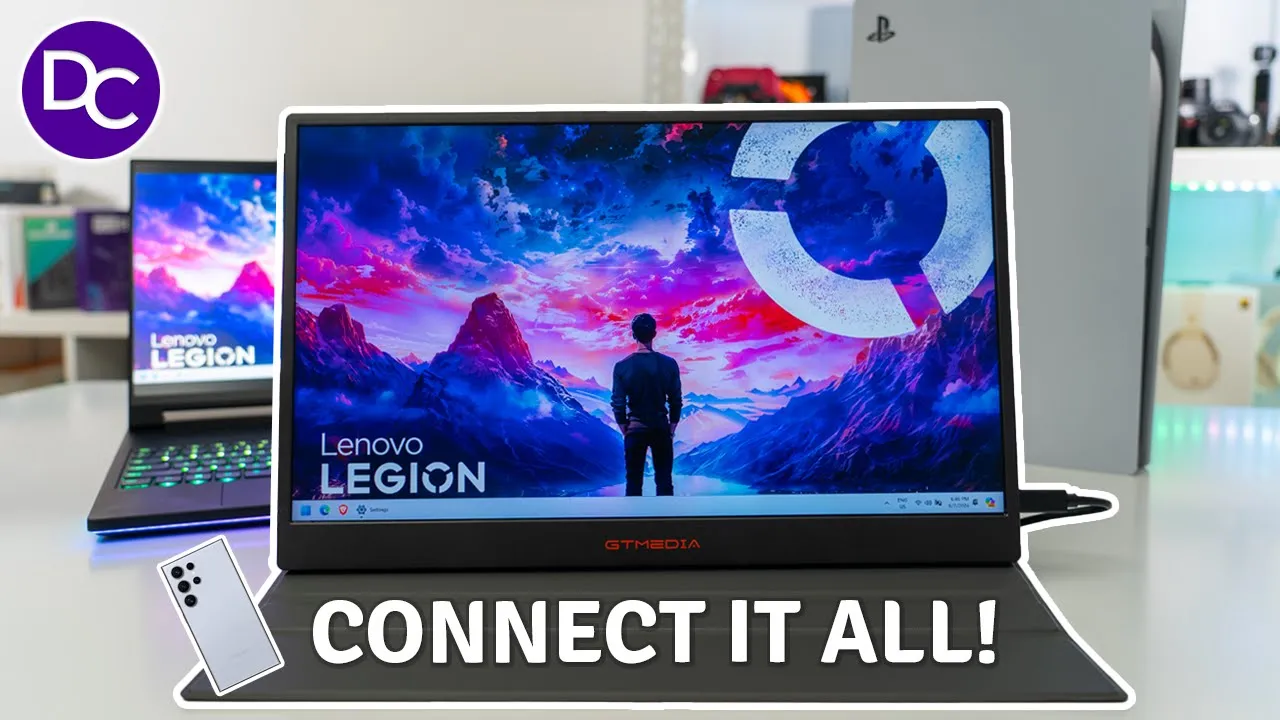
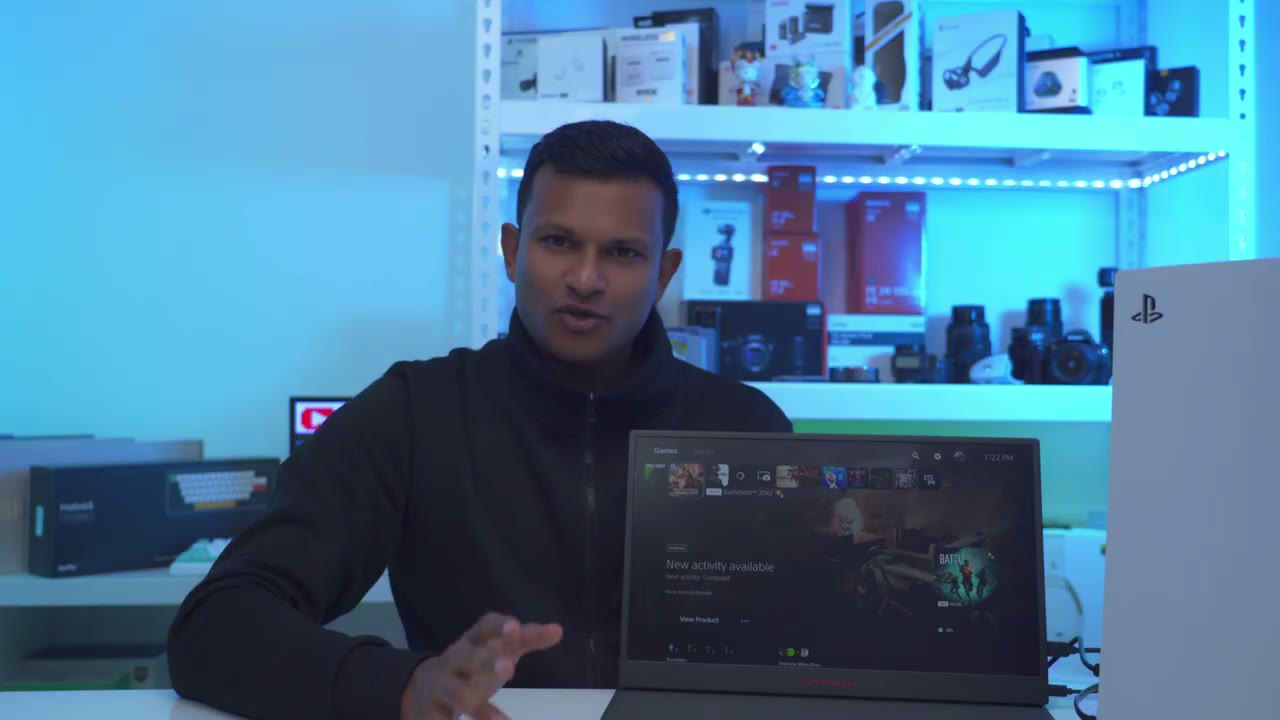
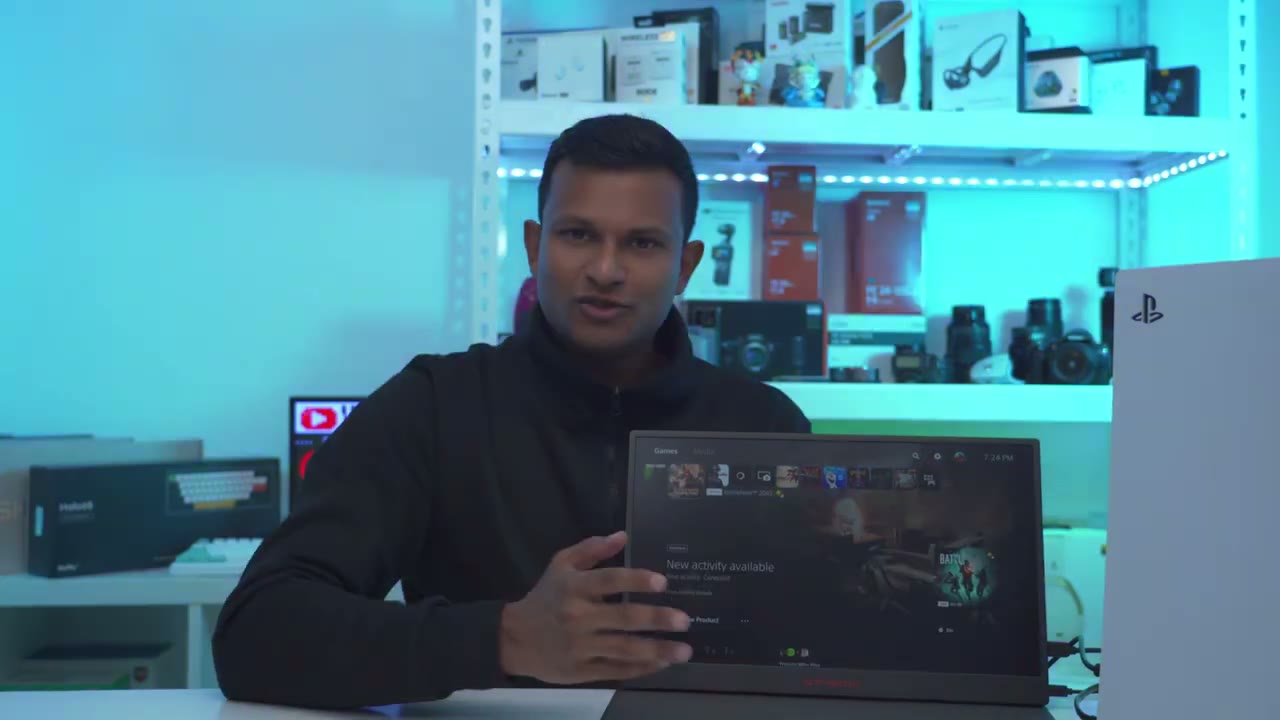
hey it’s Adrian and if you’re looking for a portable gaming monitor like I have hooked up to my PS5 you’re going to want to check out this GT media gamate 173 gaming monitor so this has a 2.5k resolution with up to 165 HZ there’s HDR support you can connect it to consoles like I have here to your laptop to your phone and it’s all housed in this 17.3 in IPS screen and body my experience so far has been fantastic using this with my console laptop and phone however there’s a couple of things that may or may not be deal breakers for you so let’s take a closer look at how well it performs and a big thanks to GT media for sending this out for review in the
Box Contents
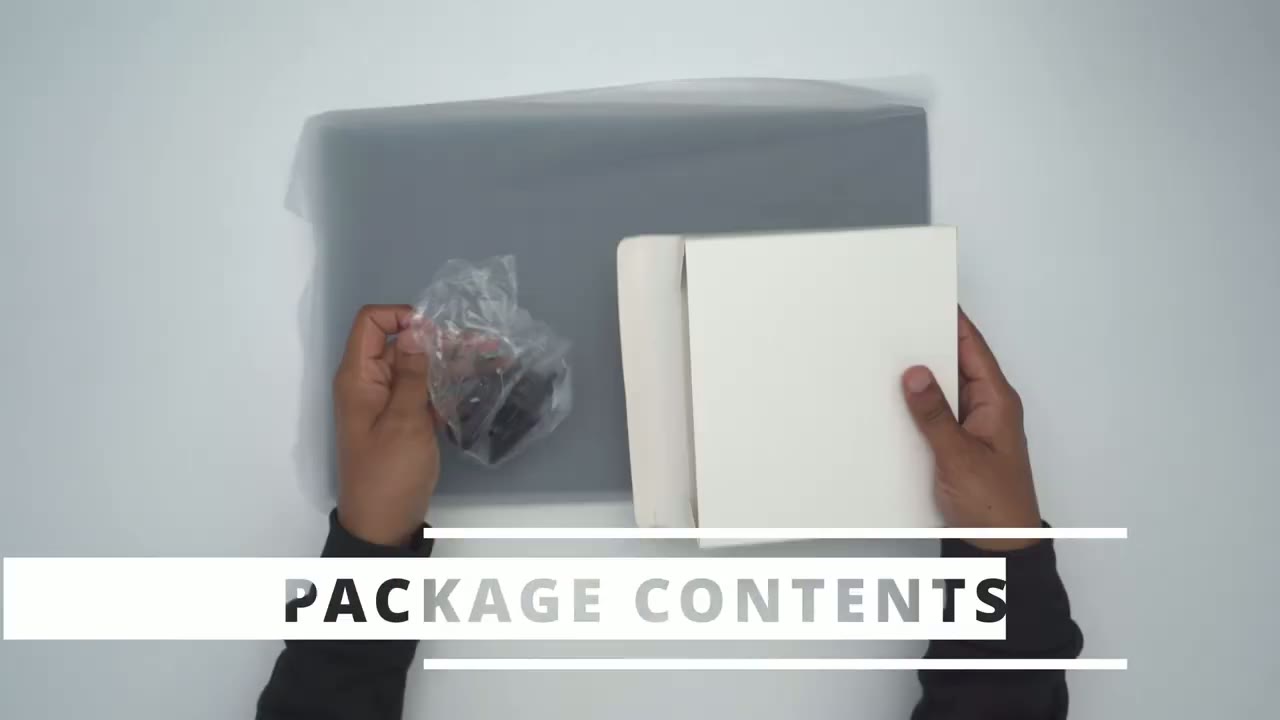
box we have the GT media game mate 173 manual USB type A to type-c cable type-c to type-c Cable power brick and mini HDMI to HDMI cable just the heads up that while I have this European plug when you order it you will get the North American plug so the game 173 feels
Design
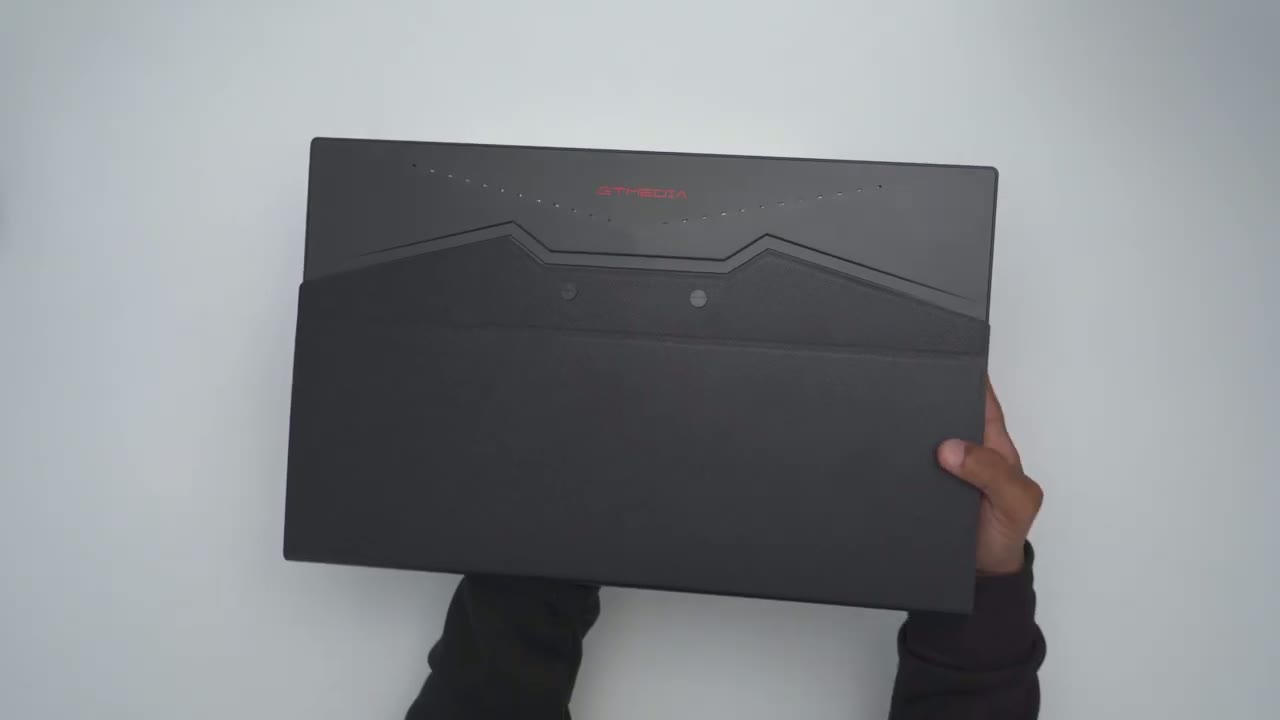
really good in the hand it comes in around 1.4 kg or around 3 lb we have the GT media logo here and led light strip and then we have two screws that secure this kind of case or sleeve here’s a side profile so it looks pretty clean folded up so it’s about 1/4 in at the narrowest and about 5/8 of an inch at the widest section the bezel size is not too big not too small and then the bottom chin is a little bit larger if I completely unfurl this rear cover I can see the two speaker grills and these get fairly loud I’ll demo them later and we also have two threaded mounts here maybe this could be wall mounted but there was no screw hardware and if we take a closer look at the sticker here it does mention via USB type-c you can get up to 165 HZ and by HDMI up to 844 HZ the right side of the monitor has two full function USB type-c ports and we have a mini HDMI port the other side of the monitor has a 3.5 mm headphone jack we also have a menu rocker so you can actually slide this up down or you could push it in to confirm selection and we also have a power or back button and you can also use these to quickly change the input or to adjust the brightness or volume without actually going into the menu the monitor is about 15.7 in wide 9.8 in high and about 58 in at the thickest area specs include up to 165 HZ
Specs
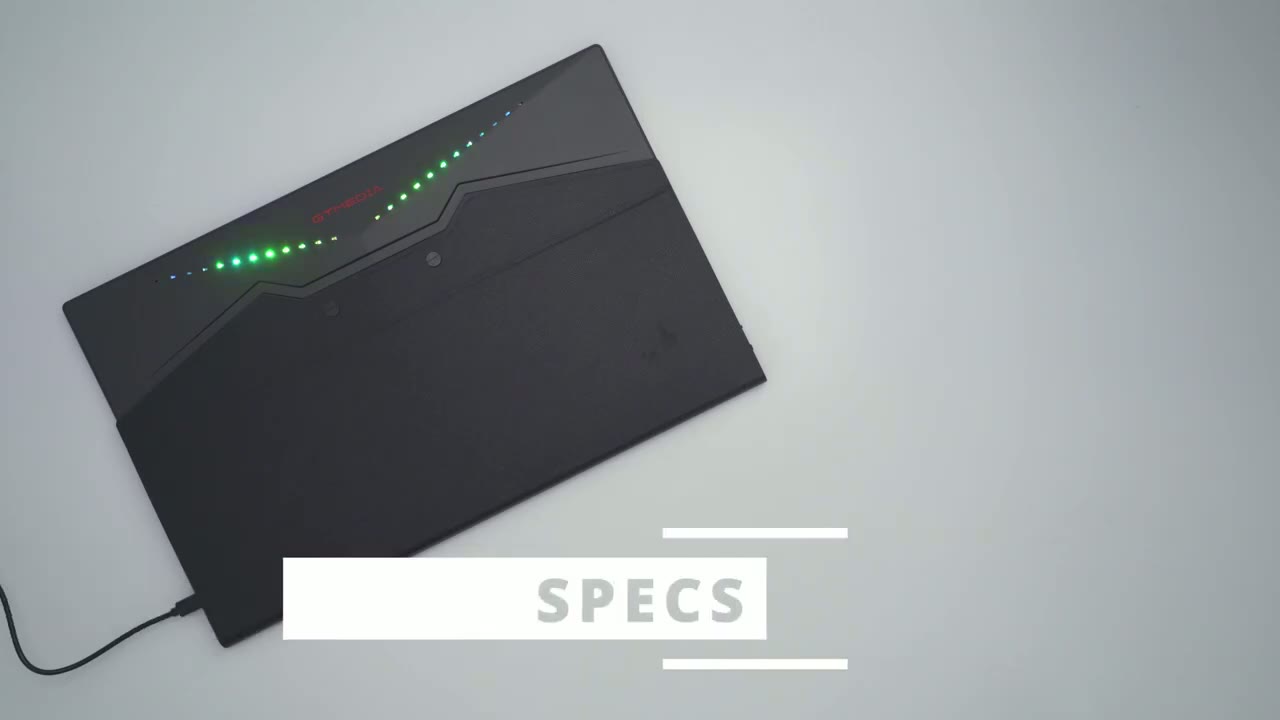
via USB type-c display or 144 HZ via HDMI display there’s 300 nits a 2.5k resolution allous in a 17.3 in IPS screen 1,000 to1 contrast ratio 178° viewing angle we have HDR 100% srgb
Adjustment Angles
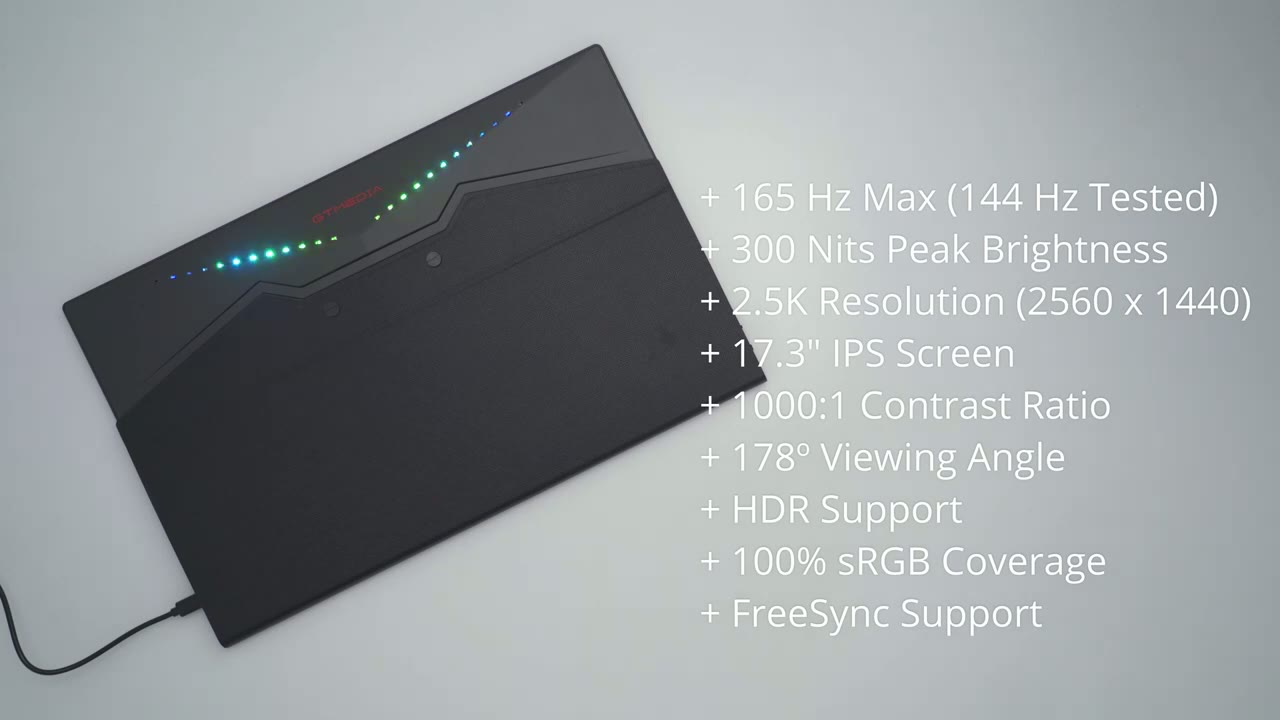
coverage there’s three levels of angulation so I have it on the first angulation track here’s what the second one looks like and then the third and most extreme and you can see it stays pretty stable even if I kind of hit it you know nudge it it stays pretty much in place let’s go back to the first track and even if I was to rock it you can see because it’s attached at the back here it’s not really going anywhere so yeah really good to connect your
Connections
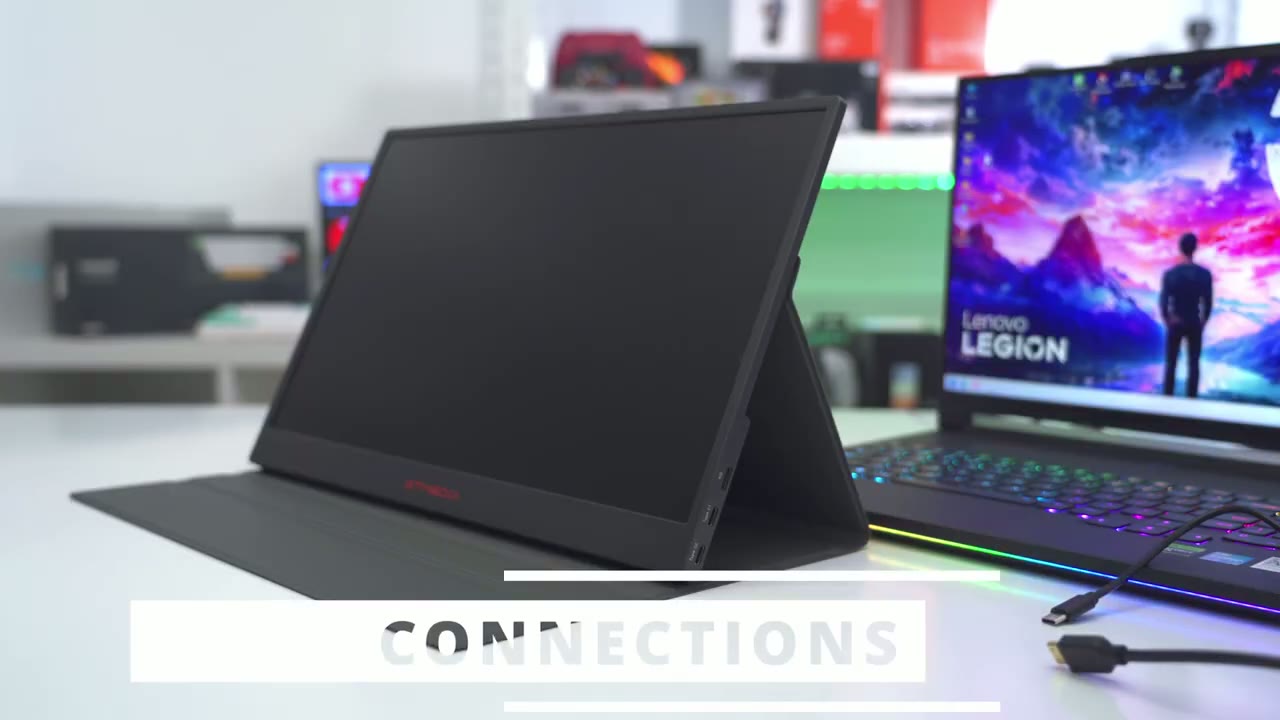
laptop or desktop to the portable monitor we have two options one is by USBC and one is by Mini HDMI so I have an HDMI cable going into my laptop I’m going to plug in the mini HDMI here and you’re going to notice that nothing is happening and that’s because the HDMI is not supplying power so anytime you use this setup we will have to plug in a USB type-c cable going from you know the power brick that was supplied into the monitor so you are going to have to run two cables if you want to use HDMI and you’re going to be limited to 844 HZ so there we go the monitor display is now duplicated exactly what’s on my laptop now if I go into my laptop’s display settings and I put it at the native resolution so I’m not using the 2.5k but if I go to 3200x 200 which is a native resolution on this laptop and I keep the changes you can see that on the monitor we have you know um vertical bars on the right and left side it doesn’t fill out the entire screen and there’s no menu settings in here to kind of force it to stretch and you wouldn’t really want it to cuz the aspect ratio would be completely off so for best results go ahead and match the 2.5k display on here to your laptop display here’s what it looks like with my laptop display set to 1920 x 1080 or full HD and this is what it looks like on the monitor so yeah if you don’t have a 2.5k display on your monitor you can use lower resolutions it’s not going to be a problem and of course if I don’t want my display duplicated I can just go ahead and set it to extend these displays and then I could just put something that I want over here so for example I can just pull up this browser tab from my laptop you know do my work on the laptop while I’m watching YouTube on the side if you plan on using the portable monitor as an extended display you could leave your laptop on its native high resolution and a portable monitor will default to its highest native resolution I’m now going to connect my laptop to the monitor using the supplied USBC cable so it’s going USBC to USBC from my laptop to the Monitor and this is a much better option you can see it’s both going to power the Monitor and give us display over USBC much better option if your laptop supports display over USBC I’m now going to connect my s24 ultra to the monitor so that I could use Samsung Dex so I’ve already plugged in a USB type-c cable to Supply Power I’m just going to plug in the other supplied USBC cable to USBC so it’s going from my phone to the portable monitor and you can see it’s going to simultaneously charge my phone and launch Samsung Dex there we go and from here I could just you know open it up and then just use the interface on here so for example I could just go and open up Google here and it’s really easy to use I have
Switch Inputs
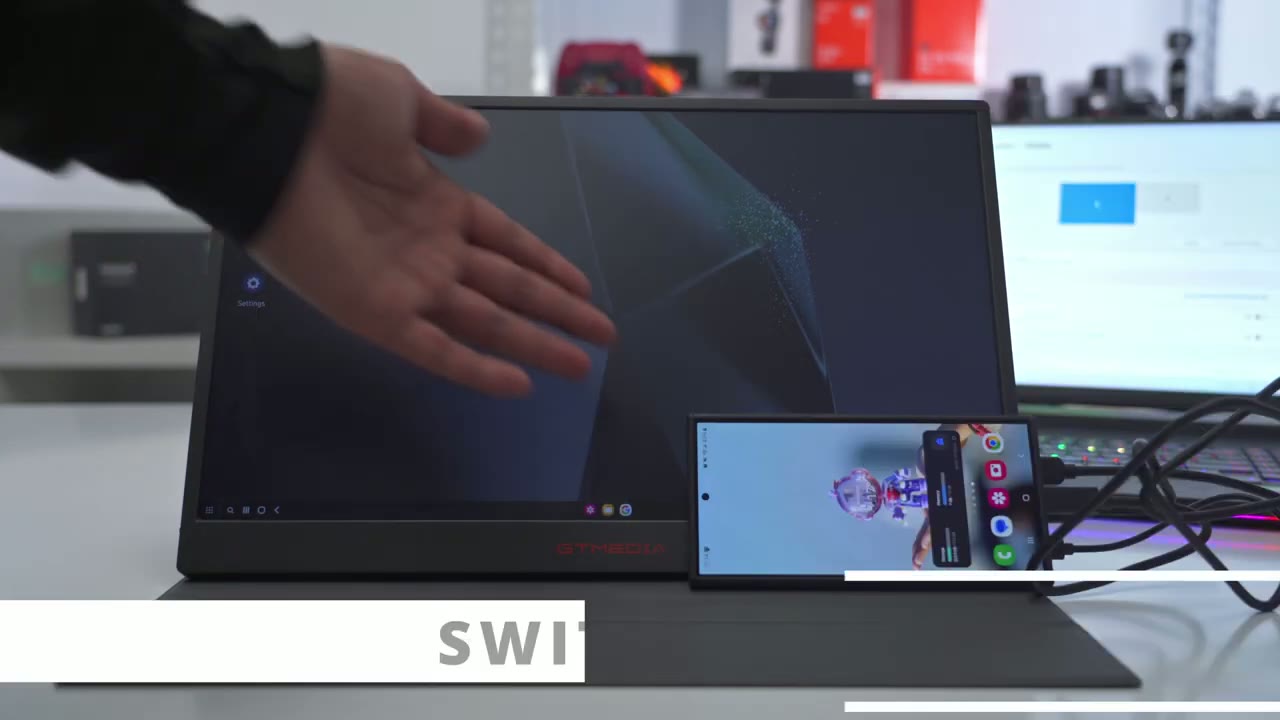
both my s24 ultra and the laptop connected to the portable monitor so right now it’s showing what’s on the phone but what I can do is tap on the back button button or power button here go down to HDMI and press in and then just wait for it to switch the input to my laptop display so switching inputs on the Fly is really easy here’s the
Color Temp
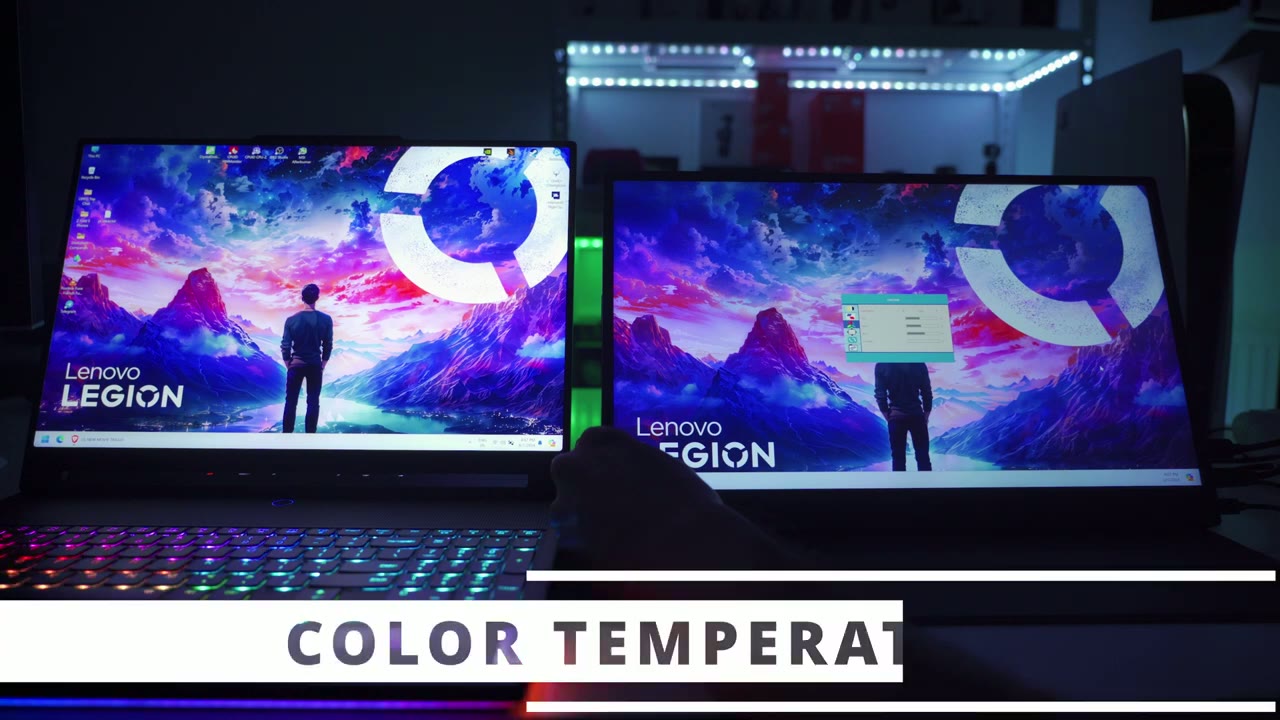
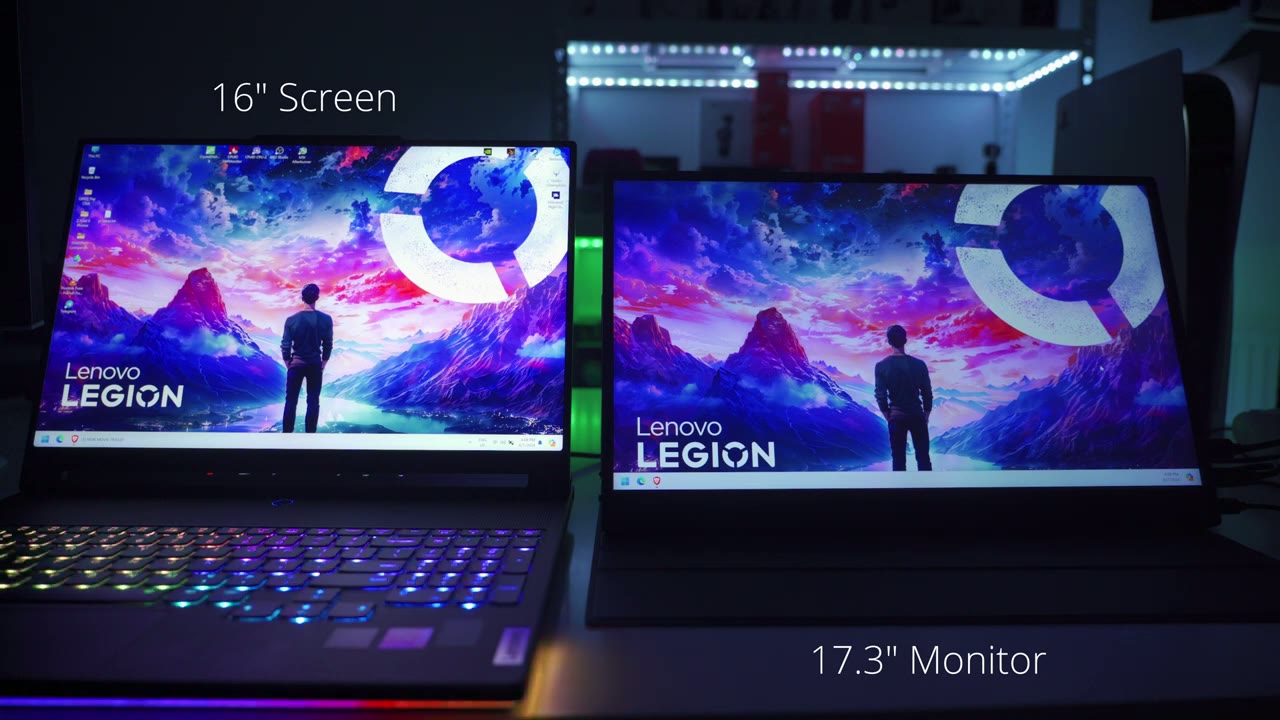
portable monitor next to my laptop display and I’m just going to cycle through the color temperatures right now it’s set to cool this is the user color temperature where you could change the RGB values here is the warm color temperature normal color temperature and the cool color temperature again so you can go ahead and fine-tune this to try to match it as close to your disc display as possible and the brightness is currently set to 100% my laptop has a 16-in screen and the portable monitor is a 17.3 in screen and it’s wonderful having all that additional screen real estate on the side there you can quickly
Quick Controls
adjust the brightness and volume settings by using the menu rocker so if I just rotate it upwards I can go ahead and adjust the brightness and then I can press the B button to get out of that and if I rotate it down I could go ahead and adjust the volume so really handy to do on the Fly the screen per performance
Screen Performance

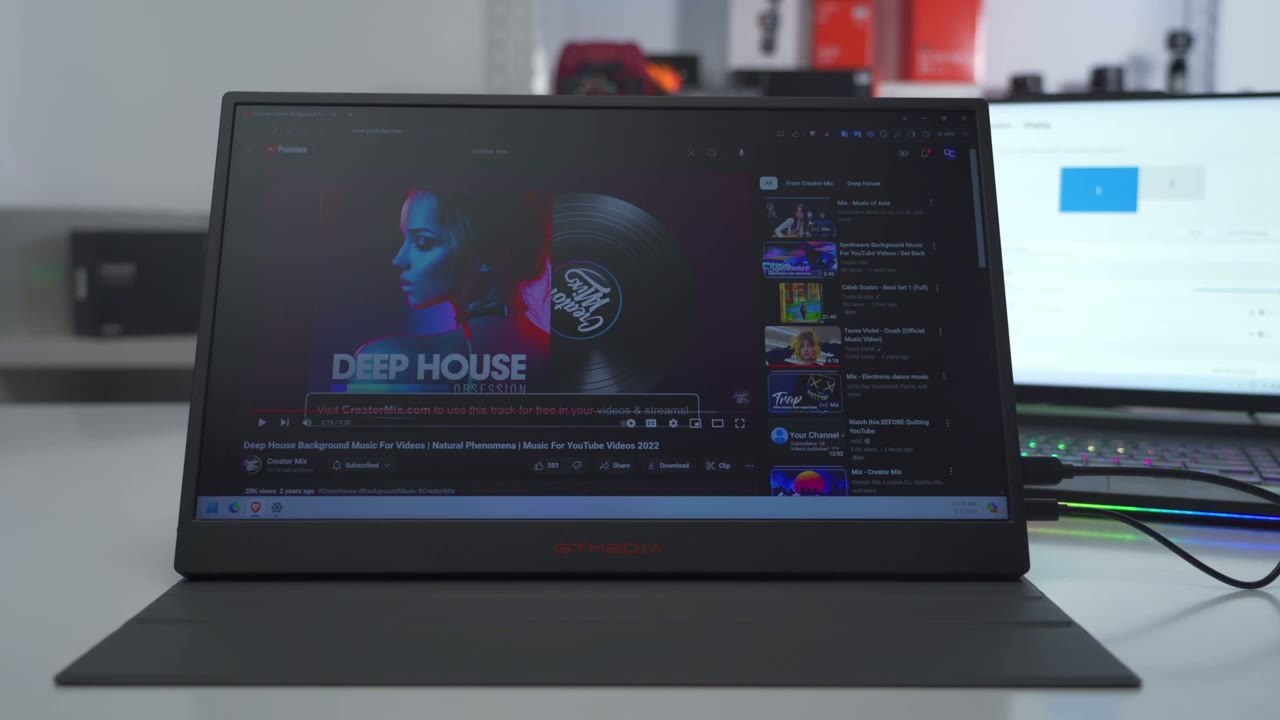
is actually pretty good on this considering that it’s an IPS screen and it only maxes out of 300 nits watching movies YouTubes and other type of content on here is actually pretty enjoyable so even though this isn’t an OLED screen the contrast ratio is actually pretty good on here and in dark scenes there wasn’t too much of a grayed out or wash out look when I was looking at it directly on obviously if I stand or stood you know a bit to the side or a bit further away then I would notice it was a bit grayed out but kind kind of dead on in a nicely controlled or nicely dark room everything was great so with a Max brightness of 300 nits you’re going to want to make sure that you know you’re not placing this right up next to the window or there’s going to be a lot of you know kind of sunlight directly hitting it because it may not be able to cope with that type of Max brightness you can leave the HDR setting to Auto or you can turn it off or you could force it to be on now when I forced it to be on I didn’t really like the look at really boosted the saturation across the board so for the most part I just left it on off and I still enjoyed the viewing experience here’s what it looks like dead on and then if I go a little bit to the side you can see gets a little bit washed out and faded and then when I go back dead on pretty much perfect here’s what the speakers sound
Speakers

like so they’re firing from the rear end it’s set to 100% volume so they do get quite loud you can make out what’s going on but they are of course lacking in base a little bit PNY sounding so if you really care about music you’re going to want to use earbuds but yeah these will do in a
Gaming
pinch gaming on the PS5 was a breeze so I just connected the HDMI cable to the mini HDMI port on the Monitor and I plugged in a USB type-c port just to keep it all powered on I turned on hgr to Auto and it made everything just pop in you know really saturated visuals and then when I was in war zone I turned on the option to have it set to 820 HZ display which is you know a limitation in Wars will not the monitor because I was able to get 144 HZ when I connected it to my PC you can also use one of the
Charging
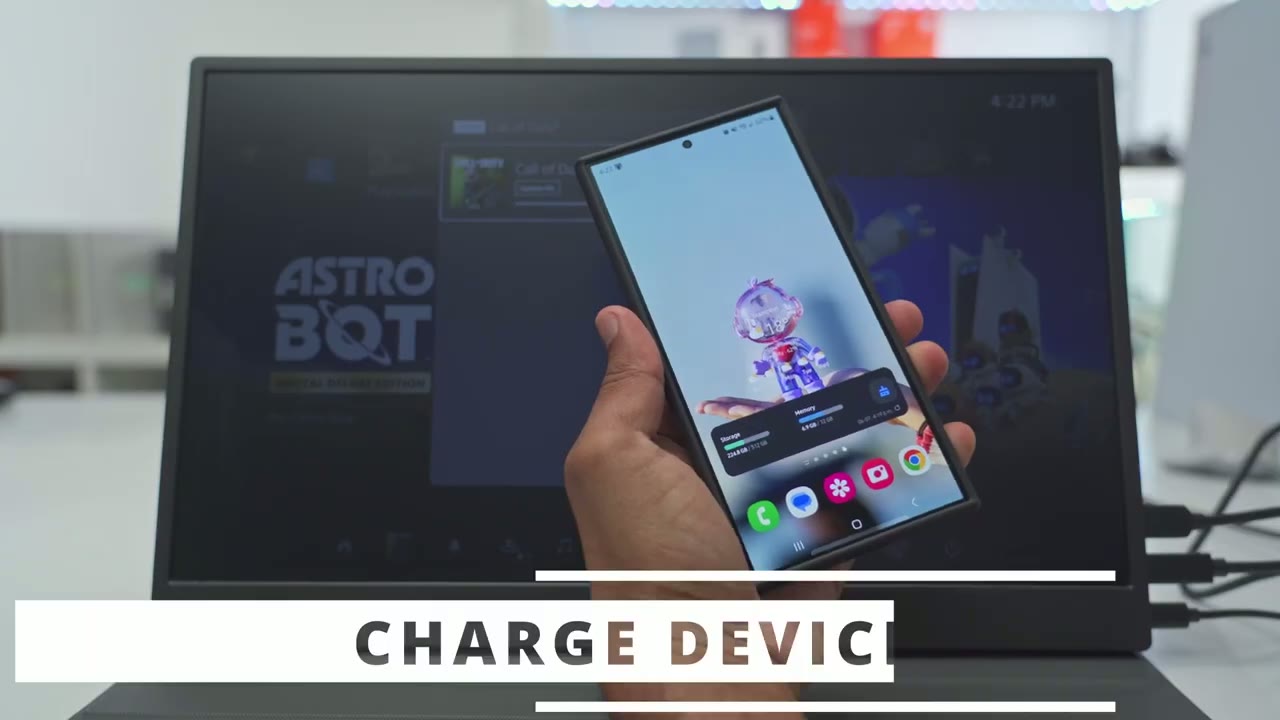
unused USB type-c charging ports to charge your phone since there are two so if you’re using USB type-c to type-c from your laptop you have one additional port for charging let’s go through the
Menu Settings

full menu settings so to access the menu I’m going to push in on the menu rocker and from here I can go into brightness so I’ll push in on the menu rocker again and then I could adjust the brightness up or down as I see fit if I didn’t want to do it through the quick access way I can also adjust the contrast and I can change the ECO mode to standard game mode movie mode reading mode FPS mode RTS mode and standard and let’s get out of that and then I can also go into DCR turn that on or off let’s get out of that and then HDR that could be set to Auto on and you can see that that just really boosts saturation not a fan of that and then back to off and let’s get out of that now we can also change the image ratio so right now it’s at the wide and you could set it to 4×3 if you need that but I’ve just left it on wide let’s get get out of there we can also go into the color temperature and cycle through which I already showed so cool normal warm user I’ll put it back to cool now you can also go and activate this low blue filter right here let’s take a look at the onscreen display and these are the available languages and and you can also change the menu position so I can actually move this up or down as I see fit and then we can change the timeout for the menu and the transparency as well so a lot of customization and we can also turn off the LED effect which I believe is the RGB going on at the back there I’ll just leave it on for now and then let’s get out of here we can also reset all the settings and we can also switch inputs from here but you can also do that by just pressing the back button whenever you’re not in the menu we could turn OSD mute on or off change the volume from here and enable free sync as
Dealbreakers?
well so while my experience has been fantastic so far it’s done everything I needed to do there’s a couple of areas that may be deal breakers like I mentioned at the start so one is that there’s no touchscreen functionality if you need that the other thing is that there’s no built-in battery so while technically yes this is a portable gaming monitor you know you do have to provide Power either through your laptop when it’s connected and if you were going to use HD Mii then you need a separate power source since there is no built-in battery another thing I noticed is that while this is rated for up to 165 HZ the highest I saw was 144 HZ when I was playing connected to my laptop and when I hooked it up to the PlayStation 5 playing war zone it capped out at 120 HZ but that’s a war zone limitation if you need to daisy chain this display I also tried to test that out but it doesn’t seem to have any MST support so while
Recommended?
this is called a portable gaming monitor it can be so much more so yes I do have it connected to my PlayStation 5 but my main use case is going to be connected to my laptop or to my desktop to have kind of a secondary display and this makes a great option if you’re going to travel as well you could just slide it in it doesn’t take up too much room not very thick and you can also connect it to your Samsung phone if you use Samsung Dex so yeah this is a fantastic monitor for pretty much any type of use case as long as you don’t need an onboard battery touchscreen functionality or MSD support so I have the 2.5k resolution that caps out at 165 HZ and this goes for around 270 us and they also have another version same size but it’s 1080P and it’s Capp to 60 HZ for about $200 I’m going to leave some links down below if you want to pick one up for yourself or check it out and don’t forget to check out some of my other videos I review a bunch of different type of products so I’m sure there’s something for you if you have any questions or if there’s something I didn’t cover just leave it in the comments down below I’ll do my best to answer back and as always if you find this video helpful please consider liking and subscribing and I’ll see you in the next one soon
Buy GTMedia Game Mate Monitor on Amazon
Buy GTMedia Game Mate Monitor on GTMEDIA
Please note that some of the links in my video descriptions are affiliate links where I earn from qualifying purchases. As an Amazon Associate I earn from qualifying purchases.