Buy 128 GB microSD Card on Amazon
Please note that some of the links in my video descriptions are affiliate links where I earn from qualifying purchases. As an Amazon Associate I earn from qualifying purchases.
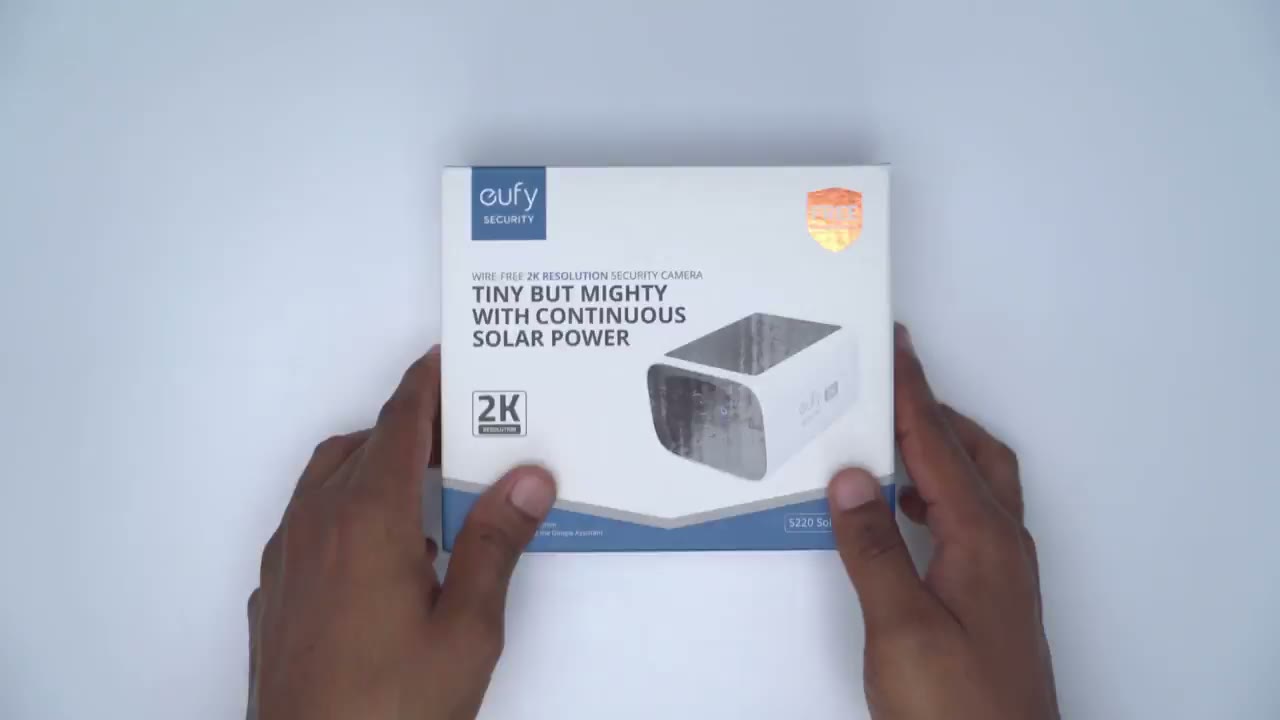
Intro

hey guys it’s Adrian and today I’m taking a look at Yu’s s220 solo cam now you can see this is a pretty small package you know much smaller than the S40 solo cam but don’t let that fool you because this still has a 2K camera solar charging panel at the top there’s 8 GB of onboard storage here an IP67 rating you have local AI detection it’s also compatible with the Homebase 3 by the way a big thank you to yui for sending this out for an unbo review but let’s get into
Package Contents
it the package contains the s220 solo cam we have a USB type-c charging cable to top it up we have the mount mounting guide hardware and a quick start guide the s220 solo cams design is really nice
Design
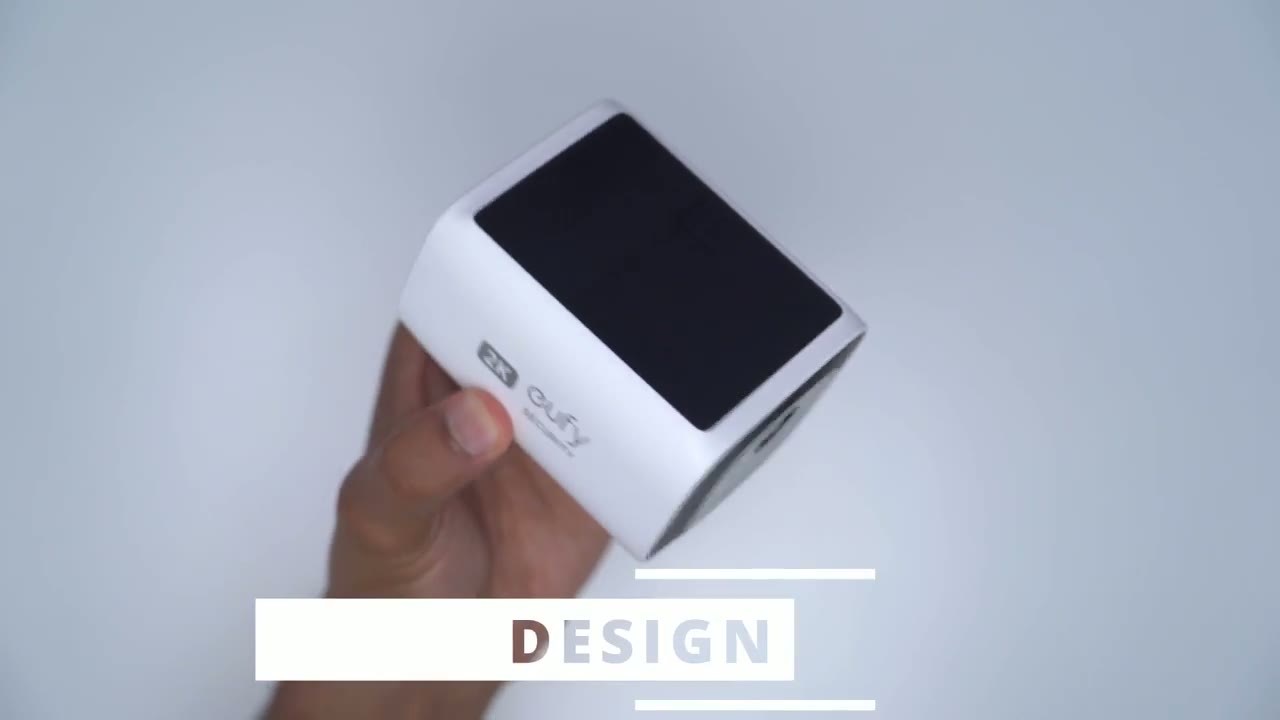
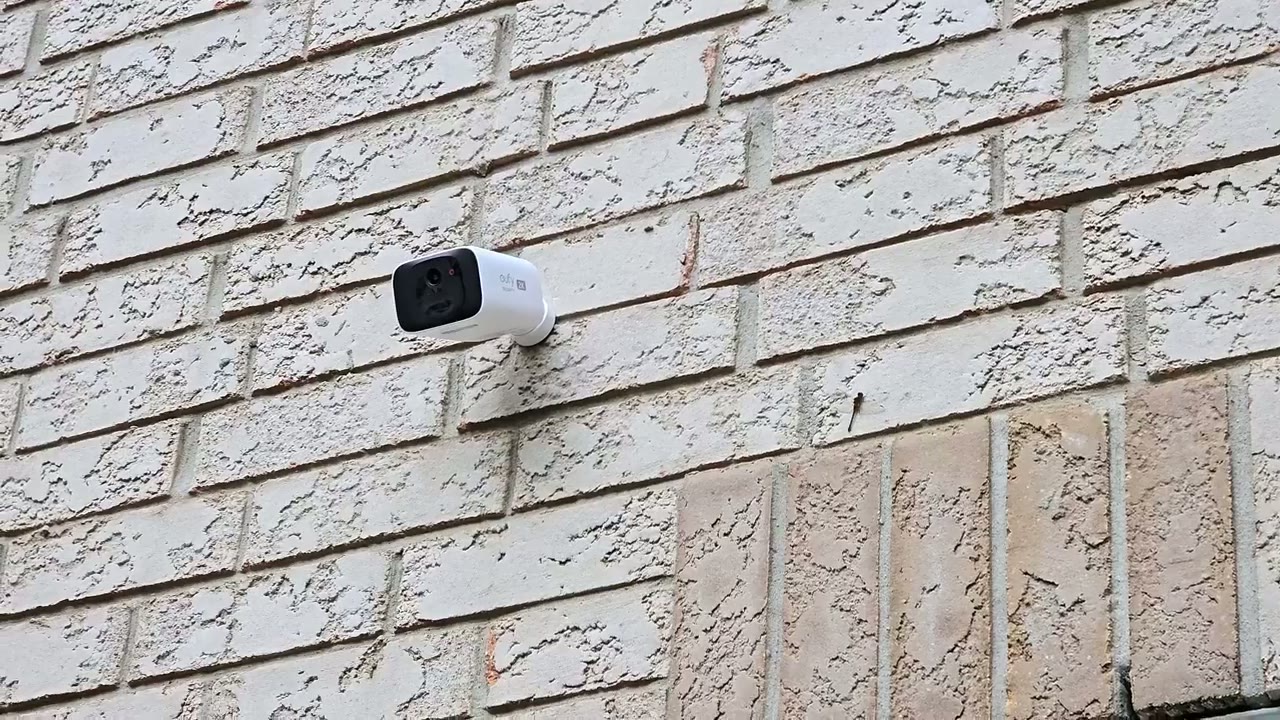
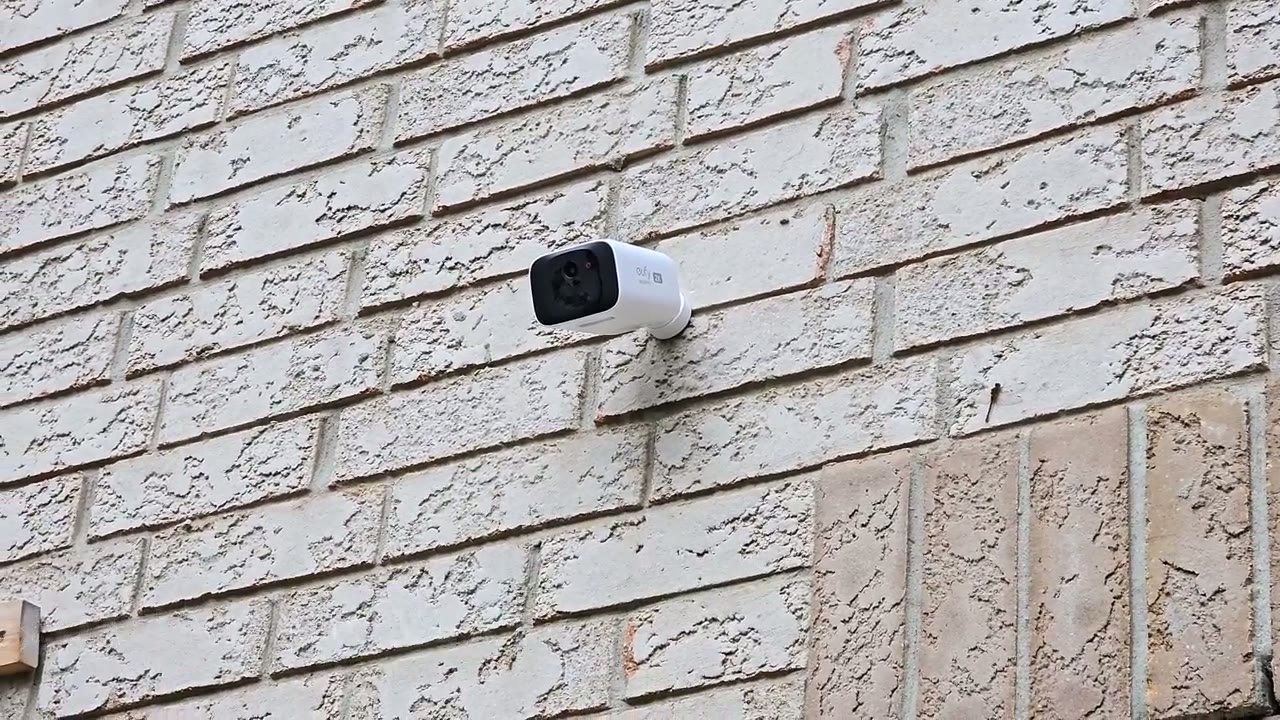
so it’s a very compact unit fits in the palm of my hand and if we take a close look at the top solar panel there you can see it fills out pretty much the entire top there’s just narrow bezels all the way around if we take a look at the front we can see that 2K lens there we also have an LED indicator light and then we have the microphone and some other sensors one thing to note about this unit though is that there is no flood light feature that you would find on the S40 solo cam now if we take a look at the right side and left side that’s where we have the yui logo at the back has the mounting Port the bottom houses the speakers for 28 talk and the siren and then we also have a weather sealed area here and if you retract that back that has the USB type-c port just to Top This up before you permanently mount it and then there is also a sync button so yeah overall a really nice design very compact there’s no creaking or flexing at all with the unit and it’s properly sealed everywhere around allowing it to have that 67 rating making it dust proof and waterproof the s220 solo cam is a motion-based
Specs
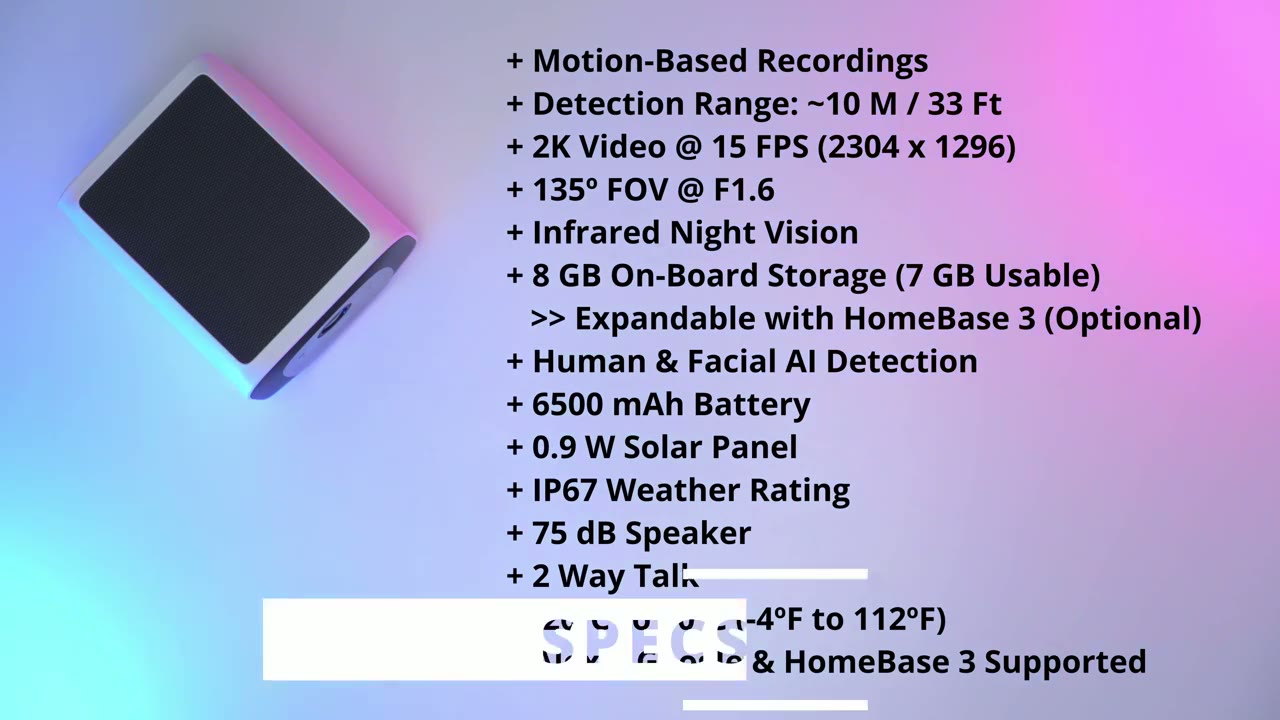
recording system and it can detect motion up to 10 m or 30 ft away it features up to a 2K recording resolution there’s 135° field of view at an f1.6 aperature and it’s capable of infrared night vision there’s 8 GB of onboard storage which is expandable with the home base 3 it offers human and facial AI detection and there’s a 6,500 mAh battery it has a 0.9 W solar solar panel and IP67 rating and it is also capable of two- we talk and the operating temperature is from -20 C to 50° cus
Setup

let’s go ahead and connect the s220 solo cam to the UI app so when you’re in the UI app you’re going to click Plus on my devices we’re going to add a battery camera scroll down until you see the s220 Sol cam right here and then I’m going to add it to my existing home network now we have two options here connect directly to router and this is the option to choose if you don’t have a home base 3 or you have the option to connect to the home base 3 I’m going to just add to router for those of you who don’t have U Homebase 3 and then I’ll add the Homebase 3 functionality afterwards so let’s pick that now make sure you’re connected to a 2.4 gahz network not a 5 GHz Network I’m going to go ahead and pop in my password right now now it’s asking for us to press the sync button for 2 seconds until we hear a beep so let’s go ahead and do that now we’re going to use the solo Camp to scan this QR code connecting to the Wi-Fi network please wait setup was successful all right so the setup is complete you can see if I wave my hand over the camera it shows in the live view there also have
HomeBase 3 Setup
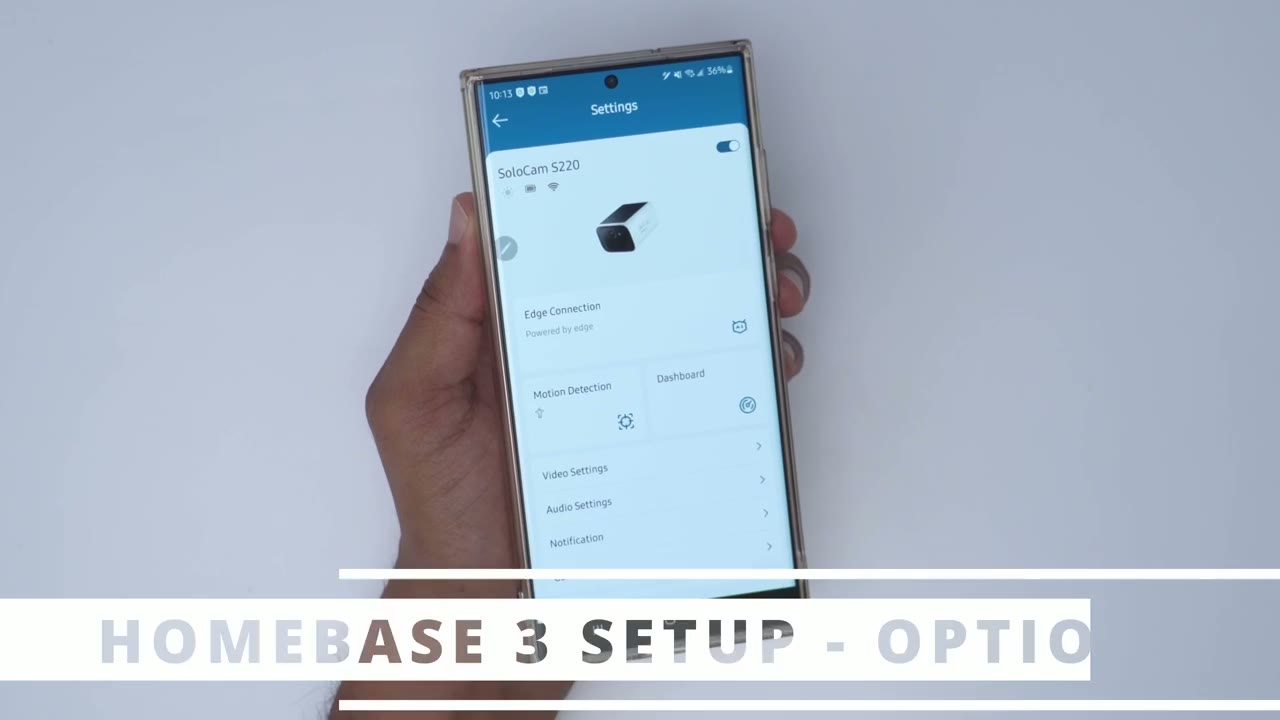
the option to add to home base 3 if you currently own one but let’s go into motion detection first and you can see we can set human and all motions now if I go into General and then we go into storage local storage you can see that I only have 7 GB to record to and then old clips will be overwritten let’s go ahead and add the s220 to the home base 3 so we’ll click on edge connection click on continue it says all Clips will now be recorded locally to the home base we click yes pick the home base and then click next now that the s220 is added to the home base 3 let’s go into motion detection and look how many more options we have we now have human recognition vehicle detection and pet detection and if I go back into storage instead of having only 8 GB to record to I now have a 1,24 GB or 1 Tab and you can install up to a 16 terab Drive in your home base 3 all right so the setup’s complete you can see if I wave my hand over the camera it shows in the live view there so what I’m going to do is just top this up to a 100% battery install it and then I’ll report my findings open up this
Installation

mounting unit here and once you do that you’re going to pop off this middle portion here you’re just going to line this up on your wall if you’re drilling into wood you can just go directly with the two screws and then pop this unit back on and then attach everything back now if you’re going to be screwing into brick or concrete you could use the positioning guide and then once you’re done and this is attached to the wall you’ll just screw it into this rear mount by the way guys if you’re finding this helpful please consider liking and subscribing but let’s get back into it
Settings
let’s take a look at live view and I can see that someone’s taking a jog I can actually zoom in and see they’re wearing a yellow hat and then Zoom back out so you can see the video quality is quite good on here considering it is a 2K quality and I have a very wide field of view I could see all the way from my backyard fence to the front of my house there is someone else walking their dog so yeah really simple fluid now while I’m here I could go ahead and press this icon to take a manual recording of the person over there say I was looking at live view I can also take a manual screenshot and it’s again going to be safe to my phone’s album I can also press and hold to speak to whoever is out there now I’m not going to do that while someone is walking but you can see I press and hold here sa my message and then just let go now I can also click if I want to have you know this to open with volume or not and I can click on this option here and I have a bunch more options as well I have a siren a manual alarm and it’s going to sound a 30second alarm and let’s go into the full options for the camera so you can see it’s actively charging right there it’s at about 68% it’s been very overcast and gloomy so the battery percentage hasn’t been fully topped up these days and I can just go ahead and turn the camera off completely if I wanted you know a bit of privacy or just to disable it there is the option to connect it to the home base I’m not going to do that right now I’m just trying to review this as a standalone camera but you do have the option later on now if we go into motion detection this is where you can set sensitivity the detection Sensi II it mine has been set to four and that’s been working good you could set it higher or lower as needed and you can also set an activity Zone I have not set any type of activity Zone but you can see you would just click this plus sign you know move that around change the shape and you can add more than one activity Zone if you like now what you can also do is to set the type of motion so you can pick human motion or all motions and I’ve only set it to human motion because I have a lot of cars coming and going I’m only interested in human motion next area we can go into is that dashboard and this is super handy because I love seeing this 7-Day Trend and 30-day Trend so you can see when I installed it it was pretty much at 100% And there’s been a steady decline now the daily change recently has been a positive 3% of charge and you can see this is what’s been going on so yeah overcast days it started you know really good and now it’s kind of tapered off and of course I can take a look at that 7-Day Trend as well and I find this very handy because I can monitor what’s going on and you know really see if battery life is draining quickly or rapidly and make changes accordingly if we go into video settings you can see the streaming quality is set to Auto and you can set that to Auto or high depending on your internet connection speed now we can also go into Watermark and set to have you know the time stamp and Logo only a time stamp are both turned off and then recording quality I have it set to 2K I want the best possible quality but you could also set it to full HD if you want it to save on storage space I also have the auto night vision option turn on so that the camera switches to the IR night vision whenever it gets too dark and we can go into privacy zones and again I don’t have this setup but depending on where you live you may need to have this setup so you can just set up you know a privacy Zone here and say okay I don’t want to record whatever is going on there to comply with your local laws and regulations in audio settings we can decide to have the microphone active to allow audio recording and we can set the speaker volume as well under notifications this is where you can set how quickly you want notifications so you’ll get a text text notification like you’ve been seeing pop up very quick very responsive or you can go to full effect where you get a text notification first and a thumbnail follows or you can just get a thumbnail there may be a little bit of latency with this mode so I like having it on most efficient under General we can turn on or off the status led to further save battery life we can search a Wi-Fi connection if we go into Power Manager you could see take a look at these detection statistics so in the last 25 days I’ve had 9,400 detected events 3,00 recording so that just gives you an idea of just how busy my area is and you’re likely not going to have all of those type of detections and recordings and this is where you can set optimal battery life up to 20 seconds or you can have up to 60 seconds clip length or you can go ahead and set it to a maximum of 2 minutes clip length with a 5c cool down time and you can also enable the option to end the clip early if motion stops now for power source we only have the battery option right now because I have not connected an external solar panel but you does sell that if you’re interested if we go into storage and local storage we can see that we have 6.5 GB use of the 7 GB of onboard storage and it of course overrides old clips to record new clips you can also share your device with family members if needed reviewing events is quite simple
Video Playback
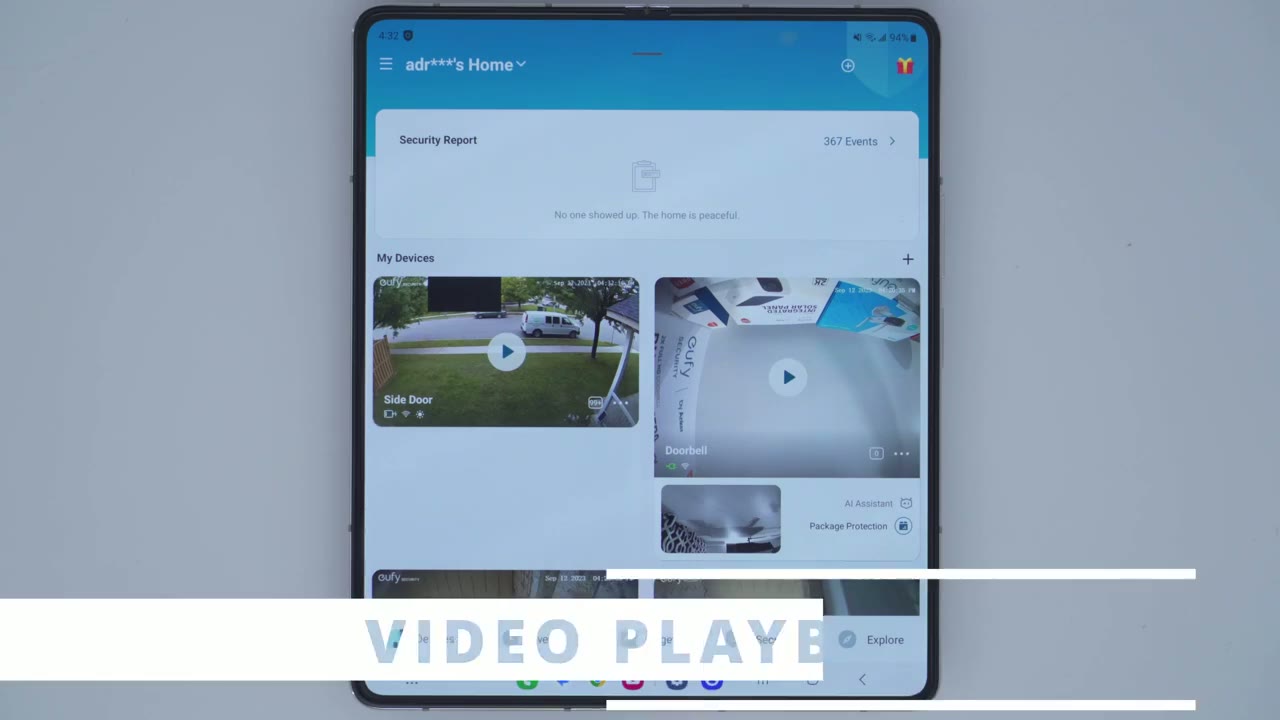
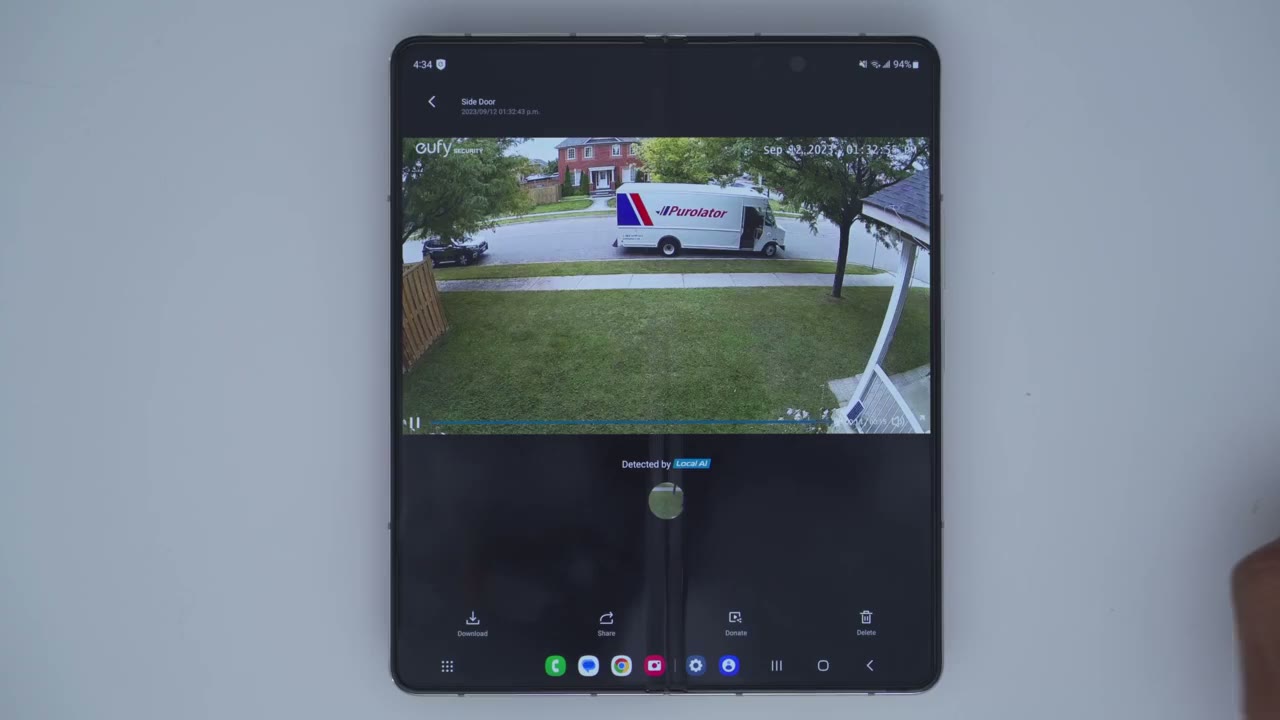
you would click on the events tab at the bottom and from here we could filter which camera that we want to take a look at so I’m just going to click on the filter icon I’ve called the side door so I’ll click side door confirm and you can see I have a bunch of different clip so here’s one that says human side door side door human and this was a delivery that I accepted earlier from the career company and you can see that loads up very quickly it’s very clear I could go ahead and you know just make a full screen view of that kind of zoom in I could even make out the phone number on there so you know pretty good quality for a 2K camera anytime you find an interesting clip you could download it directly to your phone share it with someone you can donate it to yui or you can delete it completely from the system
Video Quality
so the video quality on here is awesome as you would expect for a 2K camera so yeah really don’t let the small body fool you it’s quite capable so video looked great during the day and at night and it didn’t matter if I had kind of like ambient light you know Illuminating the scene or if it was completely pitch black and it just had to rely on the infrared night vision the motion
Motion Detection
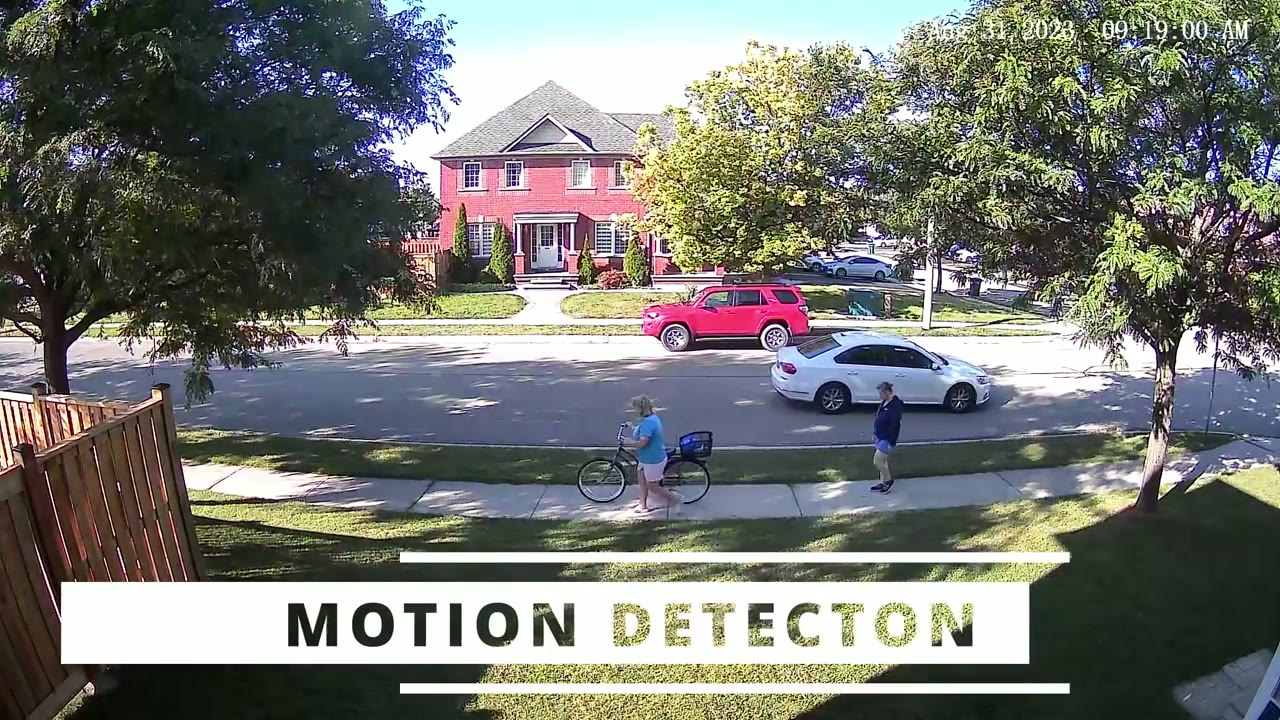
detection is rated for about 10 m or 30 ft away and from where I have the camera installed at the side of my house to where my sidewalk is it’s about 28 ft and it easily picked up people moving backwards and forwards without issue can see a lot of the times when you’re seeing people they’re about halfway into the frame or maybe a little bit earlier than halfway into the frame or the scene and that’s because by the time motion detection kicks in if they were moving kind of fast you know there’s a chance it may not kick in and then when it kicks in they’re already halfway into the frame and that’s based on my motion detection sensitivity being at level four perhaps if you increase it a little bit more you know you can get motion earlier in the frame but for the most part you know I’m happy if I’m catching them in the middle and leaving because I’m also trying to balance you know the battery life this is what audio sounds
Speakers
like coming out of the s220 solo cam all right let’s talk battery life so
Battery Life
when I first installed this it was at a 100% roughly and after 22 days it’s now at 73% now when I installed this the battery life was pretty much always topped up because it was around August 20th you know there was a ton of heat ton of light all the time now it’s way cooler it’s a lot of overcast days and I’m at around 73% now that’s still pretty good in that time frame again considering how many recorded events I’m having around 130 to 160 video recordings per day and around 390 to 400 motion detected events that’s really a lot guys if you’re living in an area you know half as busy as mine expect way better battery life the 8 GB of onboard
Storage
storage does a pretty good job because I’m getting around you know 16 to 19 days of video playback history and that’s always dependent on you know how many recordings I’m taking per day but the average is between 130 to 160 and that is a lot of recordings now if you live in an area where it’s way less busy than mine you can expect way better than 16 to 19 days you know you can probably get a month maybe even 2 months if
S220 or S40
you’re trying to decide between the S40 solo Cam and the s220 solo cam the main difference is that on the S40 solo cam there’s a small Spotlight but on the s220 solo cam there is no Spotlight at all so if you’re looking for an outdoor
Recommended?
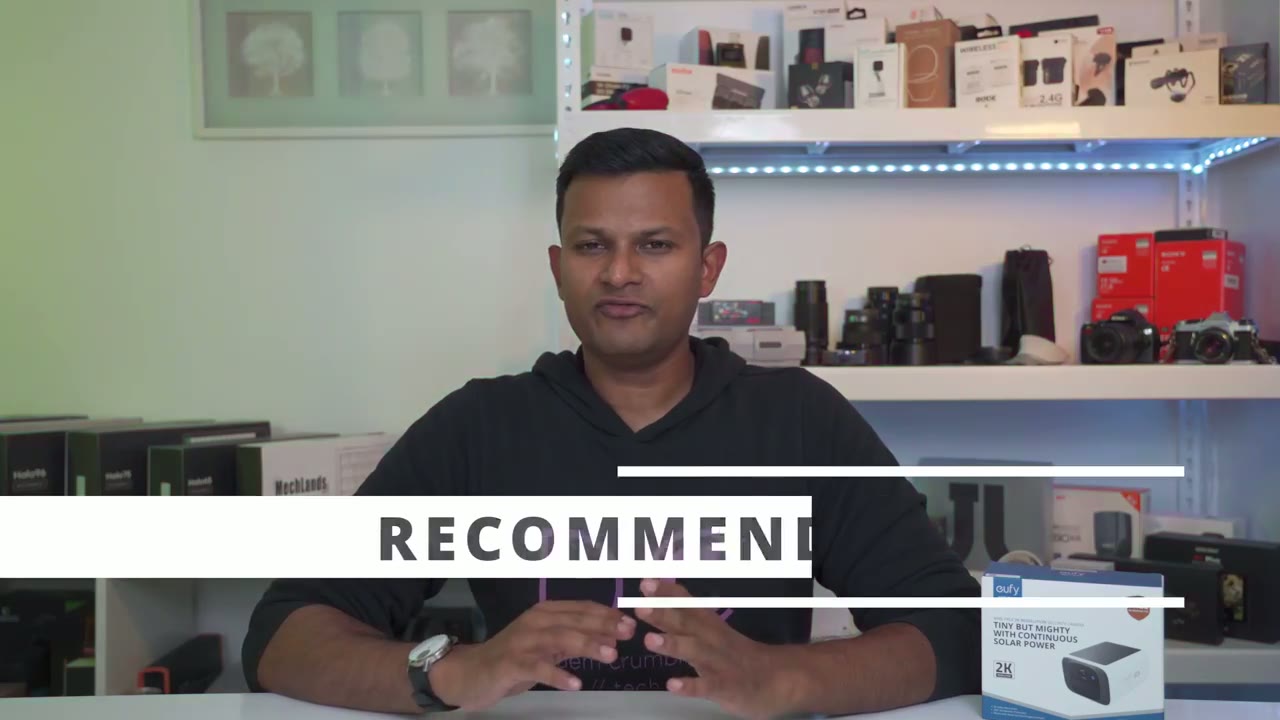
camera that has a solar panel don’t let the s220 solo cam fool you that 2K camera on there is really awesome for the size of this camera 8 GB of onboard storage is plenty for you know at least 1 to 2 weeks of video review and Playback and also you have the option to add the home base 3 if you like and of course like with all of U’s other cameras there’s zero monthly fees on here and I can’t stress enough guys if you’re looking at a camera system you know really look at the monthly fee portion of it because with some of these camera systems you’re paying to unlock you know all of the features and with yui cameras all the features are just present to you so if you’re interested in checking the yui s220 solo cam out I’m going to leave some links down below and as always if you found this video helpful please consider liking and subscribing I’m always doing these type of videos and I have a couple of exciting camera reviews coming up next so stay tuned for that
Buy 128 GB microSD Card on Amazon
Please note that some of the links in my video descriptions are affiliate links where I earn from qualifying purchases. As an Amazon Associate I earn from qualifying purchases.