


Buy MAGCUBIC HY350MAX Projector
Please note that some of the links in my video descriptions are affiliate links where I earn from qualifying purchases. As an Amazon Associate I earn from qualifying purchases.
Intro
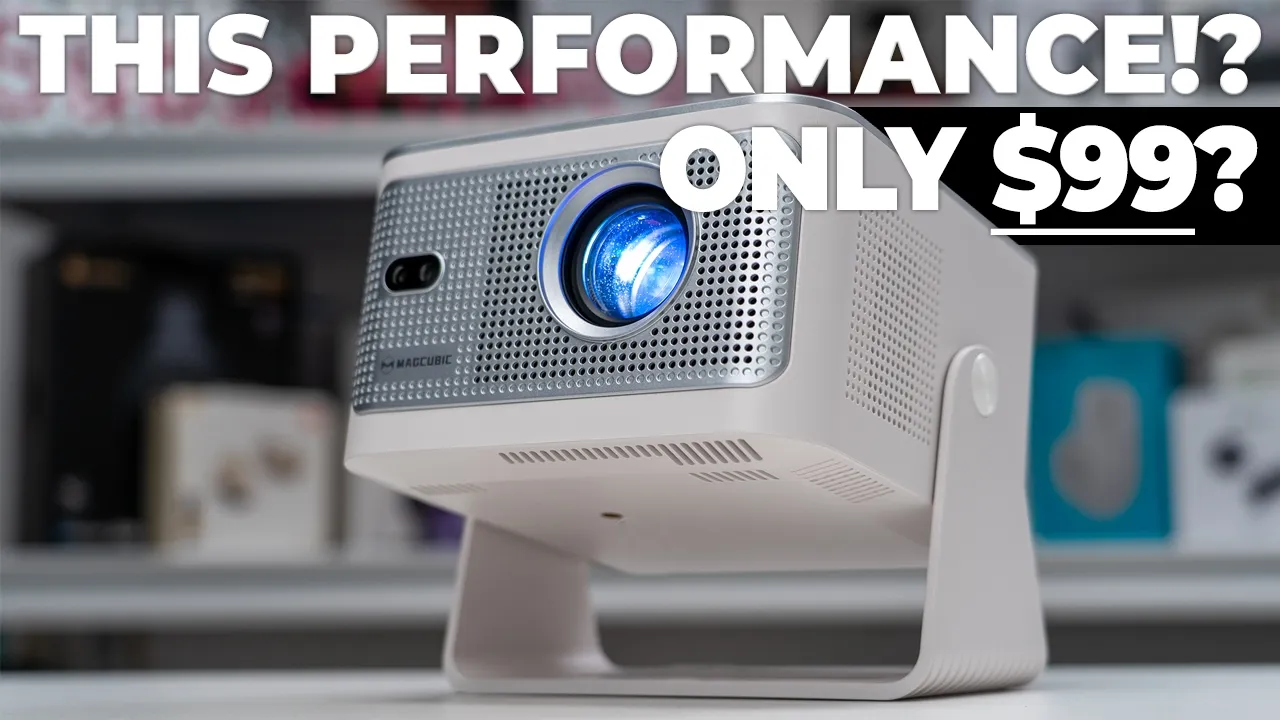
What if I told you that for around $100 US, you can get a screen way larger than my 75 inch TV that’s 11 times more expensive? Well, this is the Mag Q-Bake H5350 Max Smart projector and it can do exactly that. It has a native 1080p output 600 ANC Lumins Auto Focus and Auto Keystone and HGMI input to connect your gaming console or laptop wireless streaming support from your phone the ability to angle it for wall projection or even ceiling projection a built-in 15 watt speaker and an included remote all in a compact body small enough to carry around the house for easy viewing anywhere. But how good is the video quality in the speaker? Well, let me show you just how close to while you can place it how far back and just how big the image actually gets and where does this actually fall short?
And a big thanks to Mag Q-Bake for sending this out for review.
Package Contents
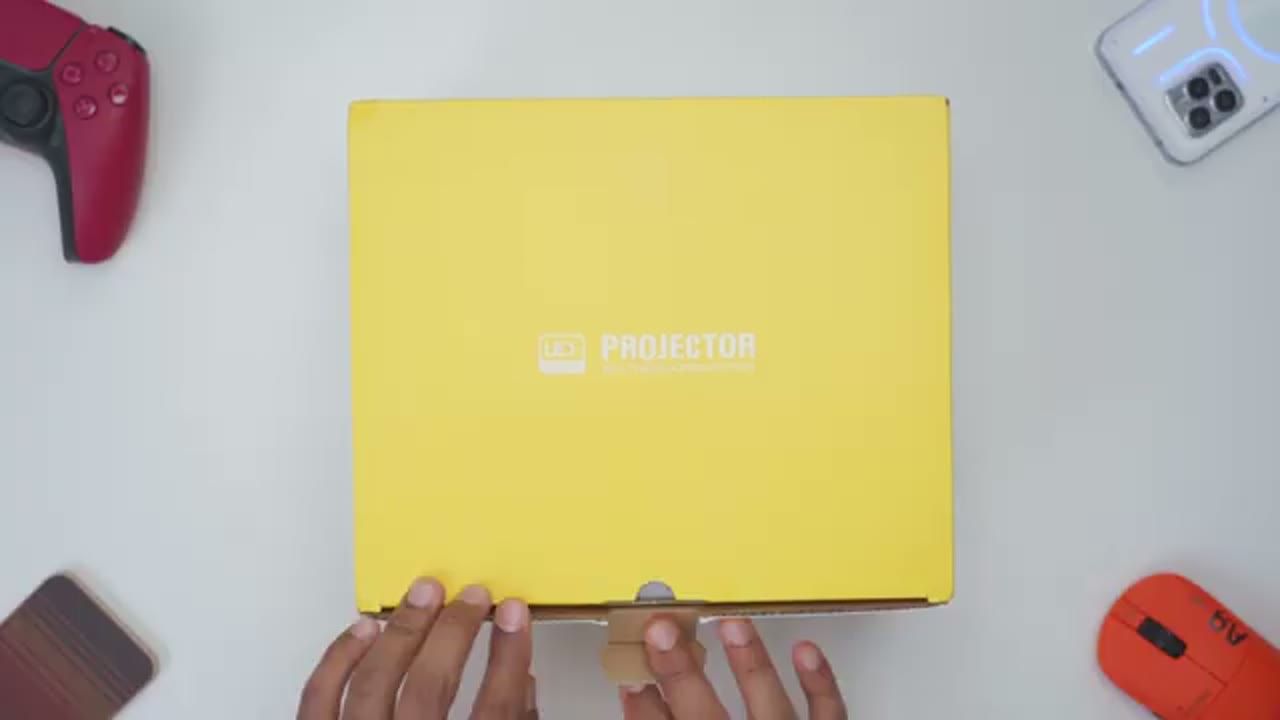
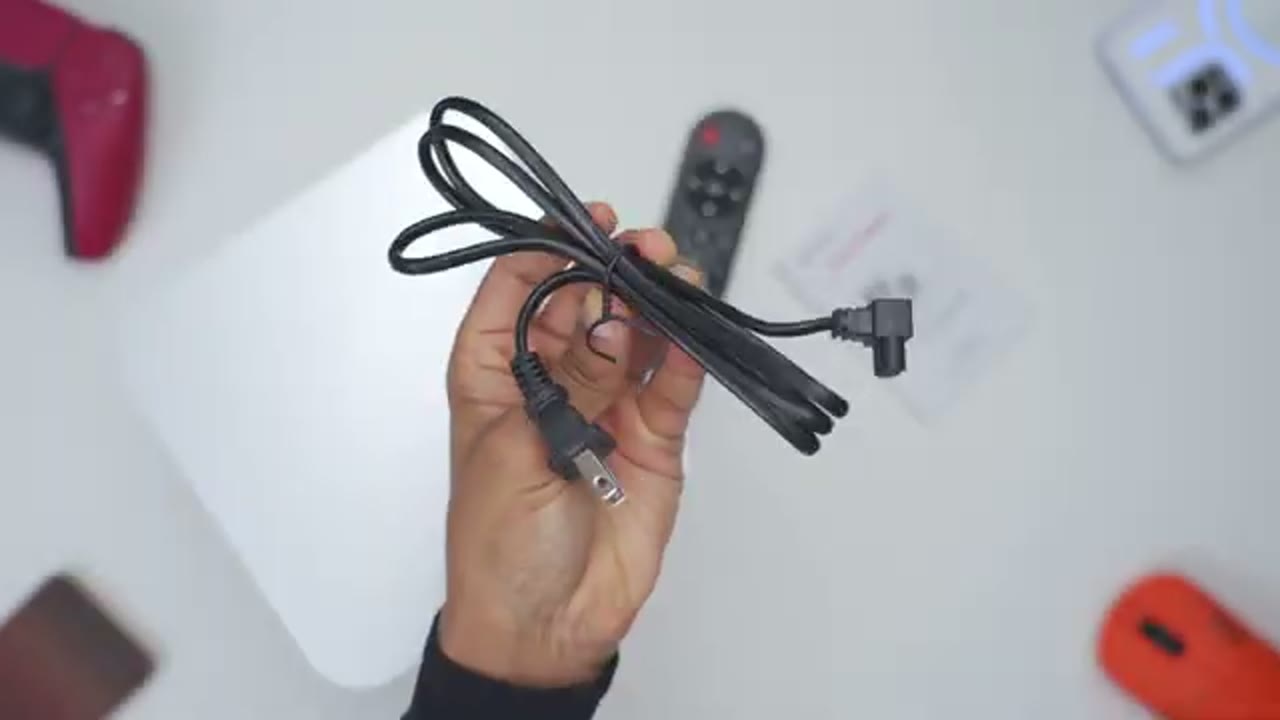
In the box you get the Mag Q-Bake H5350 Max Smart projector, there’s also a remote that takes two triple A batteries, a manual and power cable.
HY350MAX Design
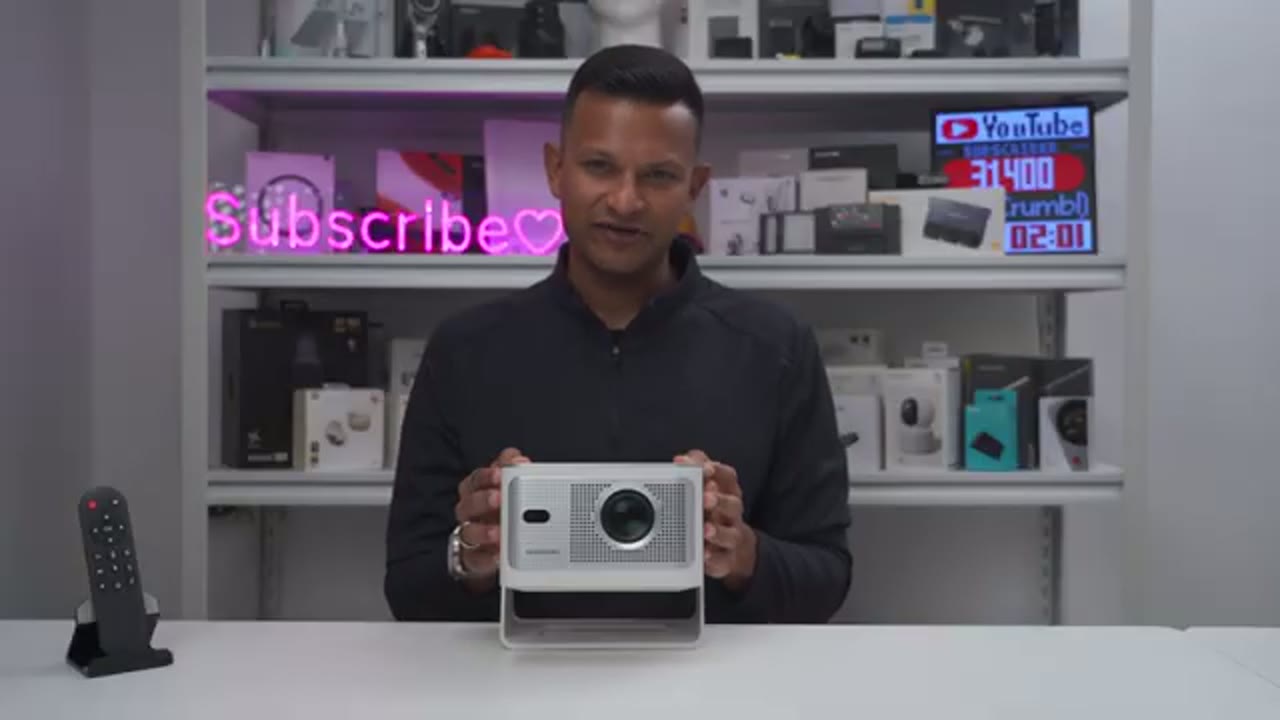
In terms of design, so the H5350 Max comes in at around 1.3 kilograms or about 3 pounds, starting with a front view, so we have the projector lens and it does sit slightly recess in the housing to prevent any type of accidental touches. We also have various sensors on the front to help with autofocus and auto-keas though. On the right side, we have a speaker grill for the single 15 watt speaker and on the other side, this is where we have an air inlet to help keep this cool. On the back we have a power button, HMI port USB type A port power port and a huge ventilation grill. There’s nothing on top and at the bottom we seem to have various ventilation ports now in terms of the bassar stand. So this can actually be angular, it quite a bit so you can see you can go from here all the way here.
And you can actually have the projector kind of project up towards the ceiling. Additionally, it can also be rotated up this way as well. Now there’s no type of hardware to ceiling mount this, but you may actually be able to jerrywake something if you really wanted to. The included remote uses two triple A batteries in terms of the button control, so they seem fairly standard with one highlight being this mouse control button, so you can actually have mouse control.
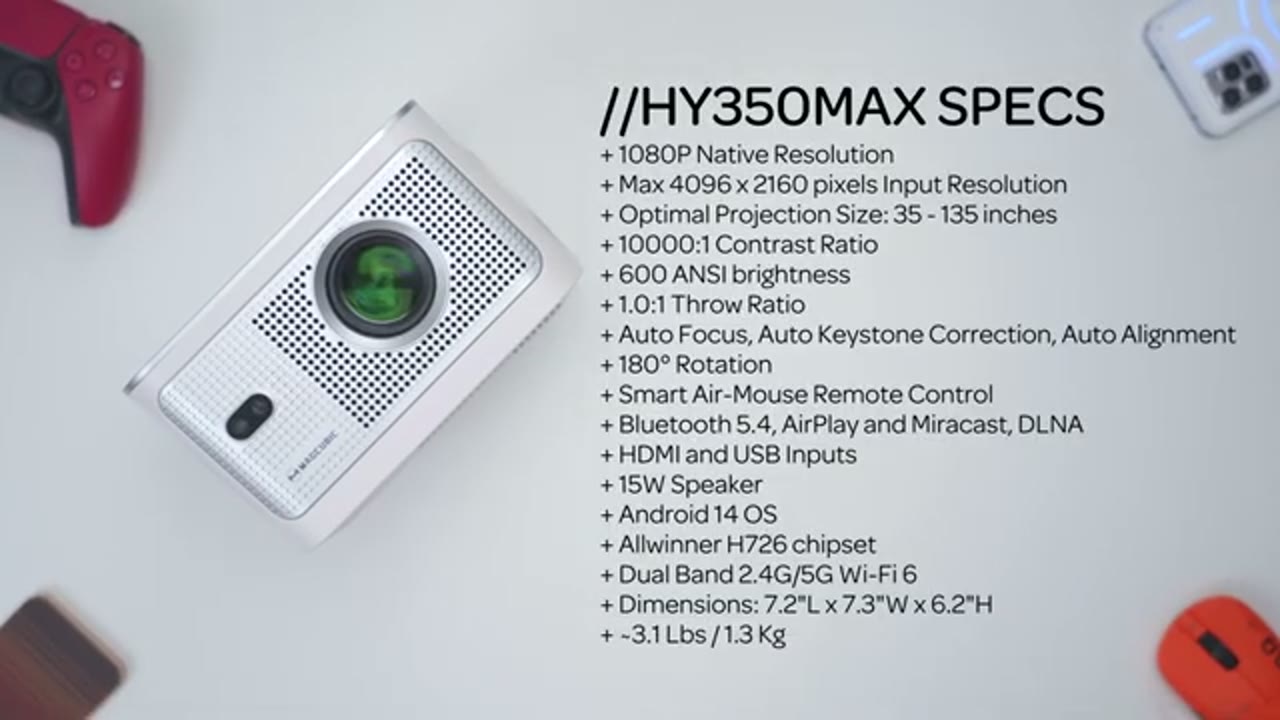
HY350MAX Specs

Here’s a quick look at the specs, feel free to pause and review or jump ahead to the next section.
Projector Placement & Screen Size
Now let’s talk about placement and screen size because that’s going to affect the brightness and how sharp everything is. In terms of how close you can place this to a wall so you can place it about 2.9 feet away or about 0.9 meters. And that’s going to give you a diagonal image or screen projected on the wall that’s around 40 inches. This is going to be very sharp and in focus. And in terms of how far you can move the projector back, so I moved it back around 11.3 feet, which is about 3.4 meters and the projected image size on the wall was about 156 inches, which was really impressive. Now I couldn’t move it any further back because my room is just not that deep, so it can probably go even a little bit further if you have the space.
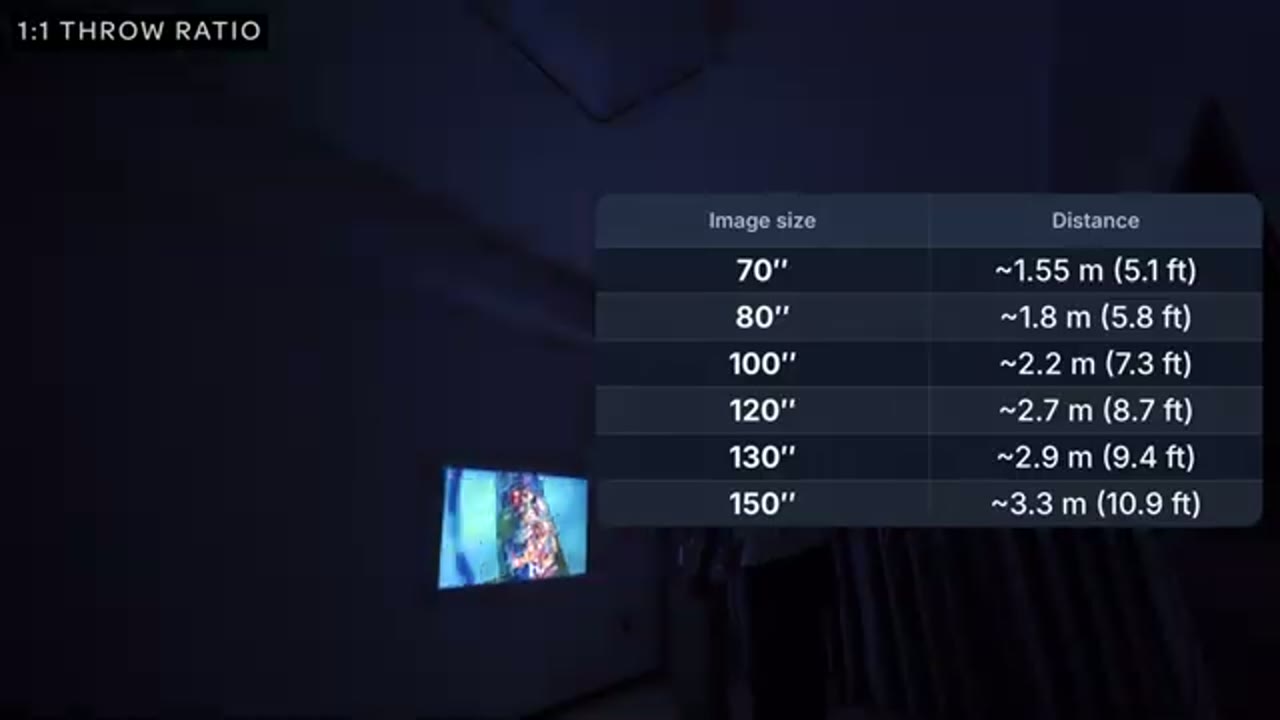
Now this has a roughly one to one throw ratio and I’ll leave some numbers on screen so you can get an idea of what kind of screen size you’ll get depending on how far you place this from the wall.
Projector Placement & Brightness
Now let’s talk about brightness because that’s also affected by how far or how close you have it to the wall. So while the projector is always outputting the same amount alike, whenever you’re moving it further back, that same amount alike now has to be spread over a larger area, so the image is going to get dimmer similar to when you have a flash like you have an up close. It’s really bright. You put it off in the distance and it’s going to get dimmer. So to give you a rough idea, you’re going to get the maximum brightness when the projector is closest to the wall, which is going to be around 2.9 feet or 0.9 meters, then you’ll get 100% brightness and it’s going to be the sharpest and clear as well.
Now you’ll get around medium brightness between about say 5.8 to 7.3 feet back from the wall, and you’ll get the least amount of brightness once you place the projector really far back like I did, which was about 11.3 feet or about 3.4 meters from the wall. At that point it’s only going to be around 7% of the maximum light outputs, so this is really only ideal for a very dark room. Now let’s talk about how how you should vertically place your projector,
Projector Placement & Vertical Height
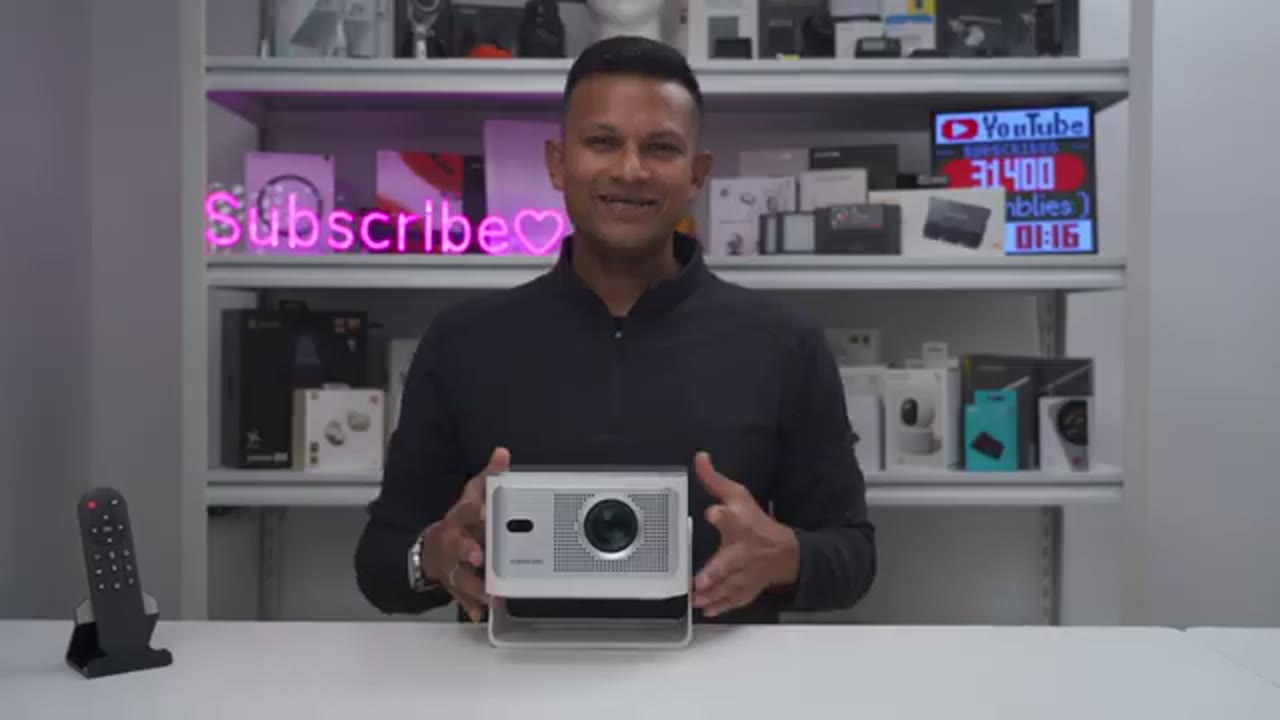
and whether you should have the projector pointing straight at the wall, or kind of angular it up, especially if you’re placing it lower down to the ground. So having the projector point directly to the wall like I have it here is going to be ideal because the light’s going to travel to the same part of the image in every direction, and that also means that there’s not going to be any type of correction like the auto keystone, and you’re not going to take a hit too sharpness as well. Now if you have to place a projector lower to the ground and you can’t really keep it eye level, then you’ll have to go ahead and angle it upwards.
Once you do that, the top of the image is going to be wide and then the bottom is going to be kind of narrow, so to fix that the projector is going to use auto keystone, where it kind of digitally alters the image to make it a perfect rectangle. Once it does that, you are going to take a bit of a hit to be focus on there, the overall brightness, and just the clarity as well. Now even with that said, don’t let that pick you off from placing your projector lower down to the ground, especially if you can’t help it, and you’re lading it up by a few degrees, usually it’s not that big of a deal, and the auto keystone does a great job correcting that. Now let’s look at the projector setting, so you’ll be presented with this
HY350MAX System Settings
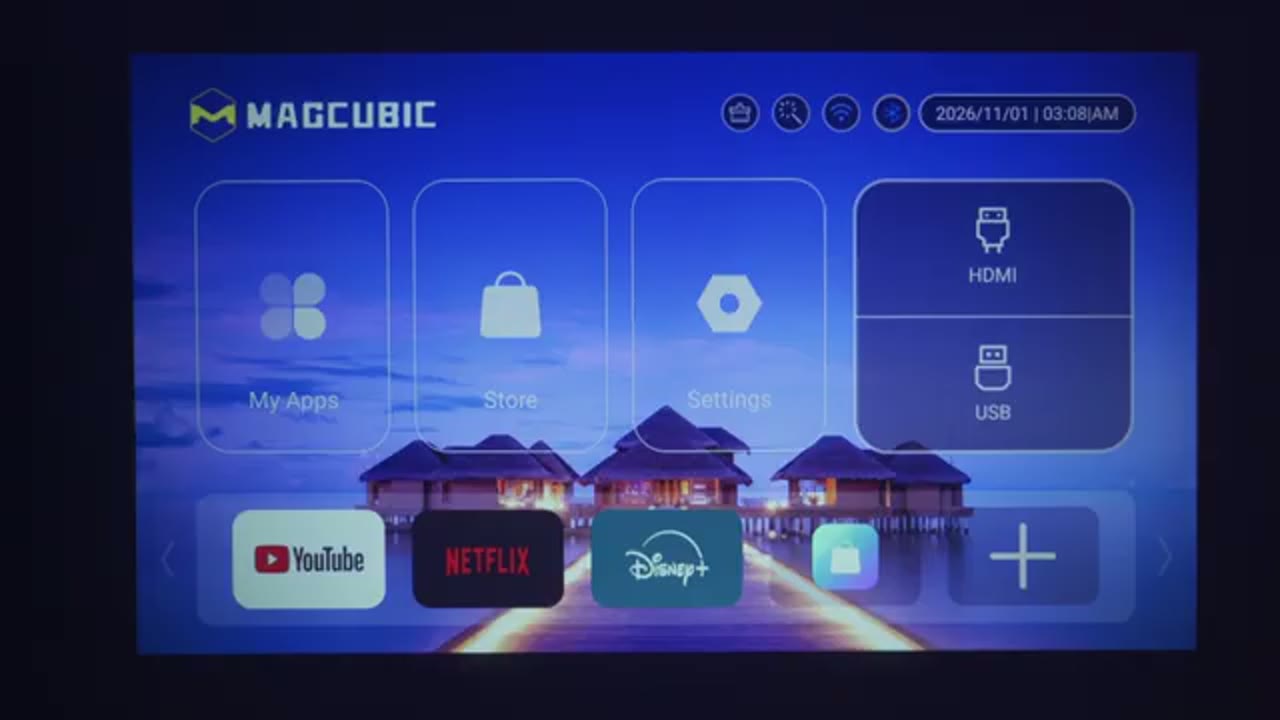
main dashboard, and you have options here for my app store settings, and you can also clear the cache you can go ahead, you know, kind of change the look of this dashboard, and you can also go ahead, connect to a Wi-Fi network or switch Wi-Fi networks if you need to, and then you can also go under Bluetooth, and this is really handy because you could see that I’ve actually paired my earbuds here. So I can actually listen to the audio out of the projector directly on my earbuds, so if I’m listening kind of late at night, I don’t have to play it using the built-in speaker.
Now you can also go ahead and jump into my apps, and this is where you can see all of the apps that you’ve downloaded, I’ve already downloaded, you know, VLC, YouTube on here, but you can also go into the store, and this is where you can search for additional apps as well. By the way, you could jump into my apps and then go into the Google Play Store, and that’s going to give you way more apps, and you could find on here, and then you could jump into settings to really customize the projector, so under Projection settings, this is where you could switch it from standard mode, energy saving mode, and then installation mode, you can actually switch it from front projection to rear front projection and front ceiling projection, probably rear ceiling projection there.
So if you were able to mount this ceiling mounted, you can just go ahead and adjust it there. You can also change the digital scaling on here, and you can enable auto focus, auto for corner correction, and screen recognition, intelligent, obstacle avoidance, and manual trapezoidal or reset trapezoidal correction. Now one thing to note is that if you just kind of, you know, moderately or kind of minorly adjust the projector, if it doesn’t automatically kind of recalibrate, just jump under one touch calibration, hit it, and it’s just going to go through a calibration process again, and then everything is going to be good, like you can see right there.
Application manager, this is where you can go ahead, you know, kind of delete stuff if you need it, or clear the cache, and then under language and keyboard. So the languages are quite a bit, whatever you speak most likely, you’ll be able to find it on here. Now under other settings, this is where you can have a button sound, and you can have a screen saver, five minutes, ten minutes, twenty minutes, an hour, or just completely off.
You can also have a time shutdown from five minutes, ten minutes, twenty minutes, one hour or off, and then you could restore factory settings, and you can also go ahead and look at your firmware information to see if there’s any type of update, and you can see the running memory, it’s two gigs, and I’ve used 936 of that right now, and we’re running Android version 14, in terms of the storage space, it comes with 16 gigs. Now let’s talk about the video quality,
HY350MAX Video Quality
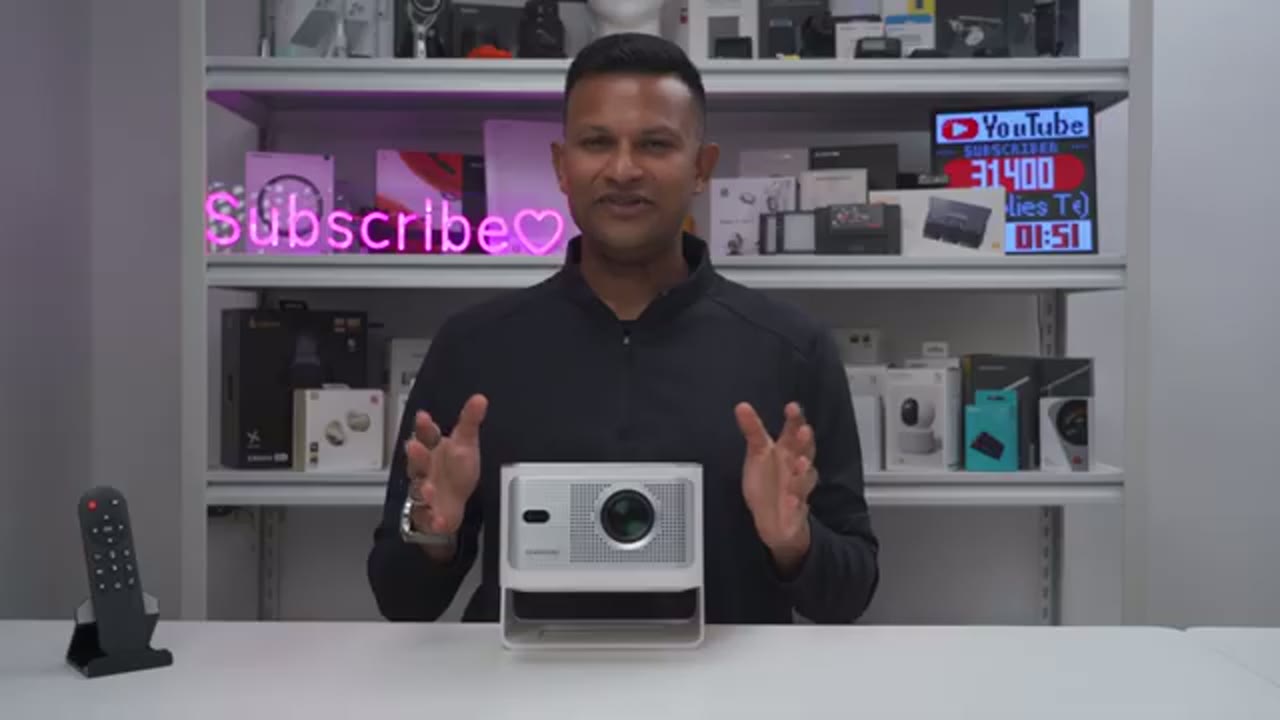
but some quick specs first, so this has a 600-inch aluminum output, a clean 10,000 to one contrast ratio, a 60-hertz refresh rate. Now while you can feed this a higher input source, like, you know, 4k, the final output is gonna be 1080p. Also, keep in mind that I just projected the image directly to a matte white wall in my home, instead of using a projector screen which would have been more ideal, so all of the video shots you’re gonna see are based on it being on a white wall. I was actually really impressed with the video quality, so under ideal viewing conditions, meaning a dark room with little to no ambient light, video looks great overall.
The contrast is descending off the dark scenes don’t look washed out, however, in very dark movies are seen to do lose a little bit of shadow detail, but at the same time you can also use a custom viewing preset to adjust the video settings if you need to. Watching animated movies also looks great on here in the colors, pop decently, especially considering I had the projector position around six feet back from the wall, and not directly up close with would be brightest. The motion was fluid enough when watching movies that nothing looked jarring and sharpness was also great overall with the projector lens pointed straight at the wall, and you could even angle the projector to project video on your ceiling network, and it also adds some nice ambient lighting to any room for cozy viewing.
And here’s what the video quality looks like if you’ll be watching on a very brightly with all the curtains open or with the curtains have open. So I’d say you can get away with it in a roughly half-lit room or semi-bride room if you’re not too picky. Overall just really good video quality and it’s seriously impressed me especially for the price that this costs. The projector
HDMI Port
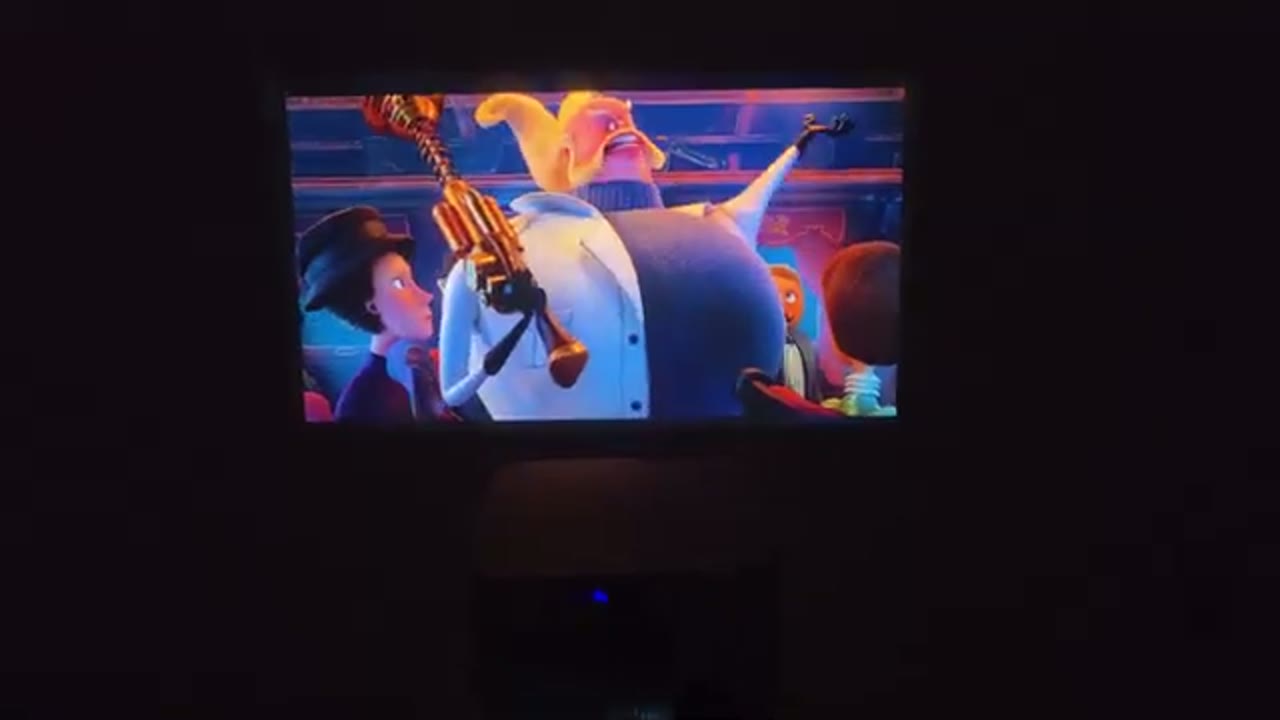
also has a built-in HDMI port so you can actually connect your favorite console, I connected my PS5 to this, and it was effortless, I was easily gaming, no problems at all, I was using the built-in speaker so you can actually take this on the go with your PS5 really easily. The only downside is that it’s limited to a 60 Hz refresh rate so if you play a lot of fast-paced games where you need 120 Hz just keep that in mind but it’s still doable it’s 60 if you really need to.
I haven’t connected my laptop to the projector with the HDMI port and used the projected image on the wall as a secondary display, not a text clarity isn’t the sharpest because I didn’t have the projector very close at a wall but you could do that in a pinch instead of running a second monitor just so you have something playing in the background while you’re working so it’s pretty versatile. You can
Wireless Casting / Streaming
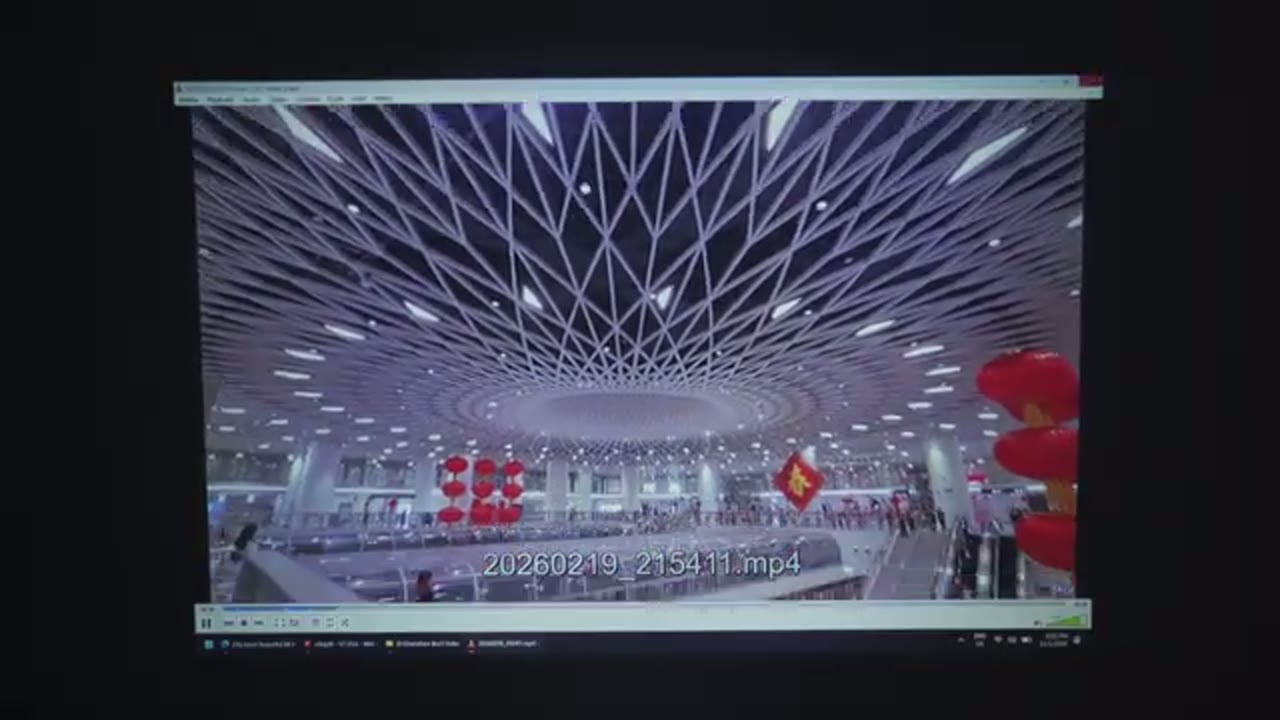
also wirelessly cast your phone screen to the projector so on Android I just downloaded the recommended app to show on the projector settings and that worked flawlessly I was able to watch videos, you know photos, share YouTube and other apps, no problem at all it was very fluid. However when I tried using the native screen-marrying on the iPhone to the projector it was a little bit more sluggish and choppy when reviewing video maybe it’s a something on my end with my setup but something to note
HY350MAX Startup/Boot Time
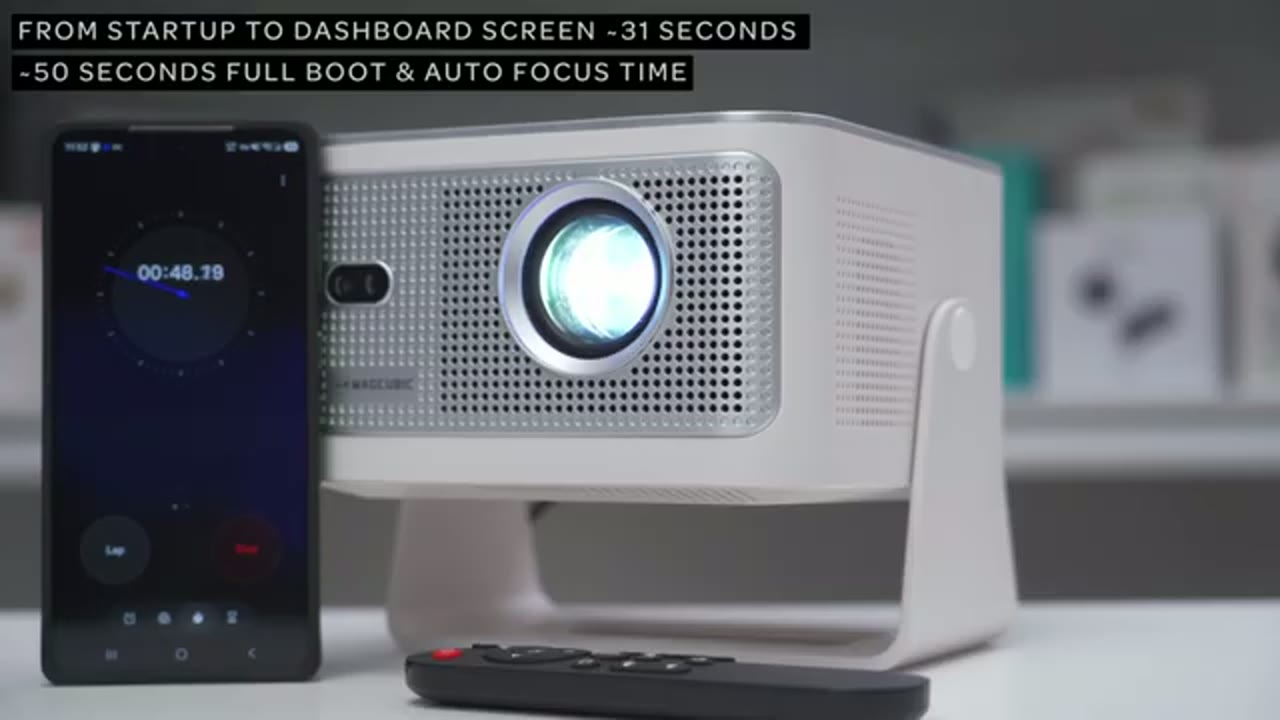
and a quick note about the startup time so once you part a projector on after about 31 seconds will be on the main dashboard and after 50 seconds then it’ll be finished with the autofocus and auto keystone so a little under a minute to be up and running. Now let’s talk about using a projector
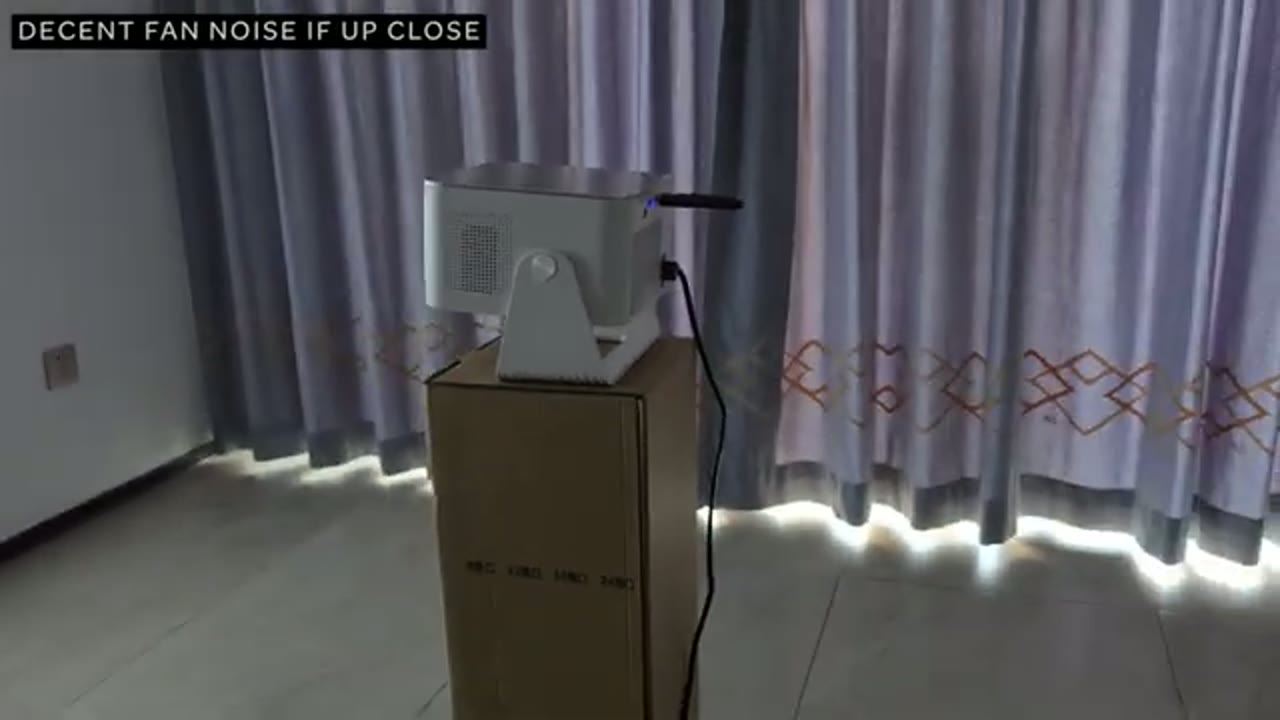
Noise Demo
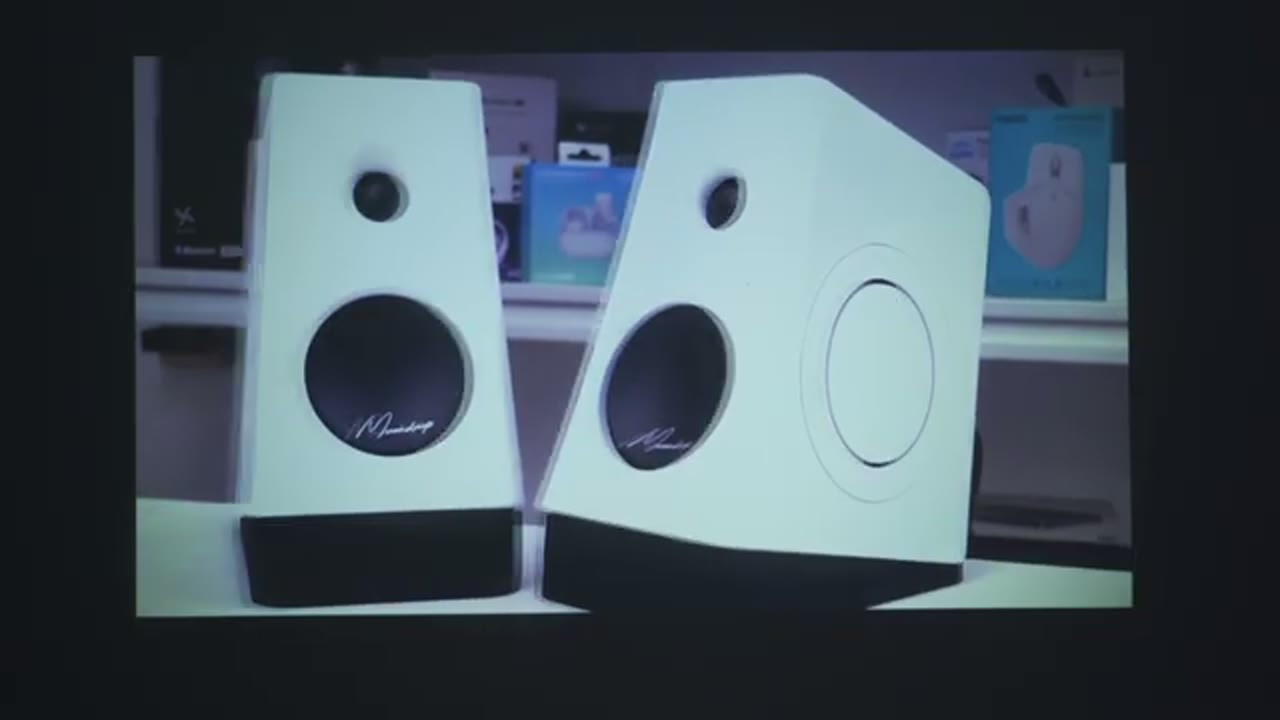
No speech in this section.
Projector vs. TV?
versus a traditional type of TV so with a TV the screen has usually much brighter and that light is coming directly at your eyes. With a projector the light is being directed to a wall and then bounce back towards your eyes so it’s not as bright but at the same time it is also a gentleer for nighttime viewing.
So most TVs are easily going to look better than this projector because of the panel type they usually have a higher brightness higher screen refresh rate you can connect way more type of devices to them and it’s just more smart features overall but at the same time they cost far more than this projector and in my case my TV cost 11 times more than this projector cost and when I look at how portable and compact this projector is it’s way more versatile because I can take it in any type of room my bedroom you know a basement living room and just have it easily up and running and at the same time I can make the screen as small or as large as I want again keeping in mind if you do need a fairly dim or dark room at all times so I’m definitely not saying that a projector like this can replace a TV but if you already have a TV in your living room and you just need a second screen or a second display for your bedroom for a basement for your office and it’s a fairly dim or dark room this is a fantastic option versus by a second TV which is going to cost far more than this cost.
Overall my experience with the Mac cubic a try 350
HY350MAX Changes?
Mac’s projector has been fantastic and further price I really can’t complain. The only thing I would have like to see added is a 3.5 millimeter oxport so you can connect wide speakers to this but like I mentioned earlier you can also pair Bluetooth speakers Bluetooth earbuds or headphones as well so it’s not that big of a deal so I can easily recommend the Mac cubic a try 350 Mac smart
Recommended?
projector further price it to offers a ton of value the compact body let you take it from room to room effortlessly and you can make the projected screen as small or as large as suit any room in your home plus the video quality is great and the built-in speaker is decent so you can be watching your favorite shows or content on Netflix YouTube Disney quick and easy out of the box so if you’d like to get your very own Mac cubic a try 350 Mac smart projector I’ll leave links down below in the description so you could get your very own and if I’ve any type of coupon codes I’ll leave those down below as well if you like this video maybe consider checking out this video next and please consider liking and subscribing it truly does help me out quite a bit you can even consider joining is a member to get early access the videos and other perks and I also review a bunch of other tech that you may find interesting so maybe check some of those out as well and I really hope you’ll join me in my next video soon.
Buy MAGCUBIC HY350MAX Projector
Please note that some of the links in my video descriptions are affiliate links where I earn from qualifying purchases. As an Amazon Associate I earn from qualifying purchases.