Buy The Safemo P1 Set on Amazon
Please note that some of the links in my video descriptions are affiliate links where I earn from qualifying purchases. As an Amazon Associate I earn from qualifying purchases.
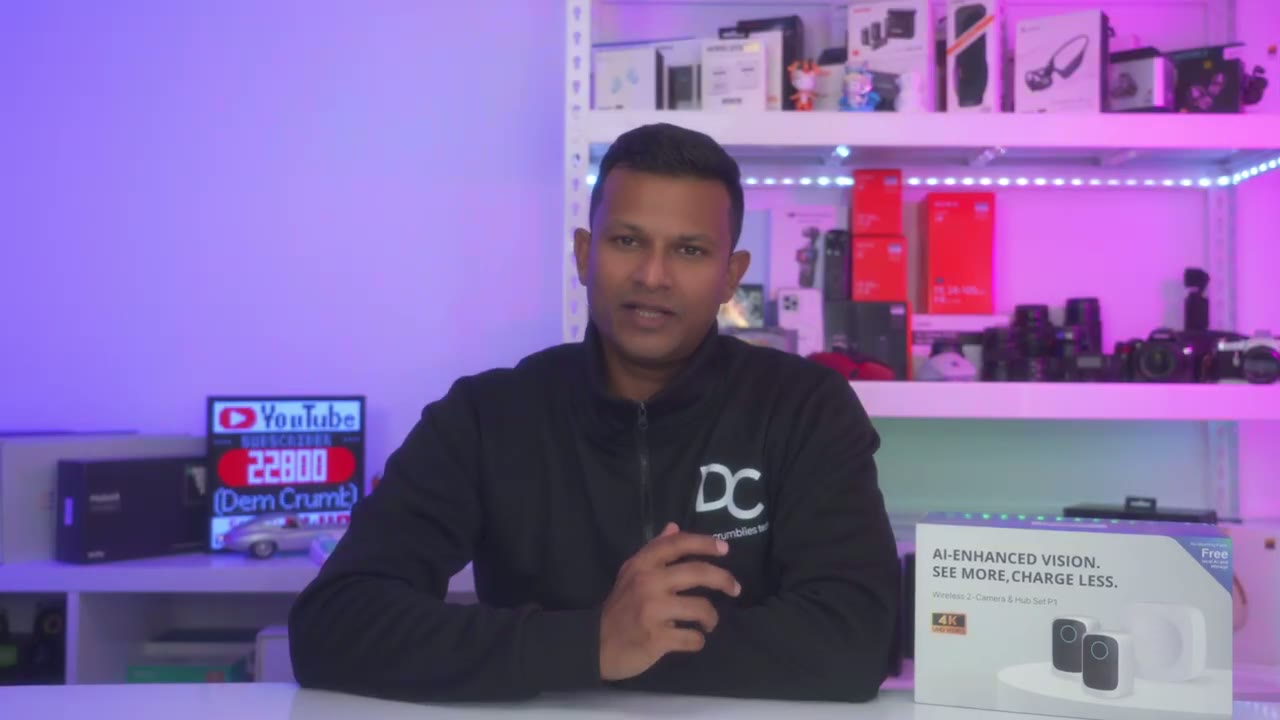
Intro
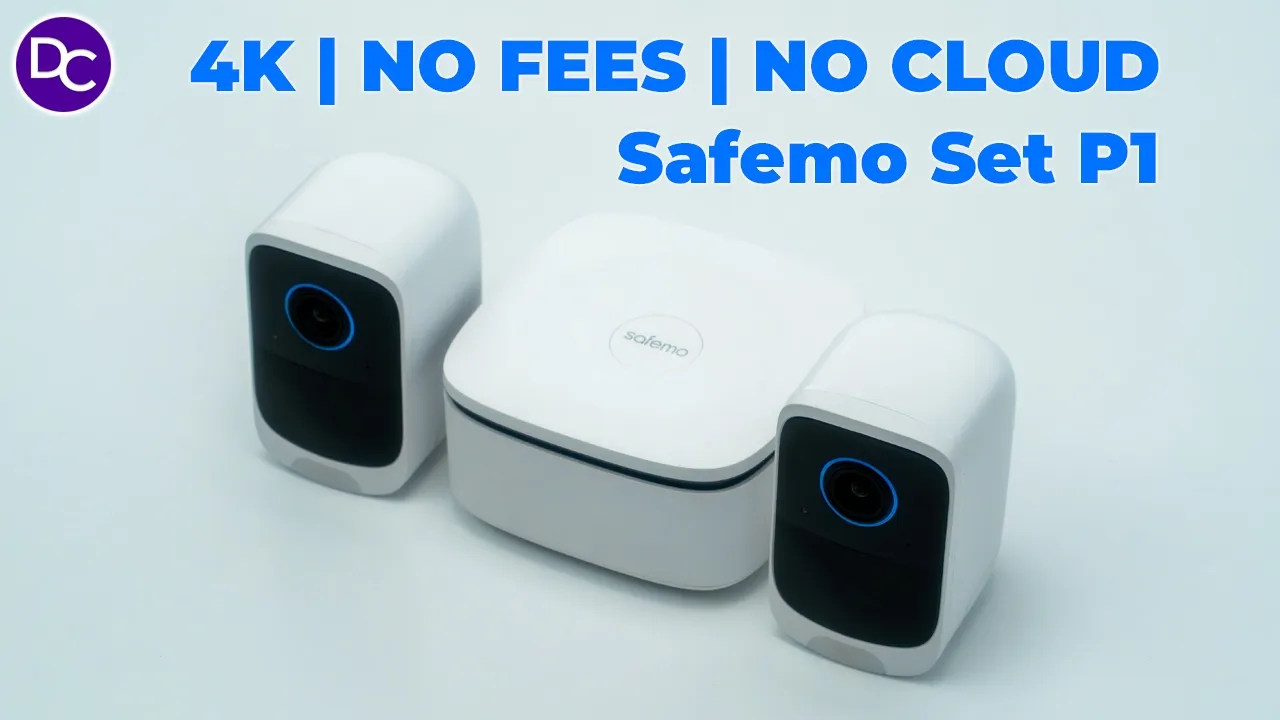
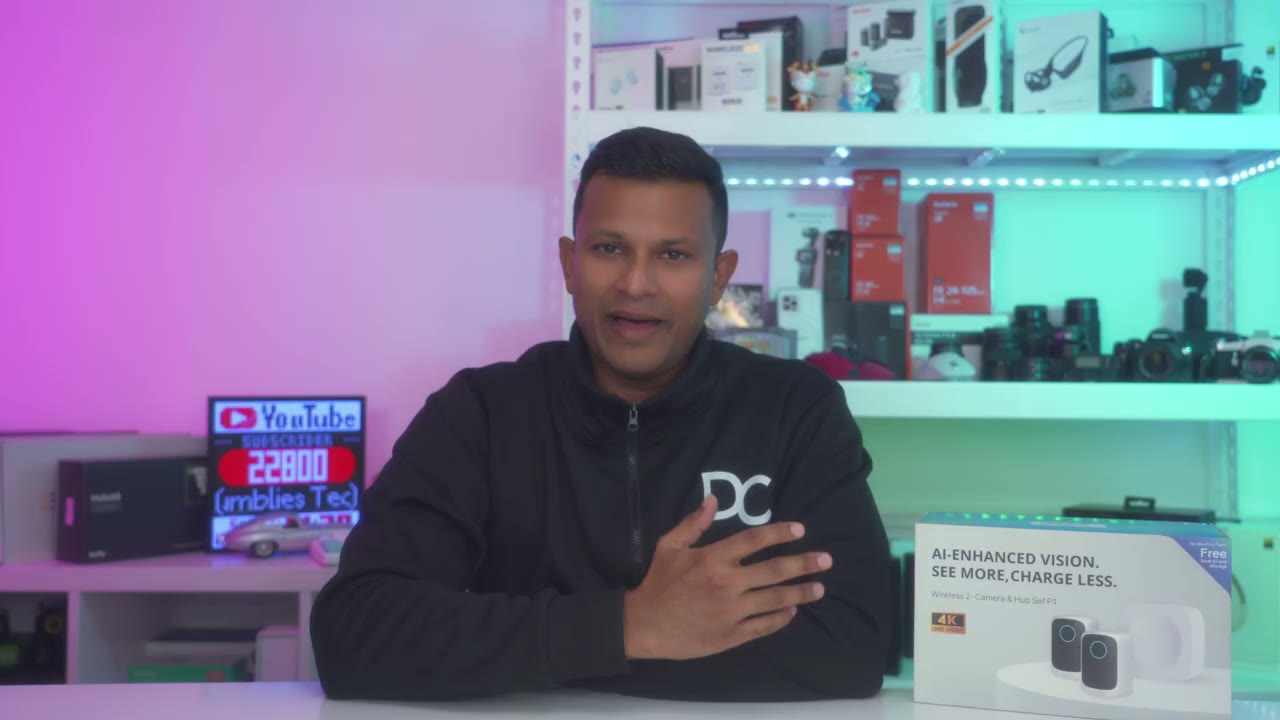
hey it’s Adrian and today I have a brand new camera system that has really impressed me so far with the feature so this is the safe Mo P1 camera set it comes with two 4K cameras a central Hub and solar panels if you get the solar panel bundle so what makes this system unique well there’s a big focus on privacy so this is parted by a central Hub that uses AI technology to help you do things like identify familiar faces or unfamiliar faces and provide cross tracking detection and alerts and all of that data is stored and processed locally on the Hub with end to end encryption on top of that we have high quality 4K video recordings a wide 140° field of view color and black and white night vision and ip65 rating built-in storage with expandability 100 Lumen Spotlight a large capacity 6,400 Milah battery and more so let’s take a closer look at the safe P1 camera set because this is a great contender in the home security camera space and a big thanks to safe for sending us out for review
Package Contents
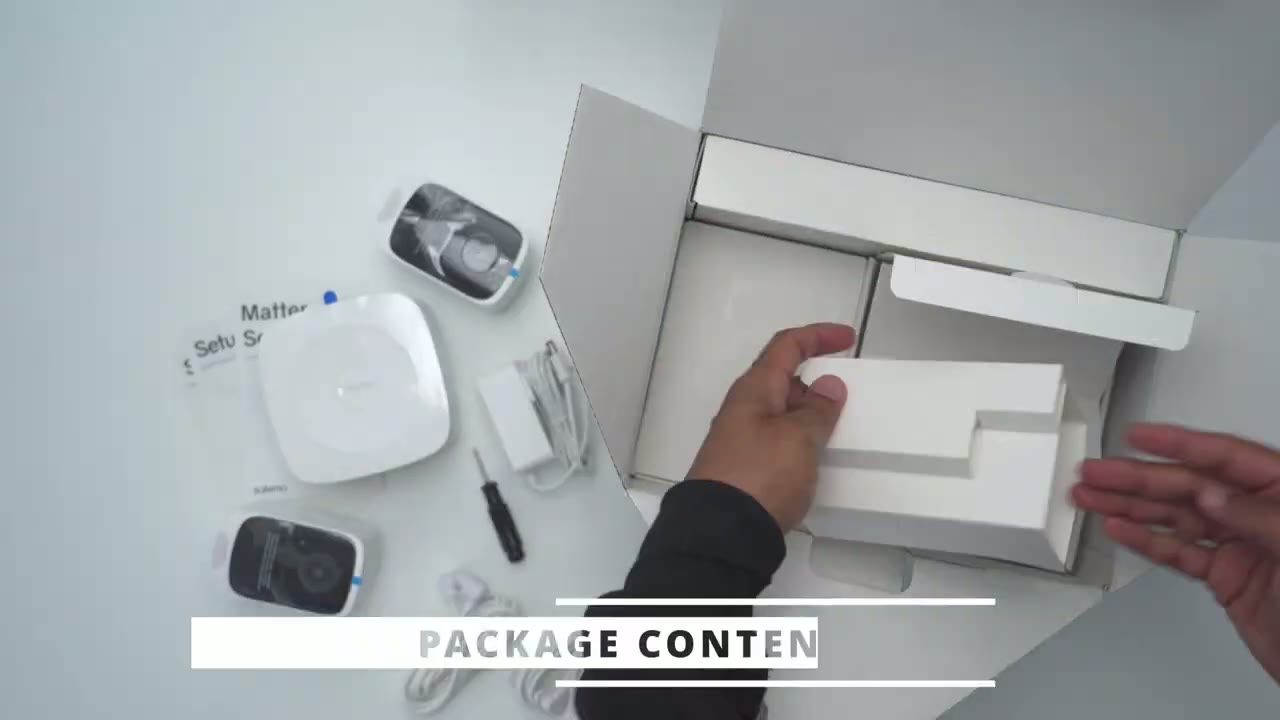
the Box comes with everything we need to get started we have the Hub power adapter and ethernet cable to connect it to our router during setup there’s also a USB type-c charging cable to top of both cameras before installing there’s harnesses if you plan on ceiling mounting it and then we have the wall bracket if you’re going to attach it to a wall or flat surface there’s also a screwdriver to tighten everything up and then we have the mounting hardware for the solar panels along with extension cables if we need them for the solar panels mounting screws and setup guides
Design
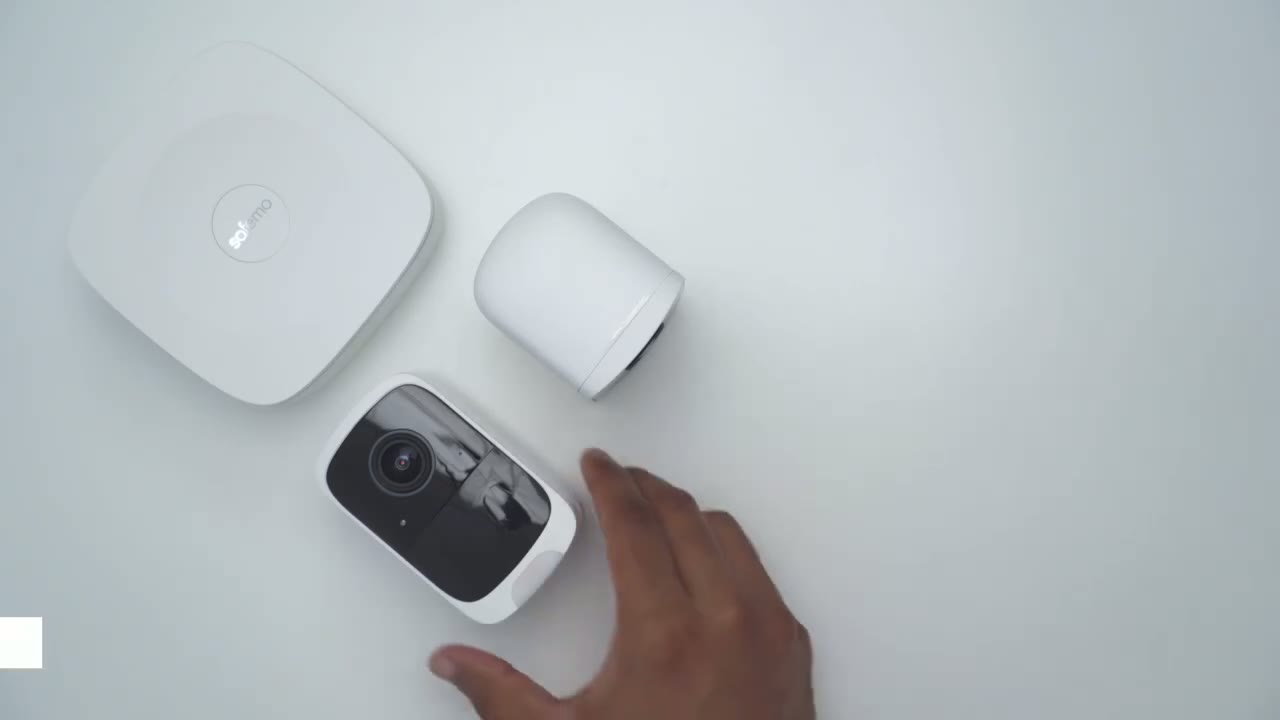
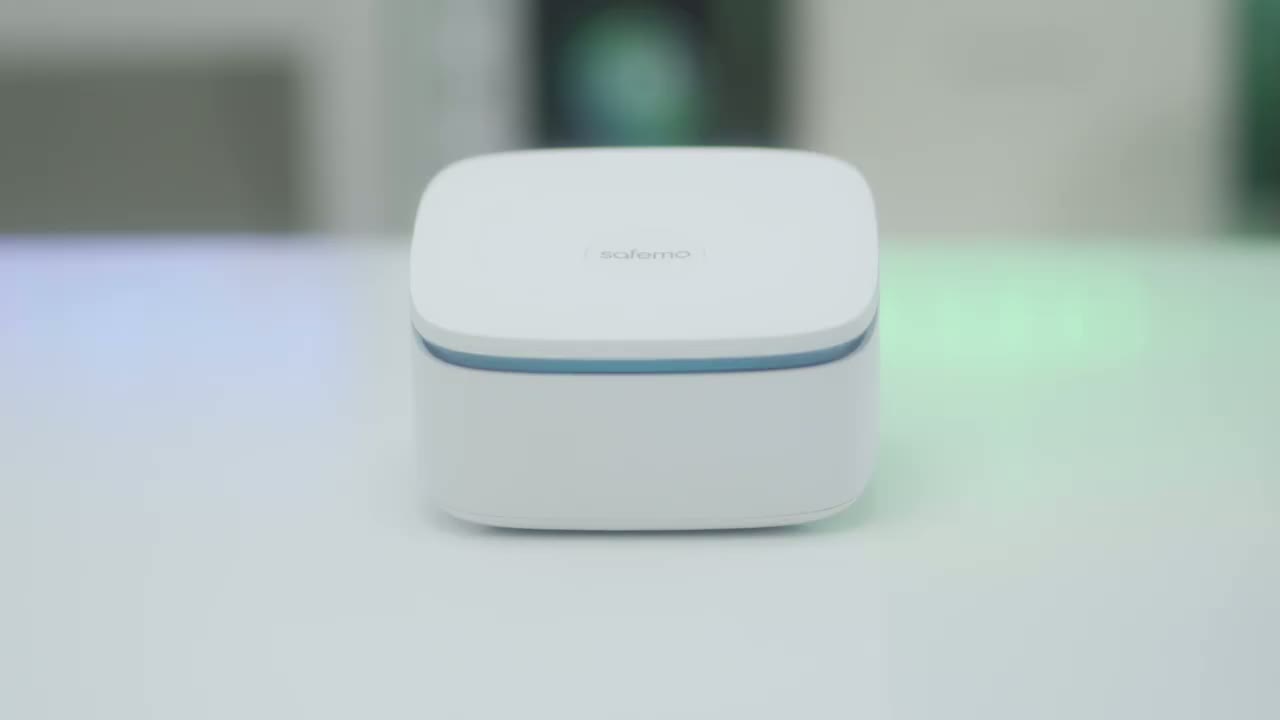
let’s take a look at the design of the camera and it’s a really nice looking camera fairly compact you can see if I just ball my fist up you know roughly around that size now this comes in at around 271 G or about 0.6 lb and if we take a look at the front we can see the 4K lens here and then there’s an LED ring light we also have various sensors and microphones located here as well and then at the bottom is the 100 Lumin Spotlight now on the underside we have the speaker Grill and there’s actually a switch here and then we could actually move that to get access to the removable battery and now this is a cool thing I haven’t seen this on a security camera yet but I really like this idea so we can pull down or push down on this tab sorry and then just pop the battery pack out charge this with a USB type-c cable and then pop it into the camera so you could leave your camera installed this is so convenient the other thing you could do is just buy extra of these so that you know when the battery does go down say you’re running this without a solar panel just swap out batteries so you have minimum down time and if the battery pack is you know going bad you know just pop in a fresh one and you could keep this camera basically you know for a really really long time now we also have the sync button here which we’re going to need to use when we set everything up and then take a look at what happens when I slide this up it just automatically flips the switch back to lock which is really handy at the rear we have the mounting Port here when we attached a bracket for wall or the harness for ceiling mounting and we have an area here with two screws and this is if you’re going to attach the solar panel you’re going to want to remove this and use the solar panels connector which is proprietary to maintain that ip65 rating the side of both cameras has the safe mode logo along with 4K and that plays really nice with the light The Hub has a really nice and compact design it’s not going to take up much room wherever you place it and the top here is actually a button you can use this to switch modes or to turn off the alarm and we also have an LED ring light that wraps all the way around at the rear we have the different ports so there’s two type A ports to charge up the cameras if you need to a SN and power button speaker Grill power port ethernet port to connect to our router and taking a look at the very bottom this is where we can remove this bottom portion to install up to a 4 terab SSD drive now the Hub does come with 32 gigs of local storage on here but we can install up to an additional 4 terabytes the solar panel looks really nice and it’s one of the largest that I’ve seen you know it’s even longer than my hand here but if we take a look at the rear so we have this little area where we can actually wrap excess cabling around which is pretty handy now we do have a thread Mount here which is going to thread into the solar panel Mount and if we take a look at the terminal end of this cable this ends in a USB type-c connector and this connector you can see that it has special weather ceiling on here to help maintain the IP rating now to actually install the solar panel to a wall or any surface what we’re going to do is we’re going to first take the mounting plate drill in two screws into whatever surface and you can see that there’s two cutouts here if we take a top down look and then there’s two little uh Clips here so if I just slide this into those cutouts we should hear a satisfying click just like so so everything is nicely in there and if you ever wanted to remove it you’d have to pull in these two retention clips and yank everything out now it’s actually install or connect the solar panel we’re just going to connect the rear here to the rear at the back of the solar panel you know angulate everything as we see fit and then just tighten it up with this locking mechanism here to just kind of keep the angulation set and this mounting stem here actually has a little clip cut out here so that you could run wiring if you just want to keep things a little bit more neat we also have an extension cable with a male and female connector and if we needed the additional length now in terms of connecting it to the camera body we’re going to have to use the supplied screwdriver to remove this cover and then connect it once the rear cover is removed we could go ahead and take the type-c connector in and notice that the length of the cable is going to face downwards there’s also two cutouts here that only line up so it can only go in one way from there we’ll just attach the screws and we’re done first I’m going to
Optional NVMe Install
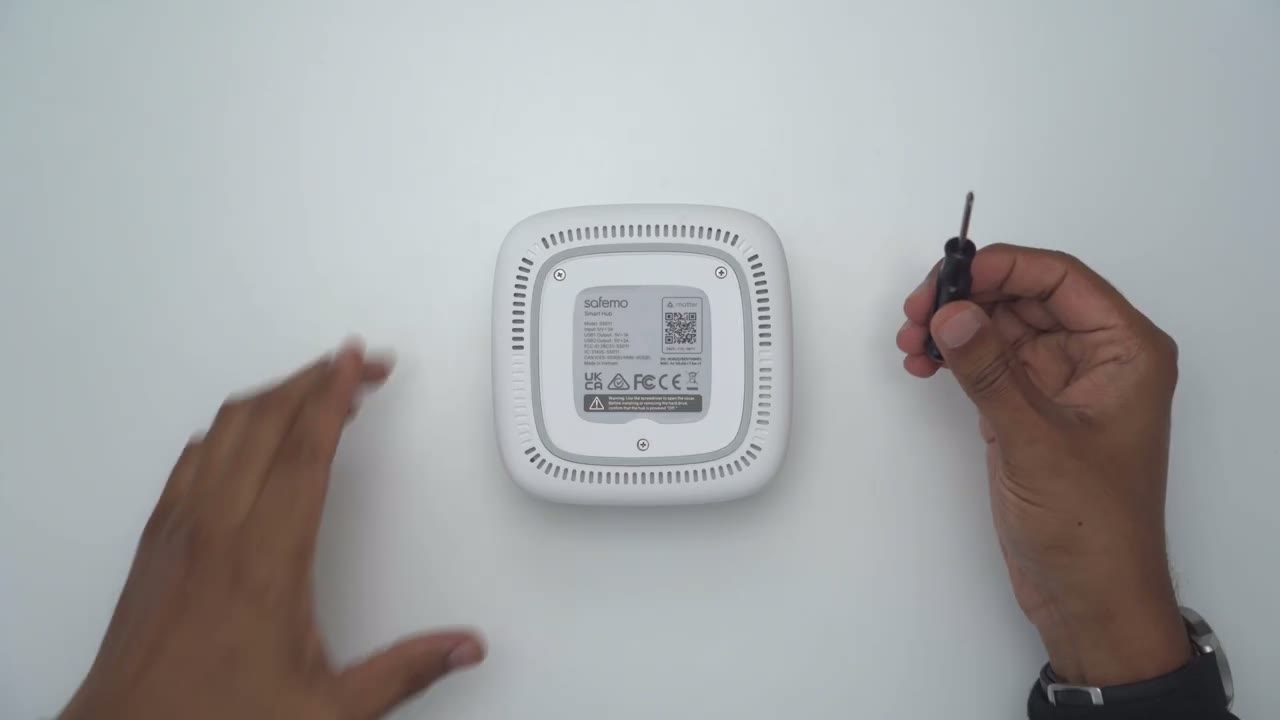
use the supplied screwdriver to just open up the bottom here all right so the screws are removed and there’s a little Notch at the bottom here so I’m just going to pry that up just on the sides here and now we have access and this is where we’ll install an SSD drive so this accepts up to a 4 TB this is really easy to do so we’re just going to take our SSD drive and make sure that this cutout here matches the cutout right in here so I’m just going to line that up press down till I hear a click which I do so everything is nicely retained in here I’m just going to go ahead pop on the rear cover screw everything back in and we’re good to go
Safemo App Setup
setting up the safo app and hub in cameras is really easy first you’re going to download the safo app and create an account then you’re going to plug the Hub into a wall and connect it using the supplied ethernet cable to your router and wait for a flashing blue light then on the safe app you’re going to tap on at device turn on both cameras and wait for the app to scan everything and add it you may have to do some firmware updates and once you’re done that you’re good to install by the way if you added an SSD to the hub before you added it to the app how you can access that as you could see this is the built-in storage here if I tap on more info the SSD is not formatted but I could tap on format SSD the SSD is now formatted and I have way more storage available up to 4 TB if you like installation is really easy first we’re
Camera Install
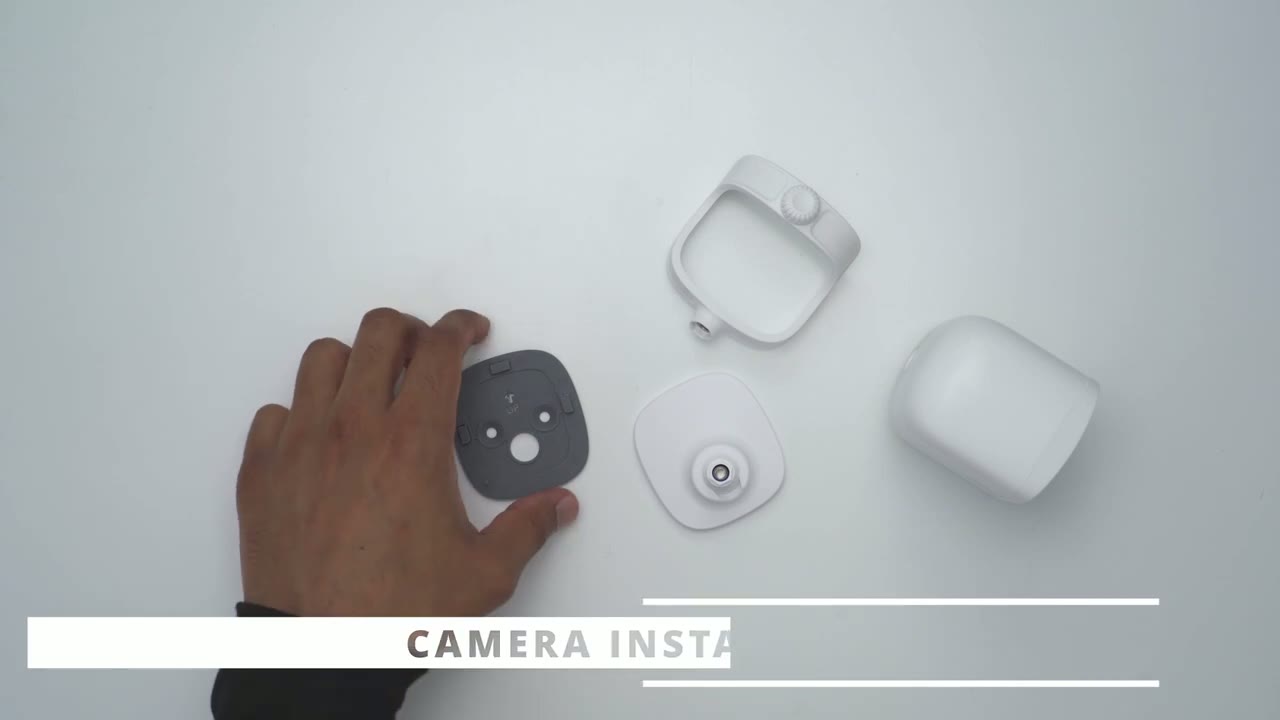
going to take this mounting plate and notice that it has an up Arrow so you’re just going to connect this to a wall and drill in with two of the supplied screws now the next thing we’re going to do is to just connect the camera to this mounting bracket and you could see that this are area here is an adjustable ball head that you can position around so you’re just going to connect that in through the rear here and there is a screw you can see there and you could use a supply screwdriver go ahead and screw that in there we go so it’s nicely secured in there and then we can just go ahead and angulate the camera as well but before we do that we’re just going to line up the up arrow on here right there on with the up arrow on the mounting plate and slide up till we hear that click now it’s going to be nicely a fixed to the wall and then you can just rotate it right left up or down to whatever angulation you see fit if you plan on connecting the cameras or installing them to a ceiling the process is going to be a bit different so we’re going to use this harness make sure you don’t position it this way you could see that that blocks the battery compartment you’re going to angulate it like this and then just screw in this rear part to the thread Mount of the rear there and then we’re just going to repeat the same process just going to screw this in here tighten it down with the screw here and then just drill in this mounting plate on the ceiling and then just slide it in so it’s a very simple process either way and you could do the same thing if you wanted to just have this on a flat surface you could just go ahead screw in the mounting plate on any type of flat surface you like then just connect the base with the camera body attached
Specs
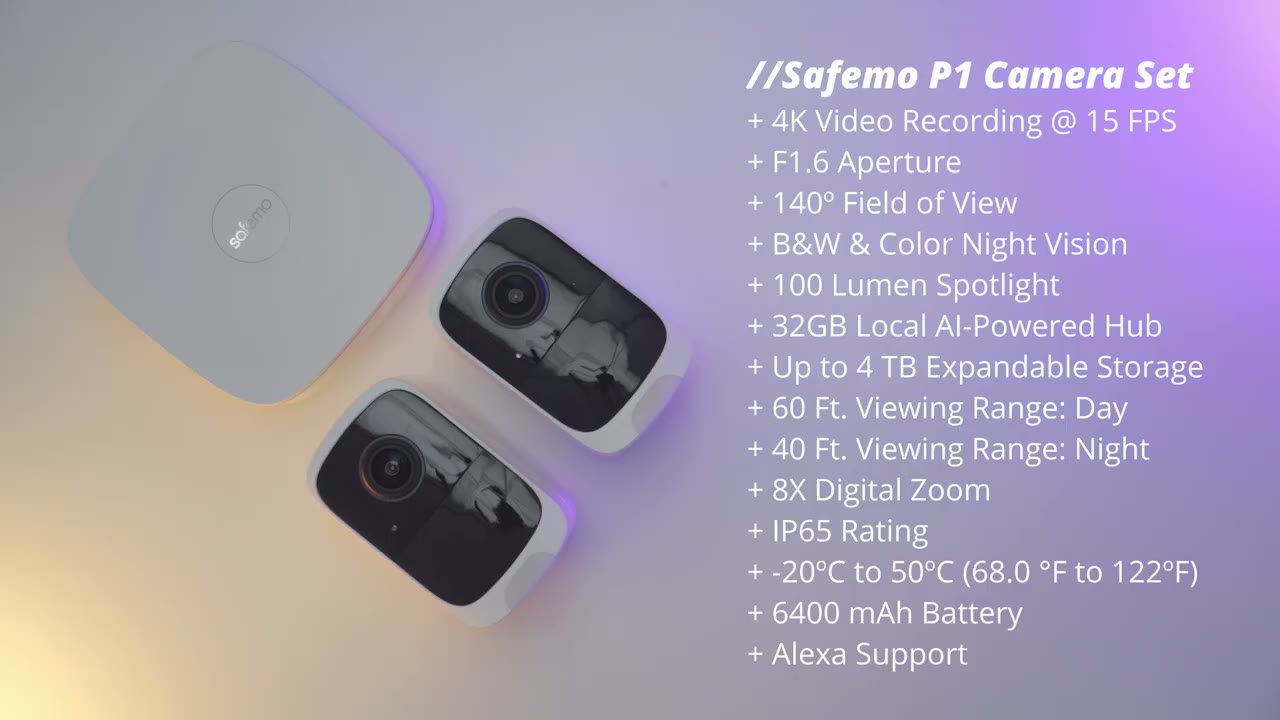
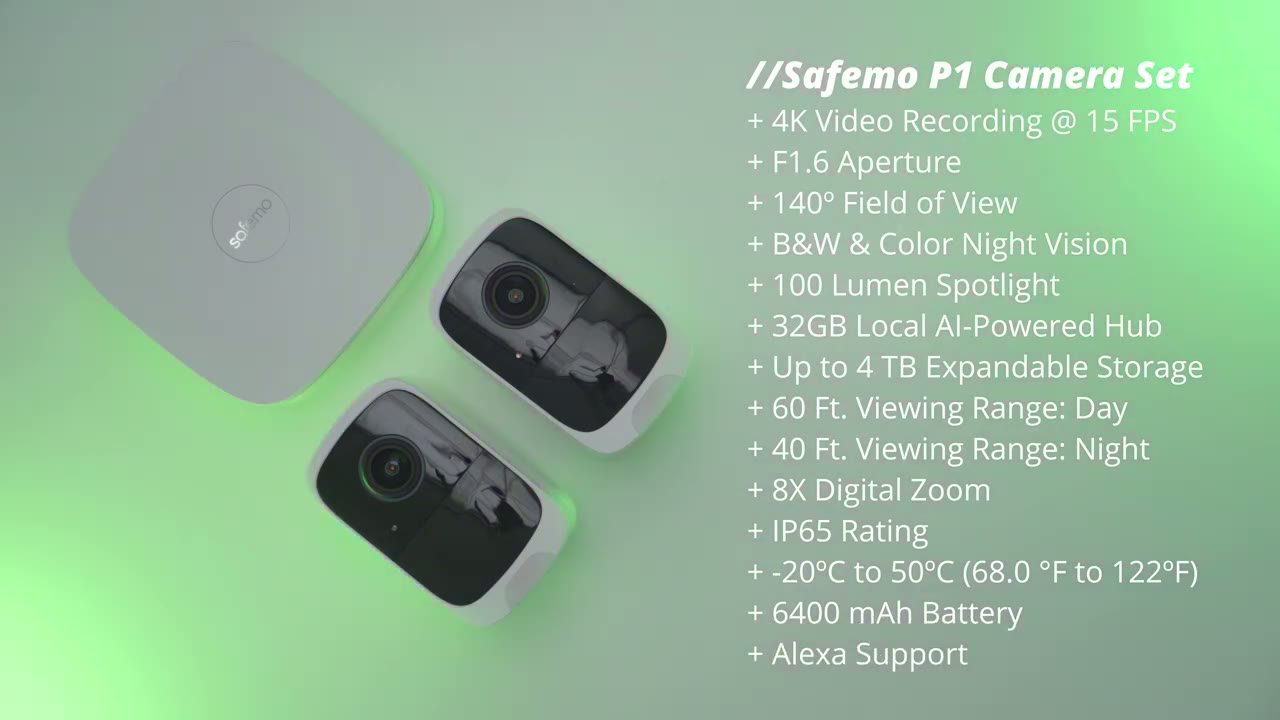
here’s a quick look at some of the specs feel free to pause or jump ahead to the
App Settings
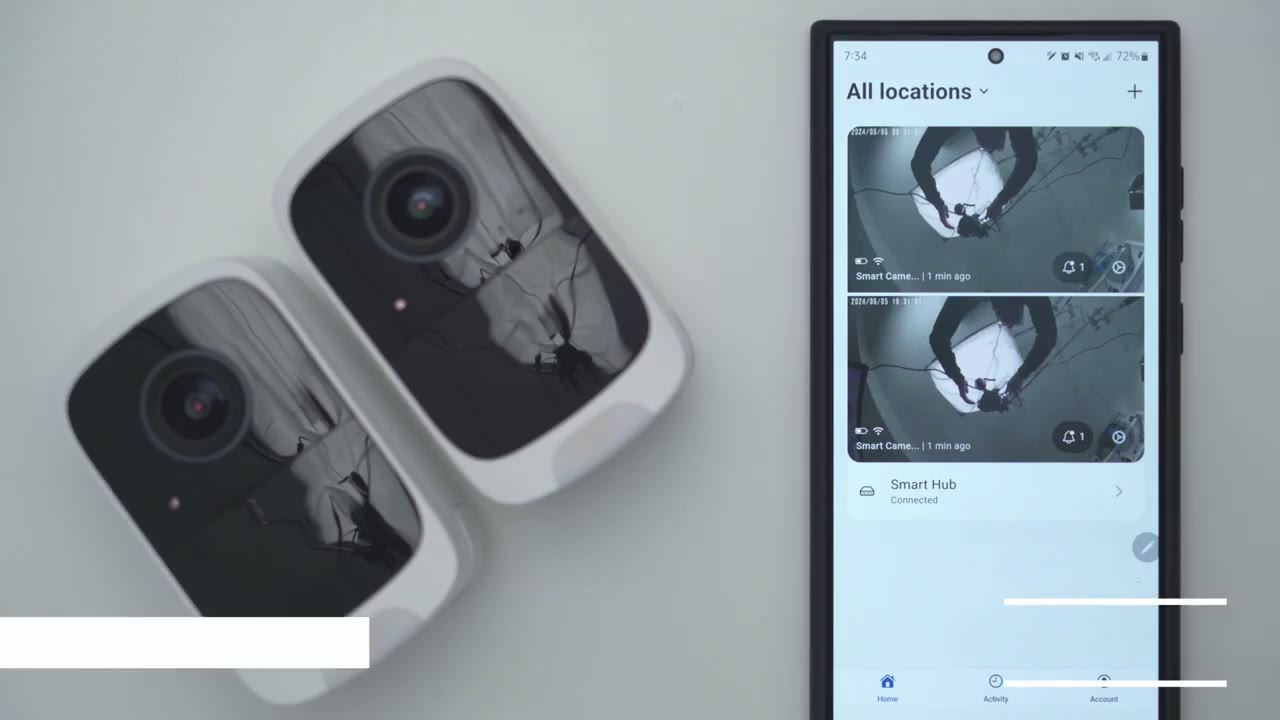
next section let’s take a look at the safe mode app settings and as soon as soon as you launch the app you can see what the camera’s last access now I can see on this front camera it’s actively being solar charged and I can see the battery level and then on my backyard camera I can see it has a much better battery level uh just because there’s not a lot of motion going on there but the sun hasn’t hit that area yet you can see it’s kind of an overcast day right now now at the very top we could see different modes so it’s set to home but there’s also a disarm mode and Away mode and to find out a bit more about that we could go into account security modes and we’ll tap on home under a Smart Hub and it shows okay this arm will turn off motion alerts and the alarm home will turn on motion alerts but it will turn off the alarm and a away will turn on motion alerts and the alarm but what you can do um additionally is you can actually tap into this and I can see that on the Smart Hub I could say hey um I want this to actually make a sound and for the alarm to flash and I could say specifically for the backyard camera send me motion alerts but how about if I want the alarm sound on here and I could set the duration of that from 5 Seconds all the way to 15 seconds if I know I’m not usually in my backyard so you have a lot of fine control on here and you can also set for the cameras to flash the LED when it detects motion but let’s go into live view and I’ll access my front camera this is the one that sees the most action I could see someone walking here and I could just kind of zoom in from here you know I can make out the dog uh person’s outfit they’re wearing a hat and of course you can also go into full screen mode and do that so yeah the 4K quality hunor is very sharp um really good and you can see it is actively on that 4K mode but let’s get out of that I can also see the connection speed right now and right from here I can also switch to my backyard camera instead of jumping out back into the main screen of the app there’s someone skate uh roller skating so yeah it’s a really fluid and fast camera to pull up and just take a look at we can also tap on tap to speak so we can communicate with whoever’s outside and you can hear that car going by so I could just turn that speaker off if I just want to pull this up at work and I you know I don’t want the speaker going off we can also tap on this icon here I can remotely trigger the alarm from here I can also take a snapshot I can also go ahead and turn on the spotlight and I can take a manual recording and all this will just be saved to my phone’s camera Gallery in the full settings we could tap on the camera name and we could check the firmware version and look at the battery percentage which is at 99% % I can also go into motion detection I could choose to have motion detection on or off I could set the motion detection sensitivity from high to low and I could set the recording duration from 10 seconds all the way to 180 seconds under recording settings you could set a cooldown time from as low as 10 seconds all the way to 1800 seconds I generally don’t use this feature so I’ll leave it turn off and you could set a motion zone so I have one motion Zone set up to receive alerts um when motion is detected but you can just go ahead and add multiple motion zones so you can kind of be um notified when motion detects or occurs in specific areas but I’ll just get out of that for now and then we can also go into motion type and you can decide if you want to be notified whenever it’s a person vehicle package pet or all motions it doesn’t matter if it’s an insect you know leav swaying in a tree so you can just turn that off if you’re getting like too many false positives and then I don’t want it for vehicle say I could just turn that off under manage notifications you can decide if you want to merge smart alerts so receive one alert with all smart alerts and their videos when it occurs within 15 seconds of each other so you can choose that option if you like and then for familiar face alert you could see um whichever faces the camera tags you can decide if you want to get alerts for each of those faces or only some of the faces and you have so much fine control when you go into each of these manage areas so under personal alerts you can say hey I want to alert when someone appeared on camera they pass by they’re hanging around they’re approaching um and you can do that with a lot of these so if I go back and I turn vehicle on which I previously disabled now I can go into manage and I can do the same thing a vehicle park droveway pass by or appeared on camera same for package dropped off waiting for you picked up and same for pets really a ton of control there’s also this night motion option where the camera is going to record everything that happens at night it doesn’t matter what it is as especially since you know most suspicious activity takes place at night we can skip notifications since this is the same thing that we covered under motion detection now you can set the camera to auto power on when it’s at least 10% charge and you can adjust the solar panel if you find that the battery is not charging adequately however mine is doing fairly well under alarm this is where you can decide if you want the alarm to sound when motion is detected and if you turn that on you could set it to come on from you know as low as 5 Seconds of an alarm to 15 seconds and you can also have the LED light flash when motion is detected and you know you could just have it flash but have no sound if you like which is what I have it up to you can also turn on sleep mode if you want the camera to pause you know camera recordings alarms motion detections Etc if you’re going to be having like a party you don’t want it coming on you could also set a specific sleep mode schedule um say like every weekend you like to hang around in your backyard and grill or barbecue well you may not want it triggering all the time you can just set that in here if you like under video we could set the video resolution to either record in 4k or standard definition you can also rotate the image 180 if you were to mount this you know kind of ceiling mounted you could turn on anti flicker and you could change the flicker frequency we can also change it from Auto night vision off and I just have it on auto because I find it’s just better to let the camera intelligently decide but you could just set it hey I only want it to always be black and white or I just want it to be color all the time and the camera will dis de side whenever that takes place and you could set the light sensitivity level high medium or low I just have it on medium that’s been working well for me and it says you can have hvc or ABC and ABC is meant to have kind of compatibility with devices like Alexa or Amazon Echo devices so I just have it on hvvc because I don’t use those under audio you could set the alarm volume you can also change the device volume for the Hub and you can also change the language so these are the available languages right now and then you could decide if if you want audio during live recordings or video recordings under Network Mode you can switch it from default mode to this wall penetration mode it does mention it’s going to consume battery life but if you have your motorer router mounted very far from the camera you may have to use wall penetration mode and you can always share the camera with family or friends under the Smart Hub options we can also tap into that to check for firmware version updates I could see that both cameras are pared and they’re showing online if I go into storage I could see that there’s two types of storage so by default The Hub will come with 29 gigs of storage um 11.21 it says it’s reserved for a system or that’s what system’s using and I’ve used 5 gigs for videos I have about 13 gigs remaining now I can delete these videos but it’s just going to override by default now I’ve gone ahead and installed my own um nvme SSD drive uh 1 tbte and I do have you know secondary backup whenever the on Device Storage gets full under audio this is where we can change the alarm volume and language so you can have the Hub kind of alert you inside your home you’re not just relying on um app alerts on your phone you can also do an alarm sound duration and Flash and then under device access again you can invite family and friends if we look at the
Video Playback
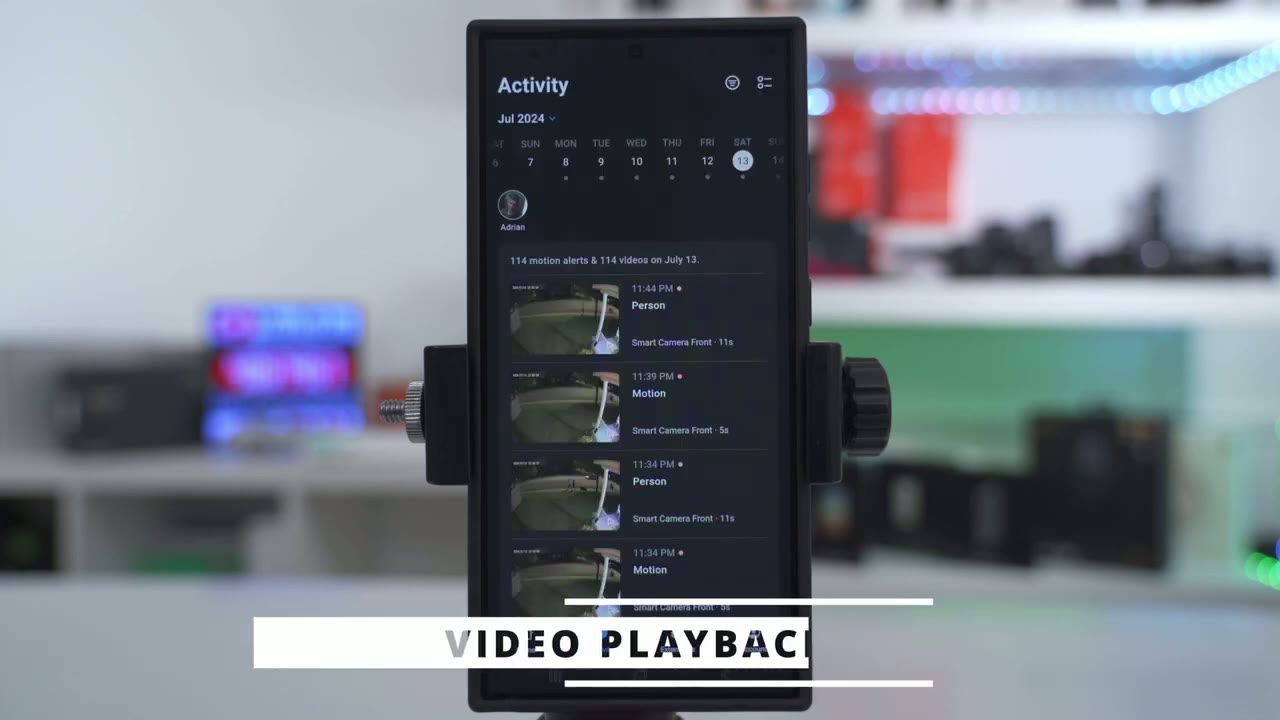
activity tab on the 13th of the month I had 114 motion alerts and 114 videos which is quite a lot now to help me narrow that down I could tap on the filter icon and I could say only show me videos from the front camera or the backyard camera and I could say I only want to see uh people or say a vehicle so you do have that option but what’s even better is because this system has facial detection I could tap on my face which I’ve already saved it’s identified me and I could see it’s now went from you know the 10 and something videos down to seven motion alerts and nine videos and you can see it’s all with my face on it which is really handy now I’ll just tap into one of these and you can see yep that is my face um and it’s very easy to make that out now if I tap on my face additionally it’s also going to bring up this cross tracking so it’s going to show I appeared on the two cameras the one on the front of the house and one on the back of the house and I could kind of cycle through to take a look at you know my trajectory or any subject trajectory so you see like okay where did they come from and where were they going so this is such a handy feature to have and of course you can always go into full screen mode to get way more detail about what’s going on and it’s actually pretty amazing the 4K quality I can actually see the slight blue color on the back of my phone through my phone case the camera also tags Clips as person or vehicle and you can see on this clip there’s a person and a vehicle but I’ve told it to just ignore vehicles for the most part on my front camera to save battery life if I look on my backyard camera where I’m not expecting to see a vehicle it actually captured the top of that garbage truck so it’s pretty
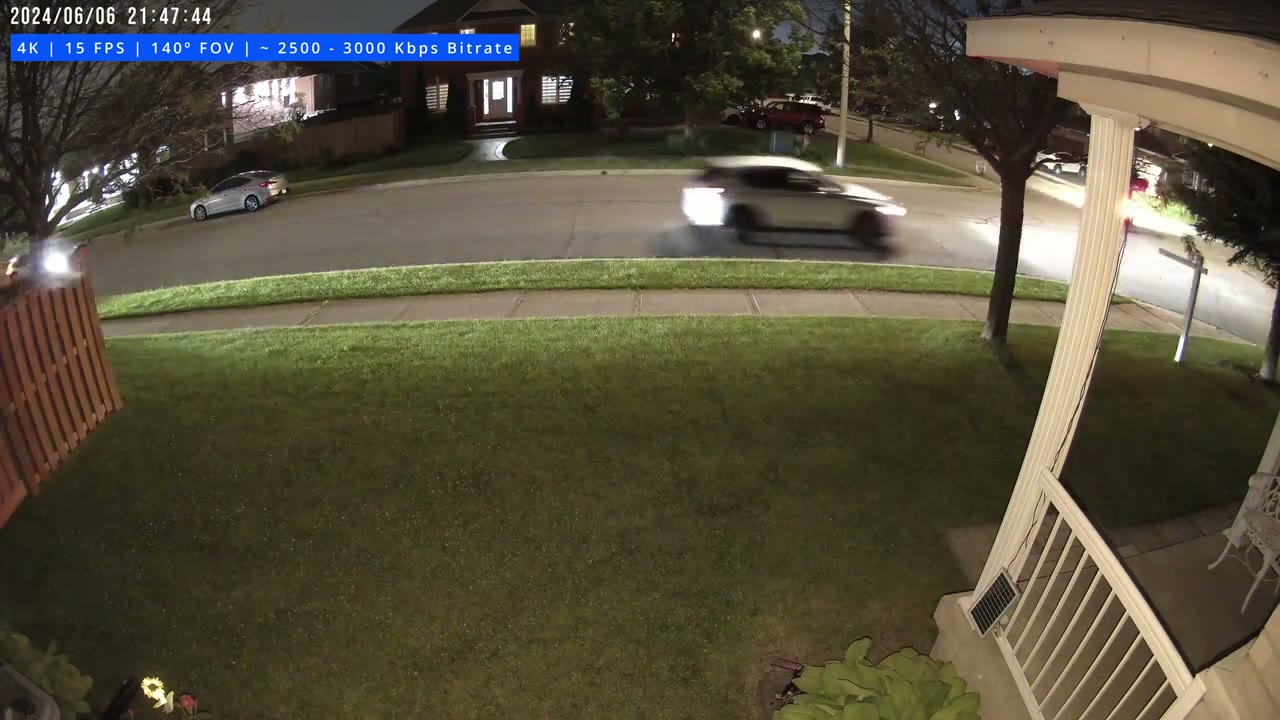
Video Quality

great so the 4K video quality on here is truly fantastic and that’s thanks to the Fairly High bit rate of the 4K video there’s other camera systems out there they may have 4K video but when you look at it it doesn’t really look like 4k on this system it looks like 4K so you can see looking at these video clips from my front camera that is very easy to make out faces the type of clothes people are wearing you know details on cars and the 140° field of view is very wide I can easily make out pretty much the entirety of my front yard from my front way entrance to the backyard fence and when you look at the video clips from the rear camera or the camera in my backyard same thing that really wide 140 F of view gives me an entire view of my backyard including my sliding door leading into the house and while the system has black and white and color night vision I highly recommend just using the color Knight Vision it does a fantastic job of just colorizing the entire scene even though there’s not a particularly bright or very powerful Spotlight on here the motion detection
Motion Detection
speed and app alert speed is also very quick on the system so once you get an alert on your phone phone and you just tap on it the app loads up very quickly now when I was doing it I was just on my you know 5G mobile data and it worked and yeah just a heads up wherever you are in the world as long as you have Wi-Fi or mobile data you can check these cameras remotely and whenever the system does detect a person or subject it can easily track it across the cameras if they walk in front or pass in front of both cameras you also have the added benefit of filtering by familiar or unfamiliar faces thanks to the local AI running on the central Hub whenever motion is detected you could have the cameras actually Flash the spotlight to let the person know hey you’re being detected or you can also have an audible siren play or you can have both at the same time and here’s a demo of that and you can also set custom motion detection zones to limit detections If you’re receiving too many and here’s
Spotlight
what the 100 Lumen Spotlight looks like when it’s turned on at 100% brightness now personally I would have liked this to be a little bit brighter for more of a visual deterrent and while the
Speaker & 2 Way Talk
speakers on here are perfectly fine for conducting 2-way talk and sounding the alarm I would have liked it a little bit louder but here’s a demo of what 2ay talk sounds like here’s an example of what 28 talk sounds like on the safe mode camera with the volume set to the maximum level when it comes to storage
Storage
the central Hub has about 18 GB of usable storage that you could use to record video now this is event based recording it’s not 24 47 recording and it’s also going to be dependent on how many cameras you have connected to the because if needed you can increase the number of devices and colnect different models of safe mode cameras now I have two cameras connected and this has been lasting me great so far but you also have the added benefit of installing an additional nvme SSD drive which I did so I installed a 1 TB it’s super easy to do
Battery Life
so battery life on here has been fantastic for me so far and I’m actually impressed and surprised by it since it is recording in 4k quality now my front camera is the one that experiences most motion detection since it’s facing a road there’s cars and people constantly going by and even with it you know picking up all those detections I’m still getting around you know 96 100% battery level by the end of the day when the sun is set and that’s thanks in part to the really large solar panel it’s really charging everything you know nice and efficiently of course battery life is going to be dependent on how you set the camera system up and if you live in a very busy area with traffic coming and going all the time it’s also going to depend on you know what you sell the sensitivity of the camera to how long recording lengths are if you set any type of motion zones Etc however if the battery does get depleted say you’re not running it with the solar panel it’s really easy to just flick the switch at the bottom of the camera body pop the battery out charge it in your home and then reinsert it and that’s a really nice design touch from safo you know it really just adds a ton of convenience one thing I want to point out is the
Build Quality
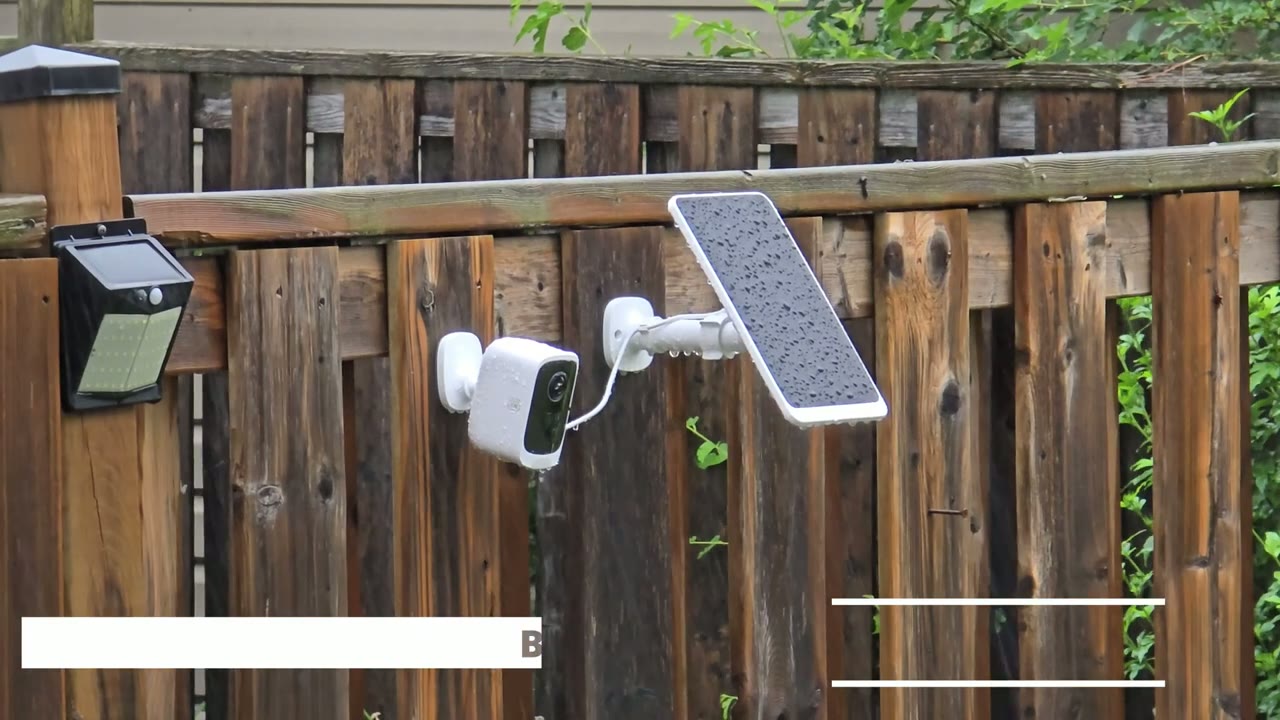
great build quality in ip65 rating on here because this has survived a couple of thunderstorms with a ton of just downpour rain and it’s been perfectly fine so can I recommend the saf Mo P1
Recommended?
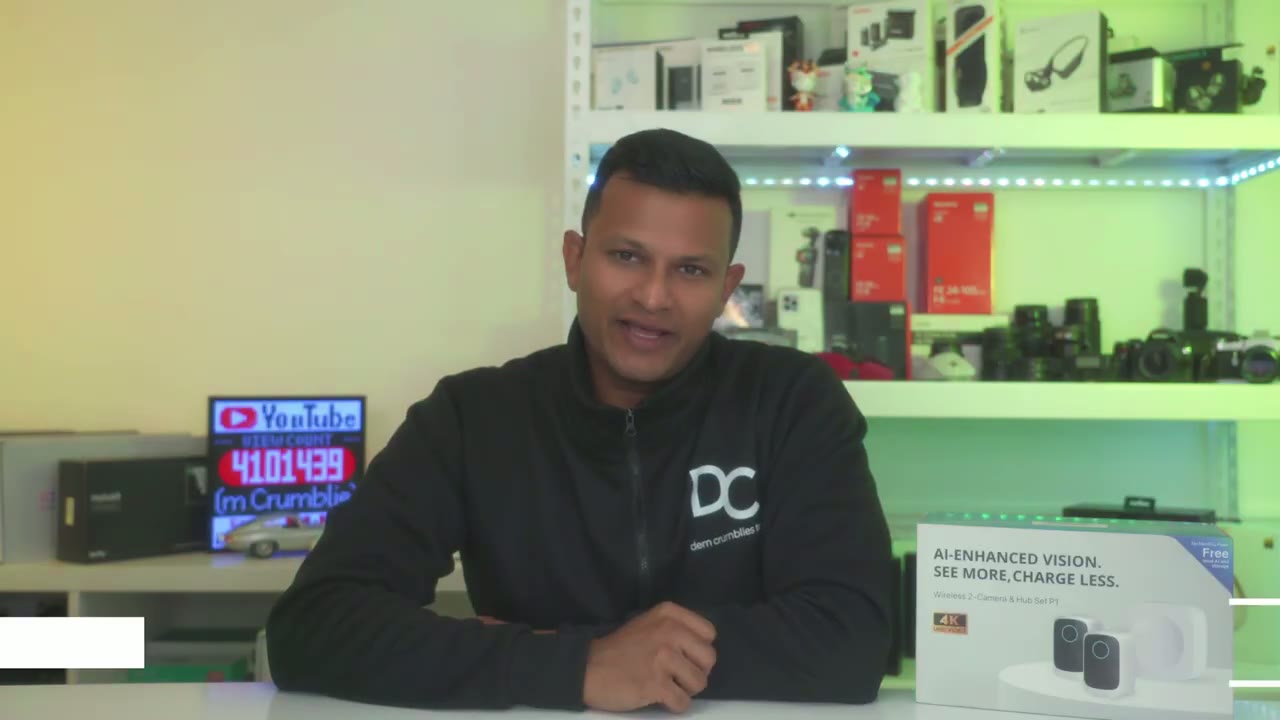
camera set and it is such an easy yes for me because this company has nailed a lot of the features that I’m looking for and I really can’t believe that this is their first product offering you get high quality 4K video it has great build quality very quick motion and app alerts and a ton of configuration options in the app to set it up pretty much however you want for any type of notifications and if needed you can increase the number of devices and connect different models of safe mod camera toad The Hub paired with that cross tracking ability you can just pretty much put one of these cameras on every corner of your house and without wide 140° field of view you can have pretty much even coverage everywhere so if you’re interested in picking up the safe mode P1 camera set I’m going to leave some links down below you could learn more or pick one up for yourself and I highly recommend getting it with the solar panel if you can install it it makes it much easier in the video I showed mine installed with a special type of Mount that I was able to mount both things to I’ll link that in the comments below as well if you want to check that out and don’t forget to check out some of my other tech review videos I review a bunch of different content on the channel so I’m sure you’ll find something you like and if you did find this video helpful please consider liking and subscribing it truly does help me out a ton and I’ll see you in the next one soon
Buy The Safemo P1 Set on Amazon
Please note that some of the links in my video descriptions are affiliate links where I earn from qualifying purchases. As an Amazon Associate I earn from qualifying purchases.