


Please note that some of the links in my video descriptions are affiliate links where I earn from qualifying purchases. As an Amazon Associate I earn from qualifying purchases.
Intro
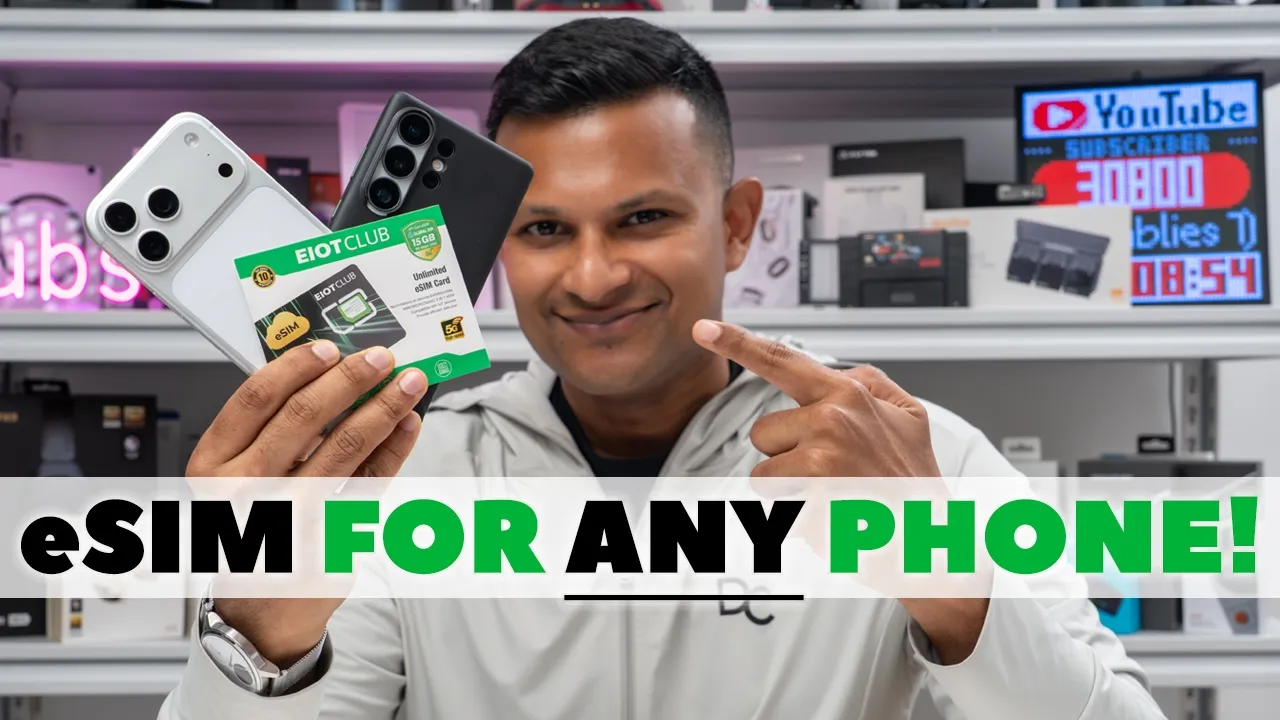
If you want the ability to use and switch between up to nine eSIM profiles on an older iPhone or Android phone that doesn’t even support eSIM, or what if you already have a brand new iPhone or Android phone, but you still want to switch between up to nine eSIM profiles, then the EIOT Club eSIM 3.0 card is worth checking out. It lets you get up to 5G internet connectivity and data for all of your devices. You can use hotspot sharing to get internet on your laptop, other phones, and you can switch between up to nine eSIM profiles. You can buy additional eSIM profiles directly in the app. You can take a look at your data usage, and you can add and delete unlimited eSIM profiles.
You can even add third-party eSIM profiles from carriers in over 200 countries, making this perfect if you travel a lot, you live between different countries, or you just want additional privacy. Now, that sounds great, but how easy is this to really set up, and what are the transfer speeds like? Well, let’s take a closer look, and a big thanks to EIOT Club for sending this out for review. In the
Package Contents
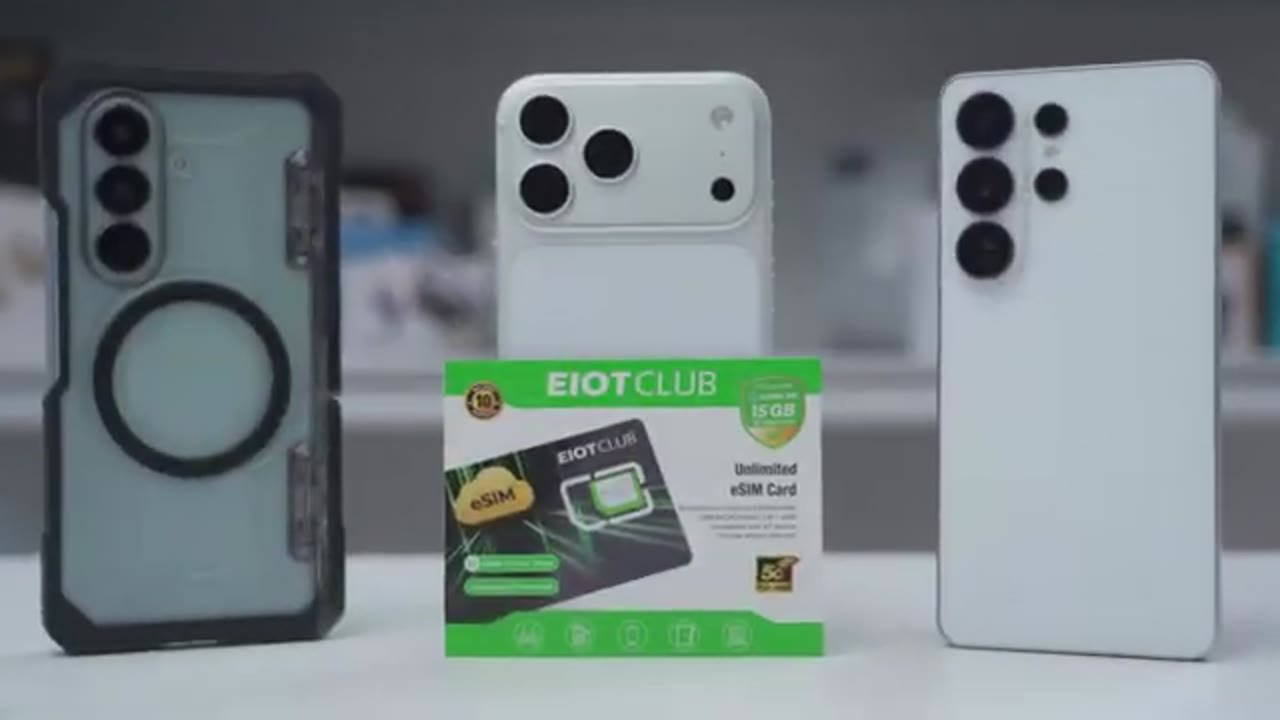
package, you get the physical eSIM 3.0 card, a SIM eject tool, and quick start manual. And note that you can use the SIM card as a nano SIM, micro SIM, or
Easy eSIM Setup
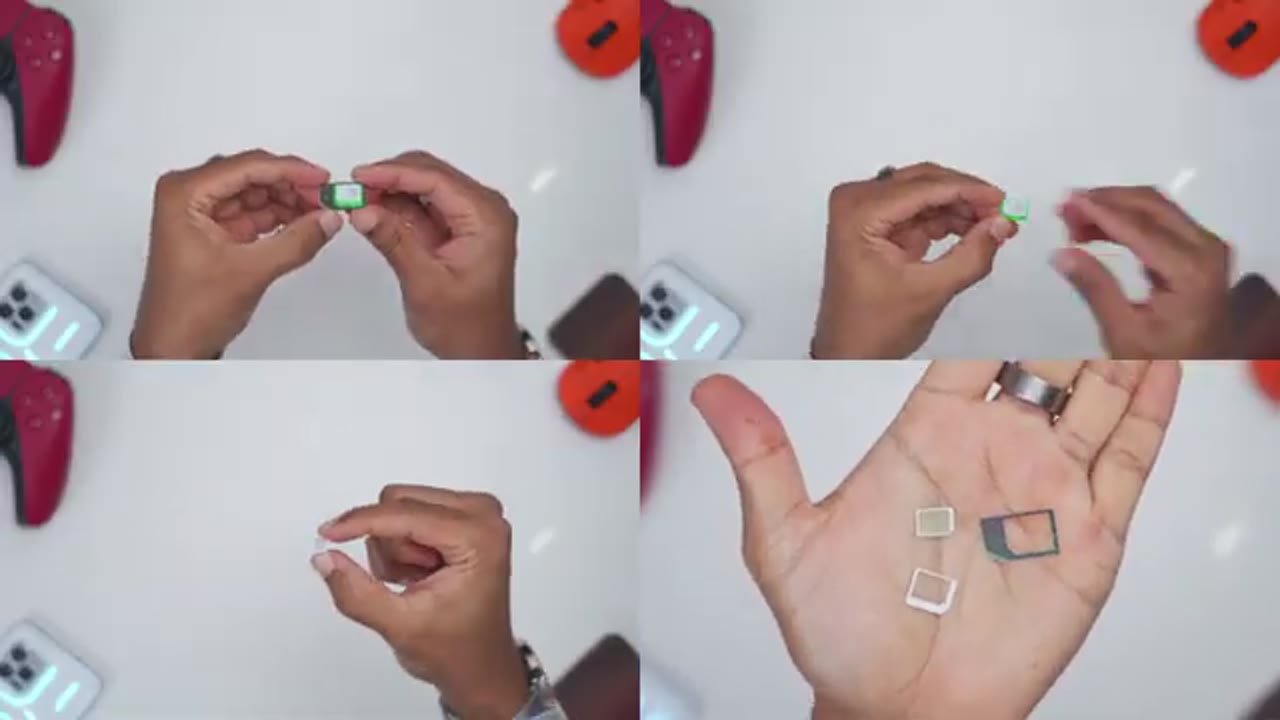
mini SIM. Getting this set up is really easy, even if it’s your first time. So, use the SIM eject tool and remove the SIM card tray from your iPhone or Android phone. Then, insert the EIOT Club SIM card into slot one. If your phone has more than one slot, insert the SIM card tray back into your phone. Next, download the EIOT Club app, create an account if you don’t already have one, and log into the app. And then, you’re going to click the plus icon in the top right corner. Once you do that, you’re just going to scan the code that came in the back of the card, and then that’s going to automatically add the SIM card or eSIM profile into your phone.
Once you do that, jump into the settings on your iPhone or Android phone, go into the cellular or connections area, and make sure you turn on data roaming. Next, scroll down to the Bixer BIC S section, and tap on cellular data network, and then tap into APN, and go ahead and change that to whatever is written in the quick start guide. I’ll put it on screen as well, whether you’re in Europe, North America, or in Asia. You can also disable automatic network selection and manually pick a network that you see is giving you 5G or just faster transfer speeds.
Testing Internet Connection
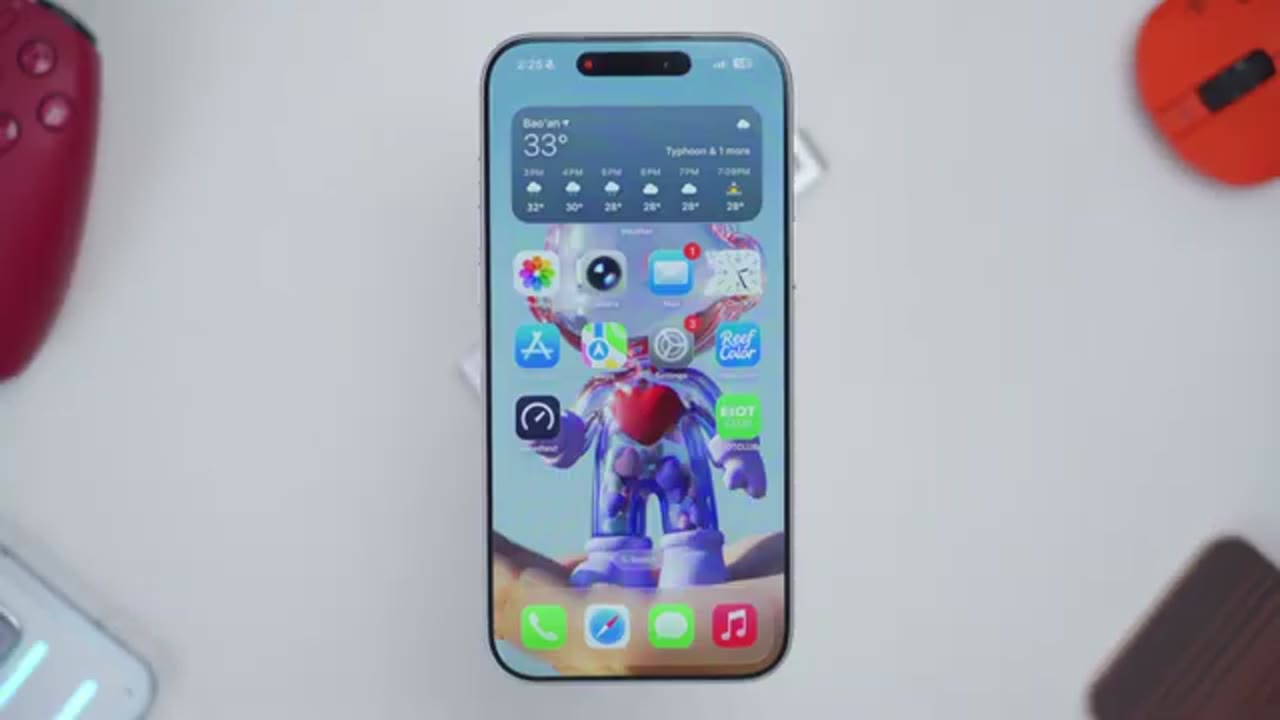
And to show everything working, so I’m going to open up Safari and right now I’m on Bing. If I refresh, nothing is going to happen because I have Wi-Fi turned off along with cellular data. So, I’ll go ahead, turn on the cellular data. It’s going to connect to that network that I set manually earlier. You can see I now have 4G connectivity. And if I refresh, that’s going to load the page, no problem at all. Now, do note it’s going to switch between 4G to 5G connectivity depending on network congestion and the area that you’re in.
Speed Test
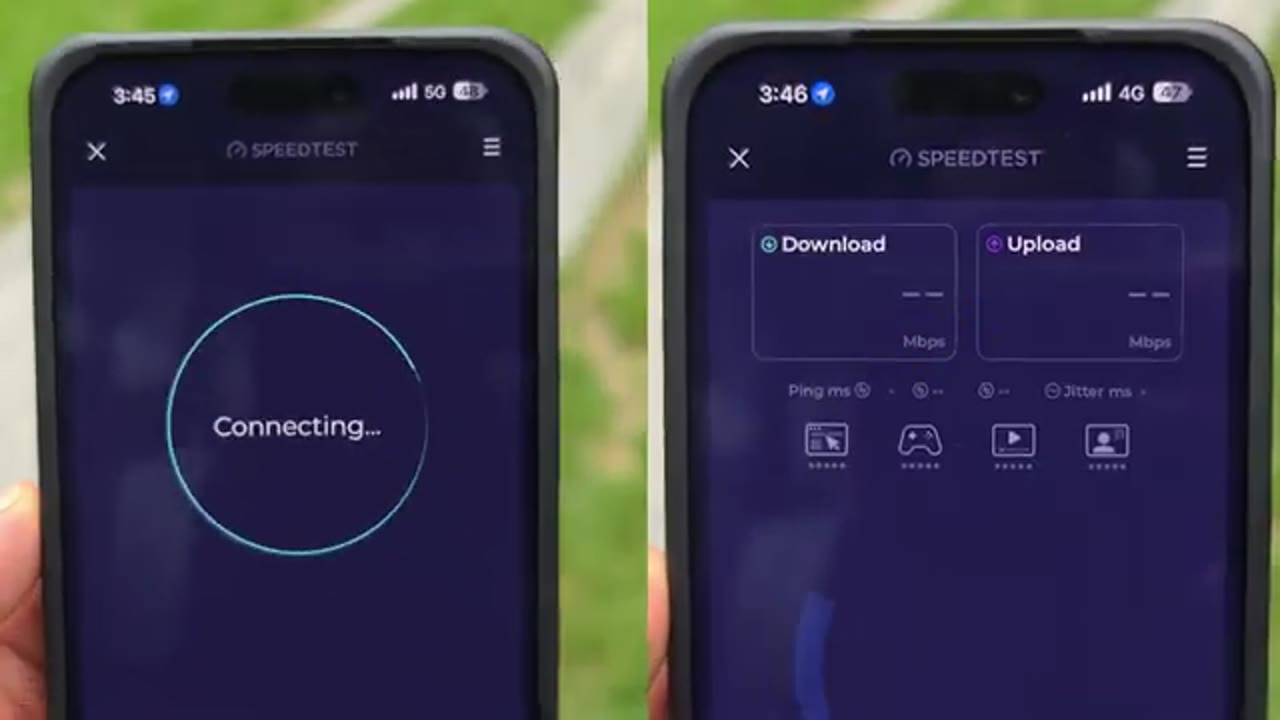
In terms of transfer speeds, so this is plenty fast if you want to stream Netflix, watch YouTube, use Instagram, or TikTok, or if you just want to do general browsing on your phone or your laptop, or even gaming as well. Now, the speeds you get will vary based on a bunch of different factors. So, you may actually get faster or slower speeds than I did based on the signal strength to your phone, you know, where you are physically, if you’re connected by 4G or 5G, just network congestion at the time, and which network you’re connected to as
Hotspot Data Sharing

well. Now, one of my favorite features is the ability to actually use hotspot sharing. So, for example, on the iPhone 17 Pro Max, I just turn on personal hotspot and I just give it a name and then all of my other devices can connect to that Wi-Fi name and now they have internet at the same time. So, I can just spread or share internet to my other phone, a tablet, to my laptop, or to my friends and family’s devices as well. So, if you really want to save money, one of you can just get the eSIM 3.0 and then if you guys are all traveling in a group and you’re always kind of around, just share that data out.
You can also use an older phone that you have laying around or you can buy a cheap burner phone, put the eSIM 3.0 into that phone, and then just use that phone to share hotspot to all of your other devices for internet connectivity, and then you don’t actually need to touch the SIM card tray on your main phone or your daily driver phone. And the other thing is once you set up the eSIM card on a phone, you can just take it out, put it in any other phone. You actually don’t need to run the app on that other phone. Once you have everything dialed in. Now, let’s
EIOTCLUB App Settings
take a look at the EIOT Club app settings. So, you can see, as soon as you jump into it, it does show that my SIM card or eSIM profile is activated right there. Now, if I tap on remote, you can see that’s the eSIM profile that came preloaded on here with data, and it’s showing how much data I have total, when it’s going to expire. I can also turn this off or on as well, anytime I don’t need it. Now, what I can additionally do is I can actually add additional eSIM profiles, up to nine in total. So, if I tap on plus right there, you can see the first option is to add another eSIM profile. So, this is great if you want to add, you know, an eSIM profile from a carrier or any other third-party eSIM provider. But, I’m going to go ahead and just add one from EIOT Club directly.
So, I’ll just click add right here, go into eSIM shop, and I can pick between a local eSIM, a regional eSIM, or a global eSIM. I’ll pick East Asia, where I’m at right now. And I’ll just say I just want, you know, a 1 GB for 30 days. Let’s hit that. And you can see that I was able to purchase and add it directly within the app. Super convenient and handy. I never have to leave it. It’s just so simple. And whenever you’re ready to use your new eSIM profile, just tap on install. It’s going to process it and then add it directly in the app. So, you can actually just store eSIM profiles and activate them as needed. Now, if I tap on remote, you can see both of the eSIM profiles. So, this is the original one that I had, and then this is the one that I just added.
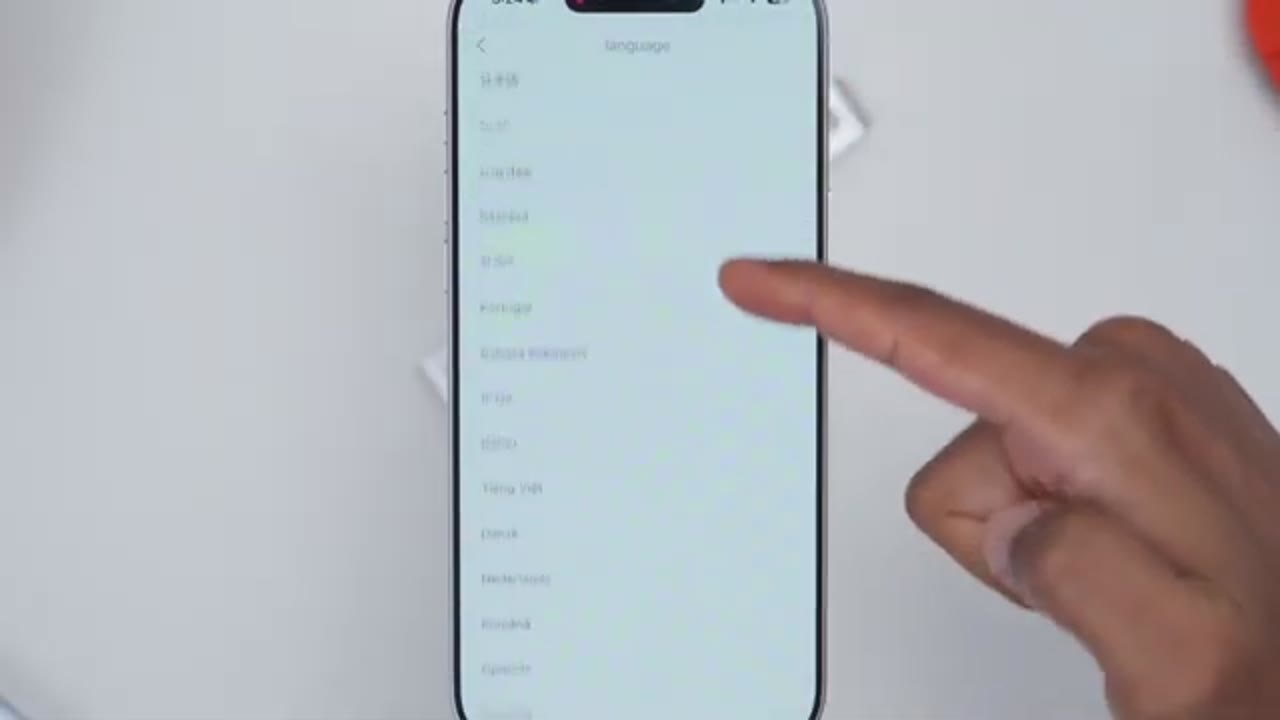
Now, you can just disable one eSIM profile and enable the other one. Now, do note that right now it says enabling eSIM profile. If I tap on this I icon right here, it’s going to show you the process. So, you can see right now it’s set to processing. Once that updates, then I’ll be able to switch profiles. So, there is a little bit of a waiting period while it switches over. You can also see how much data you have remaining, so you know, anytime you need to tap on refill, you could just top that right back up directly in the app. You never have to leave it. And if you’re wondering which languages the app supports, here’s the complete list. And to show the eSIM 3.0
Android Phone Demo
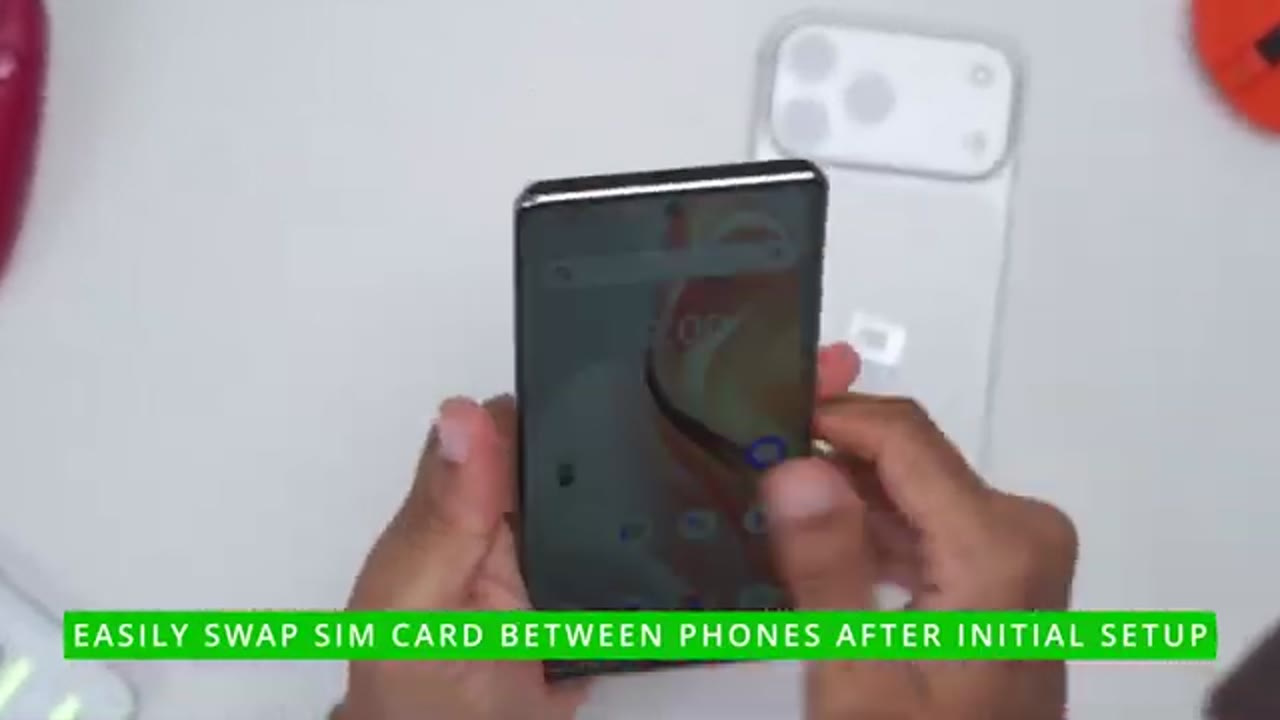
working on an older Android phone, I took the SIM card out of the iPhone 17 Pro Max. I just popped it into this older Ulefone, and right away I had internet connectivity on here. I didn’t even need to download the EIOT Club app on here cuz I had already set everything up on the iPhone 17 Pro Max. So, that’s another benefit as well. If you’re
Version 3 vs Version 1?
trying to decide whether you should get the new version 3 that I have here or the previous version 1, well, the difference is that on version 1, it’s going to work perfectly for an Android phone. You could download the EIOT Club, you know, manage everything just like I showed today. However, if you own an iPhone and you have version 1, you are going to need a USB card reader. You’ll have to plug it into a laptop, download software, kind of configure it in the software, and then you could take the SIM card and put it into your iPhone. So, it’s not very convenient. However, you could see that with version 3 which I have here, I was able to set everything up on the iPhone directly in the EIOT Club app. I never had to leave this.
Another benefit of the new version or version 3 is it has network fallback. So, if your current eSIM profile doesn’t connect anymore, it’s just not working, it’s going to fall back to the previous eSIM profile that was working. So, something to keep in mind. One thing to
Good To Know!
keep in mind is that this is going to work best if you have an unlocked phone. If you’re running a carrier locked phone, a lot of the times those carriers are going to lock down certain features or functionality, so just be mindful of
Recommended?
that. So, if you want the ability to use an eSIM profile or up to nine eSIM profiles on an older iPhone or Android phone that doesn’t even support eSIM, or if you just want to be able to switch between up to nine eSIM profiles on your newer phones, the EIOT Club eSIM 3.0 card is such an easy way to do it. You can buy additional eSIM profiles, you could check your data usage, you could top it up, and you have the ability to use hotspot sharing, and have up to 5G speeds. So, if you’d like to get your very own EIOT Club eSIM 3.0 card, I’ll leave a coupon on screen. It’s DCT10 3.0 card. I’ll down in the video description and pin comments below. If you’re interested in checking out version one, I’ll leave that linked up here.
If you like this video or found it helpful, maybe consider liking and subscribing and even joining as a member to get early access to videos and other perks. I also review a bunch of other tech outside of eSIM and SIM card accessories, so maybe check those out as well and I really hope you’ll join me in my next video soon.
Please note that some of the links in my video descriptions are affiliate links where I earn from qualifying purchases. As an Amazon Associate I earn from qualifying purchases.