Please note that some of the links in my video descriptions are affiliate links where I earn from qualifying purchases. As an Amazon Associate I earn from qualifying purchases.
Intro
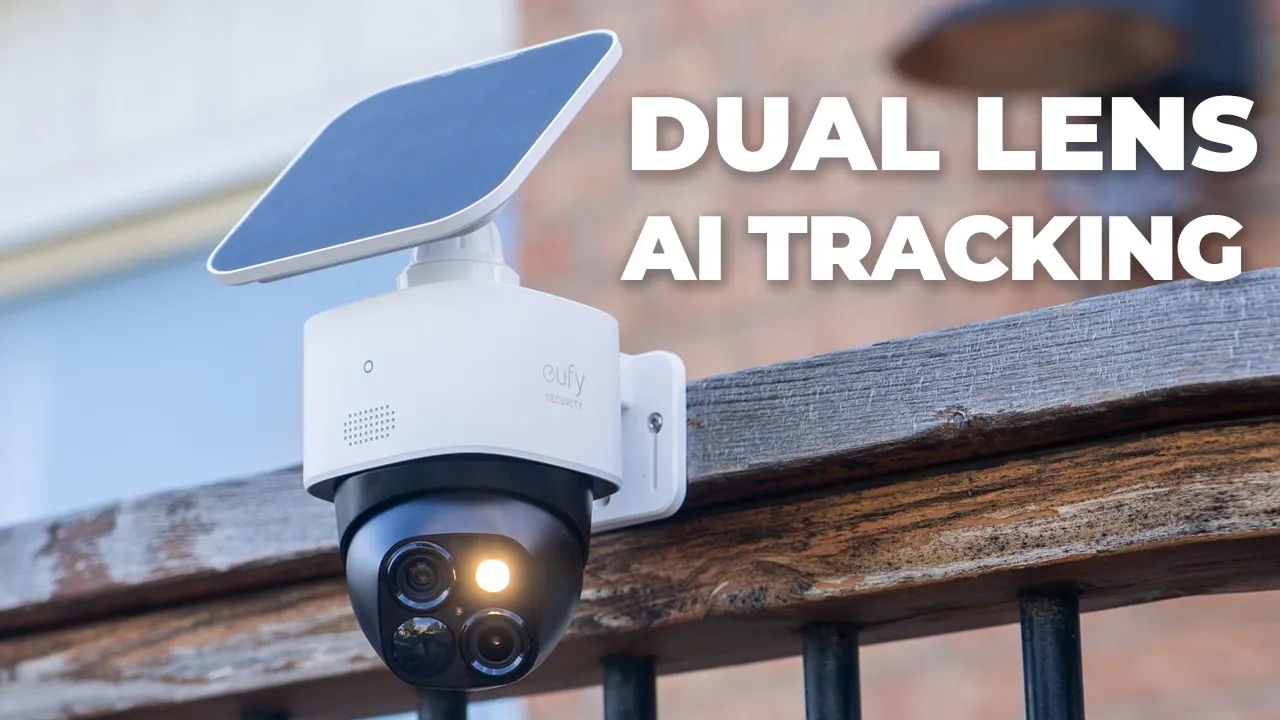
Hey, it’s Adrian and if you’re looking for one of the best solar powered security cameras out there right now, you’re in luck because during Prime Day deals, the UI SolCam S340 is 27% off for a limited time running from July 7th to July 13. So, don’t forget to click the links in the video description and pin comments to get your very own. And what makes the Yui Soulcam S340 so unique is its dual lens setup. One lens lets you see everything with a wide 135 degree field of view in 3K quality. And the second lens is a telephoto lens that lets you see everything in close-up detail with up to 8x hybrid zoom in 2K quality.
There’s a 360° guardian mode thanks to the 360° of panning range and 70° of tilt range, meaning you can see it all when paired with its smart AI tracking and human and vehicle detection. There’s also color night vision thanks to the 100 lumen spotlight, 2-way talk, an alarm siren and IP65 rating, efficient solar panel to keep it charged up throughout the year, and 8 GB of built-in storage means you can record locally without having to buy a memory card or pay for any monthly fees. But let’s take a closer look at how well it performs. And a big thanks to UI for sending this out for review.
Package Contents
In the box, we have the Yui SoloCam S340, solar panel mounting bracket, mount for the solar panel, solar panel extension cable, USB type A to type-C charging cable, mounting hardware, quick start guide, and positioning sticker.
Design
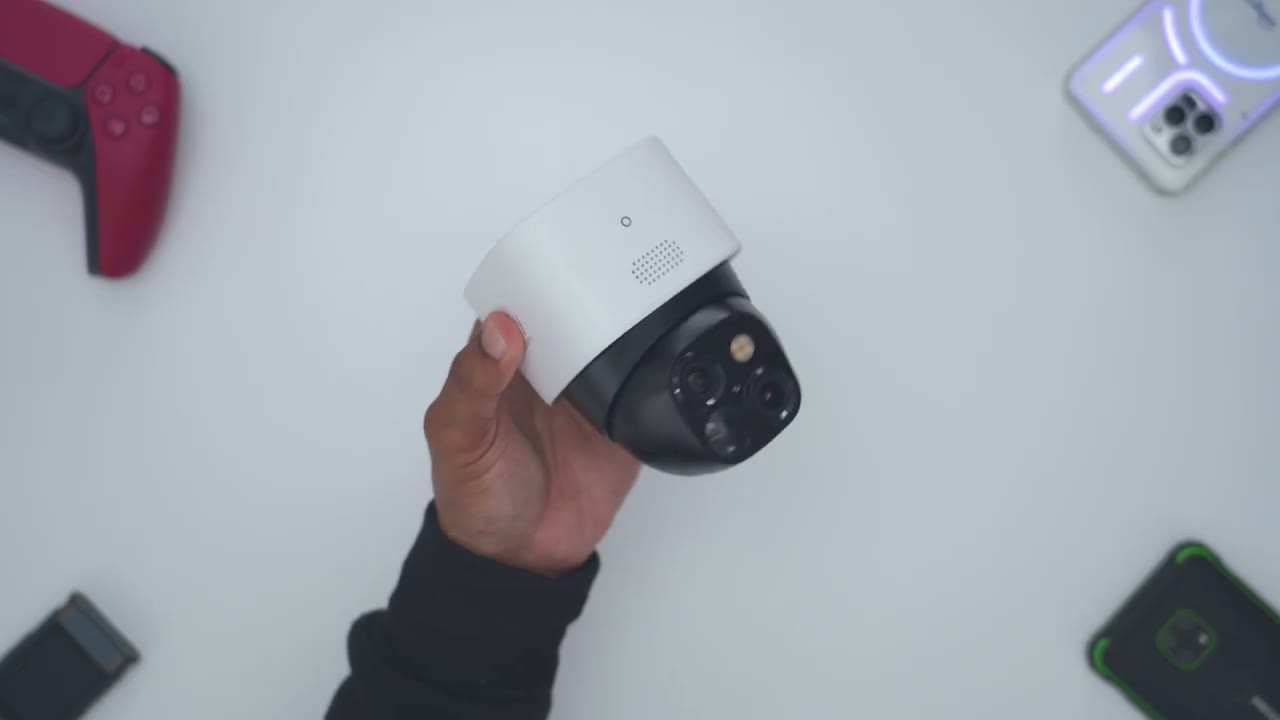
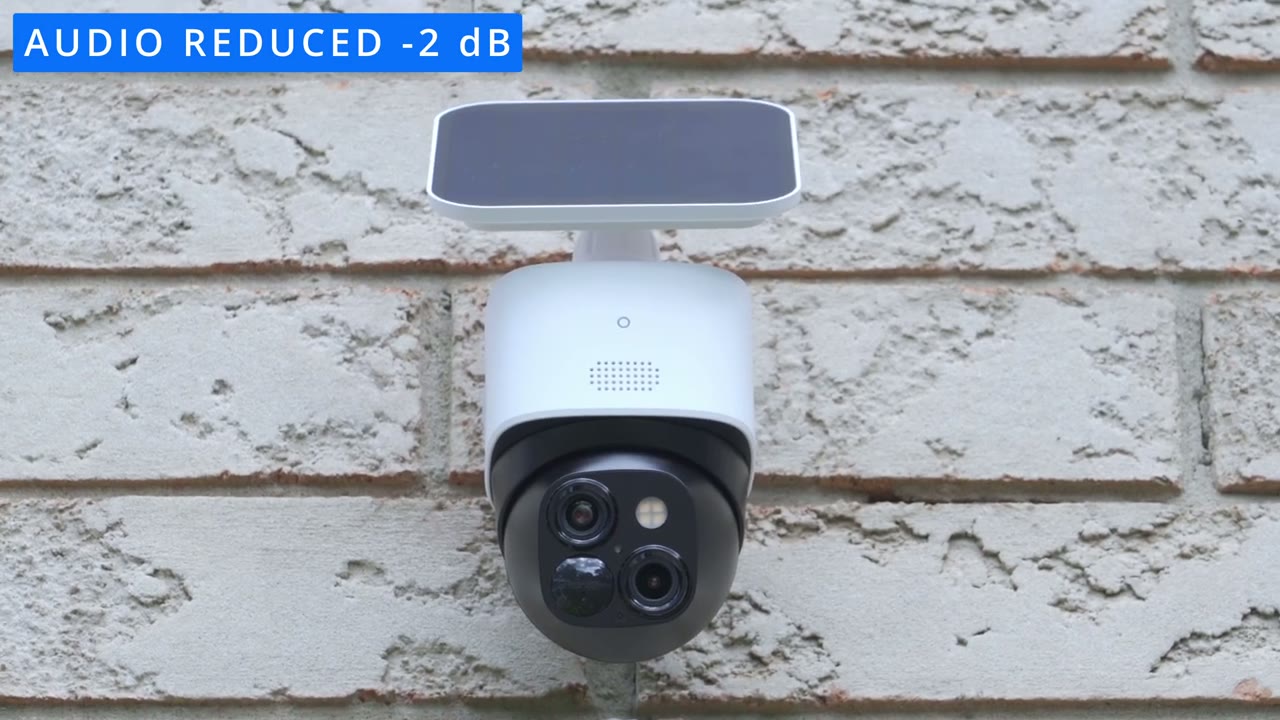
So, the UI SoloCam S340 is a fairly compact camera. You could see it basically fits in the palm of my hands, and it comes in at around 506 g or about 1.1 lb. Now, on the front, we have an LED status indicator light. We also have the speaker grill and this is kind of the claim to fame. So we have a dual lens setup along with you know various sensors and then the spotlight. Now one of these lens is capable of up to 3K quality giving us kind of a wide angle view and then we have a zoomed up or you know kind of zoom lens which is going to give us up to 8x hybrid zoom so you can make out fine details. And the camera module actually pans and tilts giving you 360° or what UI calls their 360 guardian feature. On the rear of the camera, we have the sync button.
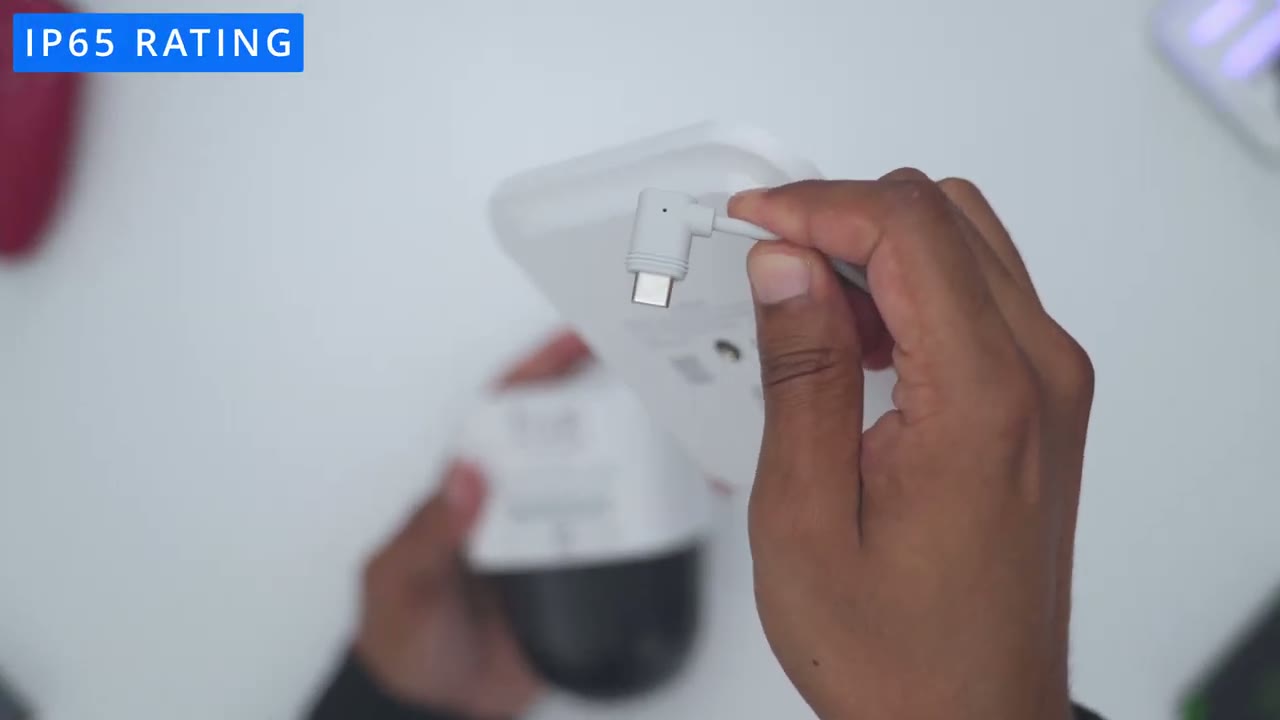
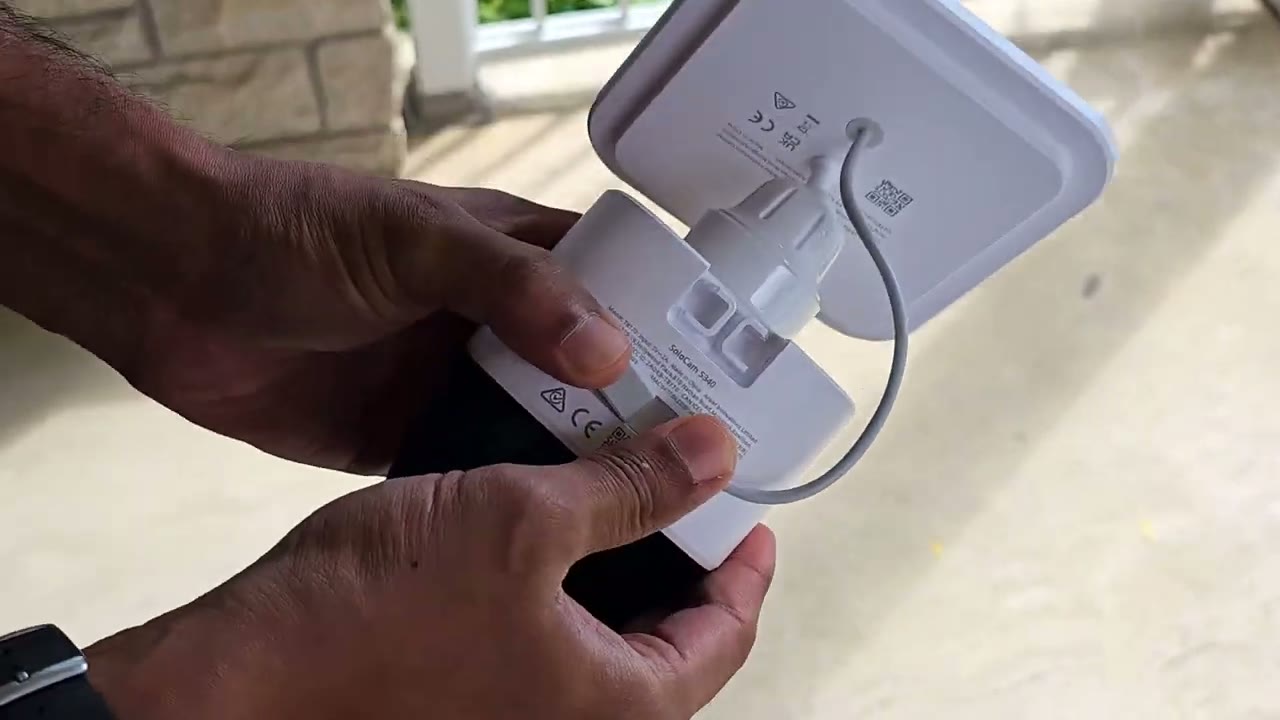
And then we also have this weather sealed area that gives access to a USB type-C port. Now, if you use this kind of standalone without the solar panel, you’ll just um power this up or charge us up to 100%. But if you are going to be using the included solar panel, then you’re just going to connect the USB type-C connector end here right into this type-C port. And notice on the connector end here, it does have these kind of weather sealed um strips, you know, kind of going around here. And that’s to maintain the IP rating. Here’s
Specs
a quick look at the specs. Feel free to pause and review or jump ahead to the next section. Adding the SoloCam S340 is
App Setup
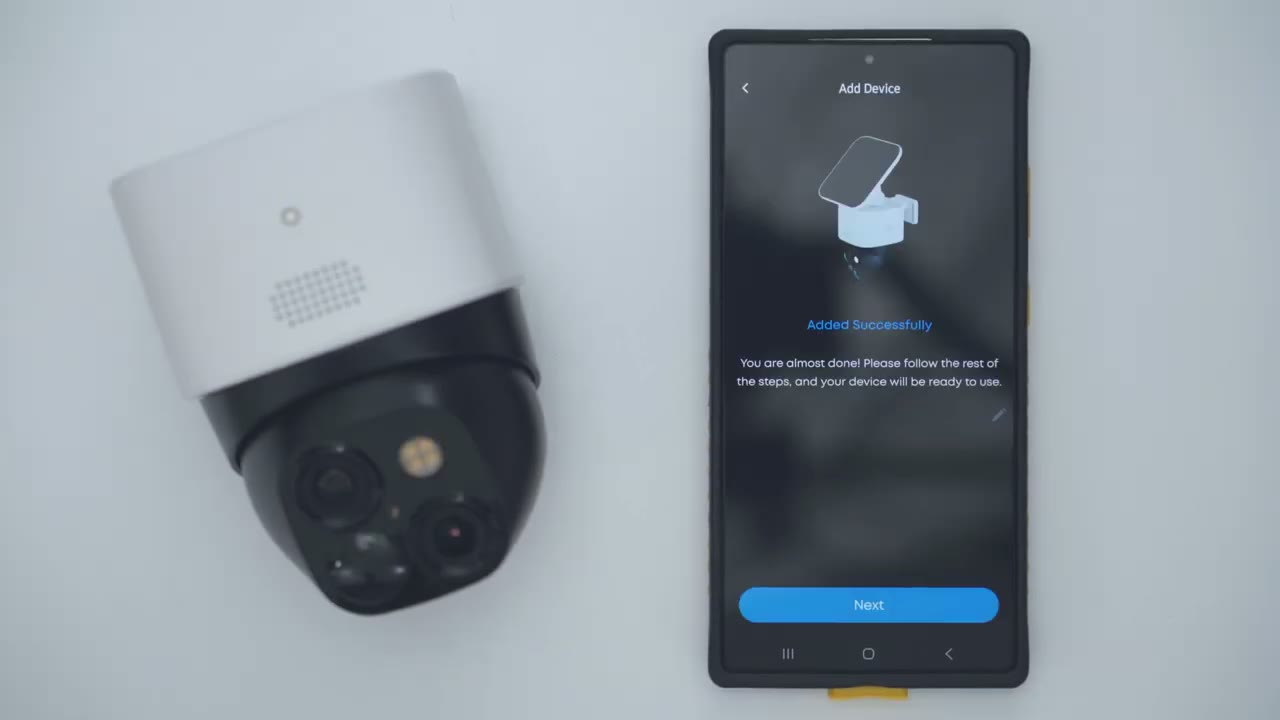
really easy. So in the UI app, we’re going to press the plus button at the top right corner. Tap add device. Click on battery camera and then pick on Solo Cam S340. Add it to your existing home network or create a new one if you don’t have one and then click to add it to your router or to the Homebase 3 if you own it. Now, I’ll go ahead and just add it to the router for now. And I’ll go ahead and put in my Wi-Fi password. Next, we’ll go ahead and press the sync button for 2 seconds till we hear a beep. And with the flashing LED, we can click next. And we’re just going to scan the QR code generated right on the phone here. Connecting to the Wi-Fi network. Please wait. Click next and just wait for it to connect and you’re done. Setup was
Installation
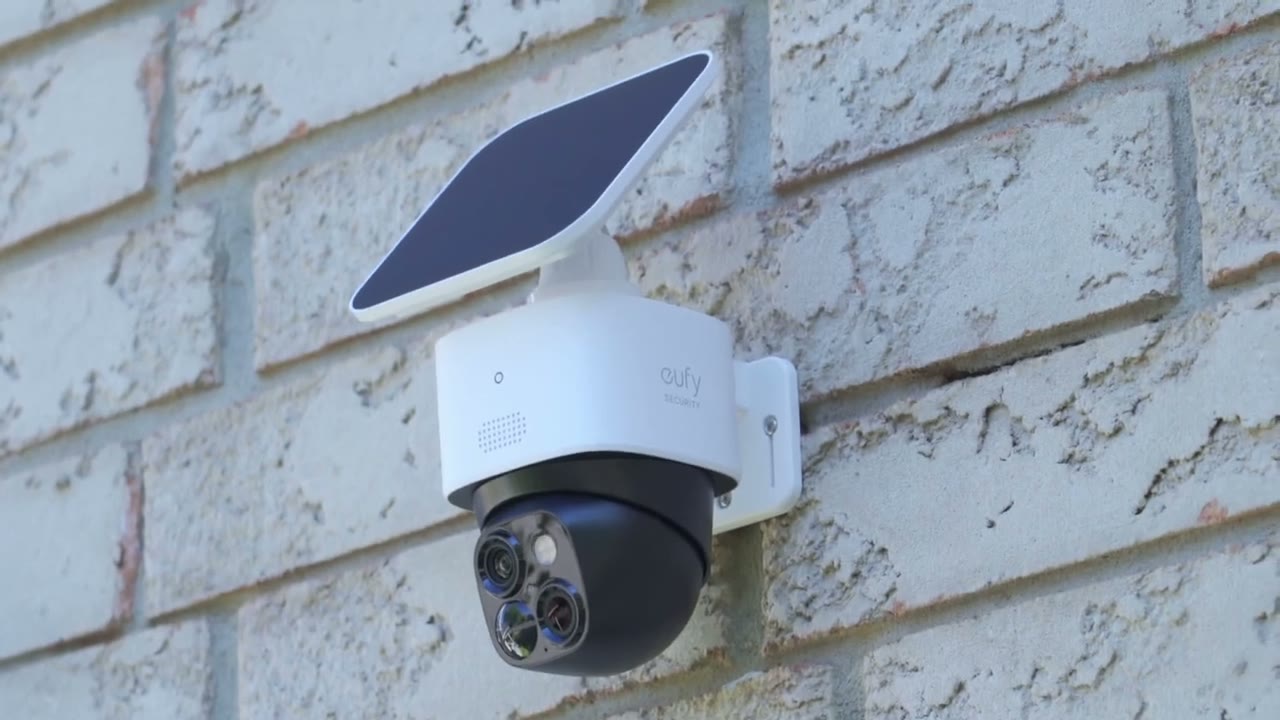
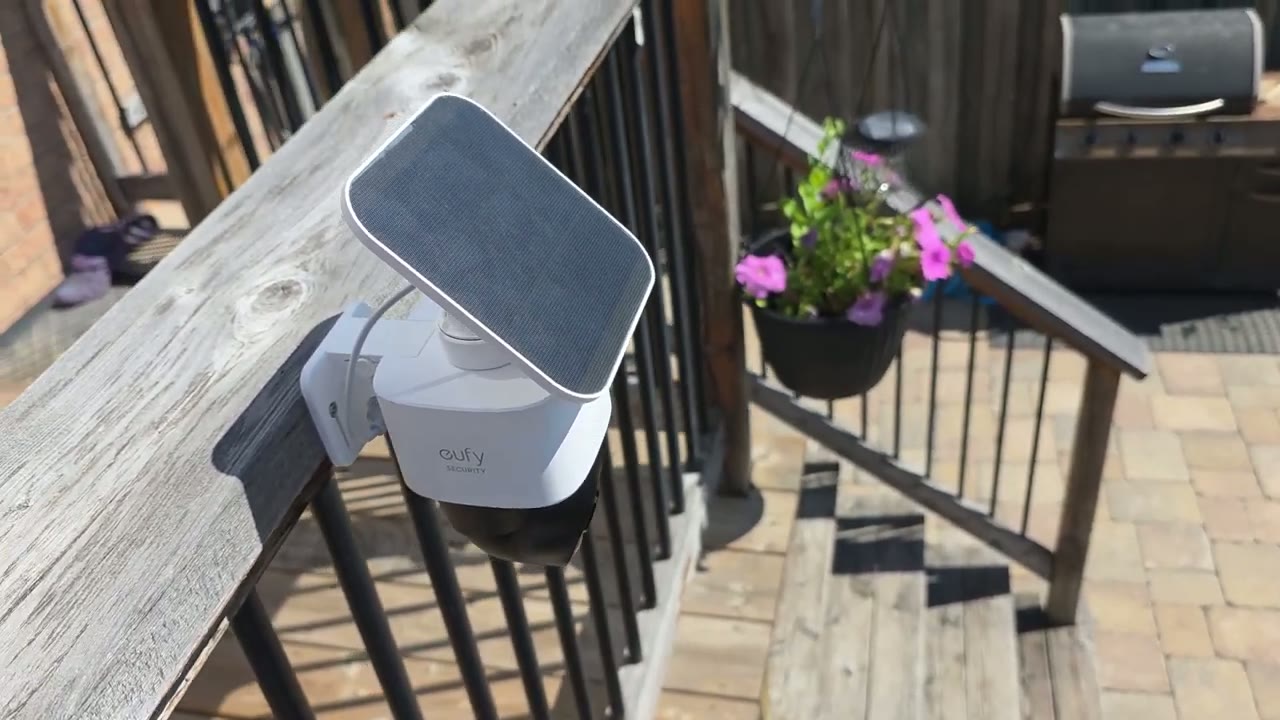
successful. Installing the Solo Cam S340 is really easy. So, first you’re just going to use the supplied mounting screws. And you’re just going to drill into these uh screw holes here into a wall or whatever surface. And then once this is a fixed to a wall, you’re just going to slide until you hear a click just like this. Once you hear that click, this is securely locked into place. And then to remove it, you’re just going to push down on the right and left side here. And then pull the bracket out. Installing the solar panel is similarly easy. So you’re going to take the solar panel mount and you’re just going to unscrew it till it separates into two pieces, just like so. And then if we go ahead, you can just take this middle stem here, pop it right off.
And that’s going to give you full access to these two screw holes. Looking at the top of the S340. We’re just going to line this up. Use these supplied screws. And then once that’s a fixed, you’re just going to line this back up. Notice there’s two little notches right there. You’re just going to position those till they click into place. And then you’re going to take the second piece that you removed. Screw it in. You’re just going to use the screw hole on the back of the solar panel right here to just screw this in just like so.
eufy App Settings
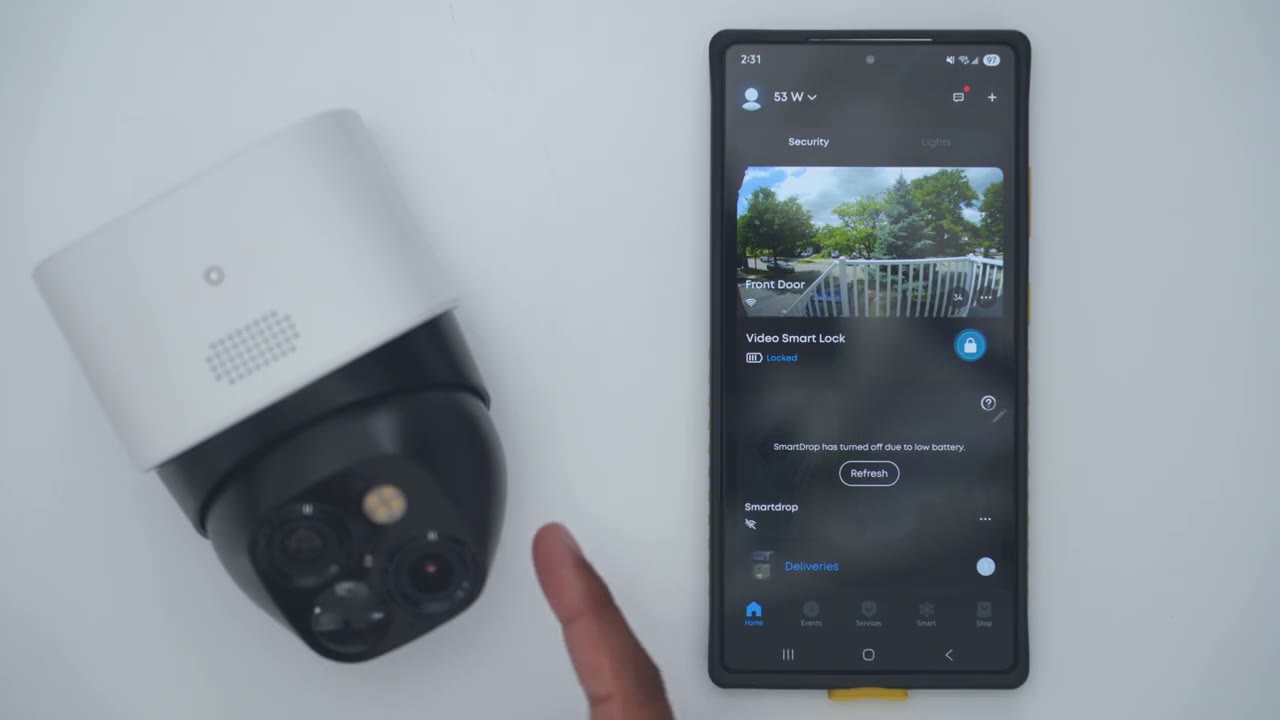
And you’re done. Let’s take a look at the app settings in the UI app. So, as soon as you pull it up, you can see the current battery life, the Wi-Fi signal strength, how many events were recorded recently. And if we tap on this option here, you can go ahead and actually snooze notifications from 30 minutes up to 12 hours. And you can also jump into the full settings. Let’s take a look at live view first. So, we’ll just tap in. And you can see that pulls up pretty quickly. Um, and that’s even though this is in my backyard, a bit further away from my modem. Now, if we tap on here, you could set the streaming resolution from um auto 3K, 1080p, or 720. I have it on 3K right now. And you can see I’ve set it to have kind of this dual stack view, but you can also have it as a single view.
And then you could switch between the views. And of course, if you go ahead and put it on full screen mode, you’re seeing the 1x view. And then you can also go into the 3x view as well. Whenever you’re looking at the 3x view, you can actually go ahead and punch in even more up to 8x using the hybrid zoom. We have quick access buttons at the bottom. So, you can go ahead and start a manual recording if you see something interesting. And then once you stop it, it’s actually going to save it to your phone’s album. You can listen to the microphone pickup. And you can hear that’s pretty windy out there. You can also go ahead and start two-way talk. You can also go ahead and use on screen pan and tilt controls just like so. Now, you can also go ahead turn the spotlight on or off.
And if we swipe over, you can go ahead take a screenshot. You can go into night vision and switch it from black and white color or turn it off. You can also turn on the AI tracking feature. So, it kind of tracks humans or vehicles. You can also jump into the presets. So, let me just show you that. So, at the very bottom here is where we have the presets. So, one is my default. If I tap on two, it’s going to go to a pre-selected area that I’ve selected. We can go to preset three. And then four is um just right at the very bottom so I can see if someone’s standing behind the camera. So one is the default. The camera will always return back to one after it’s finished tracking and panning. And you can do a full 360° look around.
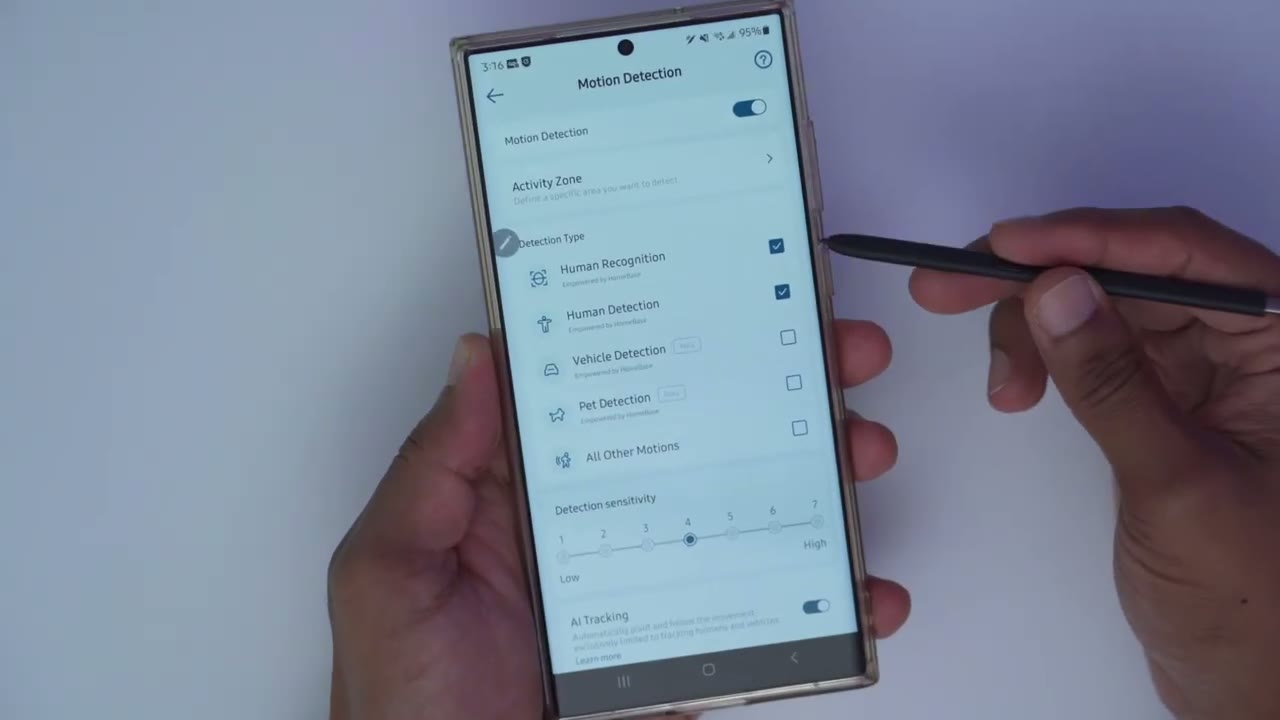
And if you’re impressed by everything the Solam S340 can do so far, don’t forget to click the link below the video to enjoy the Prime Day discount. But let’s get back to the video. In the full settings, we could turn the camera on or off. Take a look at the current battery life. We can also connect it to the home base if you have that. And then if we go into motion detection, you can turn it on or off. You can go ahead and set a specific activity zone if you’re getting a lot of false positives. And you can also go ahead and set the detection type. So, I’ve set it just for human, but you could set it to say human and vehicles or basically all other type of motions. You could set the detection sensitivity from 1 to 7. And you can enable the AI tracking.
And this is going to be for humans and vehicles. Under battery, we can see that it’s at 93% and it’s actively charging. That’s based on one working day and 91 recorded events. 544 detected events. So battery life is really good considering how much activity I’ve been putting this through. Under working mode, you could set it to optimal battery life. The video clip length is only going to be up to 20 seconds long. and the system will kind of up prevent or avoid recording the same thing twice in a short period of time. I like having it on optimal surveillance. You can have video clip lengths up to 60 seconds long, but the camera will stop recording if no more motion is detected.
But if you go under customized recording, you can set it up to 120 seconds or 2 minutes long and you can have a re-trigger time of only 5 seconds. And you can also disable the option to end the clip early if motion stops. So, this mode would be the best for surveillance. Preset positions is what I showed earlier. So, this is the default. You can set any of these to be the default. Basically, you’ll just kind of pan and tilt wherever you want and then hit the set button. But, it’s always going to return to this position one, which you see right there. And then if we go under pen and tilt settings, so AI tracking is on. It’s going to track humans and cars.
And you also have the option to use kind of a um tap on screen for it to pen and tilt to or you can use a swipe control on the screen as well if you don’t want to use the onscreen pen and tilt controls that you see here. And notice that you could set the pen and tilt speed to be you know very slow or very fast. I have it on the fastest speed so it can track easily. And then under spotlight settings you can have the light on or off and you can set the brightness. So it is a up to 100 lumens of brightness. Under video settings, we can go to watermark. You could just set everything to off or you could have the timestamp and logo. Under view mode, you could set it to this kind of dual stack view, which I showed earlier. Or you can have it in single view.
But now do note that in dual view, it will make the battery drain faster. And then streaming mode, you can also set it to auto quality or 3K depending on your internet speed. Recording quality, you could set it to 3K, 1080p, or 720p. So, I’ve set it on 3K for the best possible recording. You can also set night vision, black and white color night vision, or turn it off if you have enough ambient light. And you can also set up privacy zones if it’s required where you live. Now, under audio settings, you can go ahead and enable microphone recording, audio recording, and then you can set the speaker volume for 2-way talk and the alarm siren from 1 to 100. And then under notifications, we can set these to most efficient. So, these will be the quickest way to get notifications.
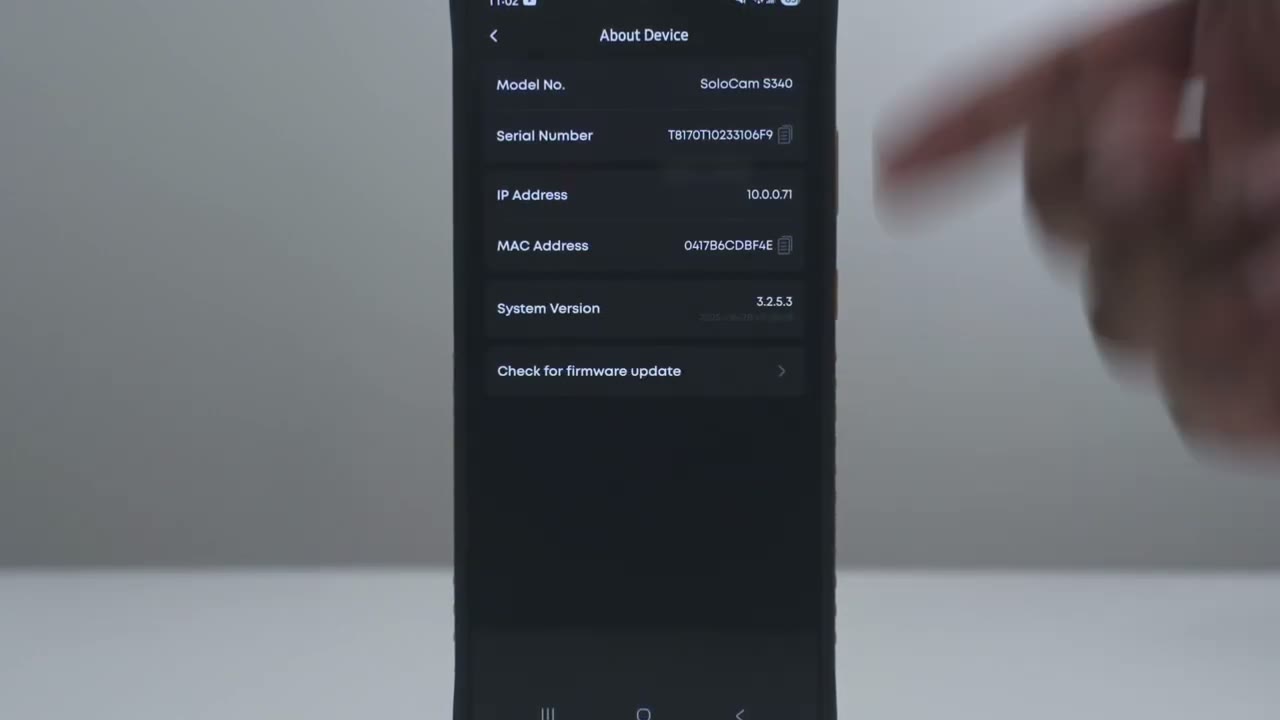
It’s going to be like a text alert on your phone. Or you can set it to thumbnail. It’s going to take a little bit longer, but you’ll get a thumbnail preview so you can see what’s exactly going on if it’s a person or a car. Now, under general, you could set the status LED on or off. I like having it on. You could change the Wi-Fi, set your time, and then if we go to storage, local storage, you can see of the 7.1 GB of local storage included in the camera, this is how much I’ve used. And then you can go ahead and format if you like. And then of course you could jump into the mounting guide and just device options to see if there’s any firmware updates.
Video Playback
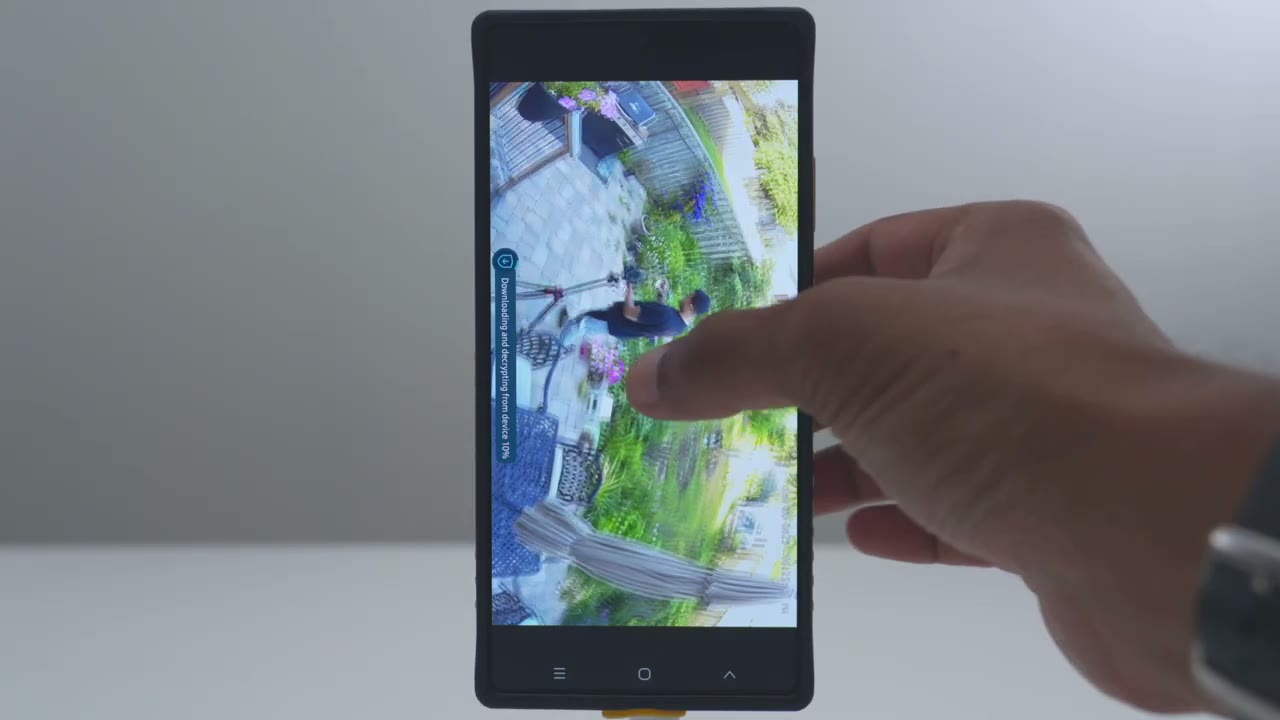
To review recorded video, you’ll tap on this events tab here. And you can see for June 28, there’s a bunch of clips recorded here. Now, if I was to tap on say uh 625 right here, it’s identified that a human was detected. So that’s me kind of, you know, playing around with the camera settings, and you could see it’s actively um panning and tilting to track what I’m doing. Now, from here, I could share this clip or I could just hit download. It’s just going to download it to my phone and then I could share it, email it, whatever I want
HomeBase 3
right from there. If you have the UI Homebase 3, you can go ahead and add your SoulCam S340. And note that it says it’s going to actually process, analyze, and store your security footage in the Homebase 3, which can accept up to 16 TB of storage. You’re also going to get
Video Quality
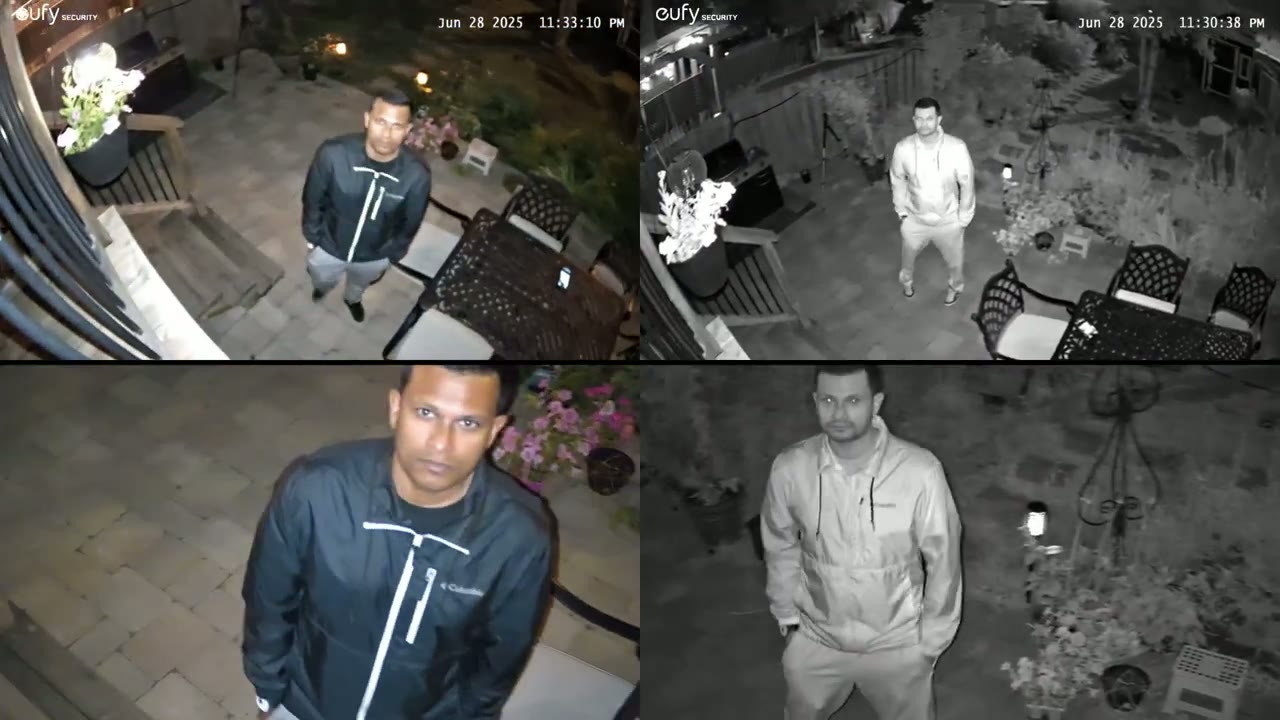
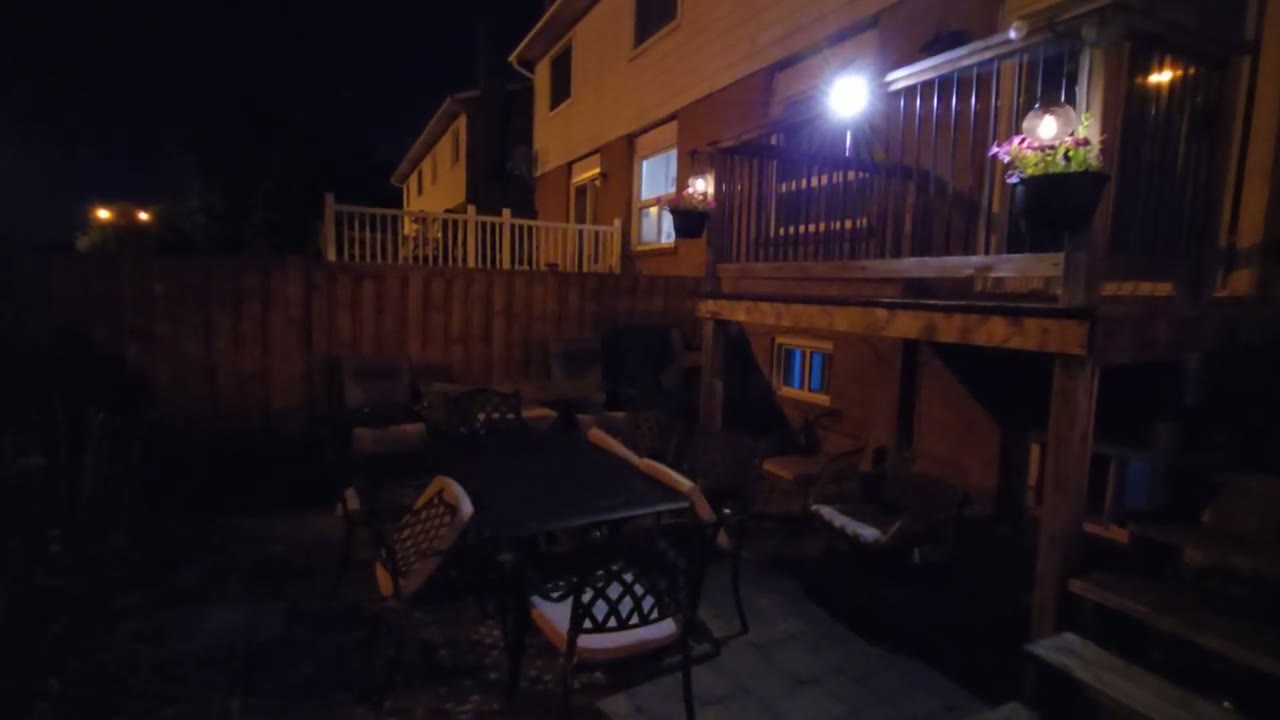
facial recognition. The video quality is great on the SoloCam S340. So during the day, it’s really easy to make out faces or license plates, whether they’re up close or even further away, and that’s thanks to that telephoto or zoom lens, which actually lets you have up to an 8x hybrid zoom in 2K video quality. Now, if you want to see everything in your property at a time, you could use the wide-angle 135° field of view lens. And if there’s anything it’s missing, whether it’s right, left, top, or bottom, while you also have the ability to pan and tilt to capture everything else. Night vision video is just as good, and that’s thanks to the 100 lm spotlight, allowing you to have color night vision.
Now, you can also turn off the color night vision and just use the black and white night vision as well. We
Pan & Tilt
also have a wide pan and tilt range. So, you have up to 360 degrees of panning functionality. So, you can look kind of left to right to see really everything, even what’s going on behind the camera if you use the 360° lookaround view. Now, in terms of the tilt range, you have up to 70° of tilt range, and the camera can actually tilt all the way down to see who’s directly under the camera. Now, in terms of pan and tilt functionality or control, you have a bunch of options. So, you have the onscreen controls where you could just kind of tap on arrows. And you also have the option to just tap and hold on any part of the screen and the camera will automatically pan and tilt to that area. You also have the option to use swipe gestures on the screen.
So, you can swipe right, left, up, down, and the
AI Tracking
camera will follow. And the AI tracking on here is remarkably good. It’s really sticky. So, when you pair that with the pan and tilt range on here, it’s really easy to track subjects, whether they’re really far out or directly below the
Motion Detection

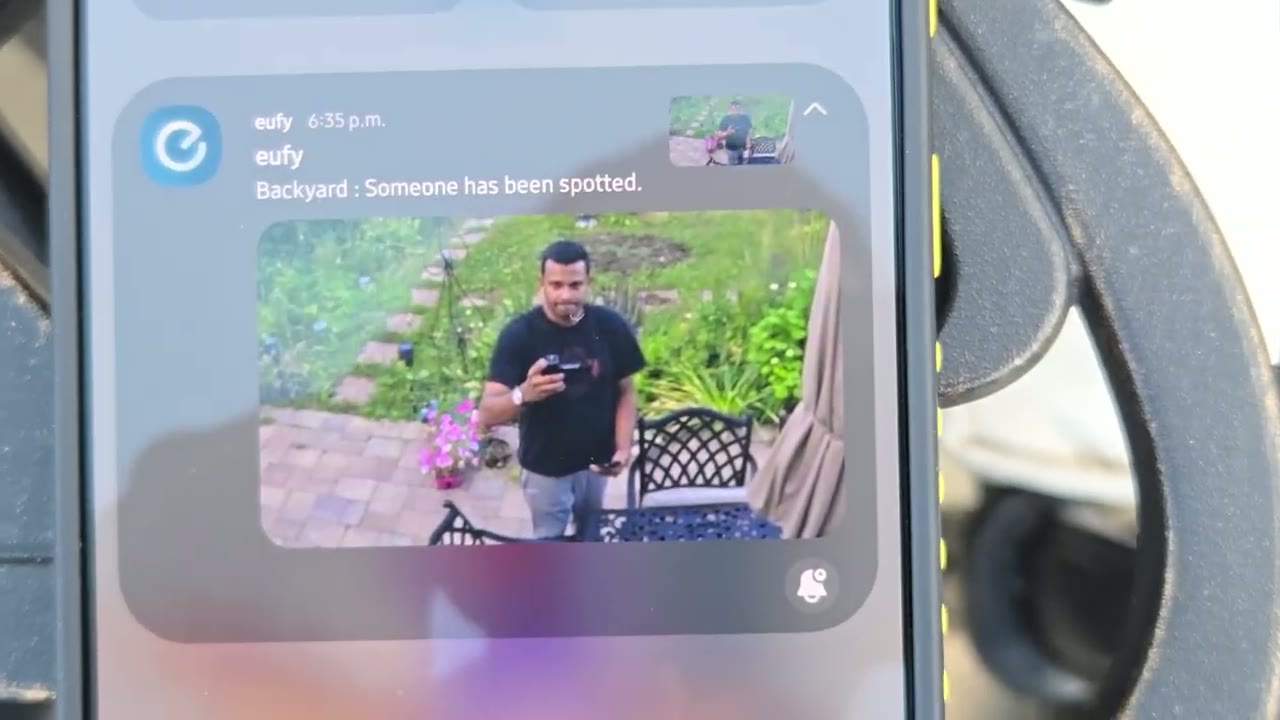
camera. The motion detection is also very responsive on here. So, within a matter of seconds of the subject being in front of the camera, you’re going to get an app alert from the UI app. And then you could just go ahead tap into that. It’s going to load everything up really quickly. Now, in terms of the motion detection alerts, you can have it just send you a text alert, which is going to be the fastest, or you can set it to get a thumbnail, so you have an idea of what’s going on in the alert, but it’s going to be a little bit slower to get the thumbnail notification. The
Speaker
speakers on here get plenty loud, but here’s a demo of two-way talk and the alarm siren. Here’s an example of what the audio sounds like. You can hear it’s plenty loud and there’s no audio dropouts. The
Spotlight
spotlight is a 100 lm spotlight, so it’s only going to be able to kind of illuminate in the immediate vicinity of where the camera’s placed, but it also acts as a visual deter if anyone’s coming up to the camera or to your
Battery
property. The battery life has been fantastic so far, and that’s thanks to the really efficient charging with the included solar panel. Now, you also have an extension cable so that you can kind of run the solar panel somewhere where it’s getting more sunlight if necessary. But if you live summer, you know, kind of sunny throughout most of the year, you’re going to have excellent battery life and it should stay topped up most
Storage
of the year as well. With the 8 GB of onboard storage, you can realistically get between weeks to months of video recording or video playback history. Now, that’s really going to depend on how busy it is in front of the camera, wherever you have it installed. But if you find yourself running short on storage very quickly, you can also pair this with UI’s Homebase 3, which lets you add additional storage up to 16 TB. So, it would be years before you ever
Recommended?

run out of storage. So, the UI SoloCam S340 is a fullfeatured security camera, and it’s the reason why I think it’s one of the best solar powered security cameras out there. Thanks to that dual lens setup, you get that wide field of view along with a zoomed in field of view so you can see close-up details. Pair that with the 360° guardian feature that lets you monitor your entire property thanks to the versatile panning and tilting range on here along with the human detection and AI smart tracking. There’s also no monthly fees to get full functionality out of this camera system. So, if you’re interested in picking up Yui Soulcam S340, it’s 27% off during Amazon’s Prime Day sales. And this is one of the biggest deals you’ll get right now running from July 7th to July 13th.
So I’ll leave links down below in the video description and pin comments for you to get your very own or to learn more. Now, if you’re looking for a wired security camera, check out my review of Yu’s S3 Pro right up here. It’s a very versatile camera system. You can use it either as a batterypowered or solar powered camera, similar to the S340. But if you connect a USB type-C cable, it’s going to give you 24/7 continuous video recording. It’s the best of both worlds. I have a huge favor to ask. If you found this review helpful, would you mind liking and subscribing? It really does help me out as a small and growing channel. And maybe consider checking out some of my other tech reviews.
I review a bunch of different tech, not just security cameras, gaming keyboards, monitors, laptop, mice, headphones. Really something for everyone. And I really hope you’ll join me in my next video soon. So, if you’d love to get your very own Yui Soulcam S340, don’t forget that it’s 27% off for a limited time from July 7th to July 13th during the Prime Day sales. And I’ll leave links in the video description and pin comments for you to get your very
Please note that some of the links in my video descriptions are affiliate links where I earn from qualifying purchases. As an Amazon Associate I earn from qualifying purchases.