☑️ Get Samsung 980 Pro NVMe on Amazon
Please note that some of the links in my video descriptions are affiliate links where I earn from qualifying purchases. As an Amazon Associate I earn from qualifying purchases.
Intro
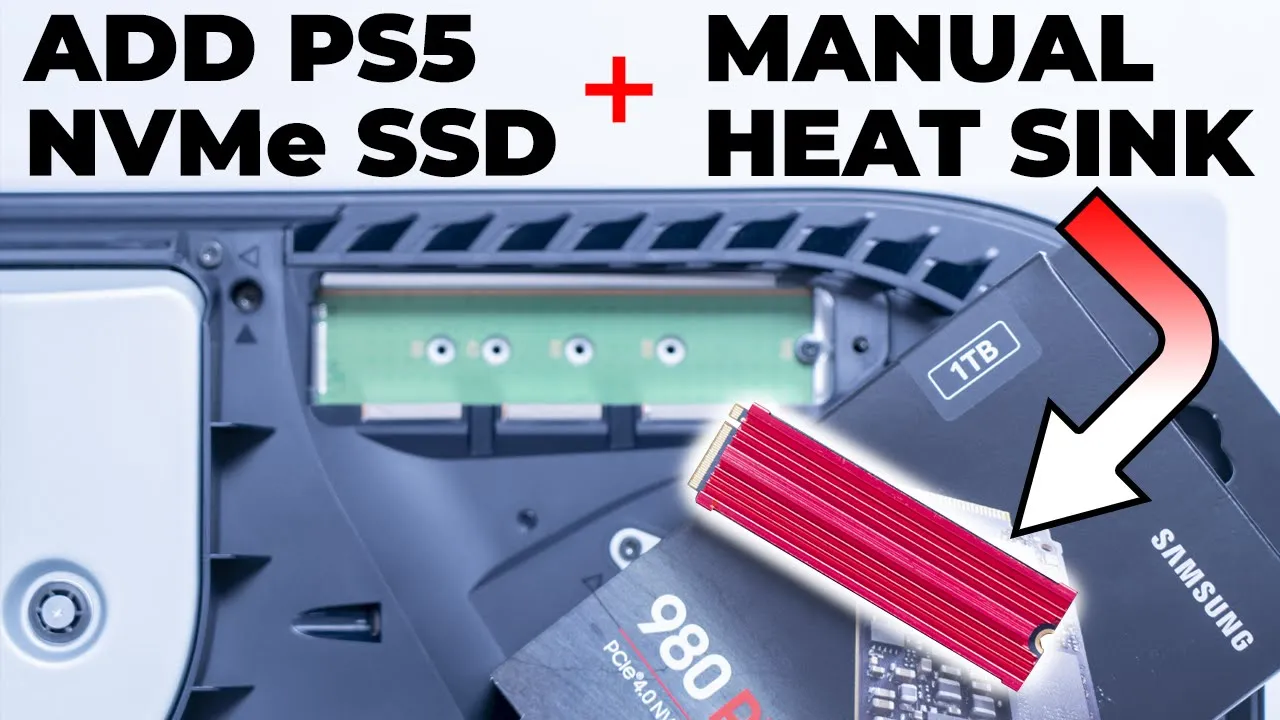
hey it’s adrian and today i want to show you how simple it is to add more space to your ps5 by adding in an nvme ssd drive so the first thing we should do is
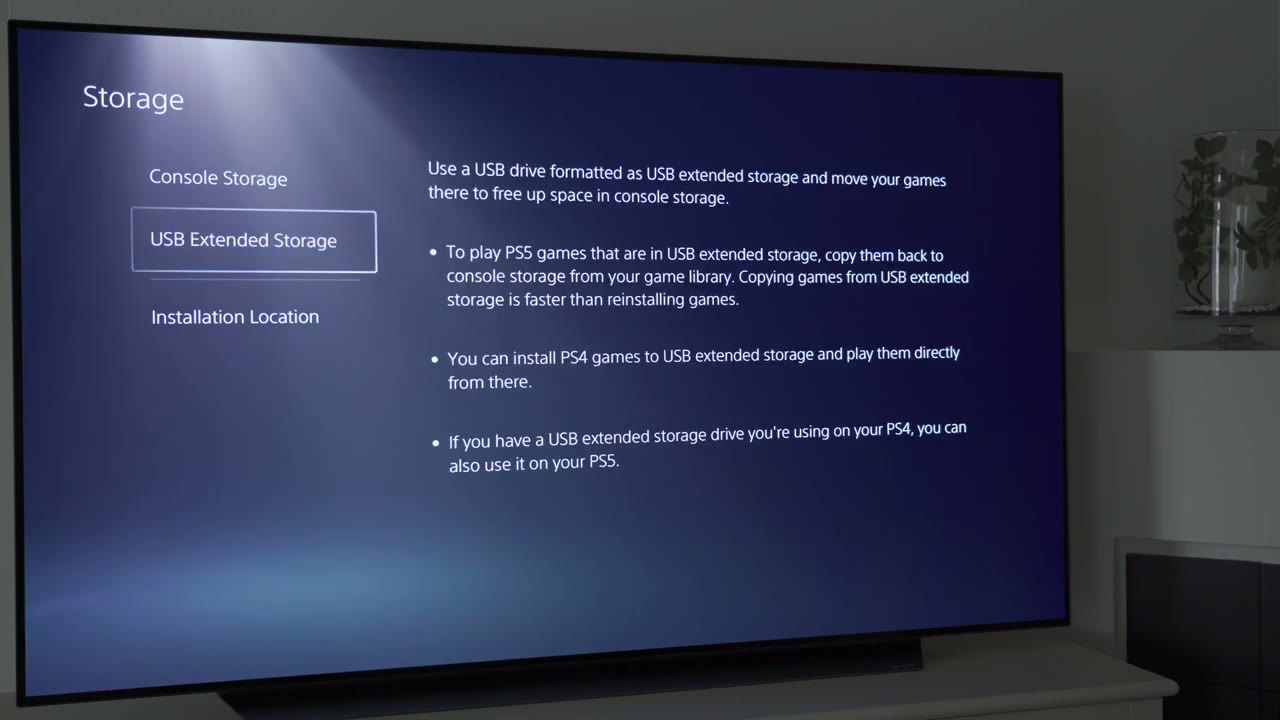
Current Storage
just to go into settings here scroll down to storage and you can see at the top right shows 667 gigabytes is what the ps5 comes with and right now i have 28 gigabytes free so you can see i definitely need to add in a drive right now looking at the left side you can see there’s only two options there console storage or usb extended storage once we add in that nvme correctly we’re going to see another option here playstation 5
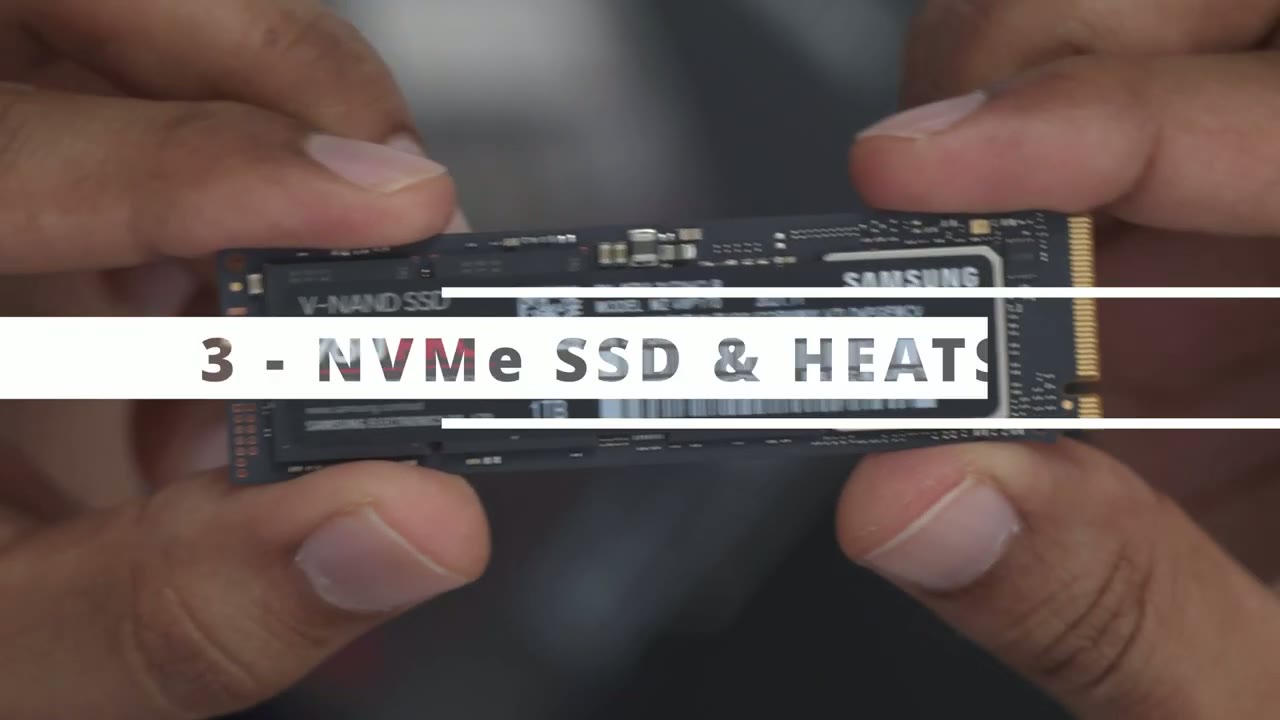
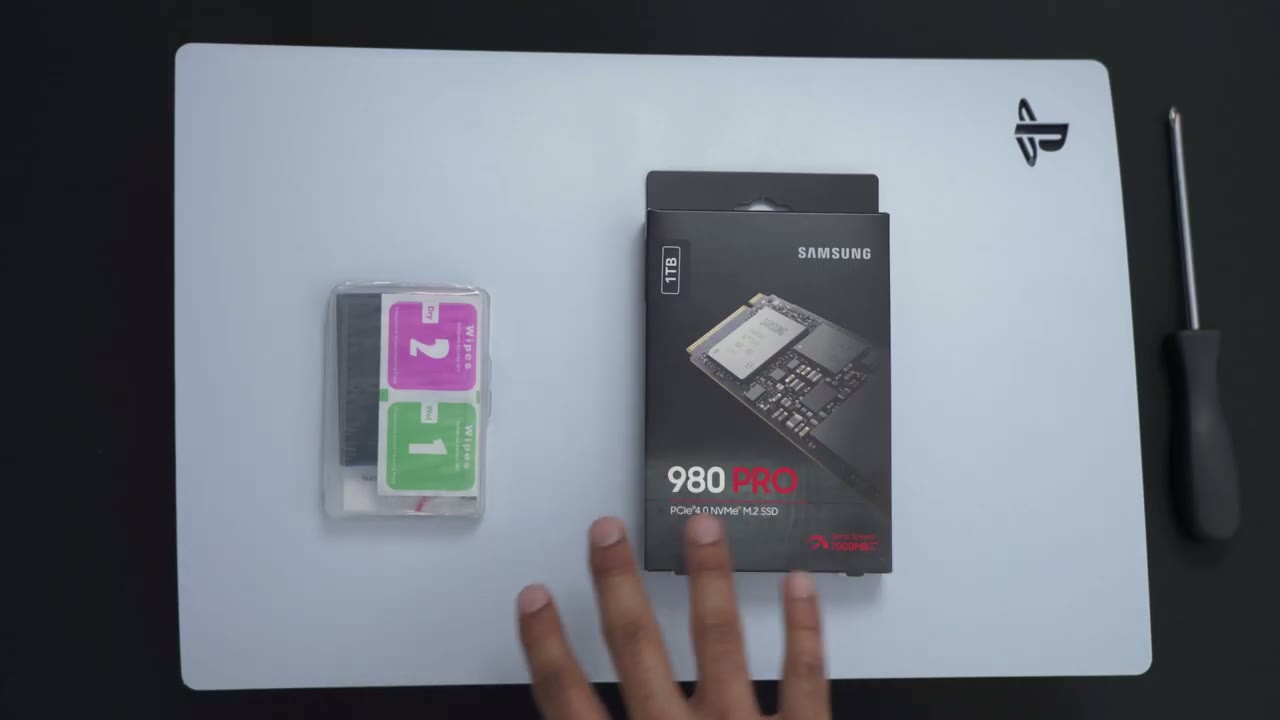
Required Equipment
is there screwdriver the heatsink and the nvme that we’re putting in today so this is the samsung 980 pro this is a one terabyte drive and you can see here at the bottom it shows the read speeds are up to 7000 megabytes per second so that’s way more than the minimum requirement that sony states
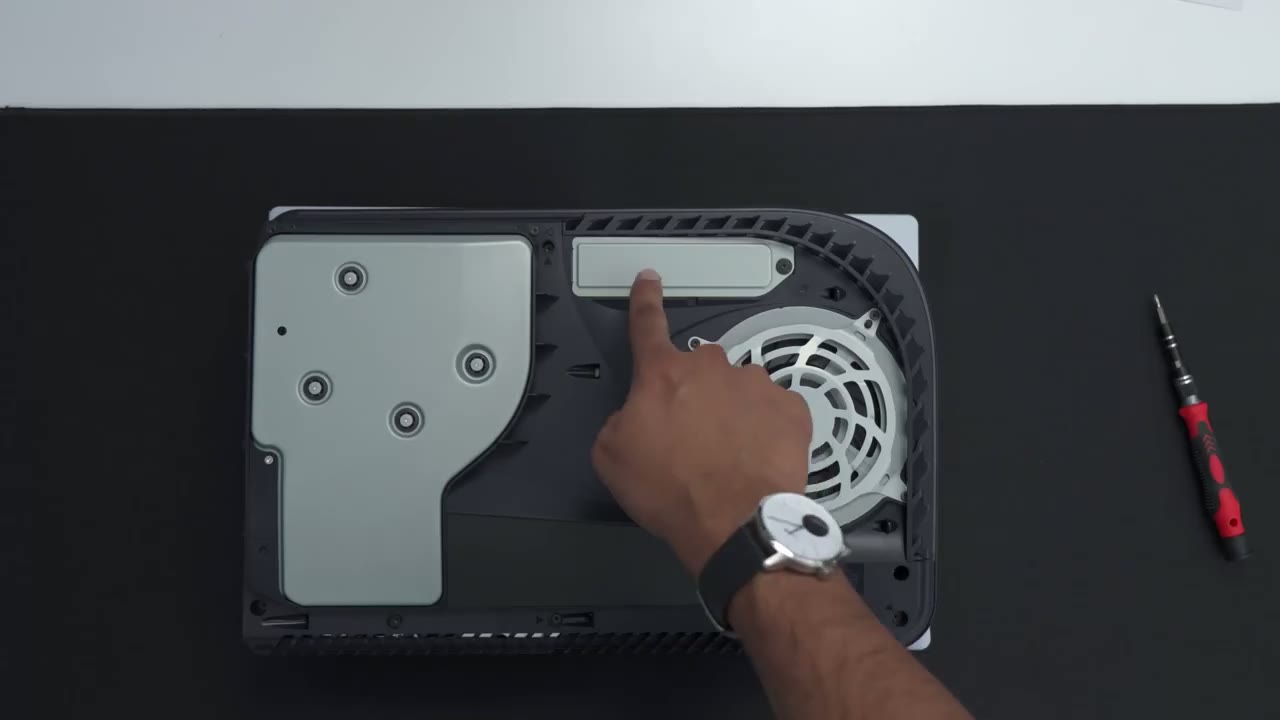
Remove Front Cover
the first step is to remove this front cover so if you have a disk version it’s going to be the cover with the disk and if you have the digital version it’s going to be the cover without the playstation logo so what we have to do is pull this plate down while we lift up in the corner here
Remove SSD
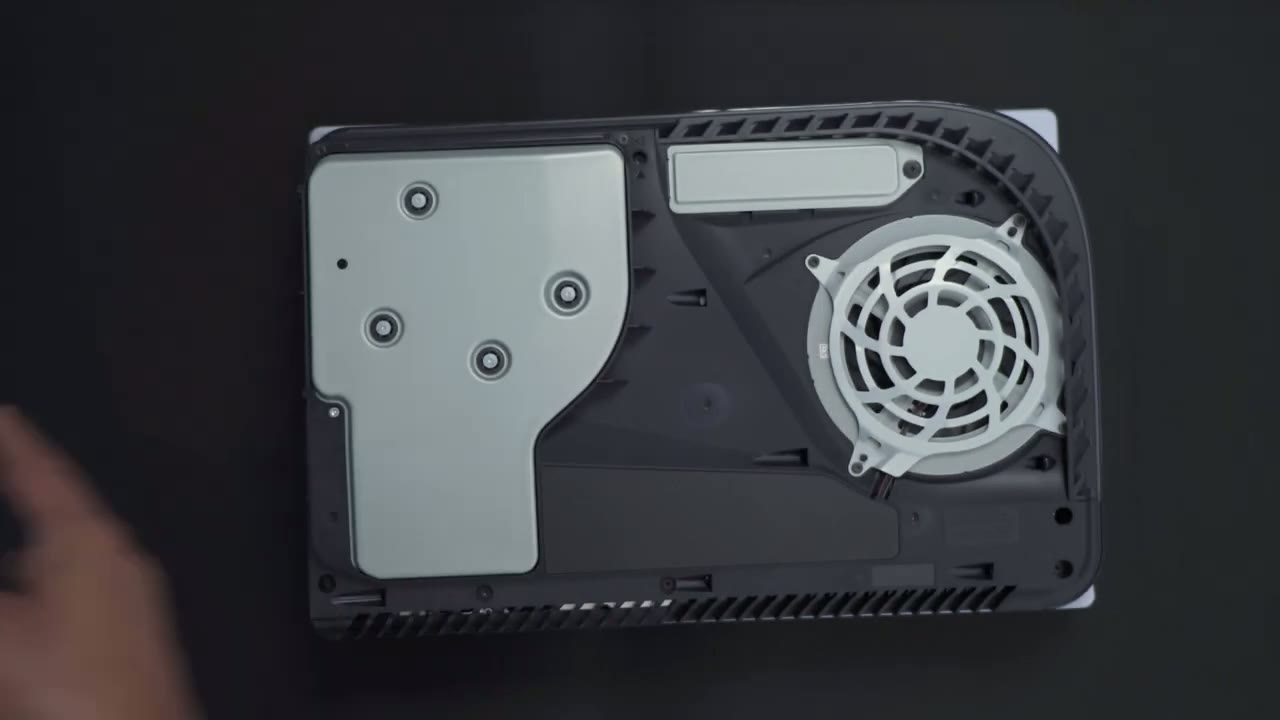
once you’ve taken off that front cover the next step is to remove the screw from this ssd plate here now it is a bit of a smaller screw in terms of the head so you may need a very small tip to get rid of that then just lift up the plate now that we have access to the ssd bay you can see that there’s four empty holes here and then there’s a screw and a standoff at 110. now this drive is a 2280 so what i’m going to do is remove this screw and stand off and move it into 80 when i place the ssd so i’ve
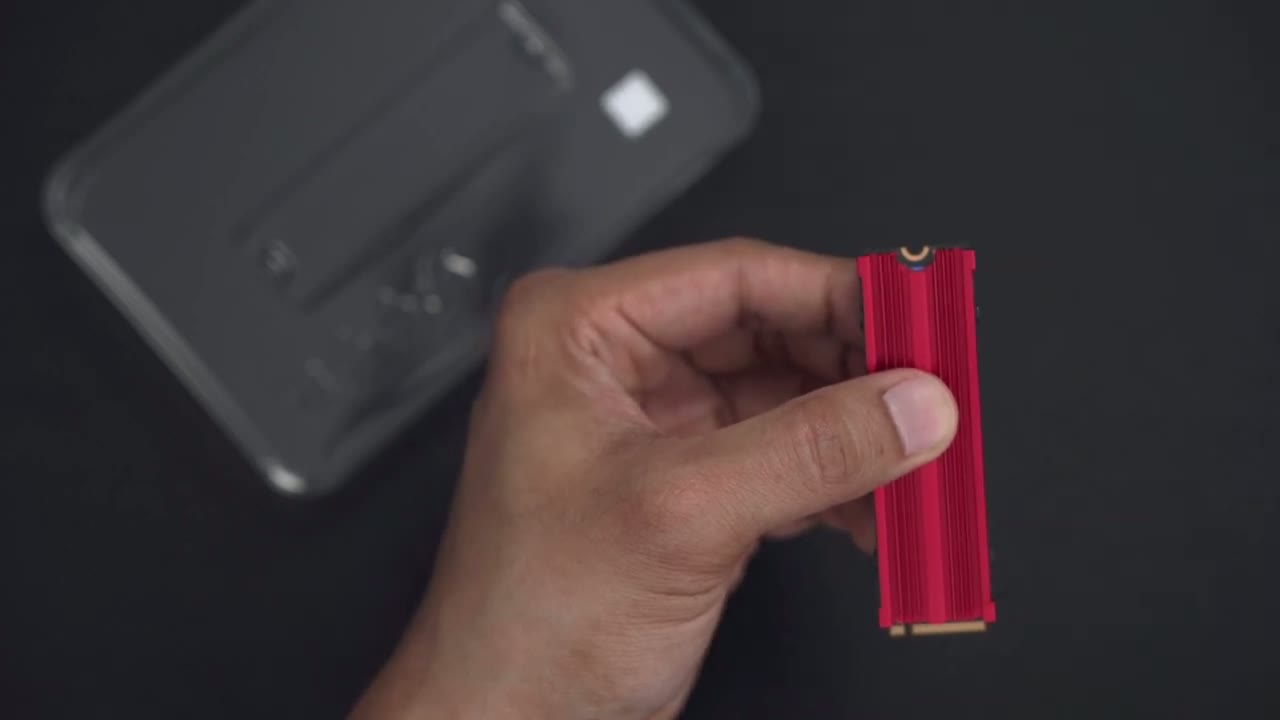
NVMe SSD + Heatsink
taken the ssd drive out of the package and the last step that we have to do is just to apply the heatsink manually for the heatsink packets so there’s insulation instructions screws some wipes a small screwdriver and of course the heatsink unit itself with two thermal pads so i removed the protective
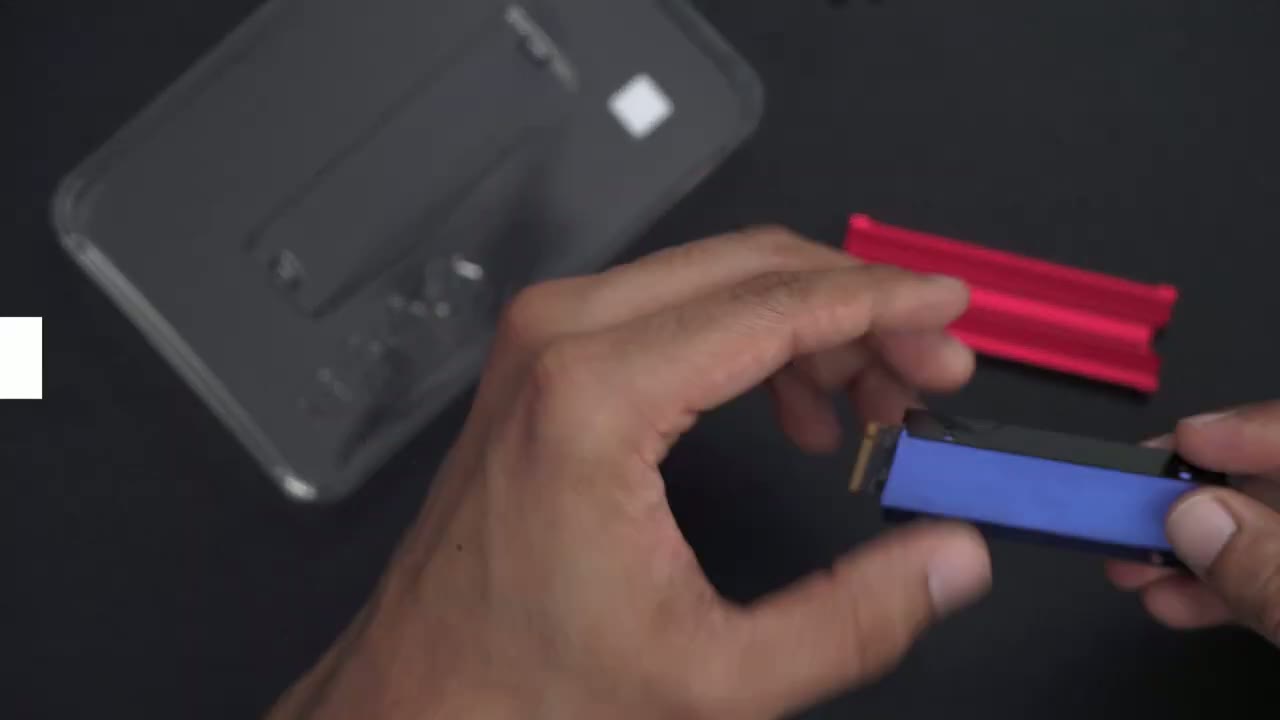
Add Thermal Pads
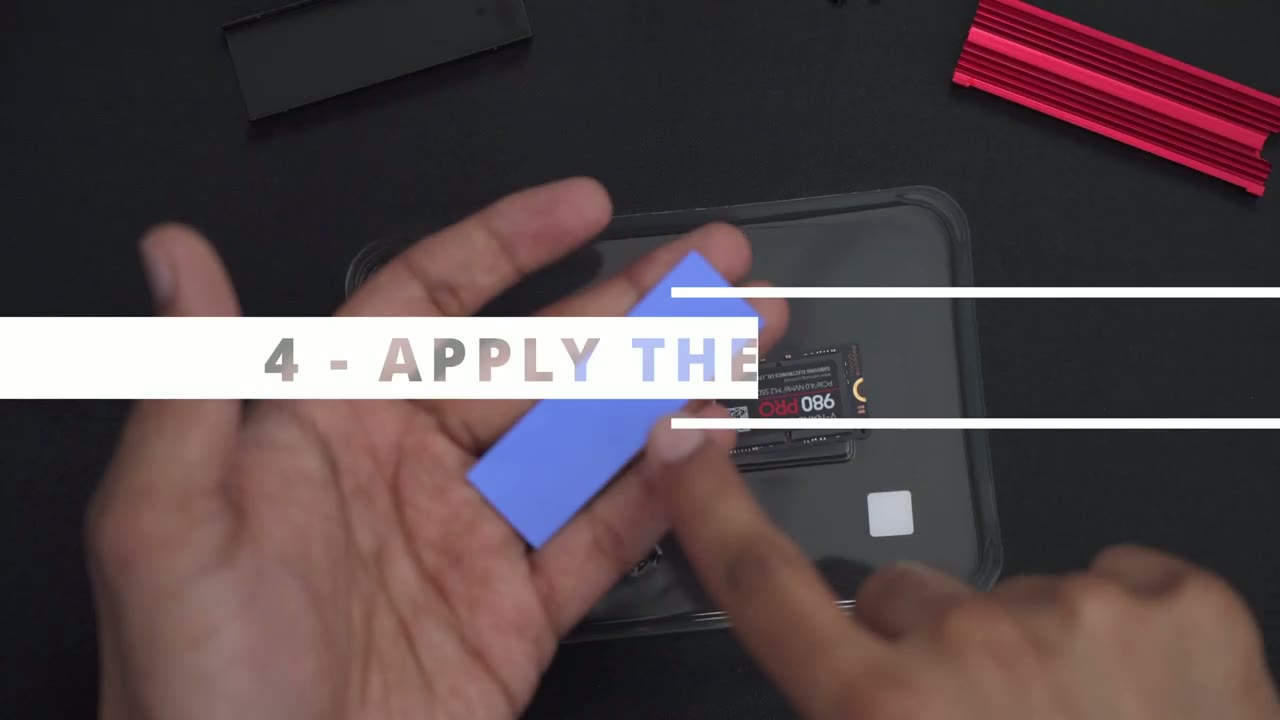
film from one side of the thermal pad and i’m just gonna apply to the ssd drive now now i wanna make sure i don’t go far enough where i cover that little half circle there because that’s where the screw is gonna go to secure it so i’m just going to line this up as close as i can remove the protective film from the thinner pad sorry i should say the next step again apply it in the middle okay so i’ve applied both paths to the ssd and i’ve tried to kind of press it and sandwich it as much as i can the next thing to do is to place it into the housing here and then screw it in
Tighten Heat Sink
okay so i finished screwing in all four of the screws on the heatsink and you can see everything’s looking good one thing i wanted to mention is pay attention to this cutout here that’s there for a reason so you know where to align the ssd drive and where to position it the next step is to line
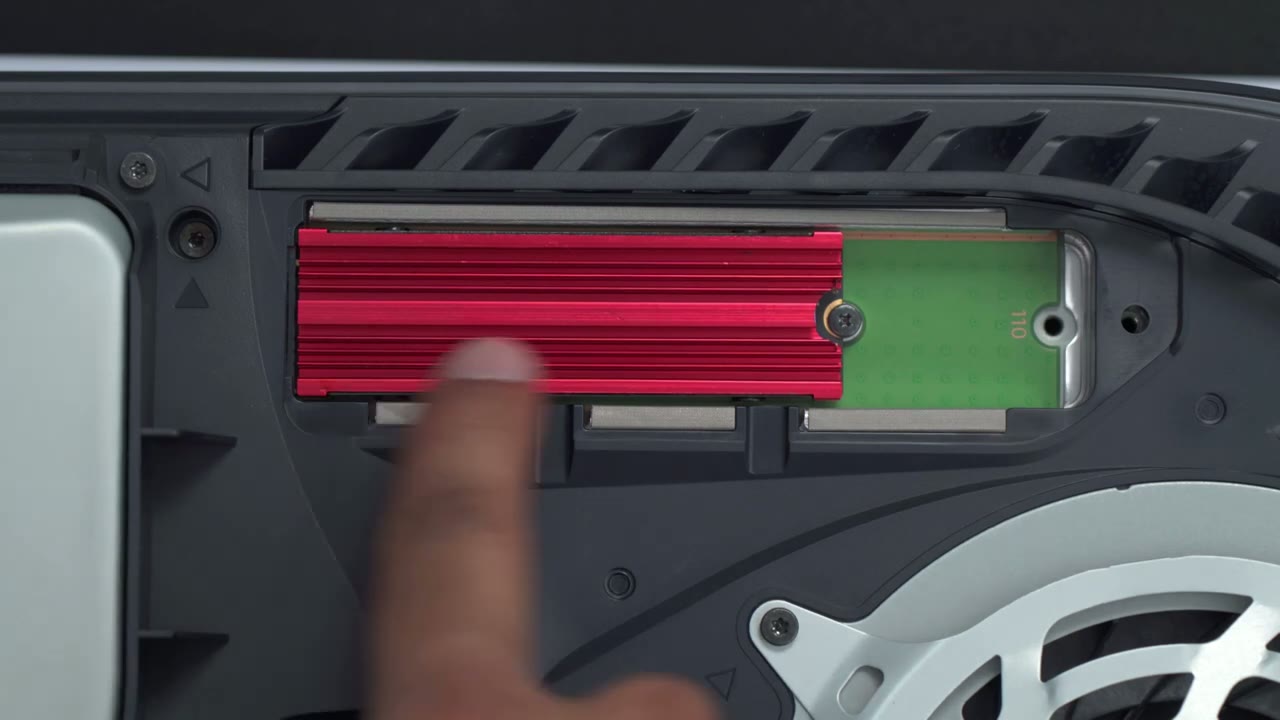
Insert SSD
up the ssd with the heatsink applied to the metal contacts right in there and you can see on the ssd there’s a little indent there on the right side you’re just going to line up that indent with the connection in there before i insert the ssd into the slot there i did remove that screw and stand off from over there so i’m going to put it into 80 like i mentioned i’ll leave the screw there for now so when you insert the ssd just make sure it lines up and you’ll hear a satisfying click like that now we’ll just screw it down and i can see that that little standoff has come loose i’ll just put it back into place there we go so everything’s already secured everything’s tight how did the ssd is in
Replace SSD Cover
i’m gonna put on this cover plate again
Replace Front Cover
okay so we have the nvme here the plate is back there and the last thing is to put this cover on so just go backwards and you’re done okay so i’ve connected
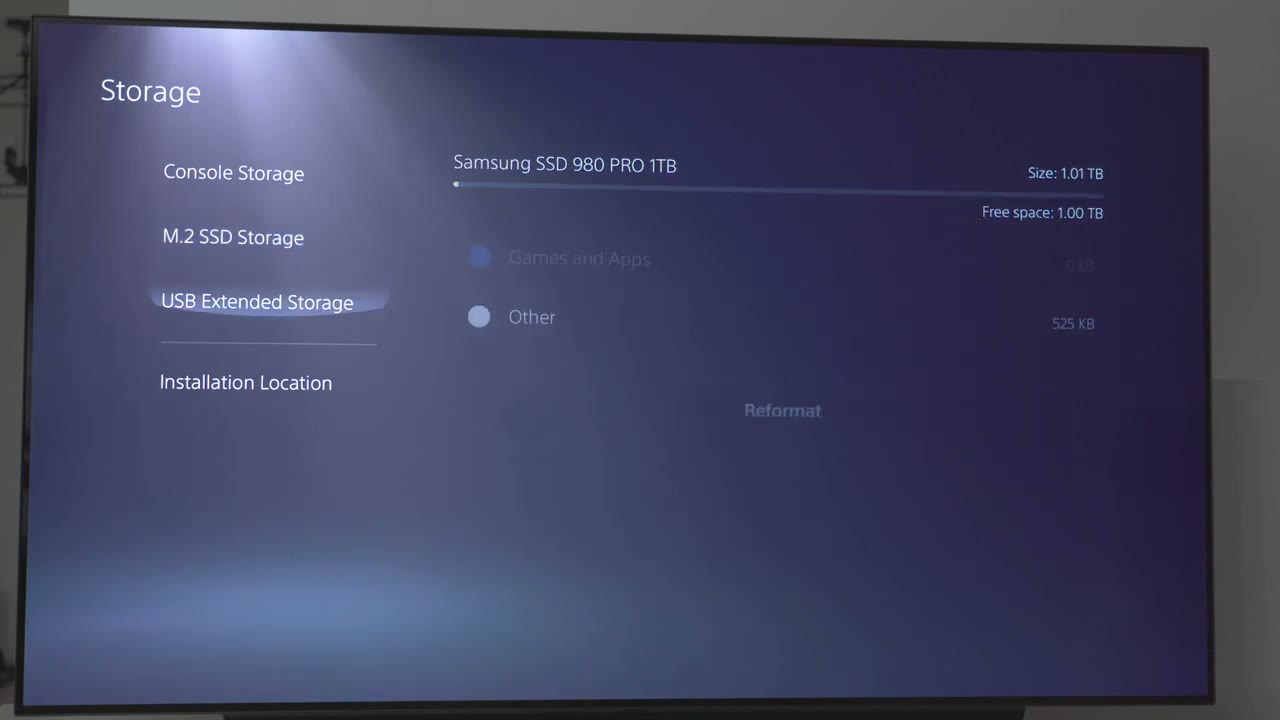
Post Install Boot Up
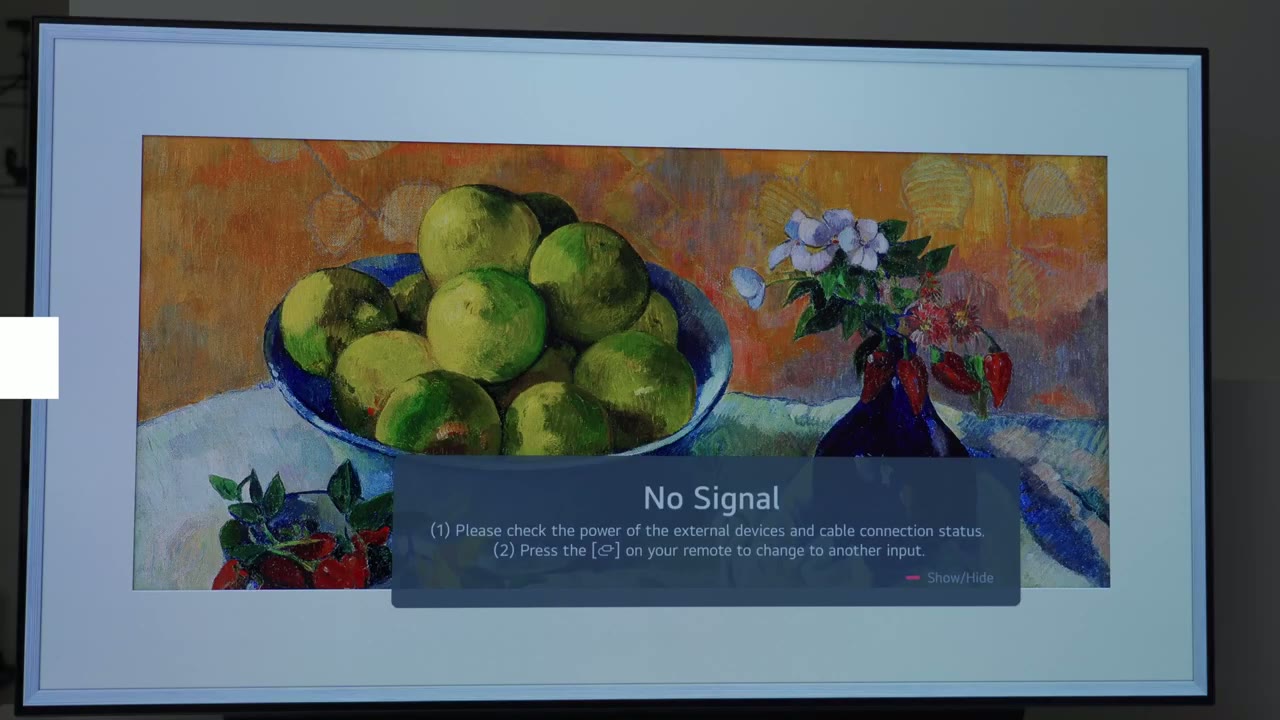
the playstation back now i’m just going to turn it on for the first time so as soon as i turn it on you can see it’s now saying to use your m.2 ssd you need to format it and when you format it all data is going to be deleted that’s fine because i don’t have anything it’s a brand new one so i’m going to click format okay so it shows that the read speed is 5539 megabytes per second now this is rated for up to seven thousand but we’re getting five thousand five hundred and forty let’s say so i’m gonna pick okay so m.2 has been formatted now and it gives us some instructions on how to change where games are installed okay so let’s go into our settings and confirm that the storage is there so you can see the console storage it still remains unchained 667 and if we go to the m.2 storage we could see we have one terabyte of free space and there’s no games or apps on there yet really
Move Games – Speed Test
quick tip in case you do want to move things after you just install it go to games and apps select the game so i’m going to select battlefield that’s about 109 gigabytes i’ll pick select items to move and you can see i can click the option here to move and it shows on the right side there after moving it i’ll have 890 gigabytes remaining on the m.2 and i’ll just go ahead and move that just to demo the speed so you can see it’s pretty fast to move 108 gigabytes it’s going to take just about a minute and there you have it 109 gigabytes moved in just over a minute super impressive now if you don’t want to go
Before You Buy
through all this samsung does sell this drive with a heatsink already applied for more money of course this heatsink just cost me 11 us so it’s a far cheaper option to just buy the heatsink manually applied and then install it before you buy your heatsink to manually apply just make sure it states that it’ll fit a ps5 the last thing you want to do is go through all that work and find out that it doesn’t fit if you’re interested i’ll leave a link to the one that i use specifically in this video if you found this video helpful please consider liking and subscribing i’m planning on making more of these kind of quick tips and tricks and i hope to see you in the next one bye you
☑️ Get Samsung 980 Pro NVMe on Amazon
Please note that some of the links in my video descriptions are affiliate links where I earn from qualifying purchases. As an Amazon Associate I earn from qualifying purchases.