Buy 512GB microSD Card on Amazon
Buy 256GB microSD Card on Amazon
Please note that some of the links in my video descriptions are affiliate links where I earn from qualifying purchases. As an Amazon Associate I earn from qualifying purchases.
Intro
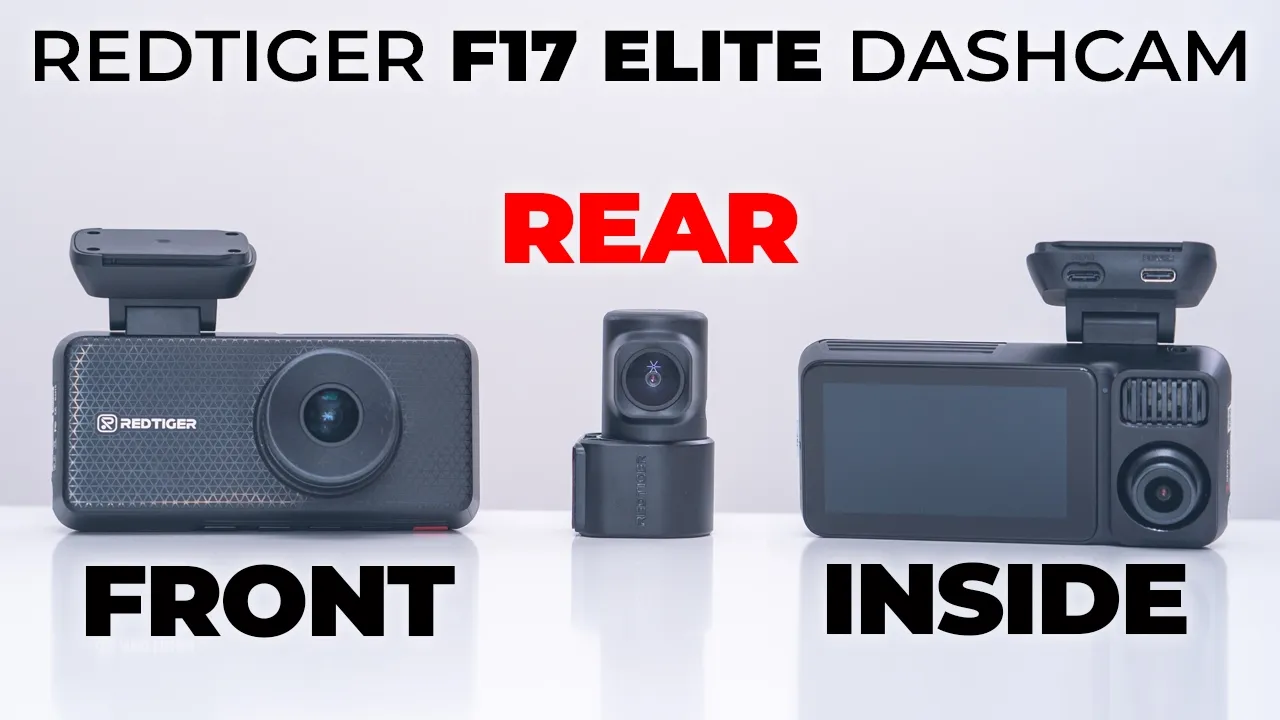
Hey, it’s Adrian and if you’re looking for highquality 4K video along with the ability to have front recording, rear recording, and inside car cabin recordings, you should check out the Red Tiger F17 Elite 3 channel dash cam. The F17 Elite dash camera has a wide field of view, letting you see everything. You have sharp 4K video using Sony services to IMX 678 sensor. There’s a 3-in IPS display with touchscreen functionality up to 512 GB micro SD card support, 247 time-lapse parking surveillance, and it also comes with a 128 GB included micro SD card. So, let’s see if the Red Tiger F17 Elite Dash Camera could be your next dash camera. And a big thanks to Red Tiger for sending this out for
Package Contents
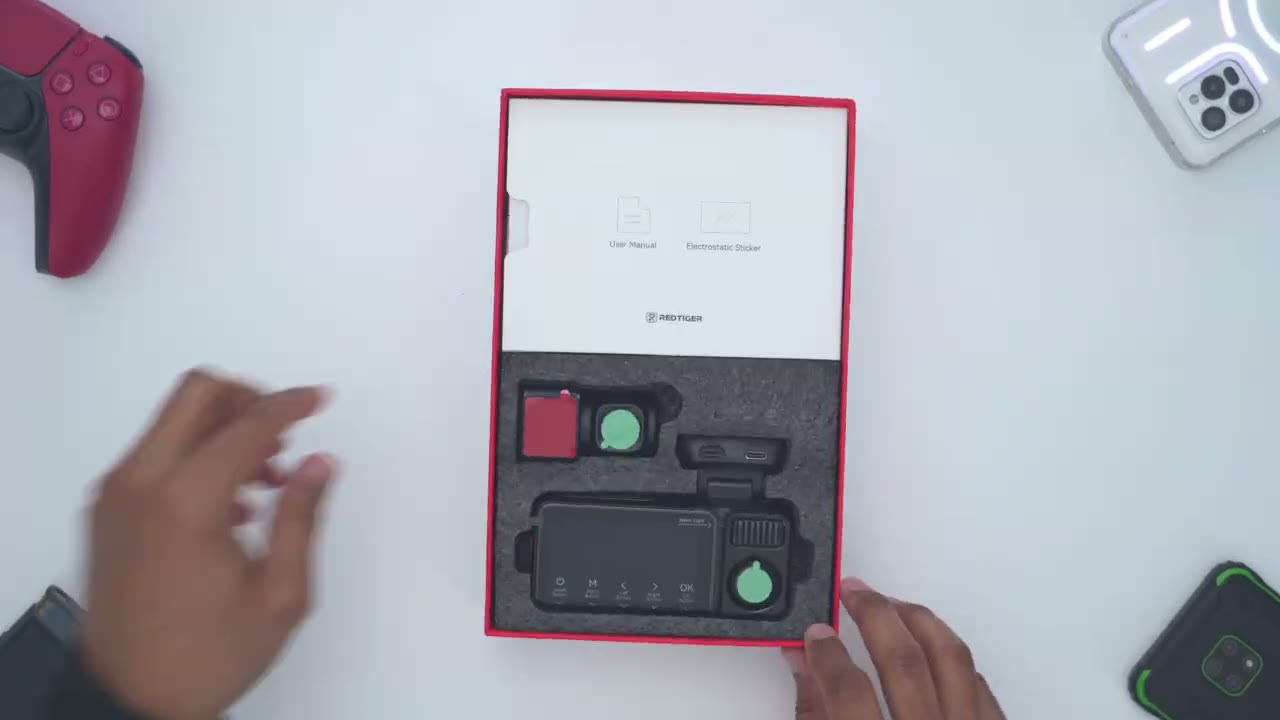
review. In the box, we have the Red Tiger F17 Elite dash camera along with the rear dash cam unit as well. We also have the car socket adapter. And if you take a look at the front of it, there’s also a type A USB connector, so you could still plug in, you know, another cable to charge your phone. There’s a really long extension cable to connect the rear dash camera to the F7 Elite. There’s a quick start guide, manual mounting clips with adhesives applied. There’s additional sticky pads and additional mount for electrostatic stickers and a wedge tool to tuck the wires. So, the F7 Elite dash camera
Design
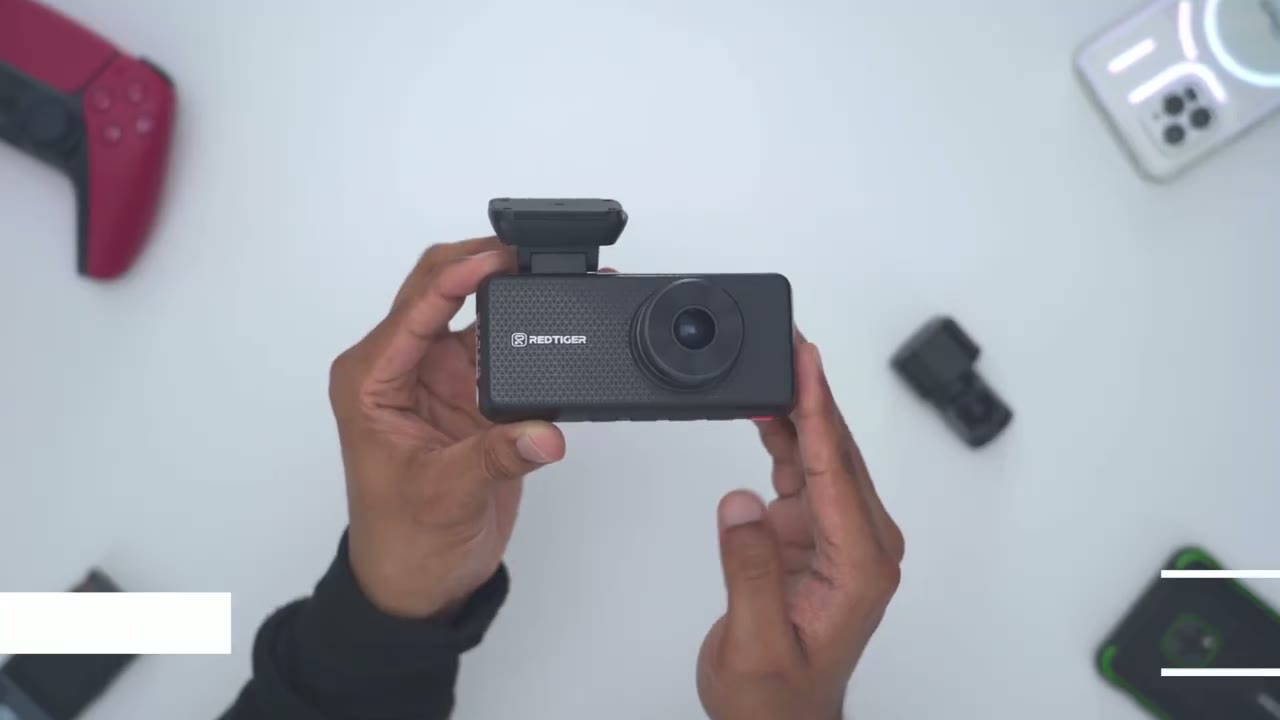
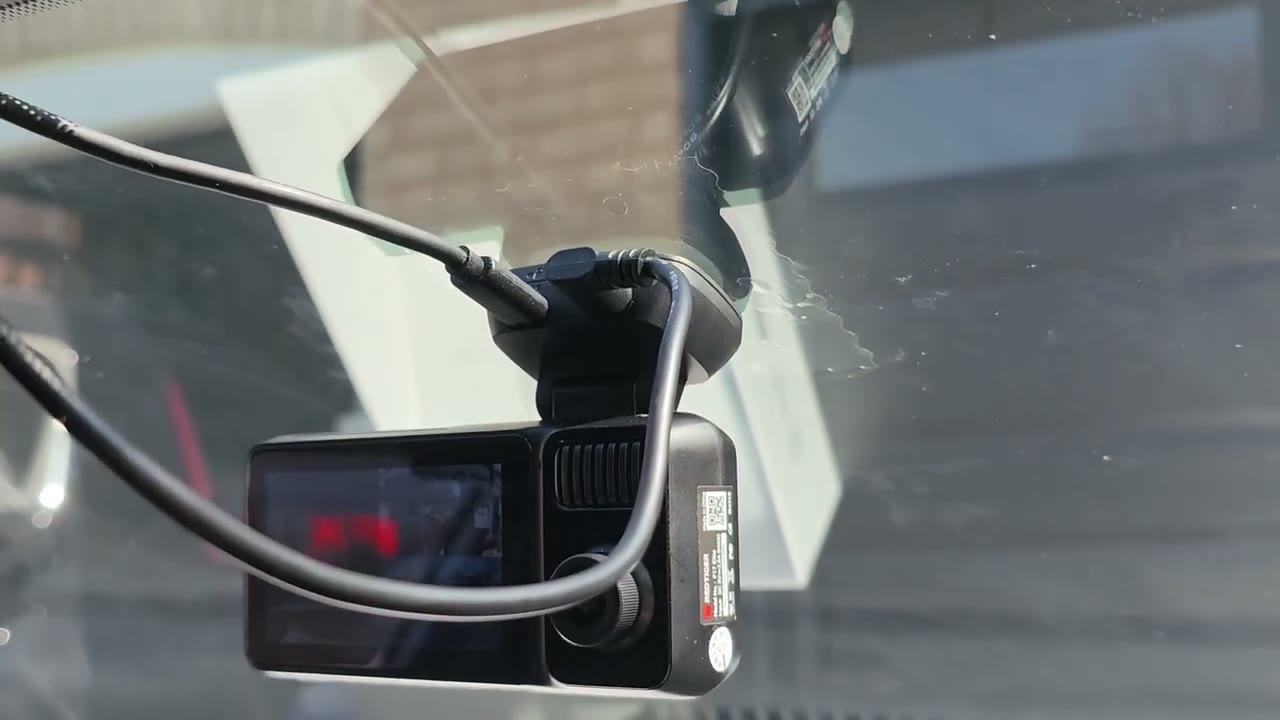
looks really nice from the front. You can see as I kind of angulate it, it plays really nicely with the light. It has this kind of geometric pattern with the Red Tiger logo. Now, even though it’s a mostly all plastic build, it does have some heft coming in at around 188 g or about 0.4 lb. Now, on the front, we have a 4K lens and that’s using Sony Starvis 2 IMX 678 sensor. Now, this is really unique though. This is something I’ve not seen before. So, take a look at this. If I do a side profile, the actual lens module here, this can be rotated or actually articulated up, down, right, and left. That is something I’ve never seen on a dash camera before. Now, we also have the actual mount that’s going to go on the windshield. And this actually articulates as well.
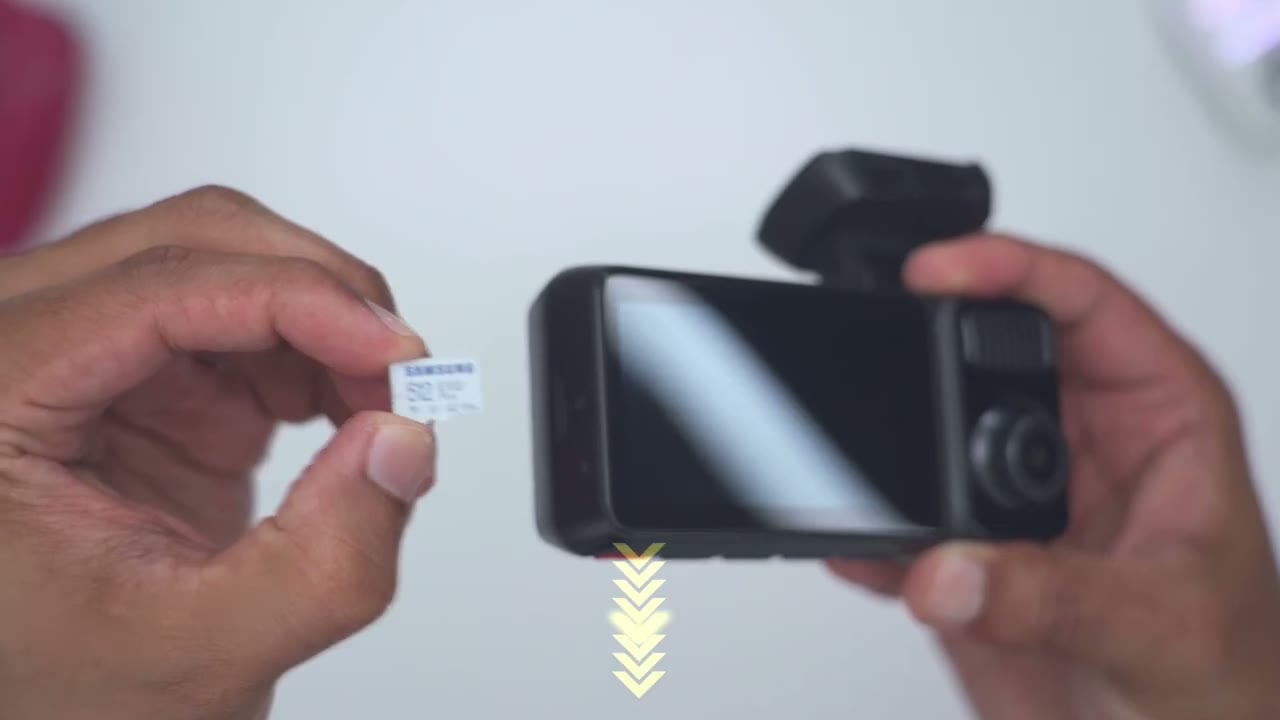
So, we have two levels of articulation. So, if you ever felt limited by the articulation here, you also have it on the front. Like, really unique. On the very bottom, we have the microphone port. And if we take a look at the side, they’ve already included a 128 GB micro SD card, so you’re ready to go. This is something I wish more dash camera brands would actually do. However, the dash camera accepts up to a 512 GB micro SD card. So, that’s what I’ll be using during my testing. And then if we take a look at the rear, so this is where we have that fairly large 3in IPS screen. And this does have touch functionality, which I’ll demo later. And then we have, you know, kind of the claim to fame of this. So, this is the cabin camera.
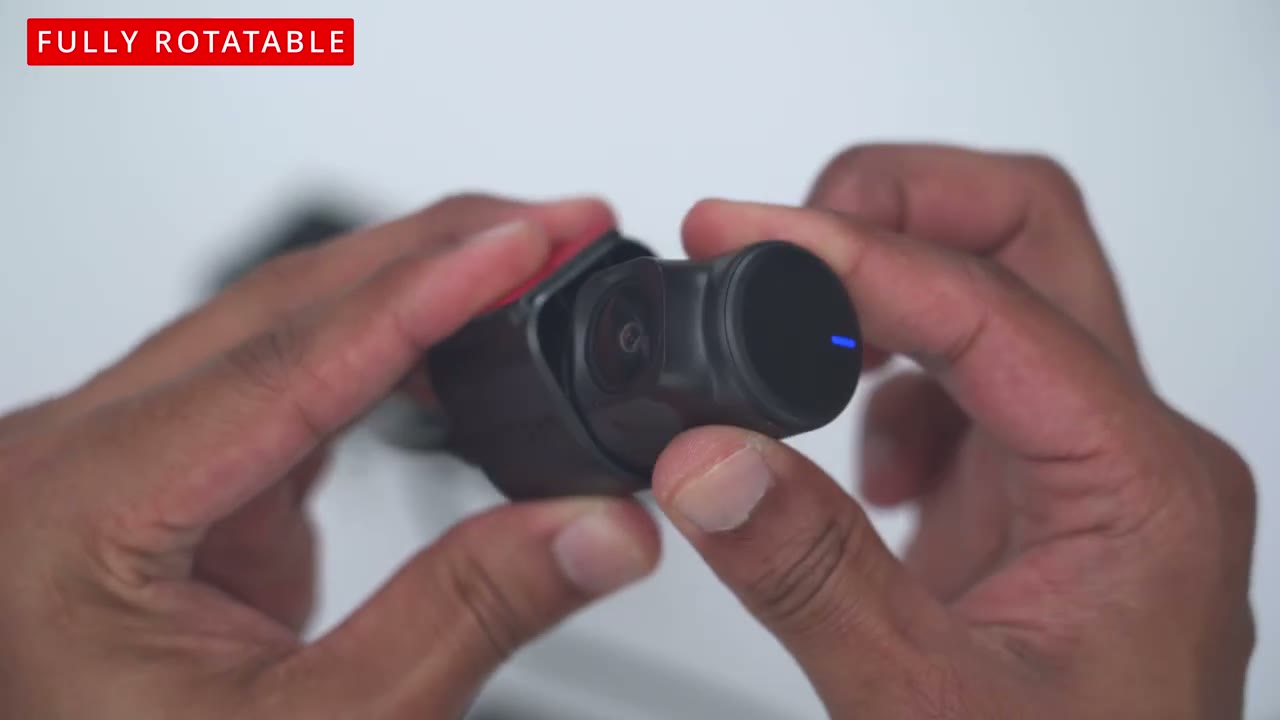
And again, it’s the same type of articulation that we saw on the front cuz you could just kind of angulate it to wherever is a priority in the car. And the inside camera or cabin camera is capable of 1080p recordings and color night vision. We also have a status light in the corner here on the actual mount that articulates. We have power for the rear dash camera to connect it there. And then we have the main power slot. Both are USB type-C. There’s also a GPS module built in for route tracking. The rear dash camera is much more compact and lightweight coming in at 39 g. Now, this is a 2.5K lens. Most dash cameras have a 1080p, so it’s nice to see 2.5K on the rear. And this is using Sony service to IMX 678 sensor. We also have a sticky pad to just attach this to your rear glass.
And on the side, we have the type-C connector and an LED indicator light lets you know when everything is powered correctly.
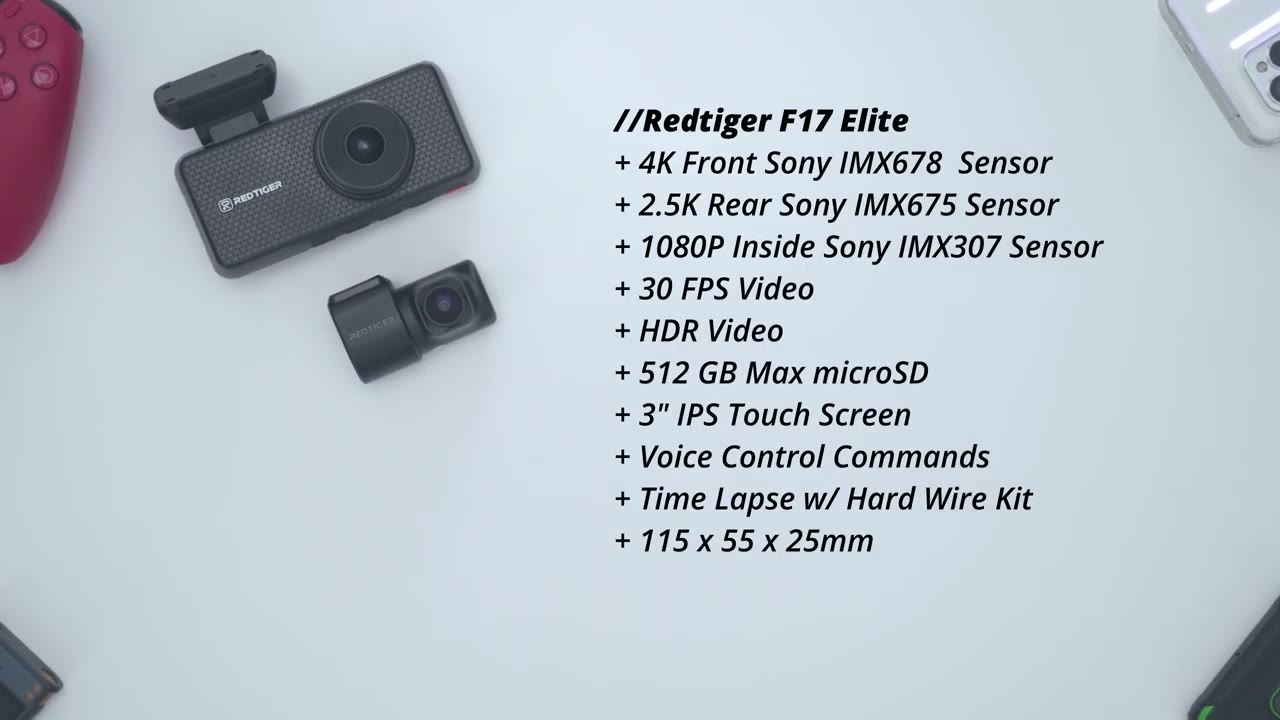
Specs
Here’s a quick look at the specs. Feel free to pause and review or jump ahead
App Pairing
to the next section. To connect the F17 Elite dash camera to the Red Tiger app, make sure the dash camera is plugged in and you connect the rear camera as well. Open up the Red Tiger app. Click the plus sign and then go back to the dash camera and tap the Wi-Fi icon at the top right corner to turn it on. Connect to the Wi-Fi name, which is going to be F17 Elite or something similar. And then it’ll automatically connect in the app
App Settings
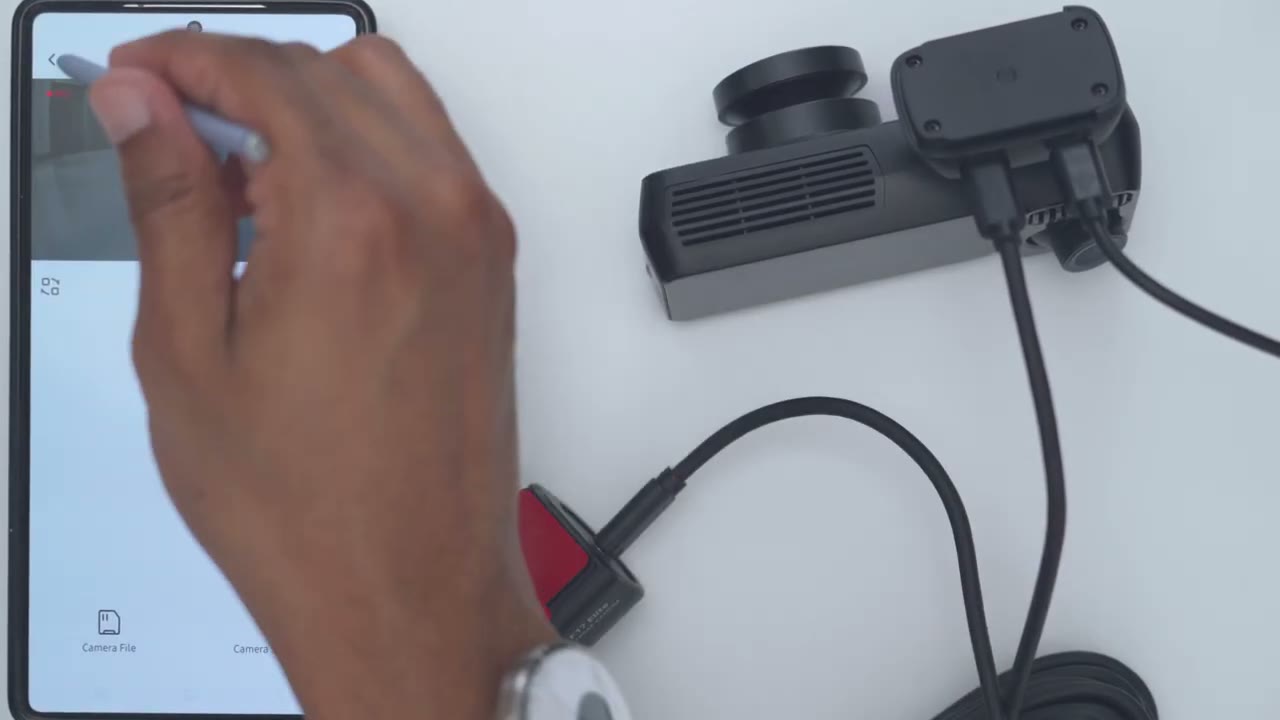
and you’re good to go. Now that the F17 Elite is connected to the Red Tiger app, we could tap on access camera and it’s going to pull up a live view of what the cameras are seeing. So, if I run my hand in the front, that’s what we’re seeing on the front. Now, I would have to go ahead and switch the different camera view. So, this is going to be for the rear camera. So, once that kicks over, I’ll just run my hand in front here. So, you can see this is the rear camera. Again, very good quality. And then lastly, if I go ahead and click that again, it’s going to switch to the inside cabin camera. So, you should see me in a couple of seconds right there. But, let’s just jump back into the front camera, which is the 4K camera and the highest resolution.
Now, on here, you can also go ahead and see that it’s recording audio. Right now, it’s actively recording. We can also go ahead and take a full screen view, which is handy, and I can see the GPS signal. We can also jump into maps, and it actually shows the speed if you keep this up while you’re driving. Now, if we tap on this icon here, this is going to access the storage. So everything that’s on the micro SD card. So you can see this is what’s been recorded so far. So we have it broken down into loop, snapshot, and locked. And this is if your, you know, your car gets any type of collisions or the dash camera thinks it’s in a collision, it’s going to lock that file so it can’t be overwritten until you can get access to it. So fairly standard there.
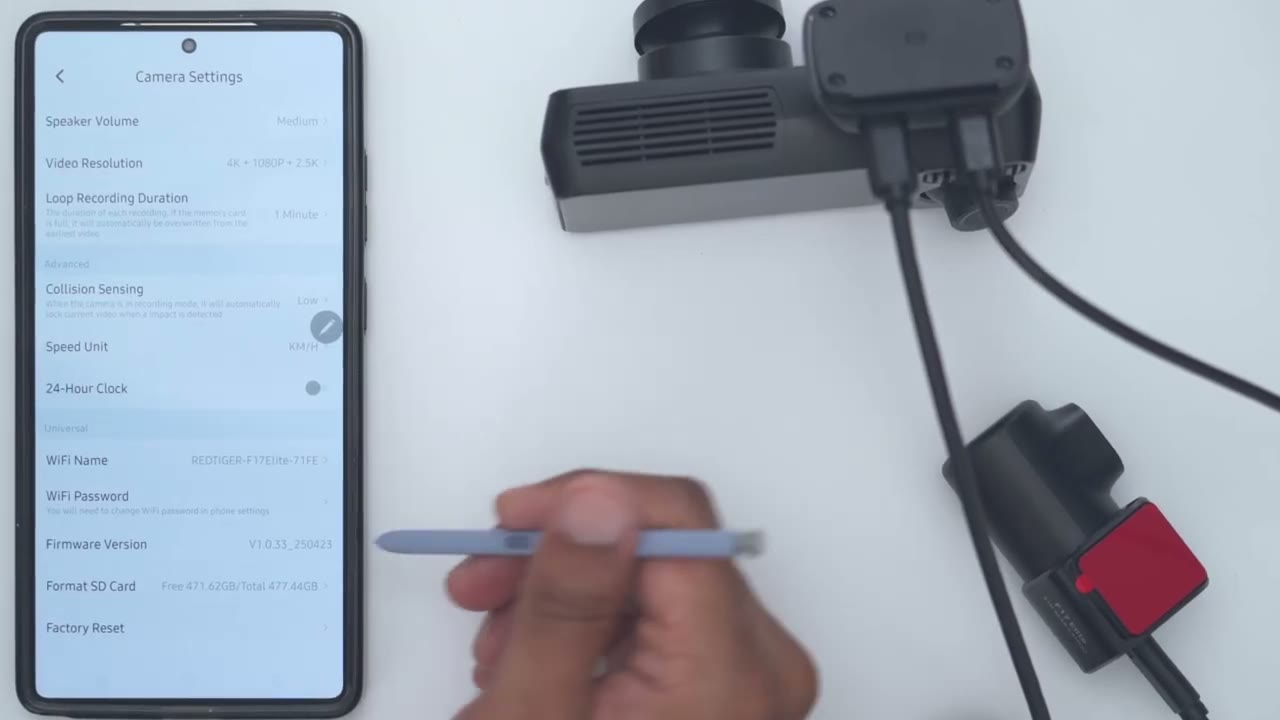
Now, if we hit stop here, this is going to stop the recording. And then we can also take a snapshot. You could hear that audibly on both. But let’s go into the full settings now. So, in the full settings, you can enable sound recording from here. Now, speaker volume, you could set that to low, medium, or high. I’ll leave it on medium for now. And then for video resolution, so we have a couple options. You can have 4K for the front, 1080p for the inside or cabin camera, and then 2.5K for the rear. Or you can have 2.5K for front and rear, and 1080p for the inside camera. And then loop recording duration, you could set it to 1 minute, 3 minute, or 5 minutes. Collision sensing. So, this is where the dash cam is going to automatically detect if your car was involved in a collision.
You could set the sensitivity from low, medium to high, or leave it off. I’ll just leave it on low, the default. And then the speed. You could switch it from kilometers to miles. I’m going to leave it on kilometers because I’m in Canada. You can turn on 24-hour clock. And then you could set the Wi-Fi name, password, and check the firmware version. Let’s
Dash Cam Settings
take a look at the dash cam settings. So, I can see the GPS is on. It’s set to 4K. Wi-Fi is off. voice control is on, recording is on, or sound recording is on, and it’s actually recording, and I’m looking at the front camera. Now, you can also see there’s some quick access icons at the bottom, and those actually correspond with the touch buttons or the uh physical buttons at the bottom. So, for example, if I wanted to take a snapshot, I could press the power button, it’s going to take that snapshot, and I can also just tap on the actual icon to take the snapshot. So, the touchcreen is very, you know, convenient to have. Now, at the very bottom, we can also switch between the cameras. So, this is the inside or cabin camera. And then this is going to be the rear camera.
And if I cycle through, it’s going to give me different layouts where I could see the different cameras in priority. And we’re back to the front. We can also go ahead tap into this icon to look at video playback. There’s different folders. This is going to be quicker to do on the app. So, I recommend using the app. We can also lock everything and jump into the full menu settings. So, let’s do that. Now, under resolution, we have the two options, 4K for the front or 2K if you want to save on stored space. Same as in the app, you can also choose to record sound or not. And then we have loop recording from 1 minute up to 5 minutes. And then we can also set the G sensor from off, low, medium, or high. You can set a fatigue reminder, so the dash cam reminds you to take a break while driving.
And then we can turn Wi-Fi on. We can set the speaker volume, same as in the app. And then I’ve disabled clip tones. That’s why you’re not hearing anything as I’m clicking through. You can enable or disable the dash cam startup sound. And then the screen saver actually kicks in from 15 seconds to 1 to 3 minutes, but there doesn’t seem to be a way to turn that off completely. Now, you can also set internal recording. You’re going to want that on at all times. And then voice control is on. And these are the list of available voice commands. I’ll test that out later. And then we can also do a mirror flip for the front or rear dash camera. You can also look at the GPS signal. It’s not going to be strong. I’m indoors. Now, you can also have a date stamp appear on the video.
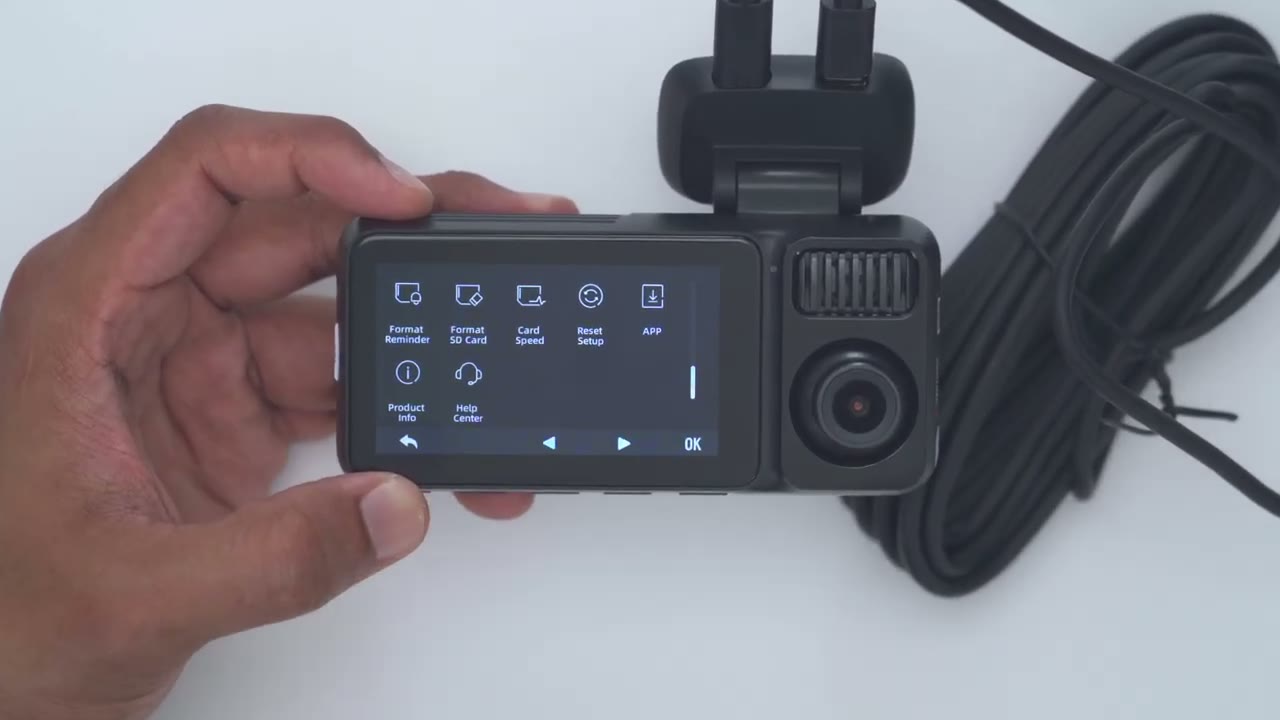
You can have your current speed appearing on the video. And you could have the GPS coordinates on there. I’ve disabled that for now. And then you can set the speed units, kilometers to miles per hour. The languages are English, uh, Mandarin, French, Mandarin again, uh, Spanish, Dutch, Italian, uh, Russian, Korean, and Turkish. So, a bunch of languages. We also have the clock setting. You could set that manually. You could set the time cell 12 to 24 hours. You could set your time zone, daylight savings time on or off. You could set the flicker hertz. You can also have the dash camera remind you to format the micro SD card. You could format it manually whenever. You can take a look at the card speed. I highly recommend doing this. You could reset everything. Download the app.
Take a look at product info or look at the
Installation
help center. To install the dash camera, apply the electrostatic sticker to the front windshield. Remove the protective peel from the front dash camera mount and attach it to the electrostatic sticker. Repeat the same process for the rear dash camera. And then connect the extension cable from the rear camera to the front camera. And then power up the front camera using the socket adapter or the hard wire kit and you’re done.
Video Quality
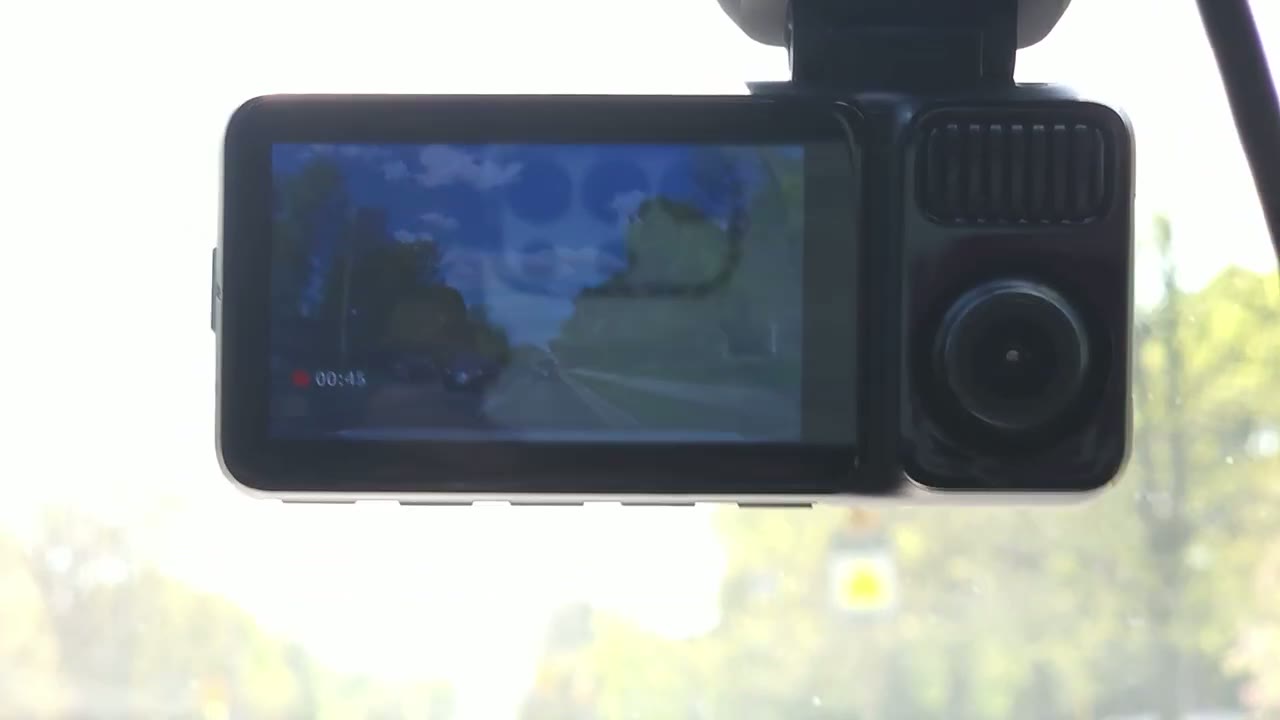
4K video quality is sharp thanks to the Sony Starvis 2 IMX 678 sensor, meaning you’ll see critical details like license plate without issue. Thanks to the high bit rate video quality, video looks great during the day under various lighting conditions, whether it’s bright and sunny, overcast, or at night, you’ll still be able to see everything and record clearly. And that wide field of view lets you see all lanes of traffic while you’re driving. Footage from the rear camera is also equally detailed. and it has a wide field of view, letting you see everything that goes on outside as well. Now, note that my rear windshield is tinted and it does have heating element lines to melt snow and ice, so it will affect the video quality.
But if you have a clear glass, yours will look even better than mine. Video inside the car cabin is also clear, which is great for keeping ride sharing records or you just want to be protected inside and out. You’ll see everything in great detail. If you use
Timelapse Video
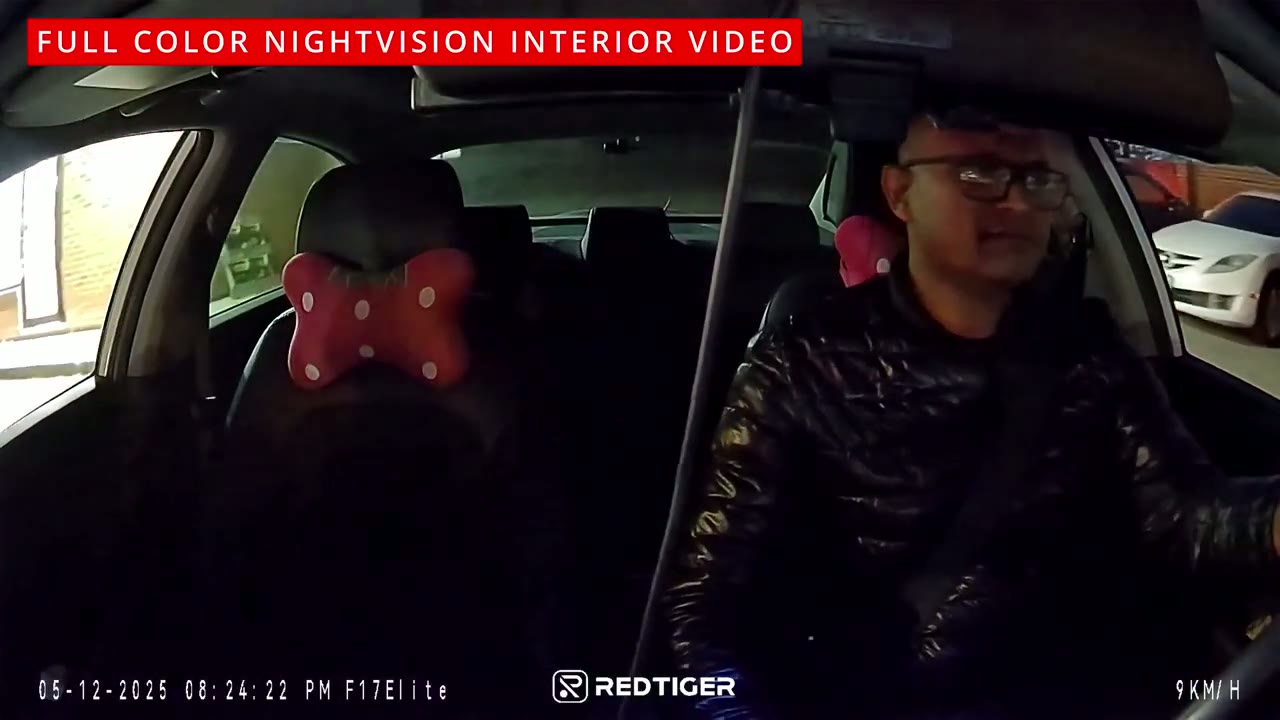
the hardwire kit, which is optional, you have the option to turn on parking surveillance, and you’ll get clear video of every movement in and around your car from all three cameras. You can also set the time-lapse duration from 12, 24, or
Voice Commands
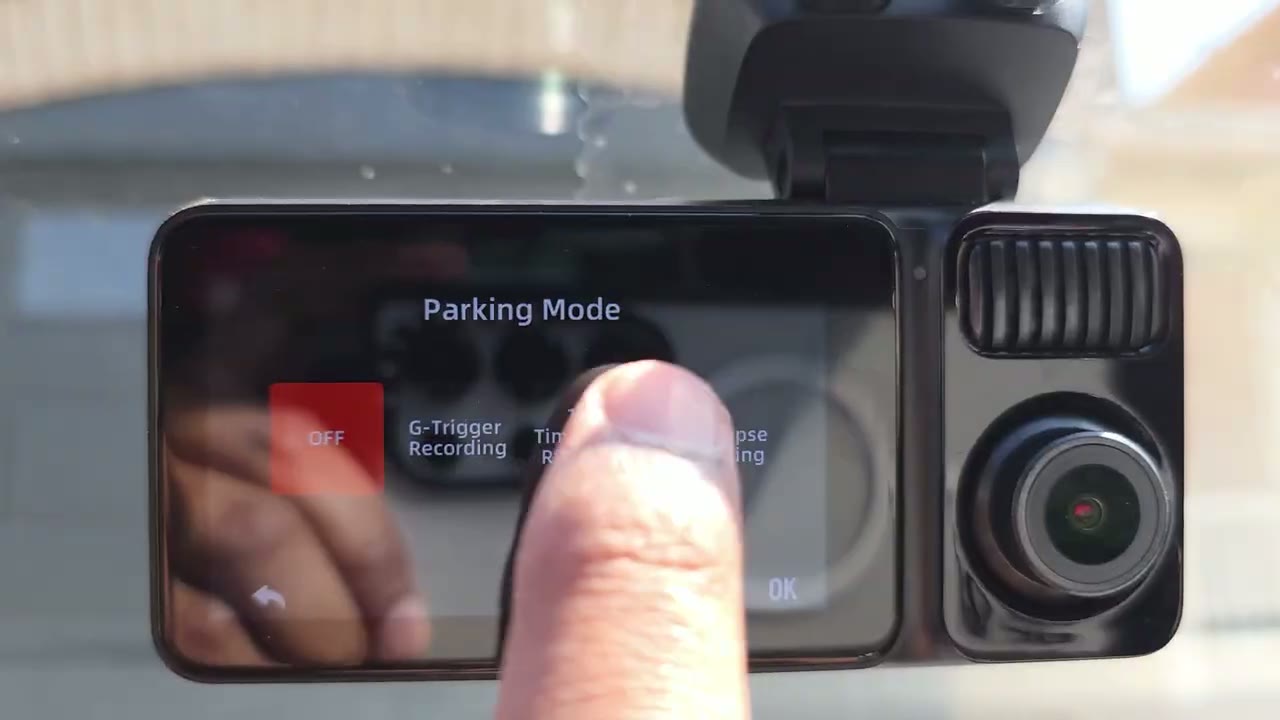
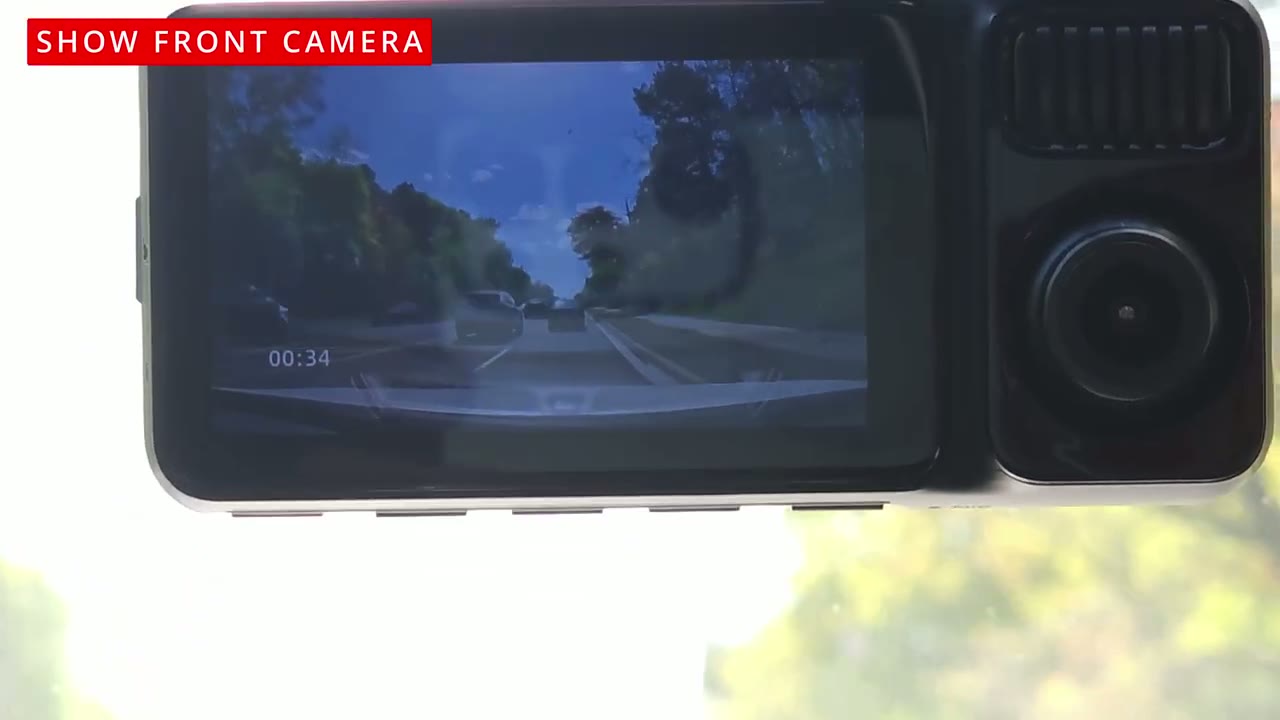
48 hours. The voice controls were fairly accurate, even with car cabin noise. Here’s a demo of that. Turn screen off. Turn on screen. Show rear camera. Show front camera.
Storage
If you use the included 128 GB micro SD card, you’ll get around 5 hours of video recording history. Now, if you step up to a 256 GB card, that’ll go up to 9 hours and 30 minutes. And if you use the 512 GB card that I use on here, you’ll get almost 19 hours of recording history, which is fantastic. Now, if you do plan on using the time-lapse surveillance feature, these numbers will be a little bit lower since it’s also recording when you’re parking. in which case it’s better to have the 512 GB micro SD card, and I’ll leave links down below to the one that I’m using. Now,
Good To Know
the F7 Elite dash camera has been great so far. But there’s one thing I wanted to point out. So, the screen on the dash camera will turn off after a certain amount of time. I’ve set mine to turn off after 3 minutes, which is the maximum. Now, I generally like to see this screen when I’m driving, so I know it’s working. But if you take a look, there’s a blue LED light letting you know it’s actually working. Now, at any point, you can also issue a voice command to turn the screen on. So, it’s not really that big of a deal, but something to consider. If your current
Recommended?
dash camera only records in 1080p, or if you want both front, rear, and inside car cabin recordings, the Retiger F17 Elite 3 channel dash camera is a worthy option. Red Tiger also includes a 128 GB micro SD, so you’ll be up and running right away without having to spend extra. So, I’ll leave links down below in the video description and pin comments for you to get your very own Red Tiger F7 Elite dash camera. And if you need a dash camera with only front and rear recording, you don’t require inside recordings, check out my review of the F Tiger F77 dual 4K dash cam. This actually records front and rear in 4K. It’s worth checking out. And I have a huge favor to ask. If you found this video helpful, would you consider liking and subscribing?
It truly does help me out as a small and growing channel. And maybe consider checking out some of my other tech reviews. I review a bunch of different things from keyboards, laptops, headphones, earbuds, security cameras. Really something for everyone. And I hope to see you in my next video
Buy 512GB microSD Card on Amazon
Buy 256GB microSD Card on Amazon
Please note that some of the links in my video descriptions are affiliate links where I earn from qualifying purchases. As an Amazon Associate I earn from qualifying purchases.