Buy Blink Outdoor 4 Floodlight Kit on Amazon
Buy Blink Outdoor 4 Floodlight Mount on Amazon
Buy 3rd Party Cables To Run Blink Outdoor 4 In Wired Mode
Buy USB Drive For Sync Module 2 on Amazon
Please note that some of the links in my video descriptions are affiliate links where I earn from qualifying purchases. As an Amazon Associate I earn from qualifying purchases.
Intro
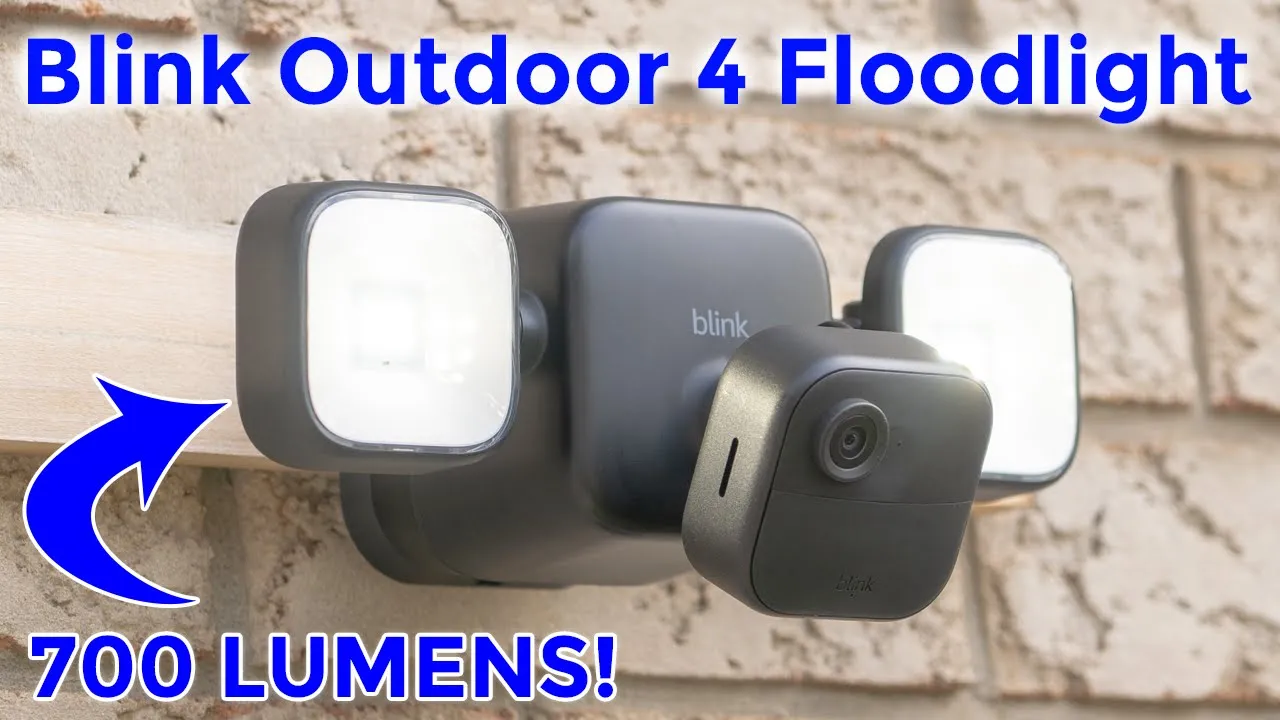
hey it’s Adrian and today I’m doing a quick review setup and installation of the brand new blink outdoor 4 flatlight camera and this one is completely wirefree and outputs up to 700 lumens of brightness so I bought the full version which includes the blink outdoor forward camera and the flood light Mount accessory but if you already have the blink outdoor 4 just go ahead and get the mount accessory now I’m not going to review the blink outdoor 4 camera I’ve already made a detailed review I’ll link it up here and in the video description below if you’re interested but let’s take a closer look at what comes in the Box the setup process and exactly how much illumination we can add to our nighttime video and just Illuminating the exterior of our
Package Contents
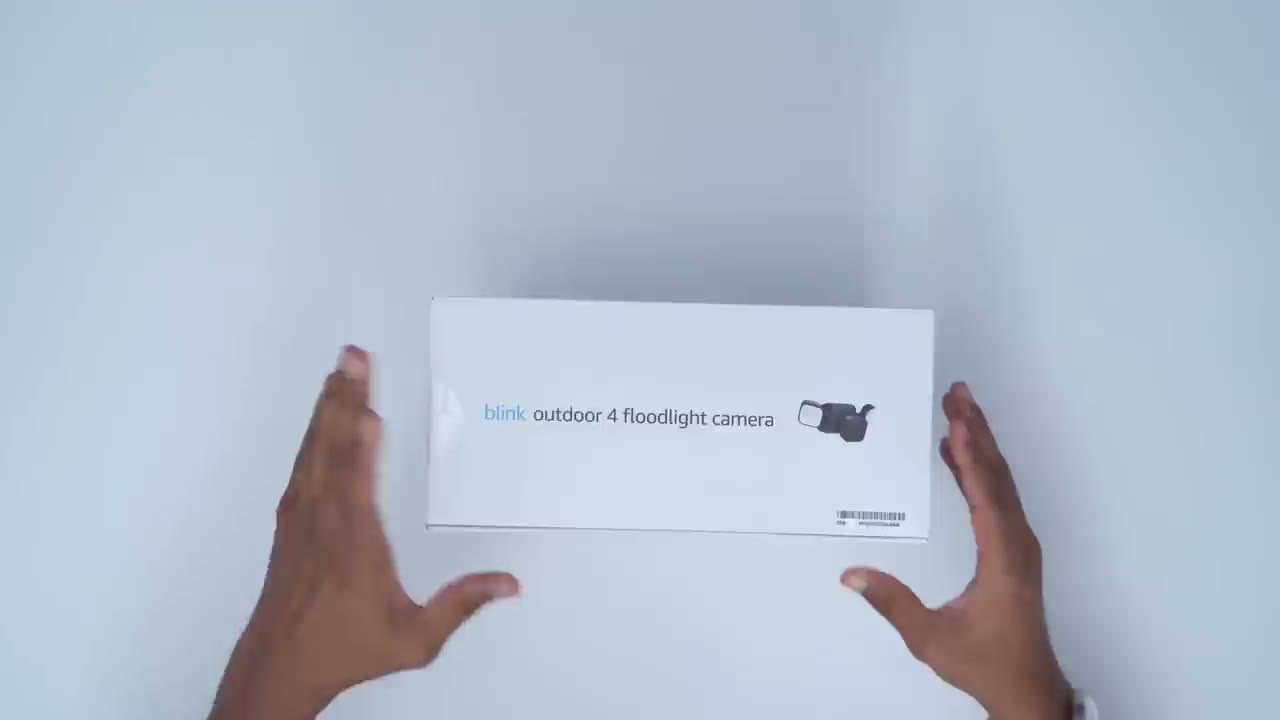
houses in the Box we get the F light camera mount we have the blink outdoor 4 camera an opening tool for the rear to insert the two Supply batteries you also have a mounting bracket here along with mounting screws the snc module 2 unit a power cable and power brick to power it and a manual so the floodlight camera
Design
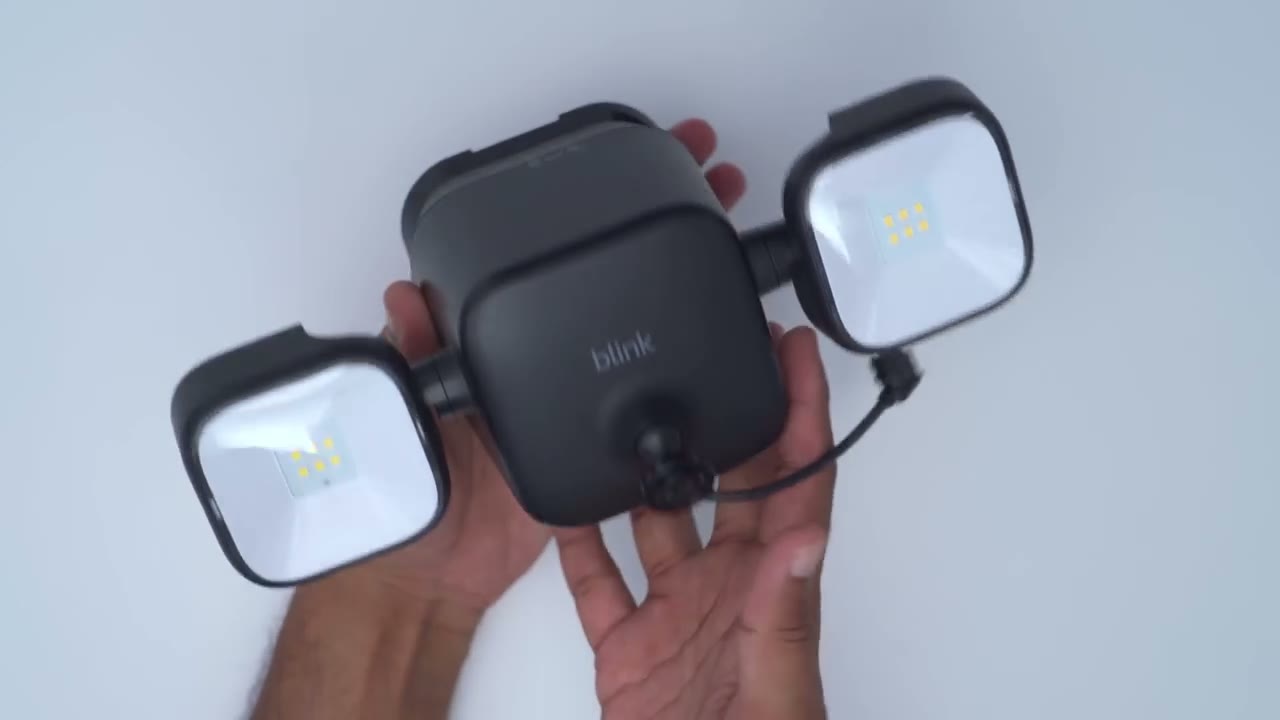
mount is a pretty sizable Mount and it comes in at around 2.2 lb so a little bit heavy to we have those two flood light panels and these are adjustable up or down and horizontally as well so you can get pretty much any type of angulation that you want and then we have this Mount here which is where the blink outdoor 4 camera is just going to snap in and again this is rotatable and adjustable just you know held by friction and there’s also a USB type-c cable which is going to connect to this little Port right here looking at the back of the mount you can see that we have this plastic bracket and there’s a little tab here that you could lift up and once you do that you can slide this Mount right out of place and you can see there’s an up Arrow to show you how to align it and this is pretty much what’s keeping it you know from slipping out you’ll hear that click right there and you can slide it out now this is probably going to be how I mounted so there’s three screw holes 1 2 3 I’m just going to put this into my wall and then slide it in if you’re not a fan of drilling and you have some kind of siding you can actually use this tool here so you can see there’s two cutouts here if I line it up right there it kind of clicks into place and then this little curve here you would just hook it onto something and then basically you could see it’s holding the whole unit and it’s kind of bending backwards so that’s you know how you kind of secure it I don’t like this method it seems you know very uh unstable especially if it’s windy so I’m probably just going to go with the screw method if we do a top view of the unit you can see that right now it’s locked and to unlock it I’m just going to rotate this entire panel here that pops off and it reveals you know the covering for the four diesel battery so I’m just going to pull these two clips inwards here pop the protective cover off and we have those four diesel batteries and of course there’s this protective layer here you just remove that let’s close everything back up next let’s take a look at the blink
Setup
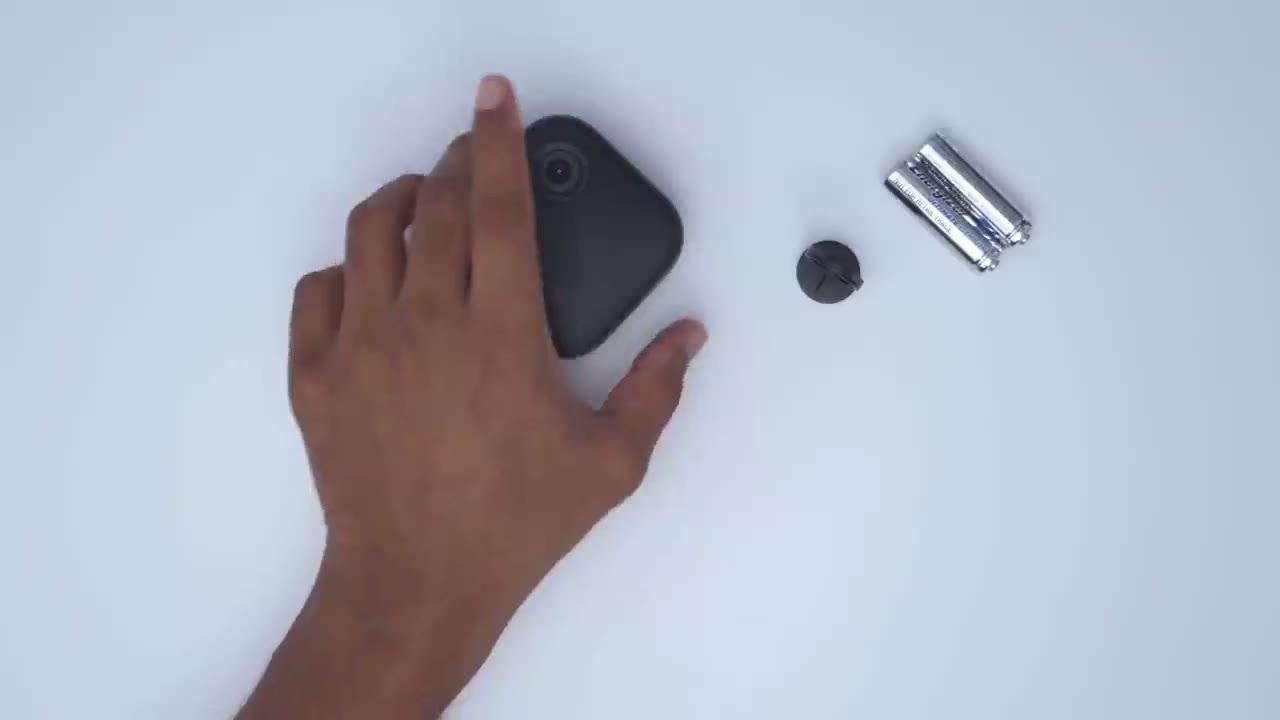
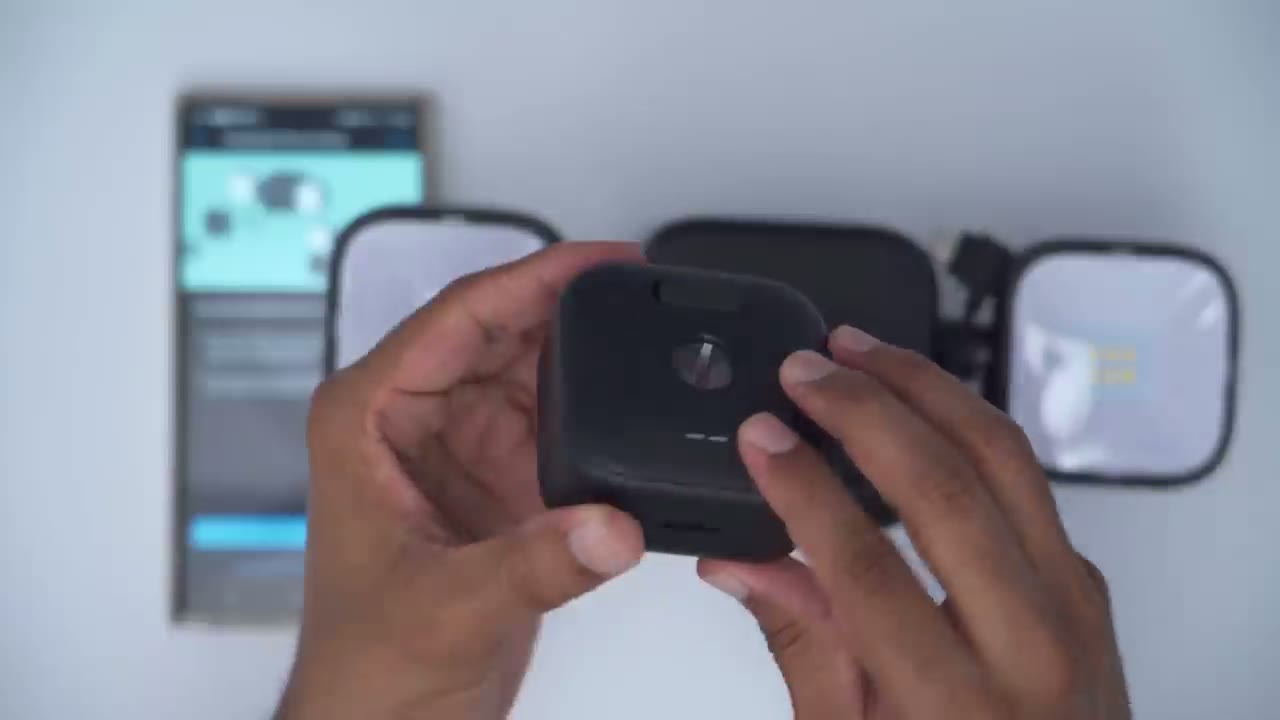
outdoor 4 camera so if you don’t already have one of these the first thing you’re going to do is use this kind of open tool here and just rotate it at the top here and then you just pop the pop off once you do that insert the two Supply batteries make sure you Orient them correctly the next step is to add the sync module so let’s do that now the
Add Sync Module 2
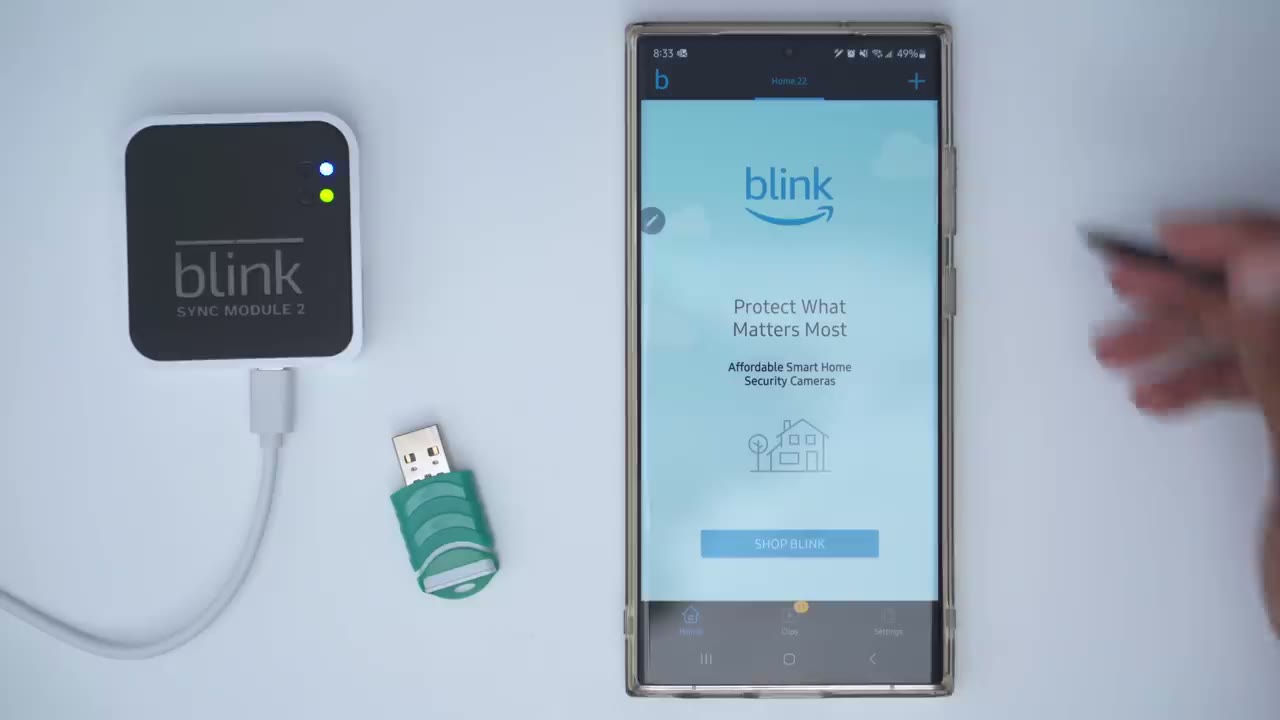
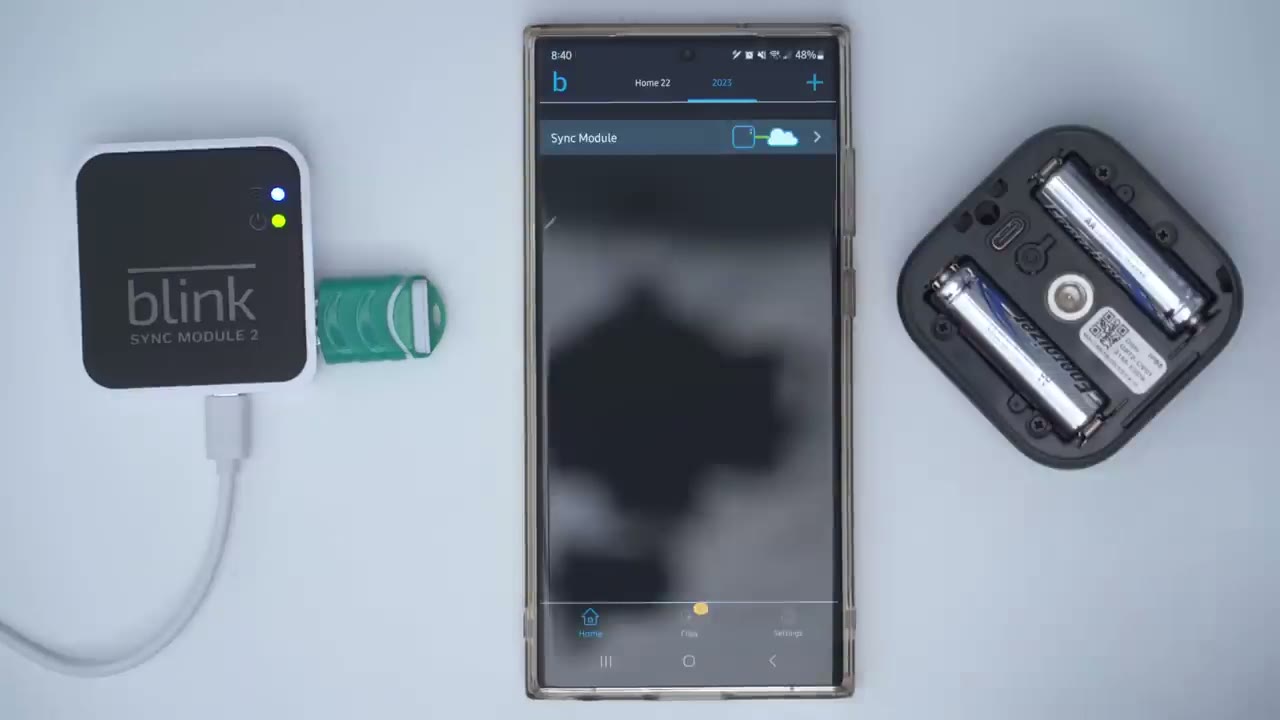
first step is going to be to download the blink app to your phone now once you have that you’re also going to need a USB drive for the sync mod too and I’ll leave some links down below if you don’t already have one but basically you can insert anything from 1 GB to 256 GB so once we’re in the blink app we’re going to click plus and we’re going to pick to add the sync module this must be added first guys so it says to go ahead and scan the QR code now there is a QR code at the back here and I’m just going to use my phone to scan that code which was successful and go ahead and create a new system or add it to your existing I’m just going to create a new system right now and I’m just going to call it 2023 click continue and it says look for a blinking blue light which we see right there so I’m going to say discover device and I’m going to click on connect now this is very important guys make sure you’re connected to a Wi-Fi network that’s running on a 2.4 GHz band and if you’re not sure what yours is and you only see one option most likely you will have to contact your ISP to have them split those bands for you now I’m going to enter my Wi-Fi password all right so the sync module has been added to our system I’m going to click done and the next step that you should do is just to pop in your USB drive just to get that part out of the way and once you do that we’ll click into the sync module here and we’ll go to local storage and we could see that our USB Drive is connected and there’s about 70% storage left now if it prompts you to format yours go ahead and do that I’ve previously used this with my sync module that’s why it’s not asking me the
Add Outdoor 4 Camera
sync module is now added to the blink app next we’re going to install the blink outdoor 4 camera so let’s click on plus here we’re going to pick the outdoor 4 flatlight camera and we’ve already gone through the battery compartment and removing that protective filter and the blink outdoor 4 is not already added to the account so let’s add it to our account right now and we’re going to scan the QR code right now like so I’m going to add it to that home network I just created and we’re just going to wait for the system to find the camera if yours mentions that it needs to update the firmware let it go ahead and do that okay so the camera was added successfully let’s click on done so next I’m just going to close everything up
Connect Floodlight Mount
once you have the rear of the outdoor four camera nicely sealed up go ahead and remove this weather sealed little covering here giving access to the USBC Port now what we’re going to do is just move this Mount completely up in vertical because we’re going to snap this portion right into here and it does take a bit of doing make sure that the lens is facing upwards like this and go ahead and try to snap that in it does take a bit of doing guys okay so when you hear that audible click it’s in there for good the last step is to just angle this off to the side and we’re going to use the USBC cable here to slot it in now pay attention to the way the wire bends um have it Bend upwards like this slide in that USBC slot and you can see now when you view it from the front the wire is hidden out of the way now we could go ahead and click on complete setup and there is a free trial that you can activate for 30 days and I’m just going to click done on that now it says flood light connected to your camera so everything is ready and good to go I
Floodlight Settings

always like to go ahead and start the video live view so let’s do that make sure everything is responsive I’ll put my hand over here so there we go so everything is working now before I permanently Mount this let’s just take a quick look at the options I’m not going to really touch on the blink outdoor 4 since I did review that already but let’s go into the new Option here flood light settings and you can see you can change the light brightness so I’ll crank it to the max it does mention is going to impact battery it’s going to be motion activated and the timeout after motion activation is either 15 seconds up to 5 minutes I’ll just leave it on the default for now and then you can adjust the daylight sensitivity I’ll just leave it where it is right now now that everything is working perfectly I’m going to go ahead and install it and share my final
Installation
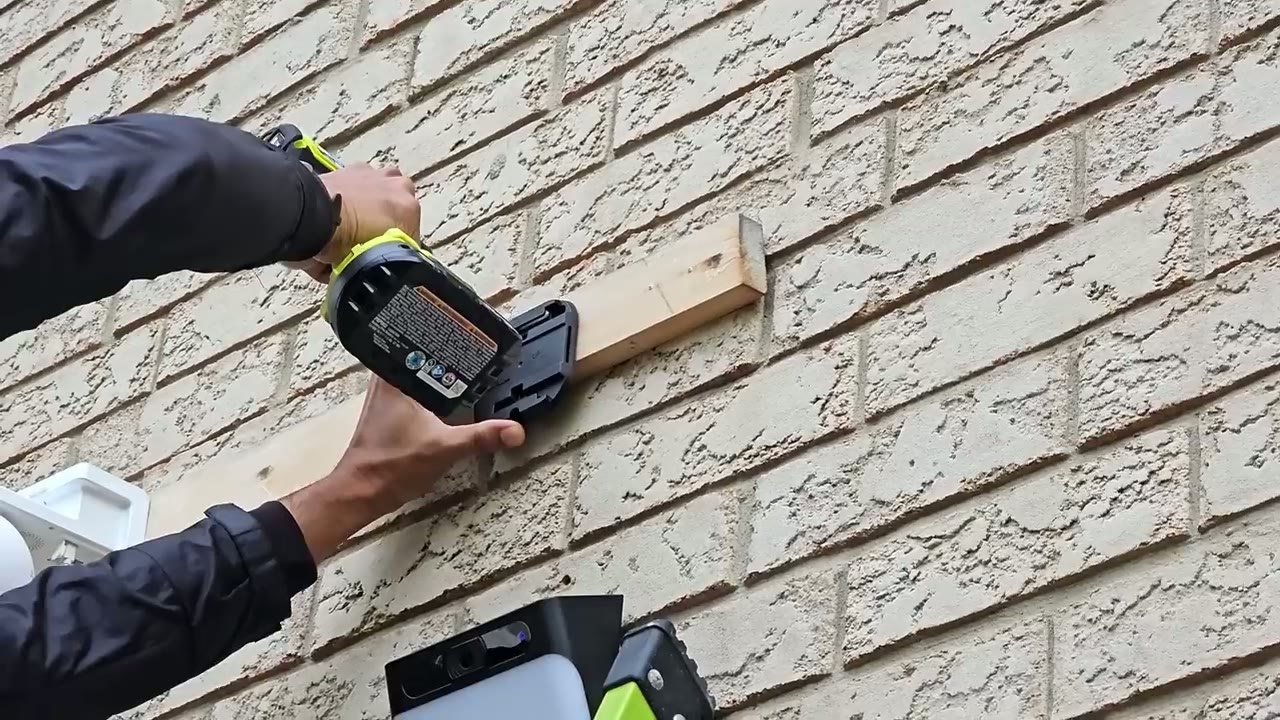
thoughts to install decide if you’re going to use that metal sliding bracket for your siding or if you’re going to drill into a wall or some kind of wood paneling which is what I did so I just attached the bracket it and then just slid the camera in it’s a super straightforward installation so the
Floodlight Performance

light output on here is actually really good for just being 700 lumens and I’m glad that they went with you know a 5,000 Kelvin color temperature versus something warmer I just prefer it that way and it seems to just you know make everything look a little bit more clearer you know less shadowy areas when it’s a warmer color temperature and you can see in these video clips here you know it easily illuminated the wall that it was mounted on and the lawn in front of it now I didn’t really adjust the light panels downwards towards the ground even though you can adjust them you know up down and sideways I just left them kind of in a straight on orientation just to see what the light spread was like and I was really happy with the result so I would say you know for most people’s entryways or driveways this is going to be perfectly capable of course you can also adjust the light output so on most of the clips I had it at 100% but here are some examples with it basically at 1% around 50 to 60% and then finally at Max output here’s what it looks like with just just you know the regular black and white video that comes standard and then with the flood light activated at maximum brightness so
Recommended?
if you need to add a flood light for just color night vision or if you just want a little bit more piece of mind and you just want to illuminate you know entryways backyards driveways this is an excellent add-on if you already own the blink outdoor 4 camera I’ll also leave some links Down Below in the description if you’re interested in picking up the mount accessor separately or as a kit like I have here also if you’re new to the blink system every time you set it up it’s going to offer you a free trial and then you can decide do you want to continue paying for that or do you want to use the system locally with a sync module 2 and a USB drive and I’m going to leave a link again up here and in the description to a video that explains all that please consider checking out some of my other reviews on other security camera brands there’s a lot of options out there guys blink is obviously one of the most popular ones but in my opinion it is nowhere near the best so do check out some of those other ones and let me know if you have any questions or if you’d like any recommendations and if you found this video helpful please consider liking and subscribing really does help me out a ton guys and I do appreciate this support but I’ll see you in the next one soon
Buy Blink Outdoor 4 Floodlight Kit on Amazon
Buy Blink Outdoor 4 Floodlight Mount on Amazon
Buy 3rd Party Cables To Run Blink Outdoor 4 In Wired Mode
Buy USB Drive For Sync Module 2 on Amazon
Please note that some of the links in my video descriptions are affiliate links where I earn from qualifying purchases. As an Amazon Associate I earn from qualifying purchases.