☑️ Get the TenLog TL D3 Pro 3D Printer
Please note that some of the links in my video descriptions are affiliate links where I earn from qualifying purchases. As an Amazon Associate I earn from qualifying purchases.
Intro
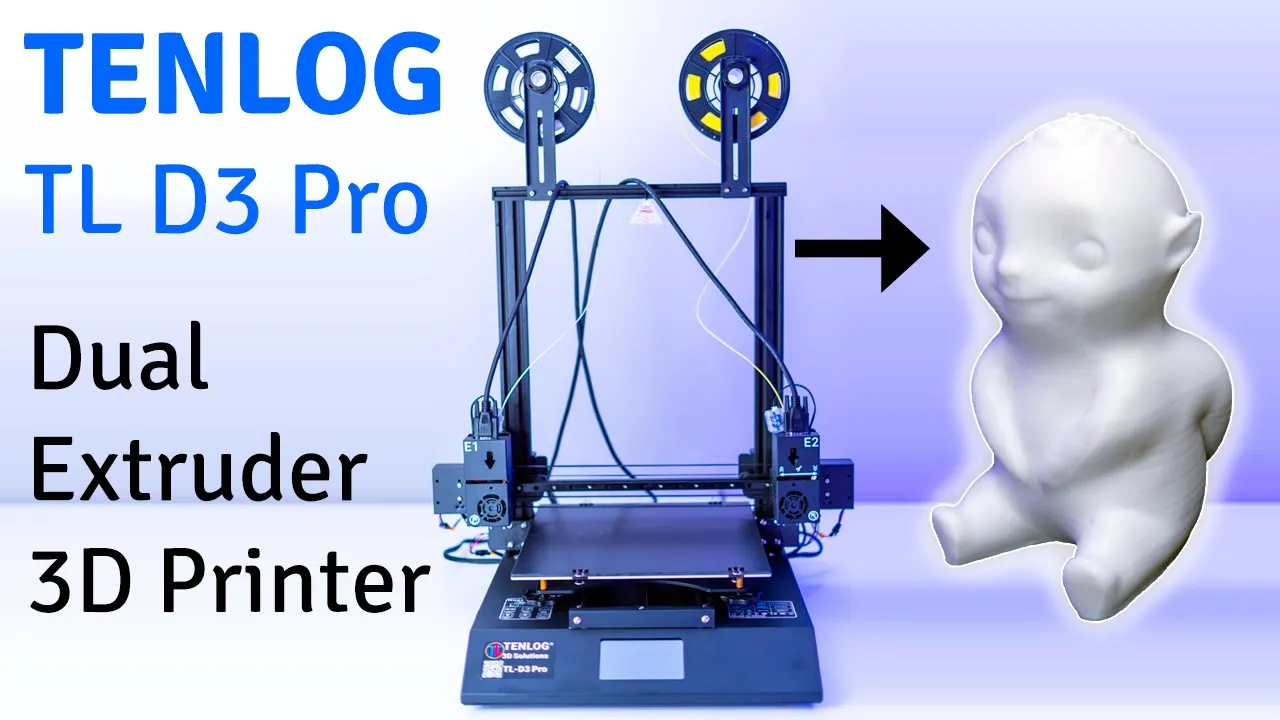
hey it’s adrian from lemon crumbly’s tech and today i’m reviewing something um pretty cool it’s a 3d printer so it’s the 10 log tl d3 pro 3d printer and you could see it’s a pretty pretty big box pretty sizable so this is an independent dual head 3d printer meaning that you can print like a mirror object or also just like a duplicate so you could print two at a time so i’m just gonna go into the unboxing um the install process and then we’re gonna do a test print all right so let’s get
Package Contents
started [Music] okay i’ve unpacked all the parts here so i’m just gonna go through um disassembly portion all the wiring and see how it goes
Time Lapse Setup

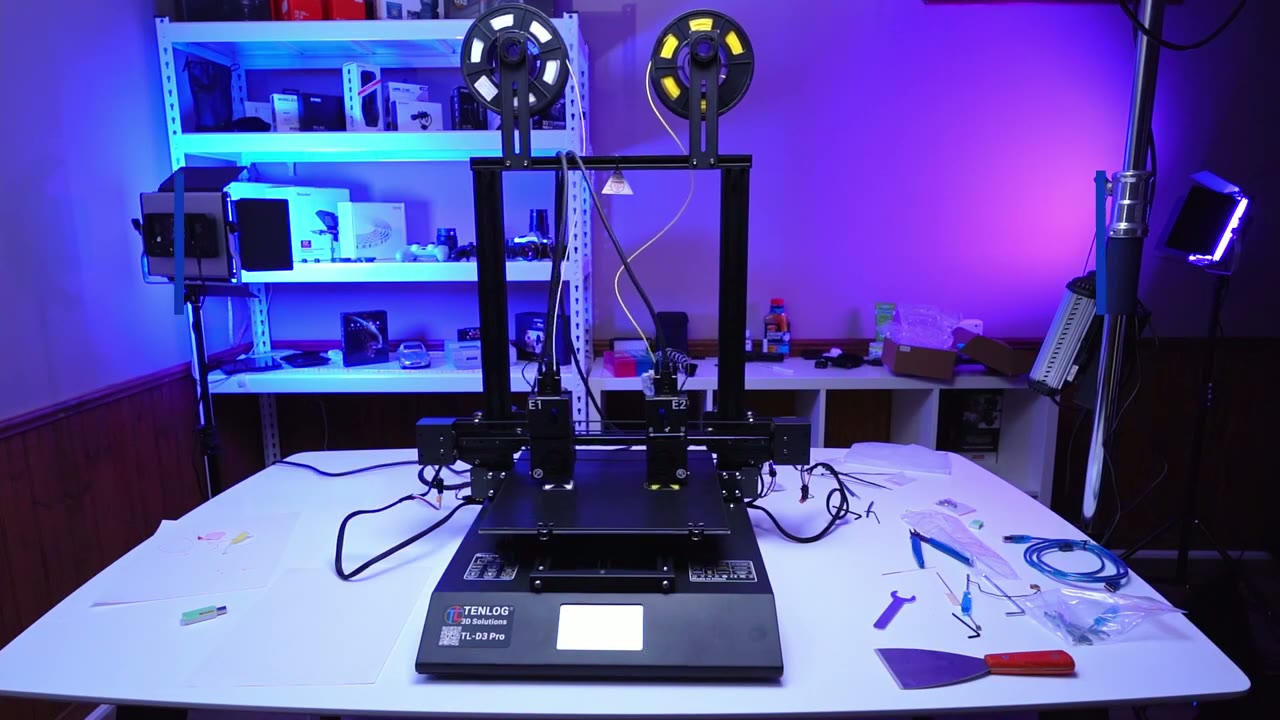
[Music] okay so i’ve connected this gantry portion here to the main unit of the 3d printer and i’ve also assembled these filament holders here so there’s one here one here so the next step is now to do the wiring so let’s get into that [Music] okay so now that everything is installed
Setup Recommendations
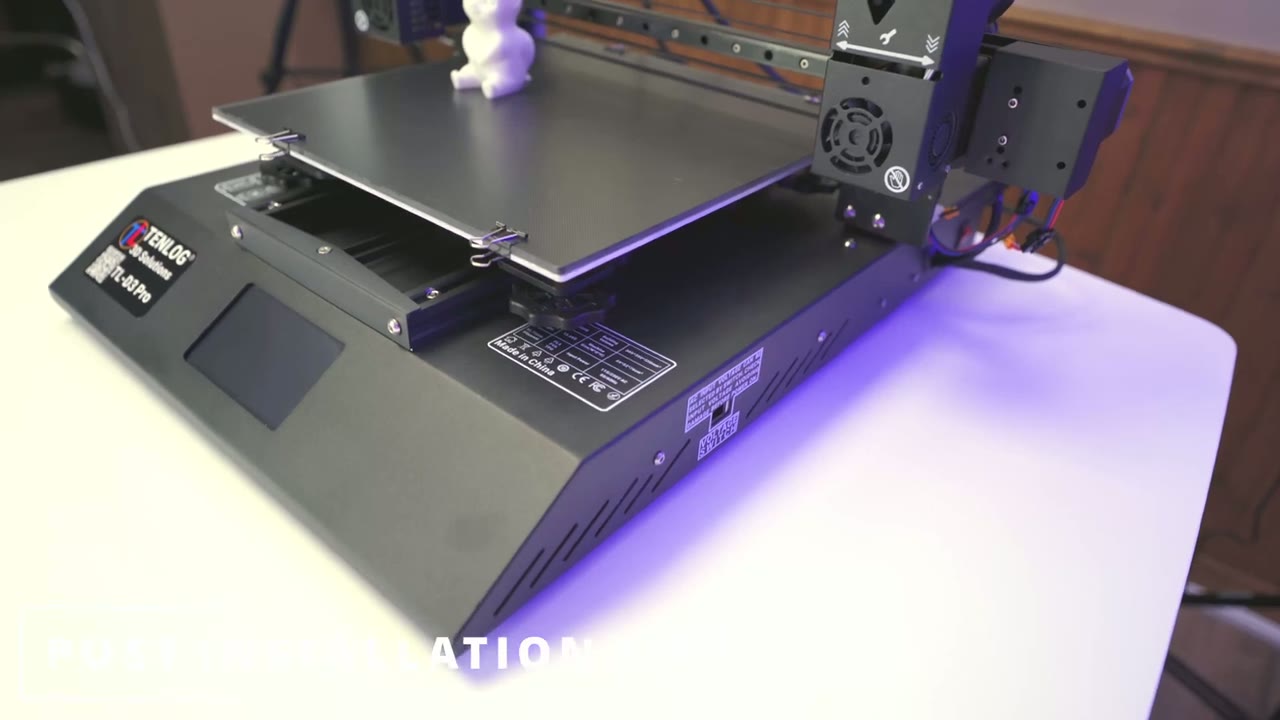
i just want to go through um just a couple of tips um to consider when you’re installing it so what you have to do when you get it is um this whole base here it comes as one piece and then this gantry assembly here this is another piece that needs to be attached here so if you look here you can see this area here right here there’s two screws that go here and the screws go in from the underside here and it’s the same on the other end so it’s it could be a bit challenging to put the machine on the side um and then screw it so what i found helps is if you move this off of a table you know a certain amount then you have access to the underside here and then you could screw the screws that way so just um another option if you’re setting it up by yourself um that’s an easier way to do it the other thing is um pay attention to these the e2 has to go on the right side and then the e1 is on the left side and when you connect the um the cables here to the back of the machine you know you want to make sure is the connector one connector two correctly because that’s how the machine kind of knows um what it’s doing in the menu settings so that you know you’re actually adjusting settings for e1 and adjusting settings for e2 or you know nozzle one or nozzle two and then the when you’re installing the holder for the pla filament um it comes with screws and a bracket here just make sure that bracket is facing um vertical not horizontal that way it you know properly retains in this channel here so other than that once you set up the gantry to this you know you attach the nozzles which are pretty easy it comes with all the allen keys and um screws for that and it does come with spares which is nice so once you attach the gantry to the base and then the nozzle and the filament holders the only part left to do is the wiring which is really simple you can see everything is labeled here so it has x2 and then these other ones i believe are the z2s z2 so everything is like really um really clear and detailed in the diagram uh folder that it comes with the other thing is before you turn it on just notice that there’s a voltage switch here so if you’re in north america you’re going to want to keep that at i believe it’s the 115 and then if you’re in europe or other parts of the world um you’ll have to switch it for your area and then finally you’re ready to plug it in over here and then hit the switch to power it on and that’s basically it from there that’s where you go into the menu use the slicing software or just um you know the g code that’s already on the sd card for this specific printer and then you can see here you also have these adjustment knobs here and you have four of those one on each side for leveling this hotbed here all right so before i start printing what i’m doing is i’m going on the menu here and i’m doing the self leveling um so basically the nozzle head is just going to the four corners and then i have a piece of paper and there’s adjustment knobs at the bottom of the bed and you could rotate that to fine-tune so i’ve done that for nozzle one and i’m just gonna do it for nozzle
Dual Nozzle Printing
[Music] two
Single Nozzle Printing

[Music] [Music]
Completed Print
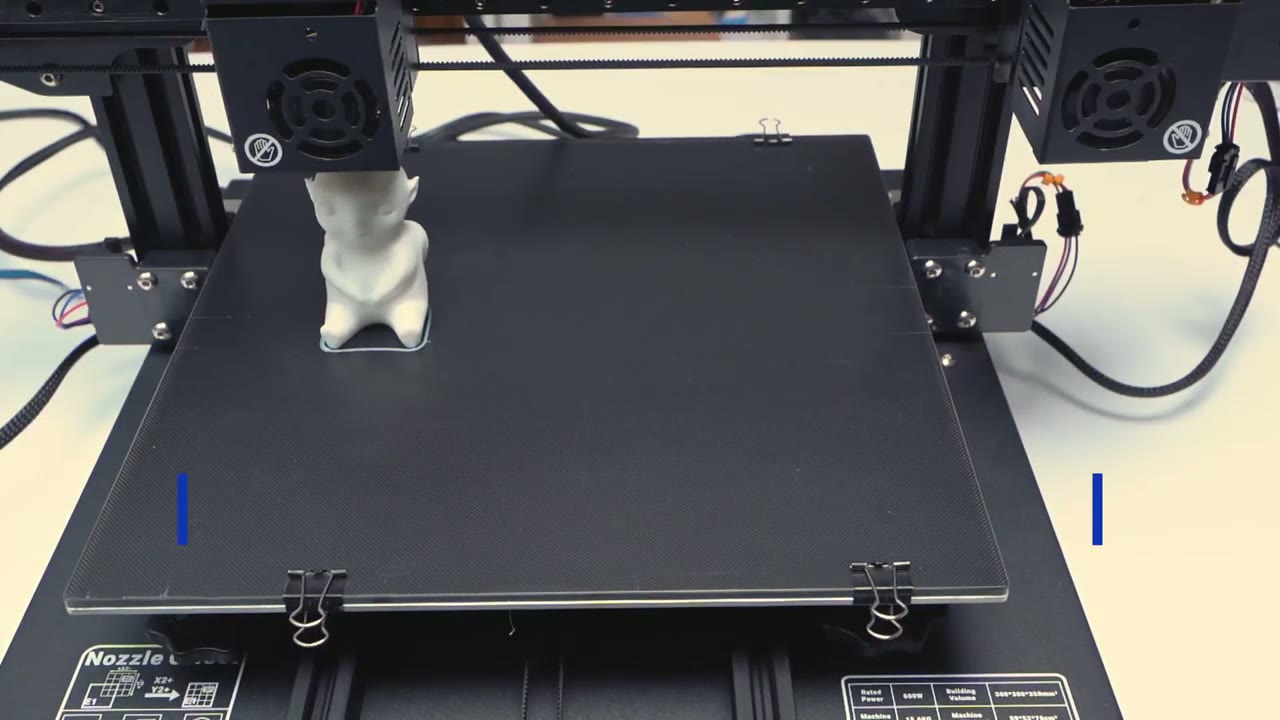
[Music] [Music] all right i’m back and here is the first
My Thoughts
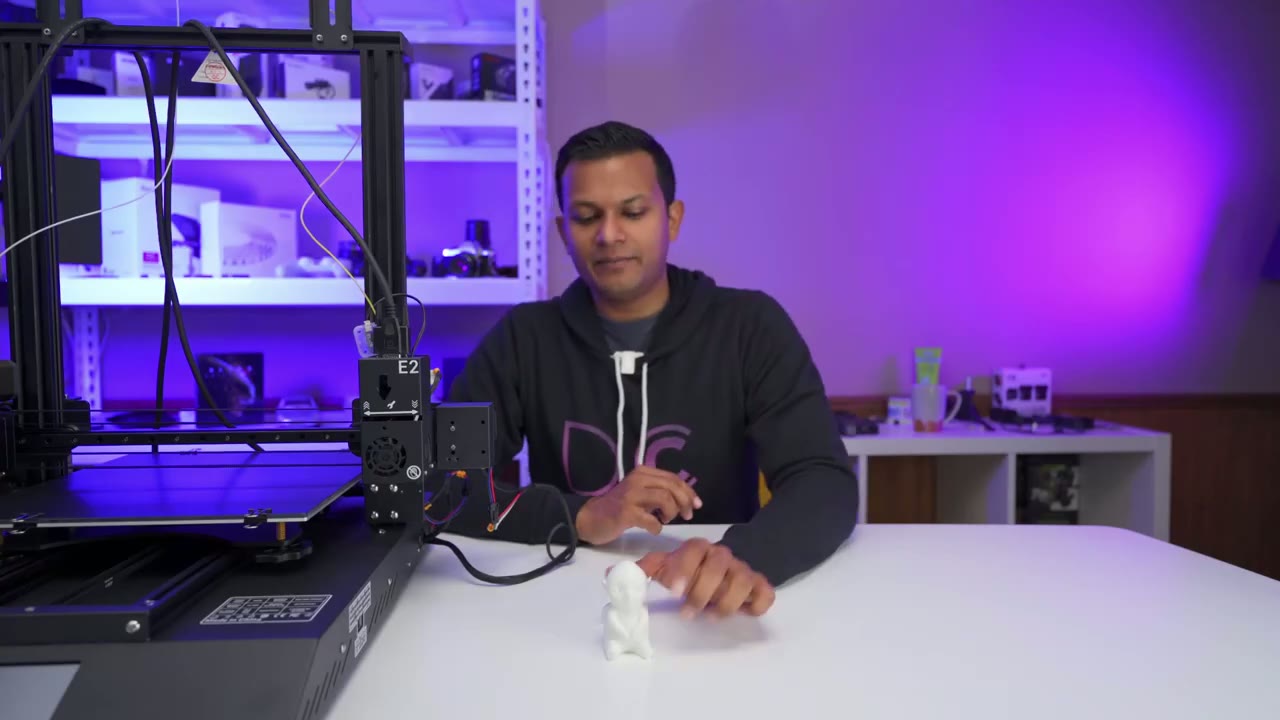
3d print using the 10 log tl d3 pro so you can see it’s a really nice looking print um the base looks good you could see the detail on the hair um the ears eyes everything looks really good so this is um a g-code and stl file that came on the sd card with the printer so i just used that they do give you like the download for the cura software so that you could slice it as you want but i just use the supply gcode file i just put it in the root directory of the sd card pop the sd card into the printer and then i could print right from there i didn’t even have to go into the software really if i didn’t want to but that’s just for printing reference files so you can see like the print quality is really good you may not see it on camera but like i mentioned at the start this printer has two heads um so i printed with the e1 head which is where i have the white filament but there’s also an e2 head with yellow filament so um in my next video i’m gonna print using both heads so i’m gonna try to do like it either lets you do a duplication mode or a mirror mode so i’ll probably go for the duplication mode print like one thing in white one thing in yellow and then see how that goes so so far printer is running great i’m really pleased with the results really happy so if you’re interested please stay tuned for the second part of this video see you soon bye you
☑️ Get the TenLog TL D3 Pro 3D Printer
Please note that some of the links in my video descriptions are affiliate links where I earn from qualifying purchases. As an Amazon Associate I earn from qualifying purchases.