☑️ Get Comica WM100 Plus on Amazon
Please note that some of the links in my video descriptions are affiliate links where I earn from qualifying purchases. As an Amazon Associate I earn from qualifying purchases.
– Intro
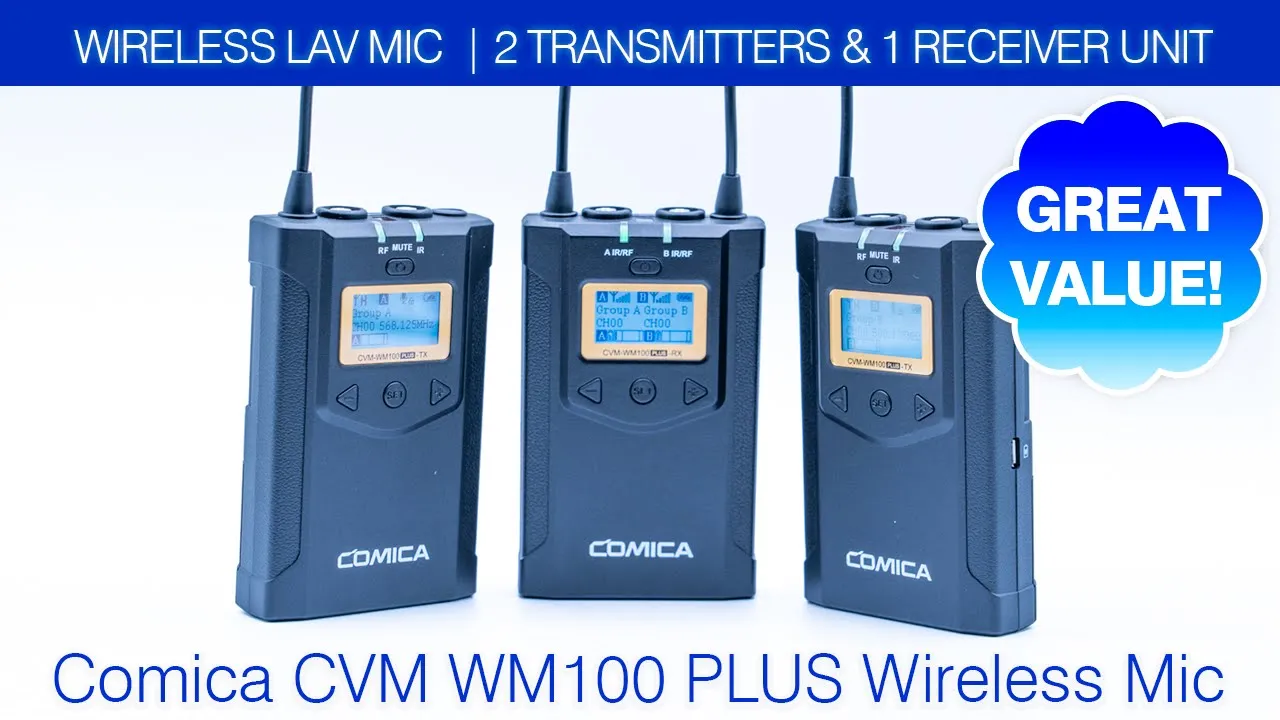
hey it’s adrian and today i’m reviewing the comica cvm wm100 plus so this is a dual um wired lavalier mic system so this is great for interviews but you can also use it if you’re just gonna be like a solo and only sometimes you need that functionality so let’s get into it and see if it’s worth it for you okay so if it’s your
– Package Contents
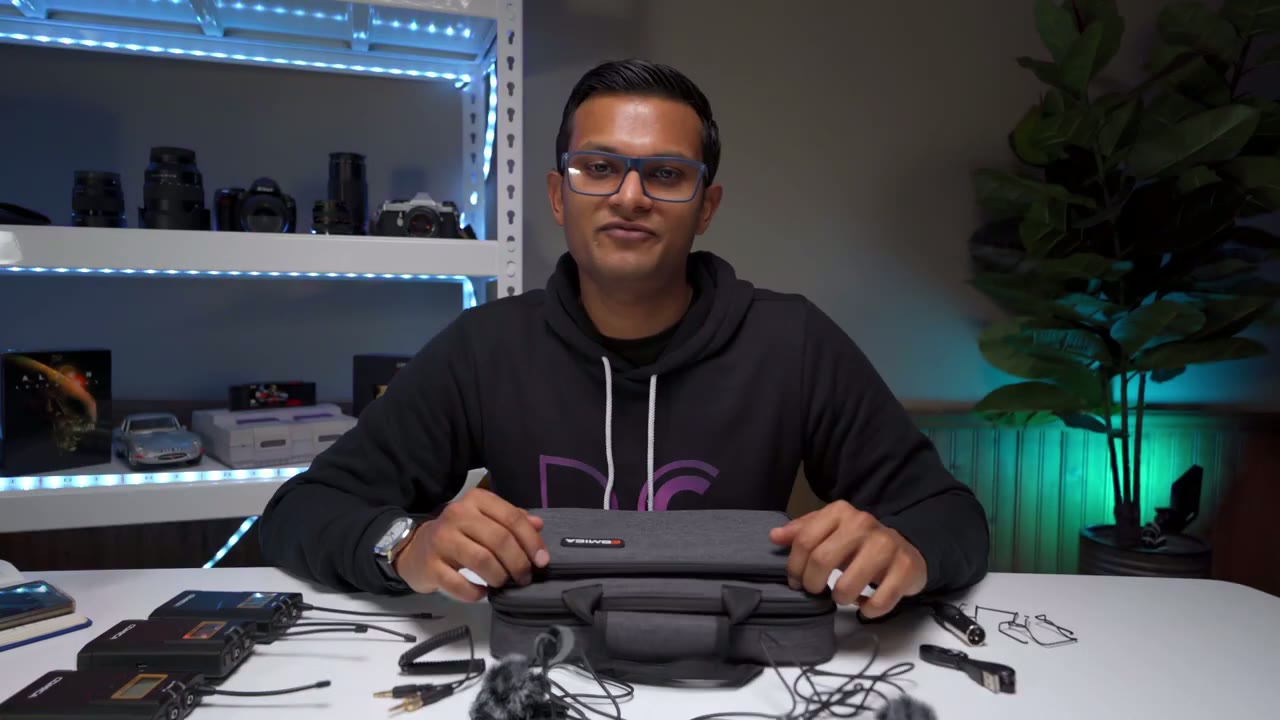
first time here my name is adrian and i do a lot of gear reviews and camera gear reviews so if at any point in this video you find it helpful um you know please consider liking and subscribing okay let’s get into the review now so in the package you get this carrying case um when you zip down this first part that’s where all these like accessories go that are taken out and then when you unzip the second part this is where the actual units are so here’s the um receiver unit and the transmitter units would go here so that’s that so in terms of what it comes with in the package so you get the um 3.5 millimeter audio jack from the receiver to your camera and you can see here this is threaded um so whenever it screws into the actual receiver unit it’s going to be a snug fit it’s not going to come up in terms of the lav mic so this is what it looks like again it’s with this threaded uh end there connector and this is what the head of the lav neck looks like so if i take out the foam insert here you can see it’s kind of it’s a sizable one so just keep that in mind it is easy to put it on and i have another lav mic because i did a range does and this has the um windscreen dead cat whatever you want to call it and it has this kind of like drawstring thing here to just pull it tight so that’s pretty basic um it also comes with a micro usb charging cable and this is good for powering the unit externally so i would think um you’re most likely going to be hooking it up to the um receiver because you’re probably not going to want this plus a power bank connected to whoever is wearing the the transmitter so you can see here on the side let’s see that’s the port to charge that now one thing to keep in mind is i did read in the manual and they did say that if you’re gonna be using the external power source um see it’s showing to hook it up to a power bank um i think you shouldn’t be hooking it up directly to the wall because it does mention that you can get some noise so just keep that in mind if you’re experiencing that that’s probably what it is and as well you know you could just run it on batteries which is what i did for my testing and i had zero issues now you also get um it’s a xlr cable and this is for like camcorders i don’t have any of those devices so i won’t be able to test this and now it also comes with um belt clips so if you want to attach it to the back and i put it on the back of one of these units so you can see what that looks like and lastly you get the um cold shoe uh insert so you could just put that onto your camera screw this into the back of the receiver here and mount it on your camera okay so in
– Receiver Features
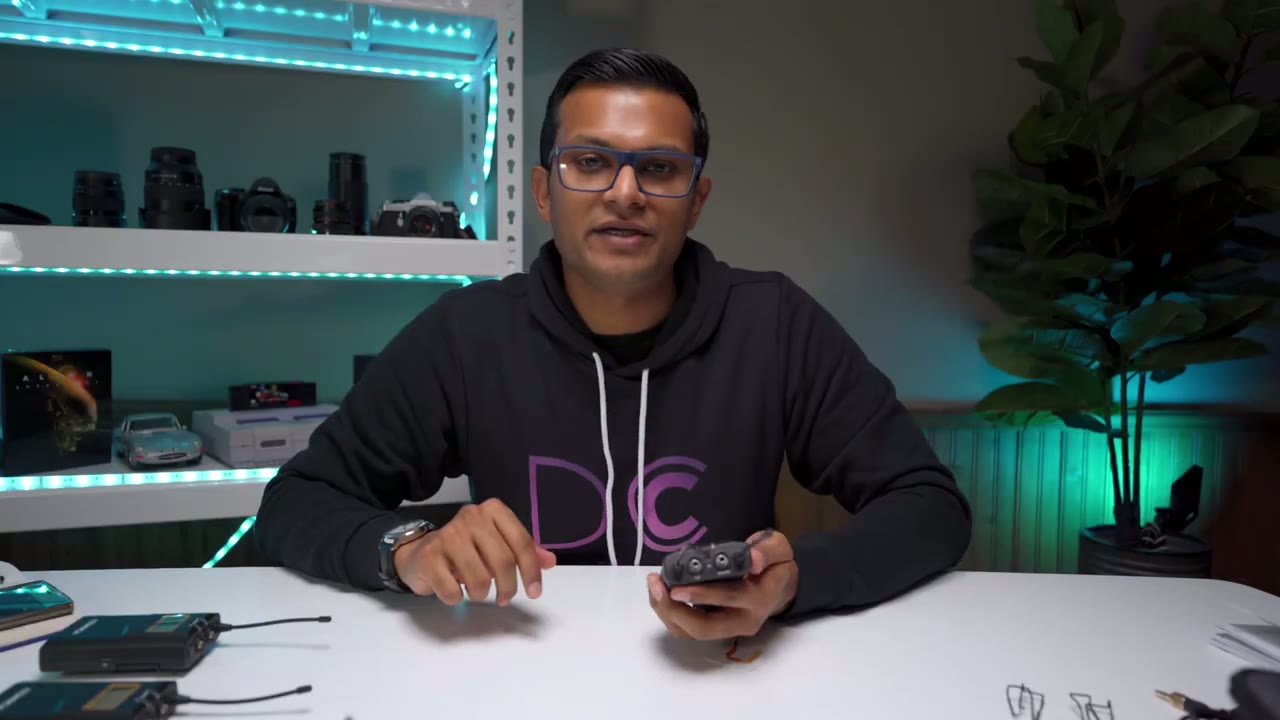
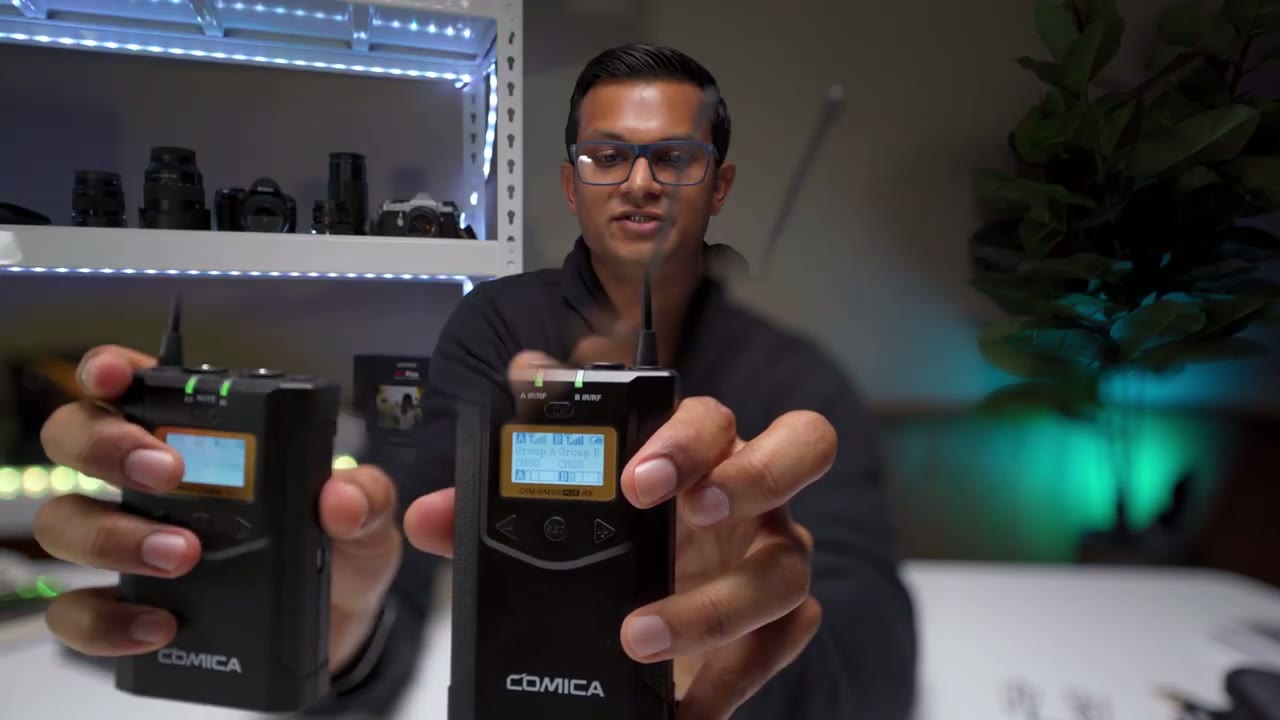
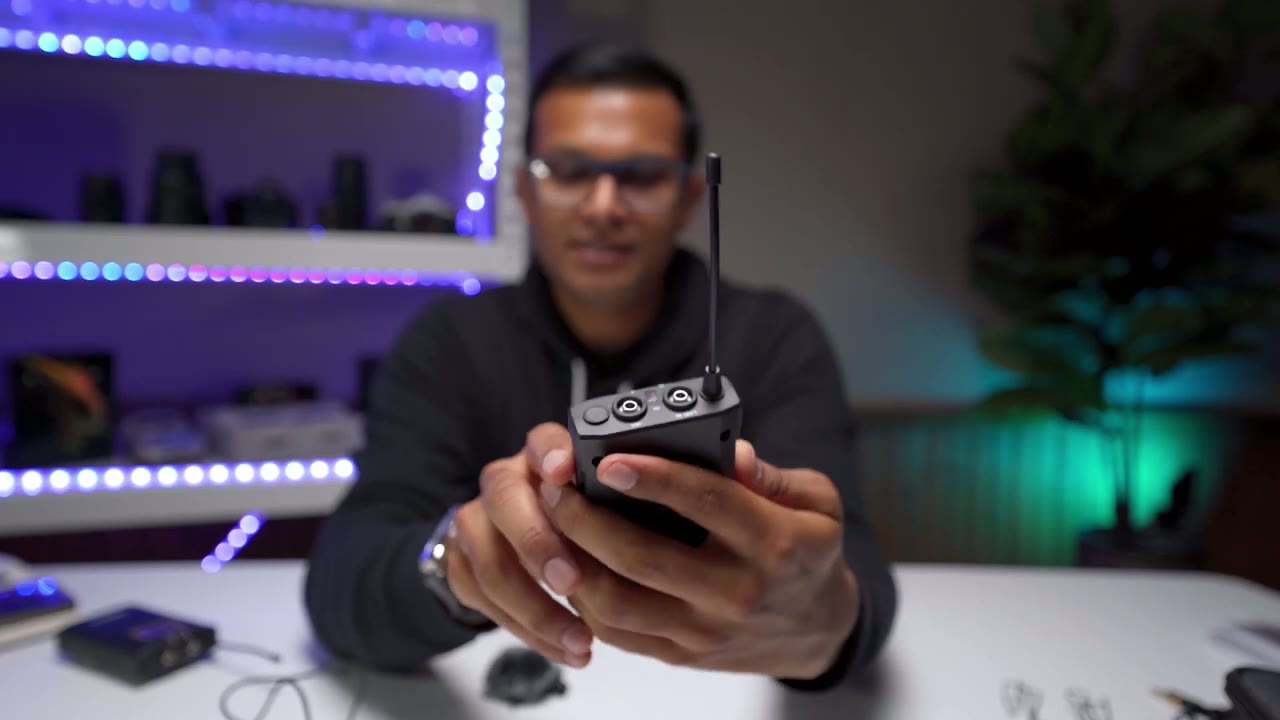
terms of the units themselves so these are very lightweight units um they’re made out of a plastic material um so they’re quite light it doesn’t feel like you know like a heavy-duty type of metal thing so that’s good or bad depending on what you like if you like a really light setup then it’s good for you if you’re prone to dropping things then it’s probably not very good now i did um weigh these and the transmitters without a battery they’re 80 grams and then once you have the battery 108 grams and they take two double a batteries which i can show you here there you go um oh another thing is when you open the battery compartment um this is kind of secured here so you’re not going to lose that um the receiver is about five grams more heavy than the transmitter so again not not a very heavy setup now go um looking at the receiver so on the receiver i’m just going to turn it on right now the power buttons here hold out for a while powers up so on the receiver um you have this little hole here that’s where you put in the belt clip you have the uh i believe the 1 8 inch here for screwing in um you know whatever you want for the hot shoe other side you have that micro usb charging cable now the top of the unit so you have um the antenna for uh transmitter a and transmitter b and you can see here um there’s the output so this is where you would run that 3.5 oop lost focus there this is where you would run the 3.5 um audio cable from the um receiver to your camera and there’s also a headphone here if you have a cameraman so that they could audio uh sorry monitor audio in real time now looking at the front of the unit so you can see it shows you um the signal strength for group a group b which would just be each of the transmitters now you also can see there’s a battery level um and it also shows you real-time audio monitoring for group a group b shows you channels and this says this has for up to four hours so what i’m going to do is i’m going to turn on one of the transmitters and now you can see the um audio level you know it went up a little bit but right now there’s nothing actually plugged into the mic so it’s not going to pick up much but it like i just wanted to show how quick it is to pair so you could see um the light showing that it is paired
– Receiver Menu Settings
just quickly um going into the options here and i actually found it quite easy on this pretty user intuitive um it’s going to be a bit difficult for me just going off the camera but basically um if you hit the sub button here um sorry you just hold that down and this is where you can go and you can start making changes on the screen now if i just get out of the set and i use these arrows see you can see it’s going through so there’s a stereo mode a group setting let’s go back to the stereo mode really quickly so if i go back to the serial mode and i hit set so i have to hold it down um you can see i can switch it from stereo to mono i’m going to leave it on stereo sorry i keep switching the focus on here i’m just a bit hard to see okay there we go so um the difference here is if it’s in mono um if you have one or two of the transmitters going for the wired mics it’s going to just put it all on one audio channel if you set it to stereo and you have both is powered on then it’s going to split the audio into you know like a right channel and a left channel so that could be beneficial if you want to be able to you know um individually adjust the audio coming from left or right okay so going back into the settings so there we go so you can change the um data stereo or mono and i believe if you set it to stereo and you only turn on one transmitter it just defaults to mono by uh default sorry now you have the group setting um power on so i think that’s for the auto sync you can set the default um volume i just left it as 12 that’s what it came with and the audio sounded good to me do you have an auto scan and i believe i read in the manual if you’re doing the auto scan they have to be within 30 centimeters of each other for that to work the back light that’s addressable to you know i think five seconds 15 30 and 60.
so i have it on 60 and you can reset it and um check the version from our number and that’s all there is with this and the handy thing is you can see here it does show the battery level from both transmitters i only have one turn on that’s why you’re only seeing for group b um this little battery icon there and once i plug in the lav mic that’s where you would see the real-time um audio monitoring there so looking at the
Transmitter Features
transmitters now so the transmitter it’s pretty much the same um there’s just only one antenna here so you have that micro usb charging port um the 1 8 thread if you want to put anything in there um the holes if you want to put the belt clip and in terms of the front of this so let me just turn the light on okay actually let’s go in here first so you can see you have your mic input so that’s where you would screw in the wired lav mic and i’ll do that right now and then just screw that in and once that’s in you can see i can’t i can’t pull that back out so that’s great um you also have a line in um and what that does is you could like plug in like another audio source so you want to have background music really faint or something while the interview’s going on you could do that and i didn’t mention it but there’s a ir [Music] receiver here so that’s to connect both the transmitter and receiver and now let’s look at the actual screen so going into the settings here let me get that closer so going back through the options here you could see you could set it um group a or group b are paramount both on the same group in terms of the low cut filter i have it on low but if you hold set then you have the option to change that to high camera or off i’m gonna leave it back on low sorry i know i’m capturing focus like in weird places forgive me now the transmit power i have that on high and the reason why is when i was outside doing the range test like i was walking pretty far away um and they do recommend that if you’re going to be i believe over 160 feet to set it to high and if you’re under 160 feet you can set it to low obviously if it’s set to low you’re going to save battery power but i just have it set to high right now you can also enable muting and to mute you would just short press the power button you can see it says mute there and you can change the backlight setting um reset everything and check the firmware as well so exactly the same on both units now battery life is rated for up to six hours um i put in like new batteries in all of these and it’s been okay so far like they’re not great batteries they’re just like really generic batteries and it’s been set to the high transmit power and i believe the two transmitters um there are like one or two bars and the receiver i believe is a two bars one or two bars also so i mean it’s okay i have had them running for a while like i said at full transmit power the other thing is i was taking some photos of them so i had the backlights after the full 60 seconds so i’ve been really draining them so um but if it’s gonna be a concern to you then you know do the um external power thing with the power bank i kind of audio you’re hearing is coming
Unedited Audio Test
directly from the um the comica cvm wf-100 plus so i’m not going to edit any of this audio just so you can hear what it actually sounds like naturally so for reference this sound is coming from sorry it’s plugged into a sony a7 iii and the audio input level on that is 12 on the actual kamika system the audio input is 12 as well which is the default and what we’re going to do now is um i’m going to go do a range test and see how well it does there so in the manual it says you can do 100 meters if you have a clear line of sight or 60 meters if there’s obstacles and in feet i believe that’s around 320 feet without obstacles and about 200 feet with obstacles so let’s see how that works
Outdoor Range Test

okay so pretty cold out there today but i’m going to try to do a range test so um i have both lav mics hooked up right now i said i preferred mcdonald’s coffee over tim hortons in canada as a result i have no friends so i’m gonna have to do this test using both lav mics it’s in mono mode right now sorry stereo mode it is in stereo mode so you can separate right and left audio channels but since it’s just me um it’s gonna be the same audio so let’s just do a range test um i’ve set the mic to high power mode so it should have max transmit power the other thing is i notice with other wireless mics when i turn my back away from the receiver the audio might cut in and out but then when i turn back around and i have a clear line of sight it should pick up the audio so let’s see how that works testing testing one two three testing one two three one two three testing one two three testing one two three clear line of sight testing testing one two three testing one two three testing one two three one two three testing clear line of sight testing one two three testing one two three testing one two three testing one two three testing one two three testing one two three testing one two three testing one two three testing one two three clear line of sight now i’m going over all the way to the next street over testing one two three clear line of sight so if it was cutting out it should start picking up the signal as i’m walking towards the camera so let’s see how that goes of course i have no camera person to help me monitor the audio so i won’t have any clue if this is cutting in and out so i go back inside and listen to the audio it is very windy today but i have the two windscreens here the wind muffs so let’s see if that does a good job um kind of negating the wind all right let’s test that out okay so i’m back and i’m actually pretty impressed with the results so i’ve tested previously in the past the lens go wireless system and the rode wireless go mic system and one thing i noticed with the lens go system is when i turned my back away from the unit so i didn’t have that clear line of sight i think the audio cut off like within maybe 15 feet even if i remember correctly and then every time i would turn around to establish a line of sight the audio would come back with this unit i believe i was able to walk for like you know 70 to 100 feet my back turned completely away and i didn’t notice any audio drops so that’s pretty good um i think for most use cases anyway you’re not gonna have you know your subject that far off away from the camera where it’s going to be hard to have them in frame anyway so i think for most applications it works very well okay
Group A & B Audio Test

so now the receiver it’s set to stereo mode and what i’m going to do is i’m going to record audio with this lav mic here which is group a and then i have the other live mic in this room and that’s going to be group b so you know right channel left channel and the reason why that’s beneficial is if you have someone who’s talking like low in the interview and someone who’s talking maybe at a higher volume than in post you can specifically you know target one channel and increase the the audio um in you know in that channel just just so you could even everything out so i have a crude way to test this so what i’m gonna do is i’m gonna play a video on my phone and put the phone in the other room and then i’m gonna walk and close a door so that i can be certain this microphone isn’t going to pick up what the other one there is and you should hear both audios going at the same time so let’s try that now so the phone is down and i’m going to hit play i’m going to go into another room now and close the door so here i am door closed and i can’t hear anything from the phone so i know that i’m completely separate i’m behind the door so let’s see how that worked out okay so that test worked pretty well i was able to hear what was playing on the phone and what i was speaking while i was behind the door in another room i did set the phone volume a little bit lower so it wouldn’t overpower what i was saying so it works great so another great feature of this is like i was saying if you’re doing like an interview say you have two subjects talking one is speaking a bit on the lower end and the other what you could do is you could take the audio from one lav system um kind of like in a right or left channel and then boost that audio so to do that when you’re in the receiver you would just set it to stereo mode then you would make sure each transmitter they’re on a different group so group a and group b and you can see from the test i did having the cell phone play audio in one room while i went behind a door in another room um it picked up audio from both and i was behind the door so the a and behind the camera as well and i didn’t have any audio drop so it works very well there keeping in mind that i had high transmit on
My Thoughts
so would i recommend this yes i definitely would recommend it i would say like for me the audio quality is on par with what i use with the rode wireless go system and that system is i believe like around 300 canadian so it’s comparable it’s almost the same amount as this system but again you only get one transmitter one receiver with this you know you have the option to use at either you know one subject or two subjects so you could still just buy it use it for one subject if it’s you most of the time and then in those rare events where you need to mic two people you always have that option i would say maybe uh run with extra batteries just in case you know you could do the external power bank thing but then you’re probably not gonna want your subject to have this clipped on plus you know cable plus a power bank um but for the receiver that you could definitely run with a power bank since they’re just going to be on your camera so if this video was helpful please consider liking subscribing i’m always doing these type of videos um if there’s any other wireless systems that you’ve been eyeing and you’d like me to test out let me know i can see if i can get a hold of it to test it and see how it compares i’m always curious about these systems because you know i don’t have really high-end stuff like um aside from the road system you know i know there’s higher end like deity um saramonic has good stuff too but i don’t like to just default to that especially if you know i’m not going to use this all the time you know i don’t want to invest all that money and then it seems kind of like a waste to just have it sitting there if you’re not going to get a lot of use out of it so i’m always interested in trying you know other brands seeing how you know how it stacks up to the you know the big guys or what kind of results you can get from it and most of the times i’ve been pleasantly surprised with most of the like third-party brands if you want to call them that that i’ve been testing so stay tuned for my next video i’m always doing these type of gear reviews and camera camera gear reviews okay see you in the next video bye you
☑️ Get Comica WM100 Plus on Amazon
Please note that some of the links in my video descriptions are affiliate links where I earn from qualifying purchases. As an Amazon Associate I earn from qualifying purchases.