Please note that some of the links in my video descriptions are affiliate links where I earn from qualifying purchases. As an Amazon Associate I earn from qualifying purchases.
Intro
hey guys are you looking for an affordable but sturdy and reliable cand well so is I and I think I may have just found it let’s get into it hey guys welcome to my channel my name is Adrian and I focus on reviews and how-to videos today I’m going to be setting up and unboxing a SE stand I bought from Henry’s I paid around $220 Canadian for that this isn’t a paid review so it’s my own original thoughts on the product um my main goal is to get you know a sturdy enough cand to hold my Sony camera and wide angle lens which is a pretty heavy combo um for you know overhead and top down shots and for my American viewers I believe this is the same c stand being sold by Adorama under the flasho brand all right so let’s get started
Unboxing
No speech in this section.
Package Contents

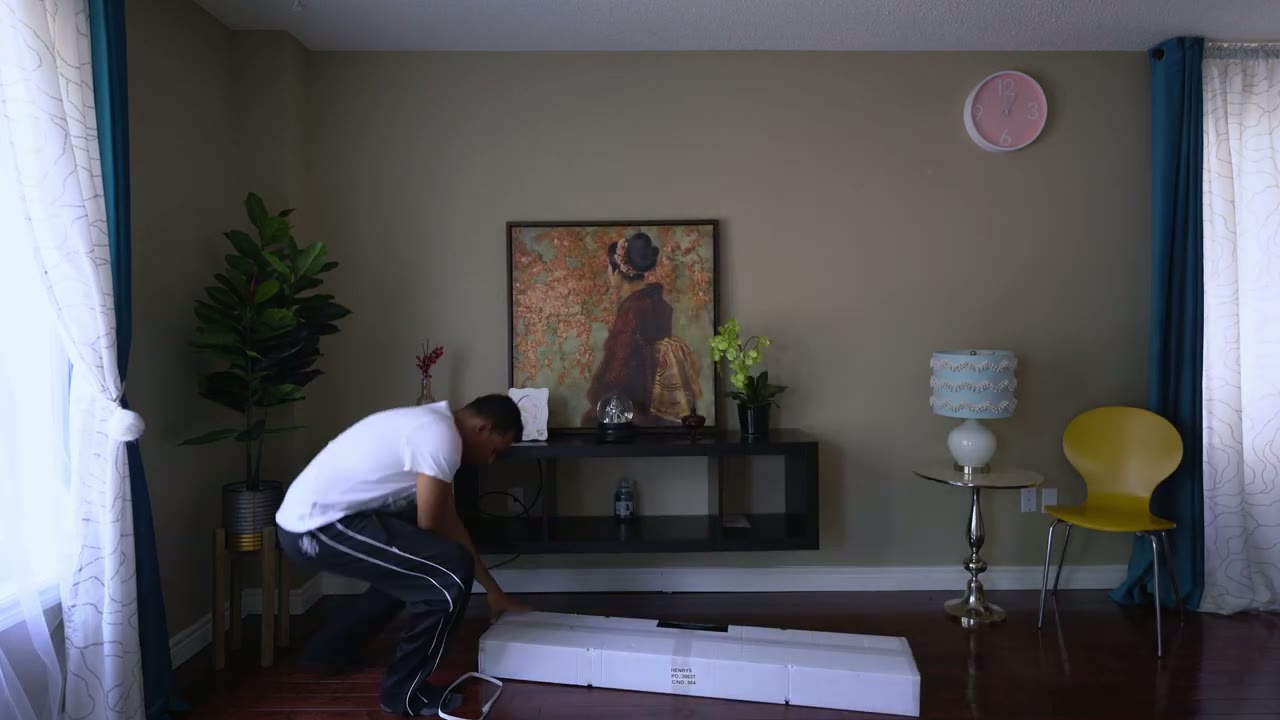
okay so I’ve unboxed everything and this is what I came with so it comes with this uh Turtle base stand it’s pretty heavy and pretty well constructed it also came with these two Knuckleheads or grip heads there’s also the main main arm I guess main part of the stand with these two risers here and last thing is the actual boom arm I guess or extension arm the good thing about this is It’s separate from the knucklehead so you you can actually adjust it remove it replace it and the great thing is there’s a um I think it’s a quar in here extension thread and on the other side you have a 38 3/8 in um extension if you want to thread anything there okay so for setup the first thing is just to swing this base out so you can see there’s these indentations here you just need to swing it out right I don’t know if you can see that so so you just rotate that till it clicks into place and there you go okay so the next
C Stand Setup
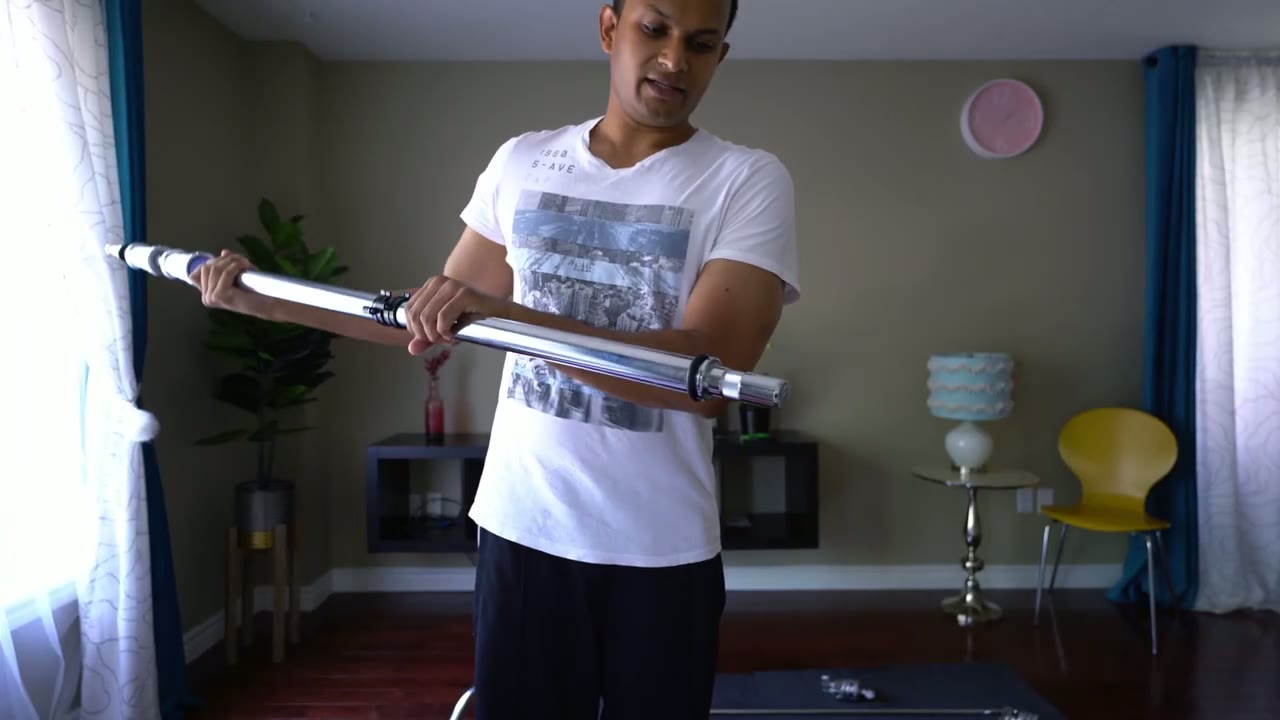
part is to put the bottom of this uh arm into the base uh not this top part this thin part is where the grip head goes so just make sure you loosen this uh knob here so that this could pop in once you get it all the way to the bottom you just close it and that’s pretty stable okay so the next part is to put this knucklehead at the top of that that main armu Bo so you’re just going to loosen this so it could go on top then tighten the next step we’re going to do is to connect the extension arm to the grip head so I’m going to show you a closeup of that right now all right guys so I finished setting
C Stand Features
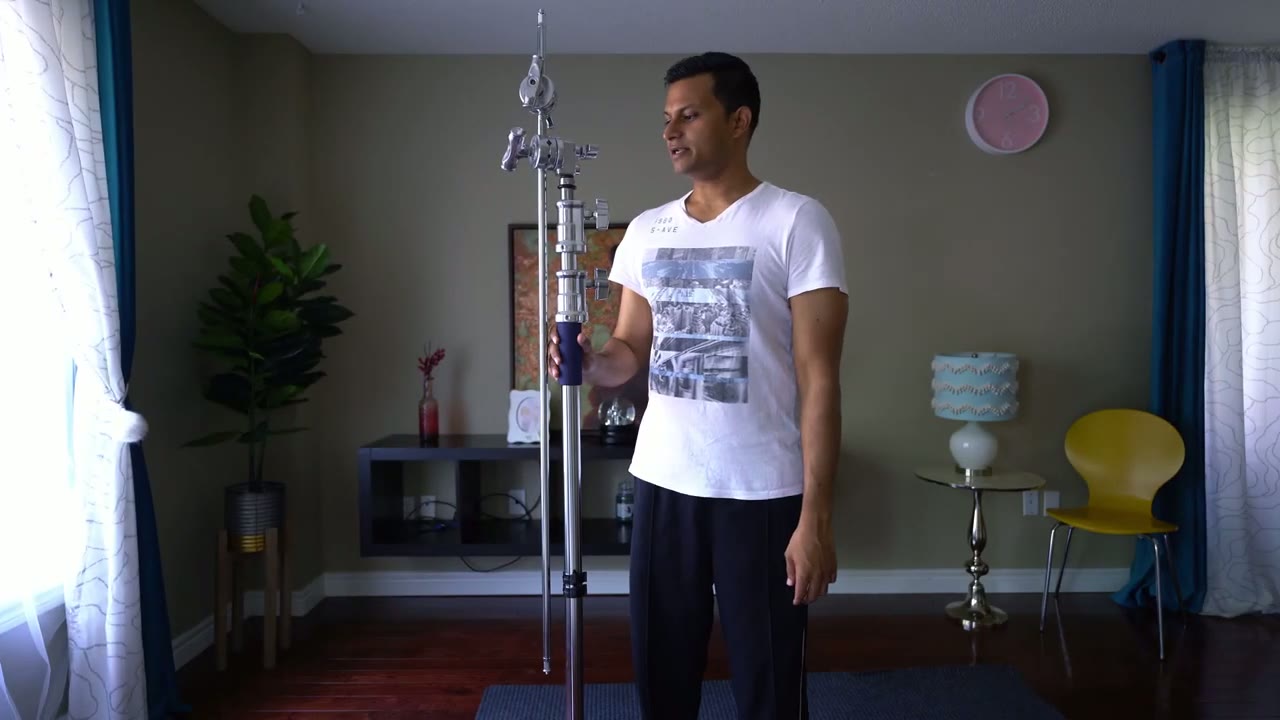
up the tripod and it’s pretty heavy um and it’s it’s very stable there’s not a lot of sway at all with this so it’s about 18 lbs heavy and it’s rated for uh a Max of 30 30 lb I believe um it has a couple great features that I didn’t see on other C stands when I was looking and this actually came in much cheaper than the other stands I was looking at so it has this foam grip which makes you know makes it easy to hold and you have a good grip on everything the other thing I noticed that this has that others do not is it’s springloaded so if I loose that loosen that you can see both of these Rises it’s spring loaded in terms of the minimum height it’s about 57 in which works out to I believe 4 and 3/4 uh fet high and then the maximum height which I can’t show you because of my ceiling is um I believe 129 in which works out to 10 and 3/4 ft high so I’m just going to show you you know I have a ton of room to extend but because of the ceiling that’s as much as I can go I doubt anyone’s going to need to go down high anyway
C Stand Mounting Option 1
now I’m going to show you how to connect your camera using the cand arm you have two options the first option which doesn’t require you know you to spend anything else this connect is to thread in um your camera mount to the qu in connector here to do that you just insert it and rotate now obviously the the smartest way to do this is to screw this in before you put the arm in the SE stand so don’t make my mistake now that’s about as tight as I can go so now for me to get the camera to point down what I’m going to do is just loosen the arm loosen this knob right here rotate this until I’m sure it’s parallel and then tighten everything back so you can see this is pretty stable pretty sturdy it’s not going anywhere you know if you have a really um front heavy camera what you can do is just come back here you know loosen this lever slide this hair tighten it back that way you have you know the weight of this additional grip head here um balanc with the weight of your camera and one thing I like to do is just to you know wrap wrap the strap um just in case you know anything fails you have you know like a safeguard so your camera does doesn’t just drop okay the second
C Stand Mounting Option 2

option or the second way you can mount uh if you don’t want to use this is to buy um an adapter like this um a 3/8 to/ qu in and a clamp now this is a small R clamp and you can see it has both 38 hole and a quarter inch hole so I’m just going to connect all of this clamp it onto here and then we’ll have a top down shot as well all right guys so I hope this video was helpful um in helping you determine if this is the right cand for you I can definitely recommend it because of you know the spring loading the solid build quality and how stable everything is um in terms of the mounting options for your camera you do have the threads here you can also go with the clamp system that I’ve use um I basically I just bottle this on Amazon um the small clamp and then the adapter I’ll put links in the description below if you want to get the same type of setup and since it’s my first c stand I’d be curious to know how else you guys are using your C stands you know with the other grip pad I know there’s other attachments I could put lights maybe an external microphone and in my next video I’m going to do a setup video with my Sony camera unfortunately that’s my only video camera right now so I have to use this Nikon but I’ll let you know how it goes with handling the weight of um the Sony camera and you know pretty heavy signal ends so leave any questions or comments you have in the uh comment section below and thanks guys for watching for
Please note that some of the links in my video descriptions are affiliate links where I earn from qualifying purchases. As an Amazon Associate I earn from qualifying purchases.