Buy WELOCK Locks with Keys US Page:
Please note that some of the links in my video descriptions are affiliate links where I earn from qualifying purchases. As an Amazon Associate I earn from qualifying purchases.
Intro

hey it’s Adrian today I’m taking a look at this fingerprint unlock now this is a touch 43 from Wheelock and Wheelock is not a company that I’m familiar with but they did send this out for review so I’m just going to set it up you know play around with it and let you know my thoughts on it so let’s get started
Package Contents

in the package we have all of the lock Hardware we have mounting hardware installation manual RFID cards because this can be unlocked that way and a warranty card all right let’s take a
Design

look at the design of this Wheelock touch 43 so the overall build quality it’s pretty much you know metal all around the top here is plastic and the most of this housing in here is plastic and then this part here is metal now on the other side or the back plate again it’s pretty much all metal and you have this brush type of aluminum handle let’s take a closer look at the front which is what you’re going to be interacting with so you can see at the top here this is actually like a LED display and this is where you’re going to see information so when you’re going into the menu settings or when your fingerprint is confirmed there’s you know successful or not and then this little black button right there this is the wake up button or power on button so to save energy when you come up the door to the door you’re going to press this button to activate it or wake the system up and then scan with your fingerprint now if you look on the side here there’s a screw which I have removed already because I just want to show you how you get access to add batteries so there are no rechargeable batteries in this unit you do have to use three AAA batteries all right so the next step is to just get everything installed and to test it out so let’s do that now all right so what I’m going to
Installation
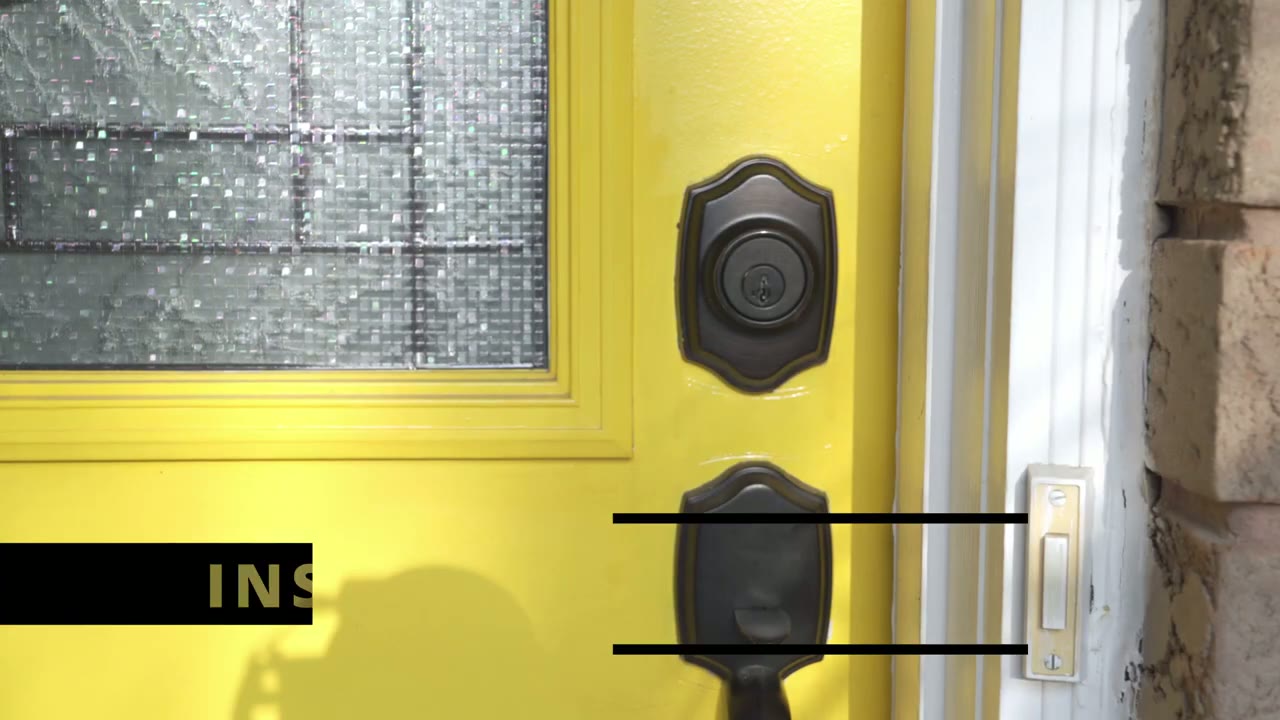
do is I’m going to remove this deadbolt here put in the Wheelock all right the next step is to install the lock cylinder into the hole and you can see that the lock cylinder is adjustable if you need it all right so the next step is to put the lock into the hole here and you can see that there’s this kind of like weatherproof plate here with a little channel in the middle so you’re just going to line that up into the channel and then pop it in there and secure it the next step is to install this metal plate to the lock cylinder all right so the next step is to use one of these extenders through here so this one’s a 45 to 50 millimeter and this one’s a 50 to 60 millimeter so you’re going to use whichever one suits the thickness of your door so for my door it’s not very thick so I’m going to be using the small size the 45 to 50 millimeter and you can see that there’s this little extension here so I’m going to do is I’m going to thread that through and then now I’m going to attach the back part of the wall all right so you can see there’s an opening at the back of the lock here that’s what I’m going to thread right into that extension and I’m going to attach one screw here and one at the bottom all right so the next step is going to be to remove this little screw here so that I could slide off this covering and insert the batteries now that I’ve removed this screw I can slide out this metal housing and that’s going to give me access to the battery compartment here now that the metal housing is off what I can do is I could remove this weatherproof little cover here and you can see there’s a micro USB port there and from there I can lift it up and I can insert the three AAA batteries now if you rotate this at the top there’s markings on here to show you which direction you should insert the batteries if it’s uh positive or negative once you put the three AAA batteries what you’re going to do is to secure them down once you put this panel down you’re going to use a screw to hold everything in place all right so the last part of the install is just to replace this weatherproof covering here and I’m going to slide the metal housing right back on and secure it with that screw that I mentioned earlier up here all right you can see if I come up to
Locking & Unlocking

the lock and I rotate it it’s just a free Spin full 360.
and that’s to prevent anyone from just coming and trying to force the lock for this cylinder now if I press the set button and then I put my fingerprint you can see it says unlocked and now you can see that this is being engaged and the lock is set to allow you to engage it for about 14 seconds the default is 10 seconds you can go from 5 Seconds up to 14 seconds and you can see once it beeps again it’s back to the free Spin so when you set the lock up it asks you to add admin fingerprints and I’ve already added mine and you can add two more to let you control the entire system but let me show you the admin settings so you’re going to come to the lock press and hold the set button and you’re going to wait till it says pressed five seconds for assist config now I’m going to authorize it and it says admin user fingerprint delete fingerprint clear all admin fingerprints clear all user fingerprints add card which is the RFID Card delete card to clear all cards add a remote controller clear remote controllers switch language set the lock time which is I set 14 seconds turn off Bluetooth turn off sound and then finally reset everything else in addition to unlocking by fingerprint you can also unlock buy an RFID Card so I’m going to show you how to set that up now so we’re going to go back into the admin settings by pressing and holding set I’m gonna authorize and I’m gonna go into add card now it says please swipe card and it says new user all right to test that the RFID Card was added properly you can see right now I can do a free Spin but to use the RFID Card what I’m going to do is hit set instead of my fingerprint I’m going to swipe and you can see it says unlock turn handle so now I can engage the handle so this is great to keep on your keychain or you know if it’s winter time and you’re wearing gloves and you want to take your gloves off the RFID Card comes in handy so while you can unlock this by your fingerprint or RFID Card there is no option to use a traditional key to unlock it if these batteries ever ran out and they really shouldn’t because you know they do give you a warning when it’s at about 20 percent you know it does beep to let you know but you can always pull the support down you know plug in a micro USB cable you just turn your power bank on and then it’ll Supply Power for this if those AAA batteries run out so it’s a good feel safe to have
App Settings

it isn’t on the Play Store you do have to download an APK so that’s going to be up to you to decide if you want to do that now there’s a bunch of options here like authorization add-in cards deleting cards fingerprints you know factory reset but the only thing I really use it for is the unlock history so you can see if you go into here it does take a while to load up so you do have to give it time but what it is is it’s going to give you a log of all the unlock history if it was by fingerprint if it was by RFID Card and you can you know take a look at who’s kind of coming and going so you can see here you know chose the different IDs so that’s basically all I use the app first so you know it’s probably not necessary you can do a lot of everything just on the menus right there alright guys so can I recommend
Recommended

this Wheelock touch 43 so I mean it is an interesting lock I’ve never seen something like this where you know it’s a free Spin and then you have to actually authorize it so that you know it can engage and then you can turn it so I mean that’s that’s pretty unique pretty cool now where I do have you know a slight bit of hesitation recommending it is that you know while you can unlock it by fingerprint while you can unlock it by the RFID Card and it all works really well you know there is no traditional area on here where you can insert that key and open it up and for some people I think that’s going to be a make or break now if you’re someone who wants no keys and you just want you know just a light setup you don’t want to carry Keys uh you know on your car keys bunch and you just want everything just fingerprint wise you know this is good for you you know it’s a it’s a pretty simple to use lock with the menu systems but if you do want to have that added peace of mind with a key we lock this make other locks with traditional Keys all right so if you’re interested in picking up the Wheelock touch 43 I’m going to leave some links down in the description below and you can check it out if you’re interested and as always if you found this video helpful please consider liking and subscribing it really does help me out and I’ll see you in the next one soon
Buy WELOCK Locks with Keys US Page:
Please note that some of the links in my video descriptions are affiliate links where I earn from qualifying purchases. As an Amazon Associate I earn from qualifying purchases.